A seed is sown
Back in December, I was asked if I spoke at quilting groups. I replied that I hadn’t really thought about it, but… sure? And then I got home and fretted about what I would actually say at such an event! So I asked the Facebook, because that’s what one does these days.
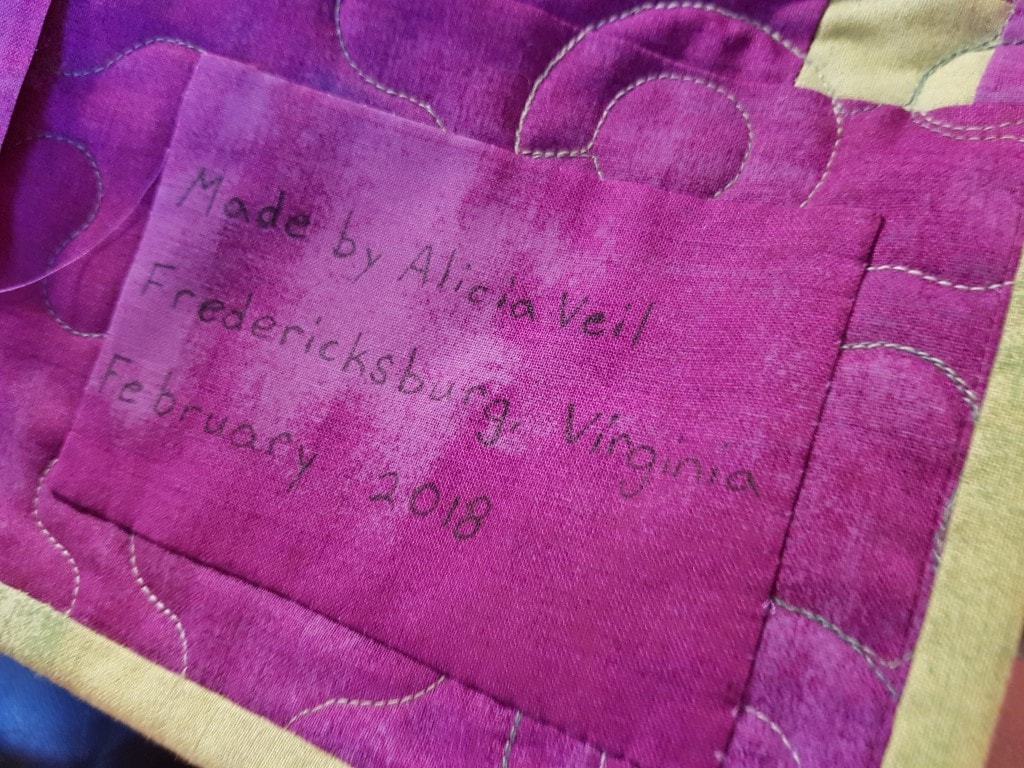
Shortly afterwards, I received a message request from a lady called Alicia:
“
I saw your post about samples. I have made a few samples for a friend using her own published pattern, but using a fabric line to benefit the fabric designer and the pattern designer. I would be interested in working with you if you need samples made. Let me know if you are interested! Good luck with your business!!“
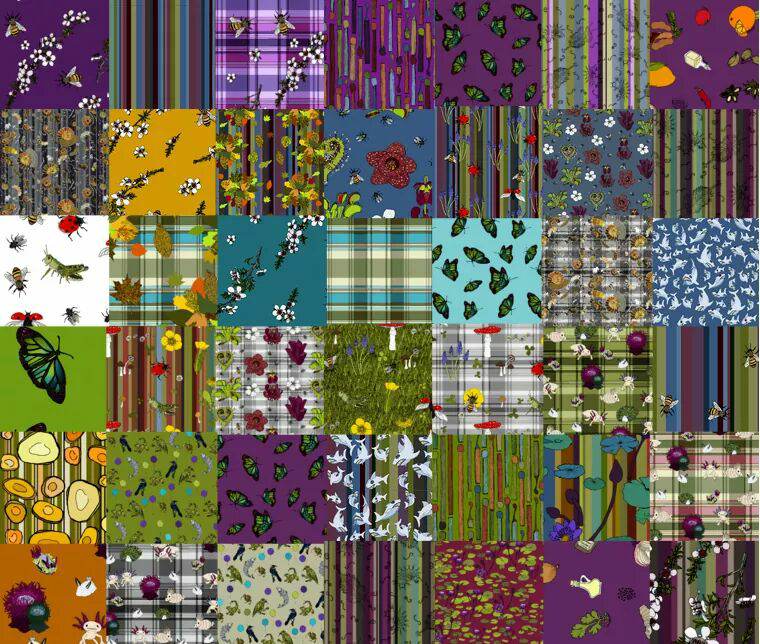
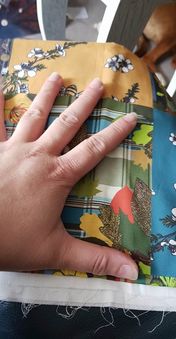
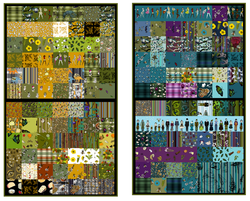
We started chatting, and I explained that I wanted to showcase my fabric designs. I sent her the link to my Spoonflower store, and an example of the Spoonflower Fill-A-Yard “cheater quilt” layout – and a photo of my hand with the one I had printed, for scale!
Her response was very positive: “
OMG! These are genius! I’m getting the chills looking at them and I’ve only seen about 15 so far!!“
Well, this is a great start, I thought! So we began throwing ideas around, and I discovered how very little I know about quilt top designs, and how very many options there are out there!
I decided that what I really wanted was to let a skilled maker make the quilt she felt was right – so we agreed to make it a surprise.
“Just to be clear – these are designed to be materials for you to cut up and turn into a quilt, using your quilter’s eye – so I am not making any design decisions, just giving you the equivalent of a jelly roll pack or something to get you started 🙂“
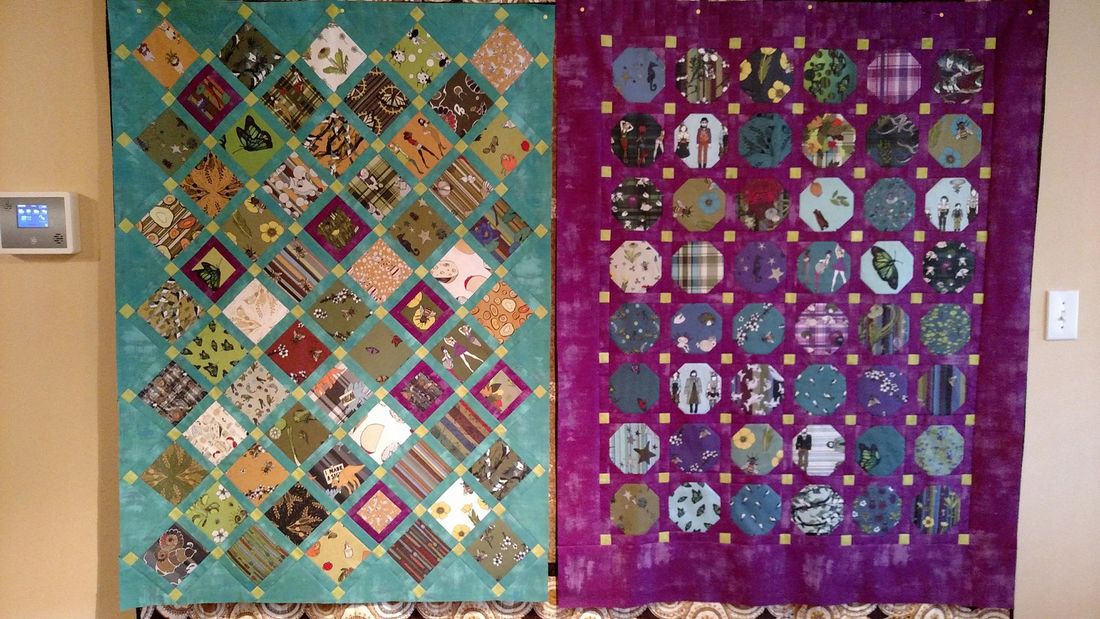
I made four 1-yard cheater quilts – two in greens and mustards, and two in teals and purples – and sent them off to become Proper Quilts.
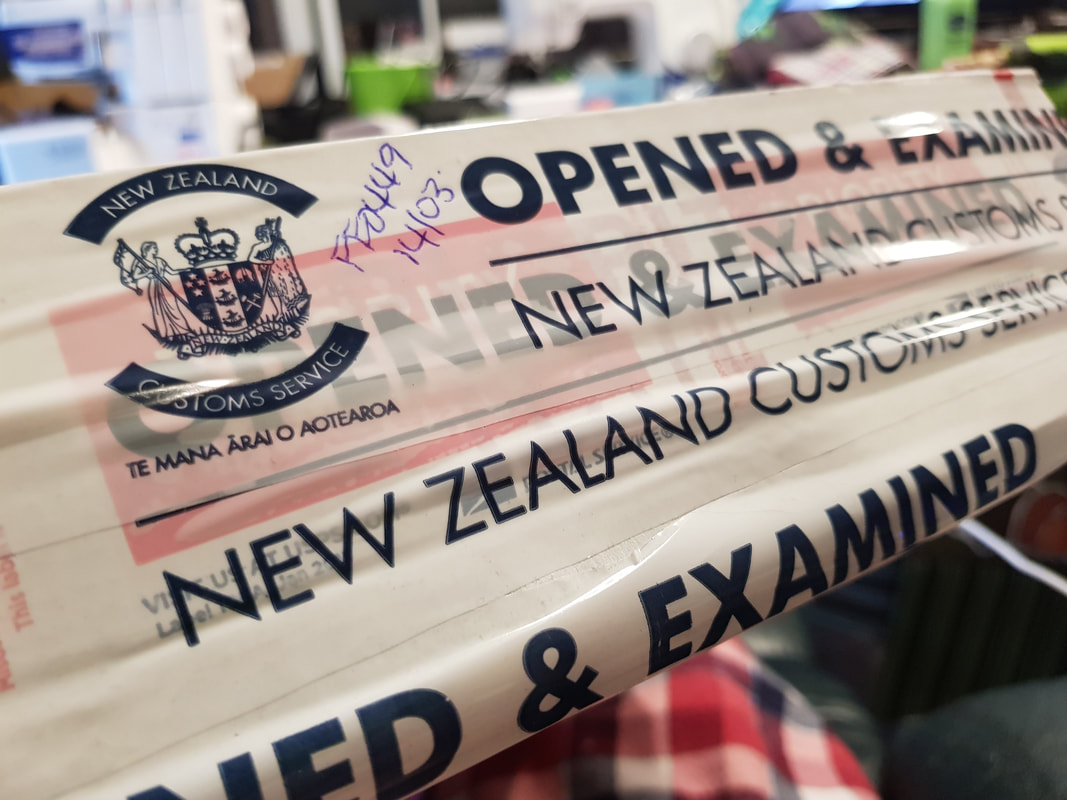
I ordered the fabric on the 9th (NZ time) and it arrived on the 18th – inconceivably fast for me! Orders usually take around a month, if not longer, to reach NZ – and then another week or more getting through Customs (sigh).
The making of the quilt
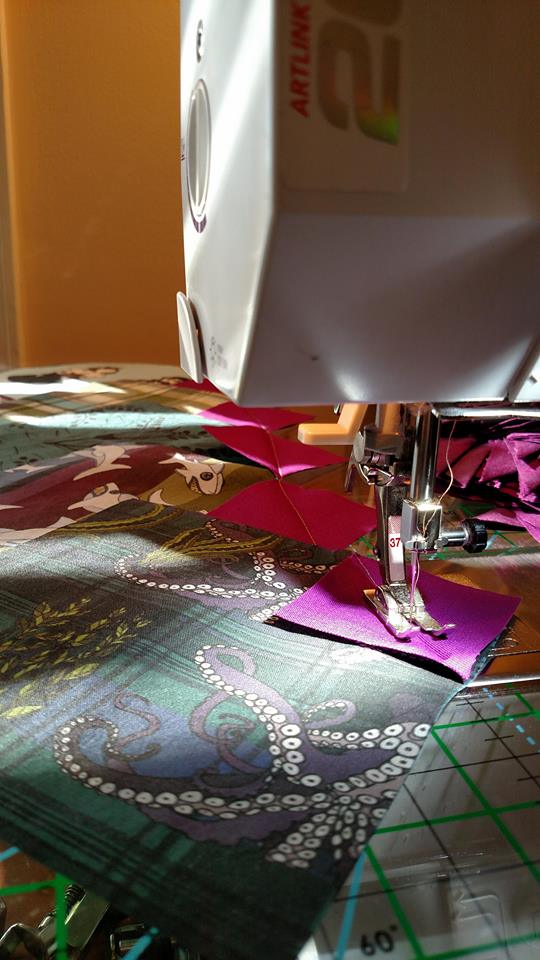
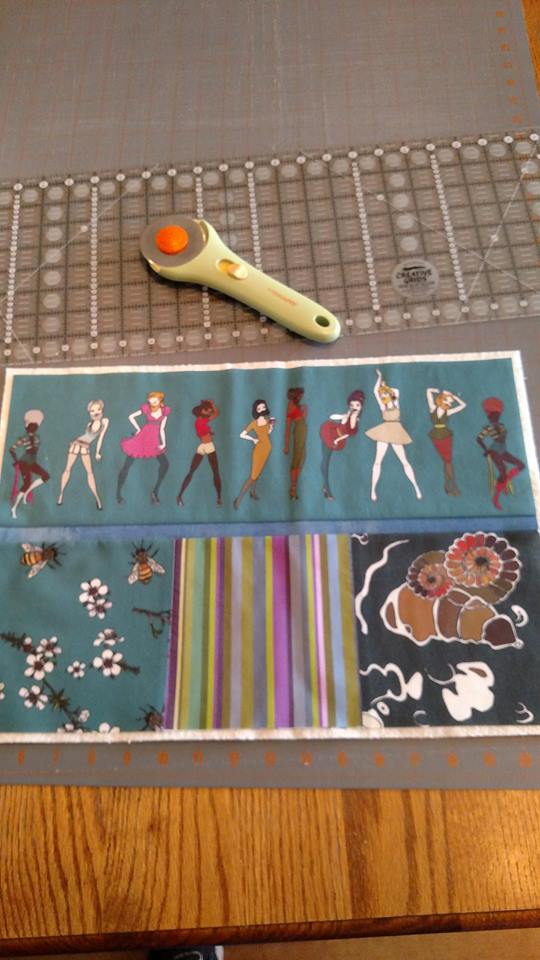
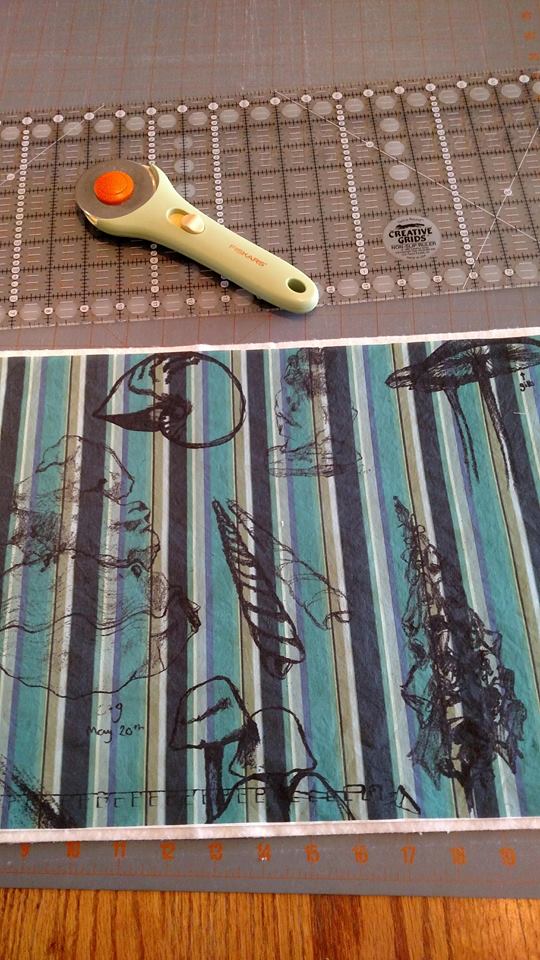
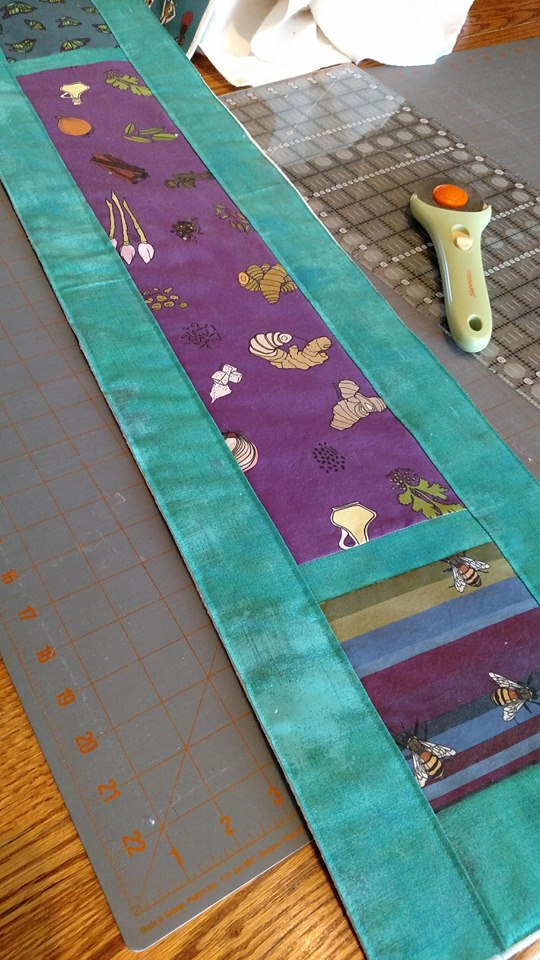
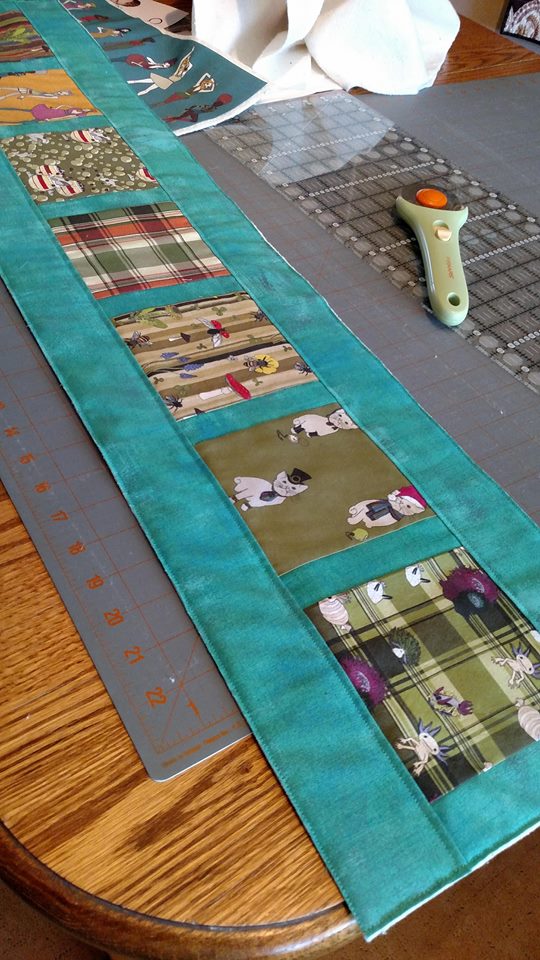
The process of making a quilt involves a lot of planning, a lot of cutting, a lot of pressing, and then painstakingly sewing ‘blocks’ together.
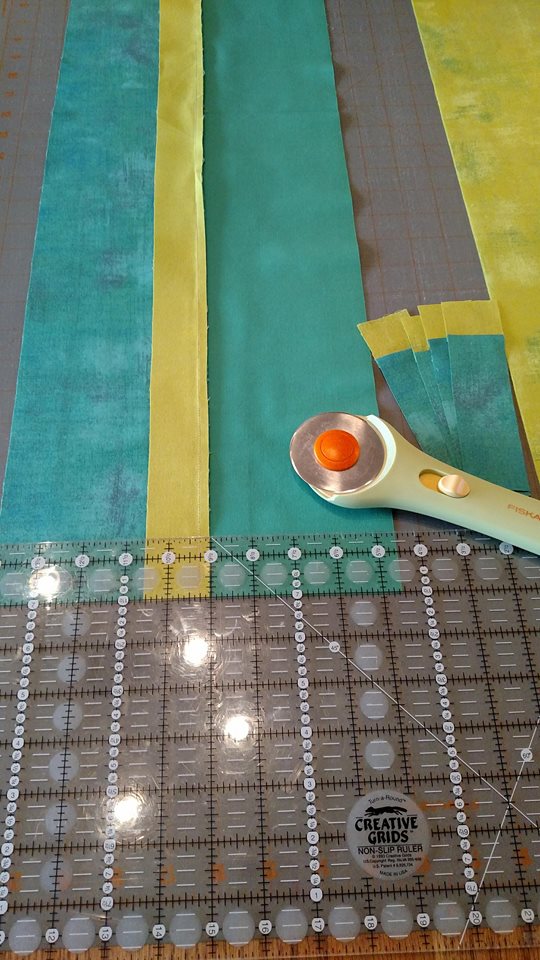
The cutting board
|
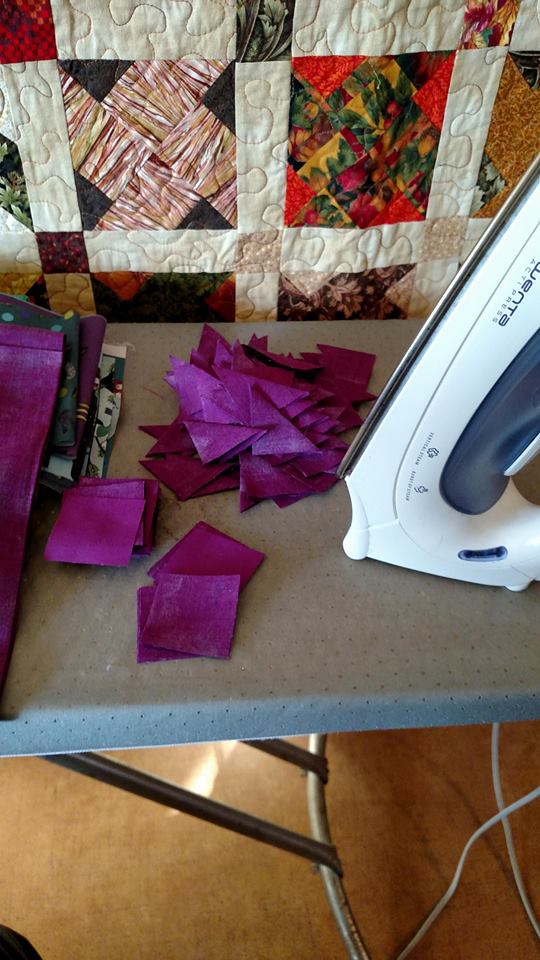
Pressing many tiny pieces of fabric
|
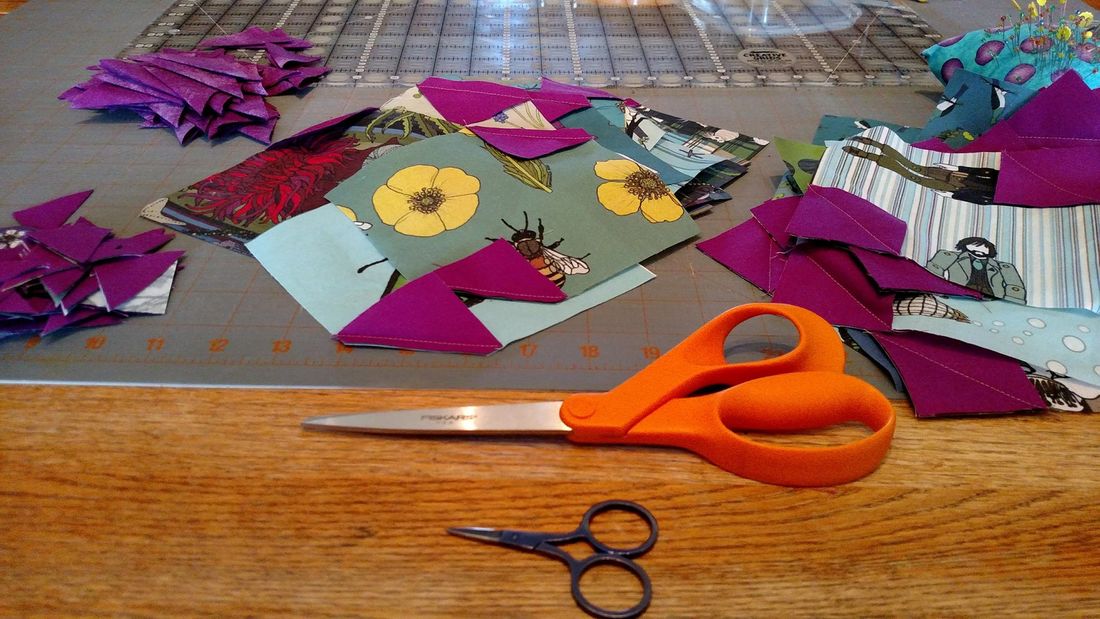
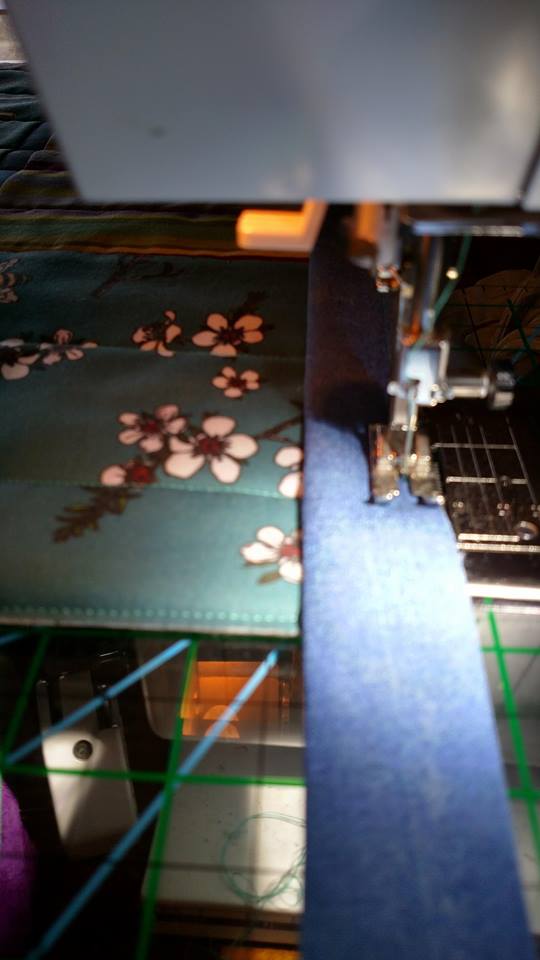
Assembling a ‘block’
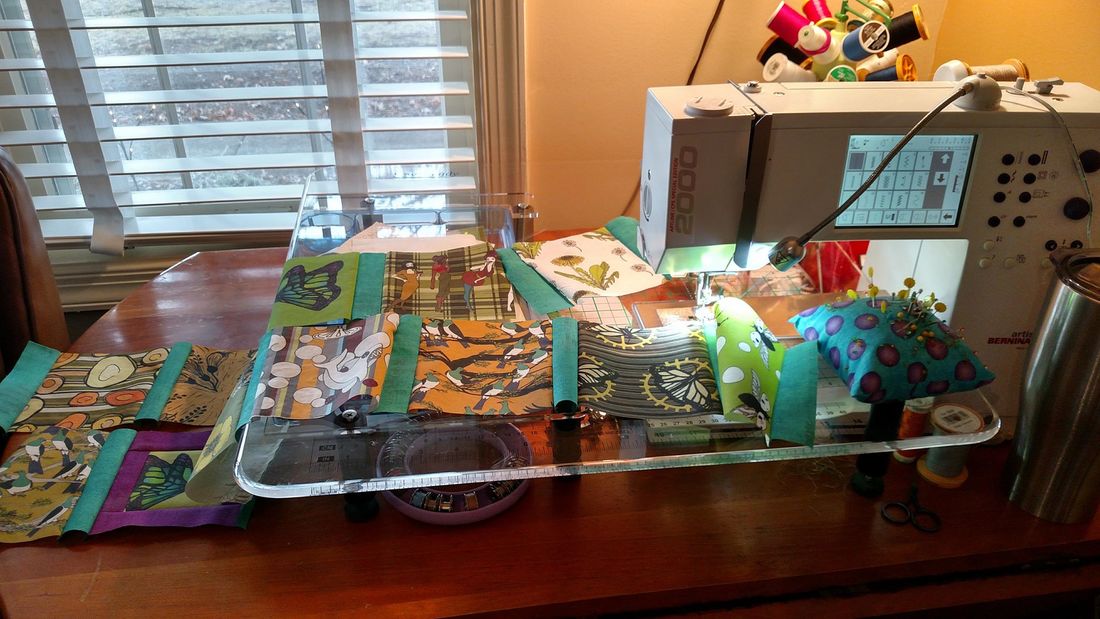
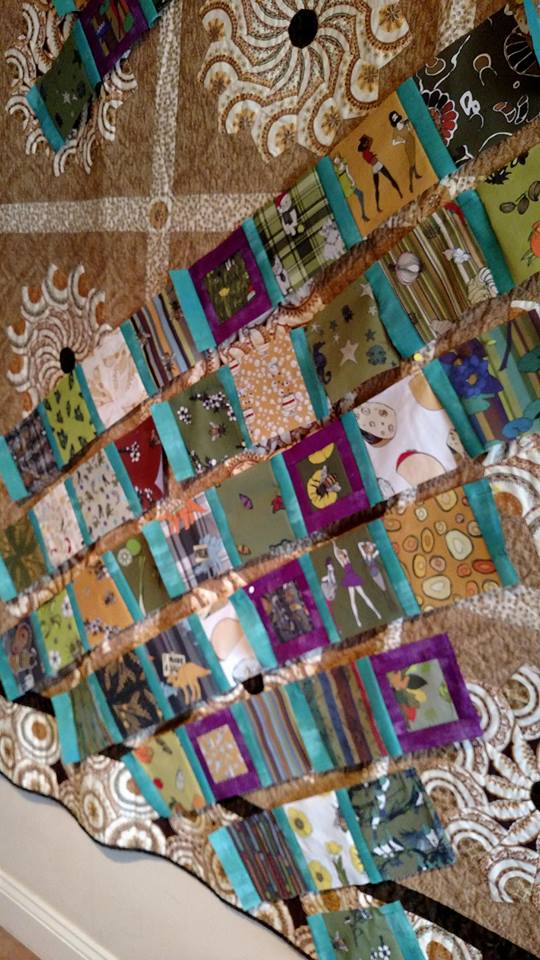
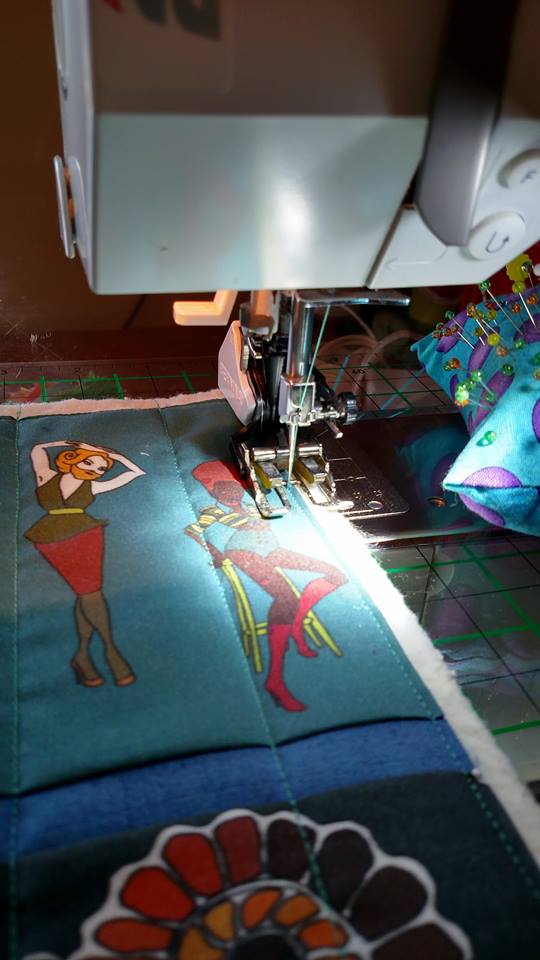
Sewing a strip of blocks together
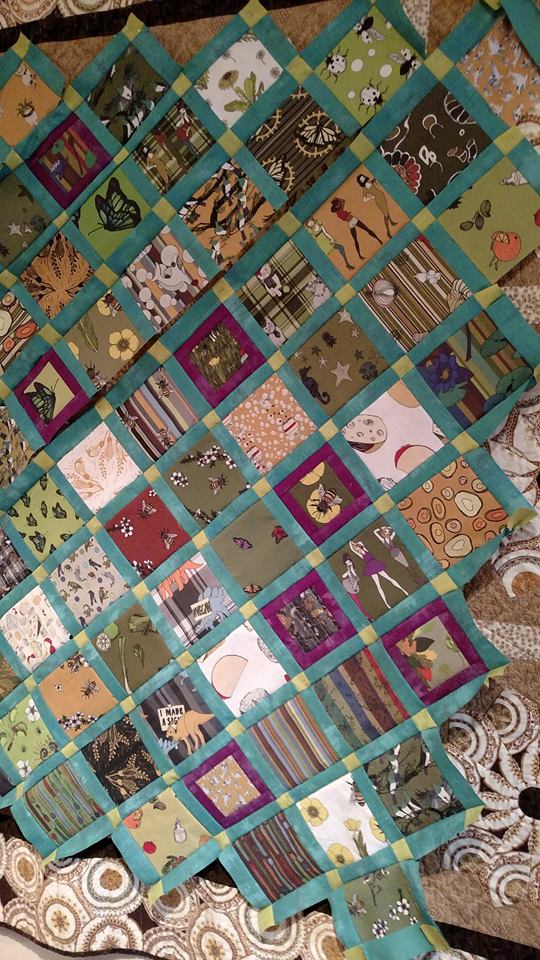
Each block is then combined into a quilt top, which is then layered with batting, and in this case, a second top (as this quilt is double-sided), and then quilted. The quilting part is the part where everything is sewn together, through all the layers. That can be a very simple diamond pattern of diagonal lines, or a more complex and whimsical design. Finally, the edges are bound (with bias binding), and the quilt is finished!
Here are some photos of the process!
The two quilt tops, all sewn together and ready for quilting, already look quite amazing. I’m not sure if I would have the courage to let them out of my hands for someone else to quilt, but Alicia has worked with her longarmer, Joyce, enough times that she felt confident to send them off to be quilted – and they came back even more amazing!
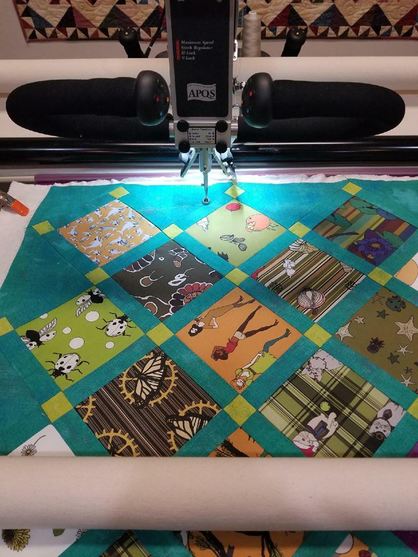
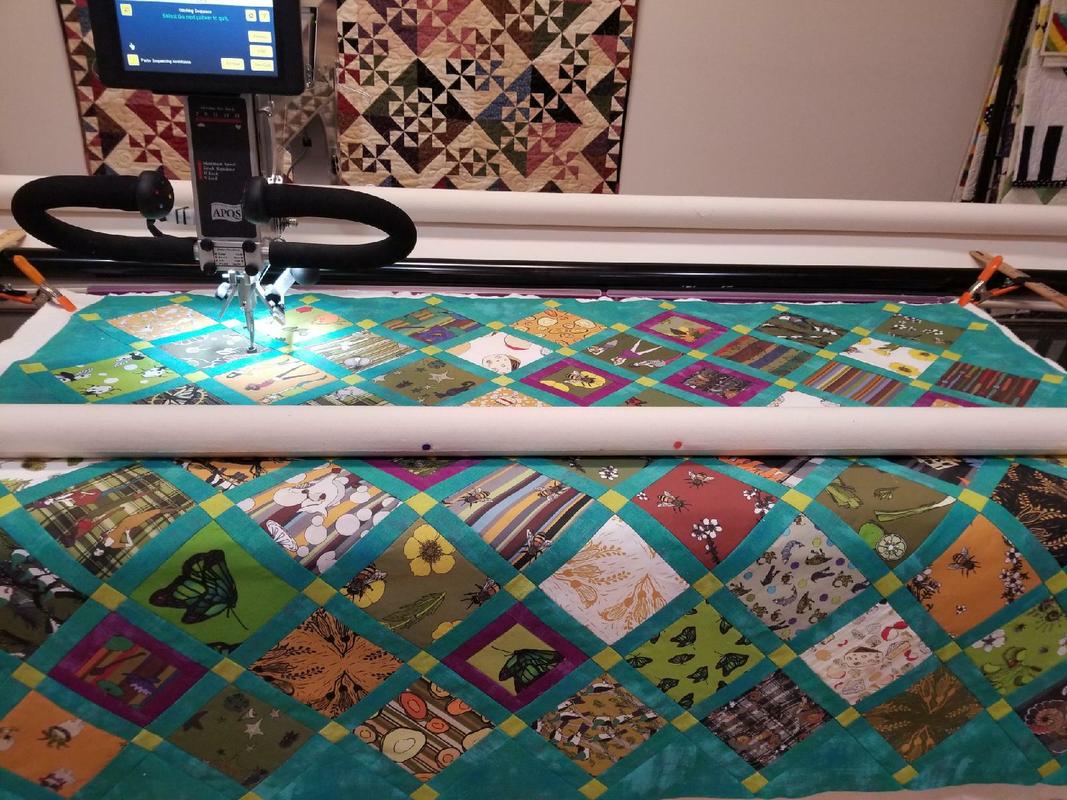
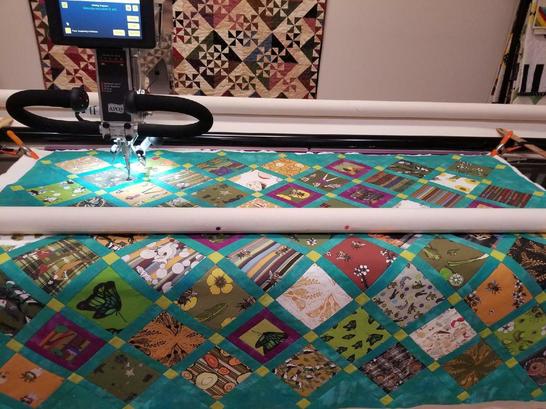
Caution – quilting in progress!
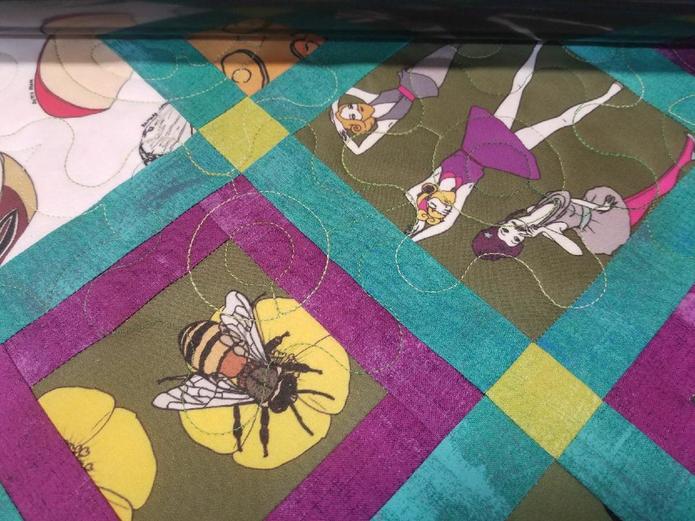
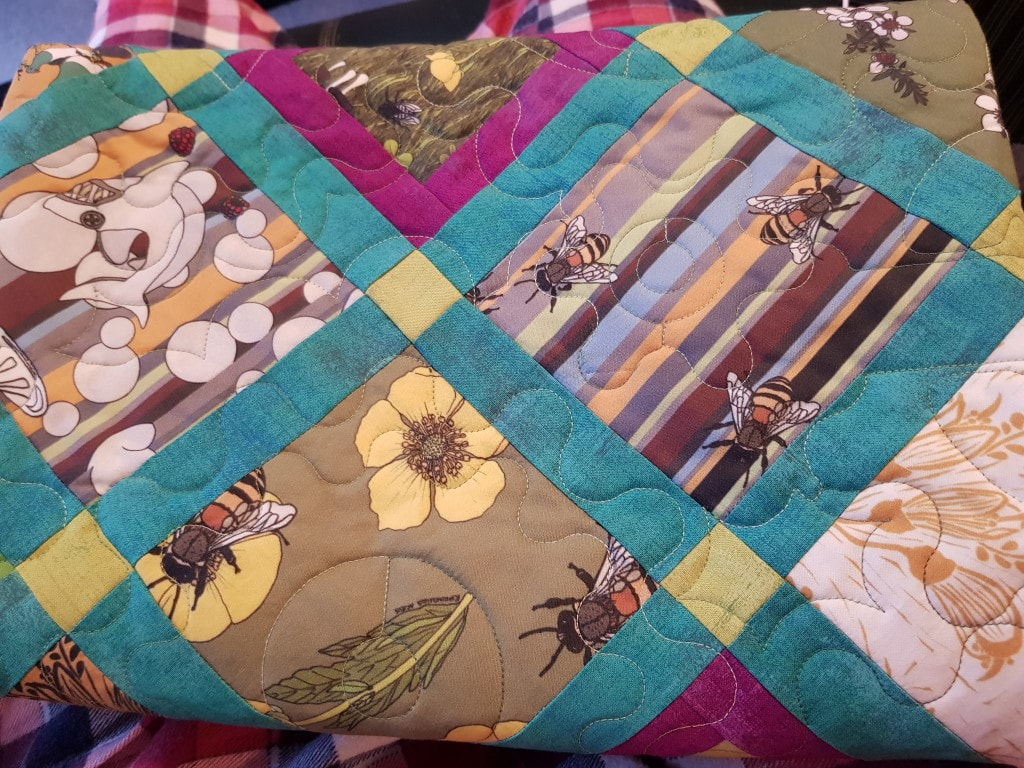
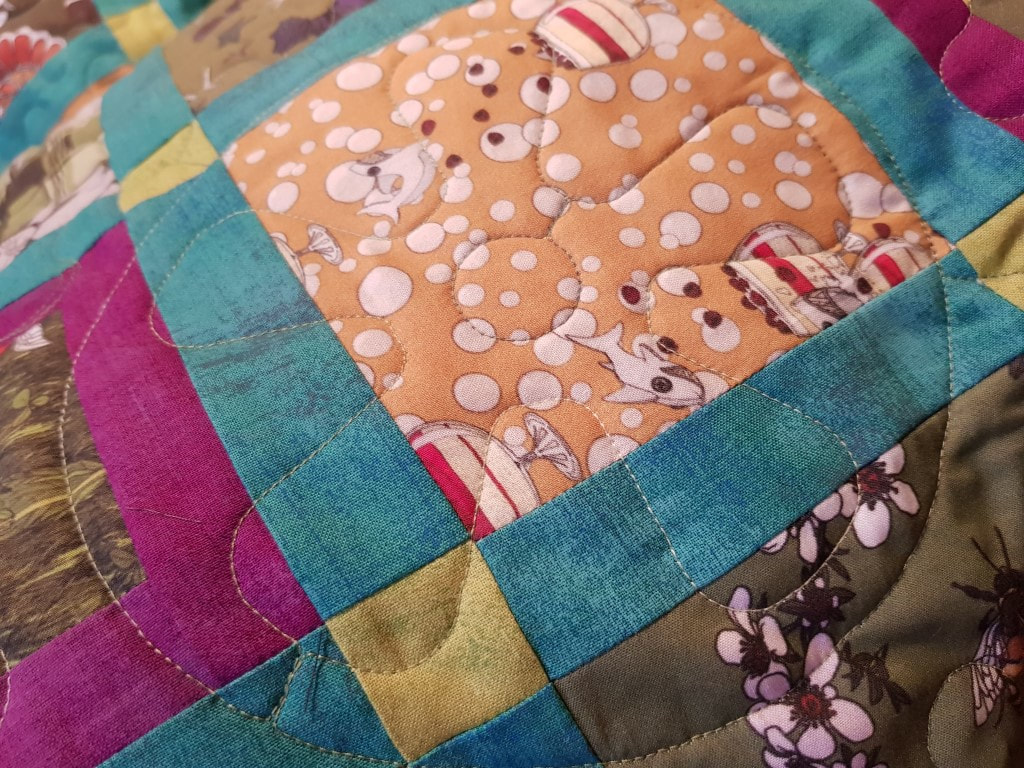
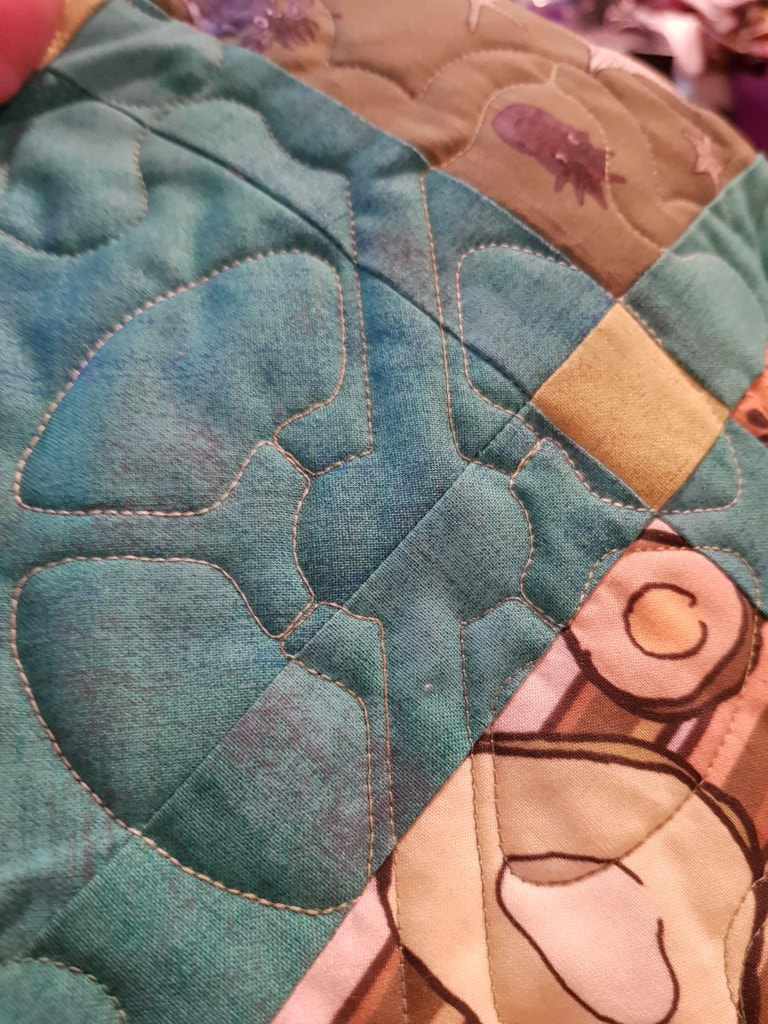
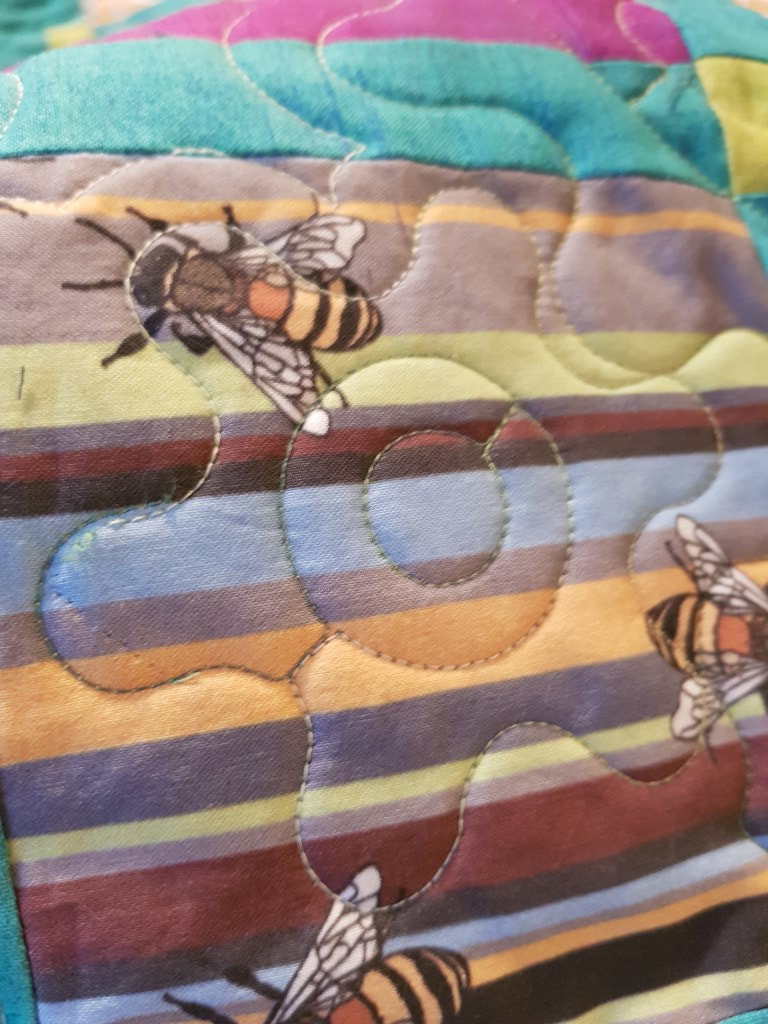
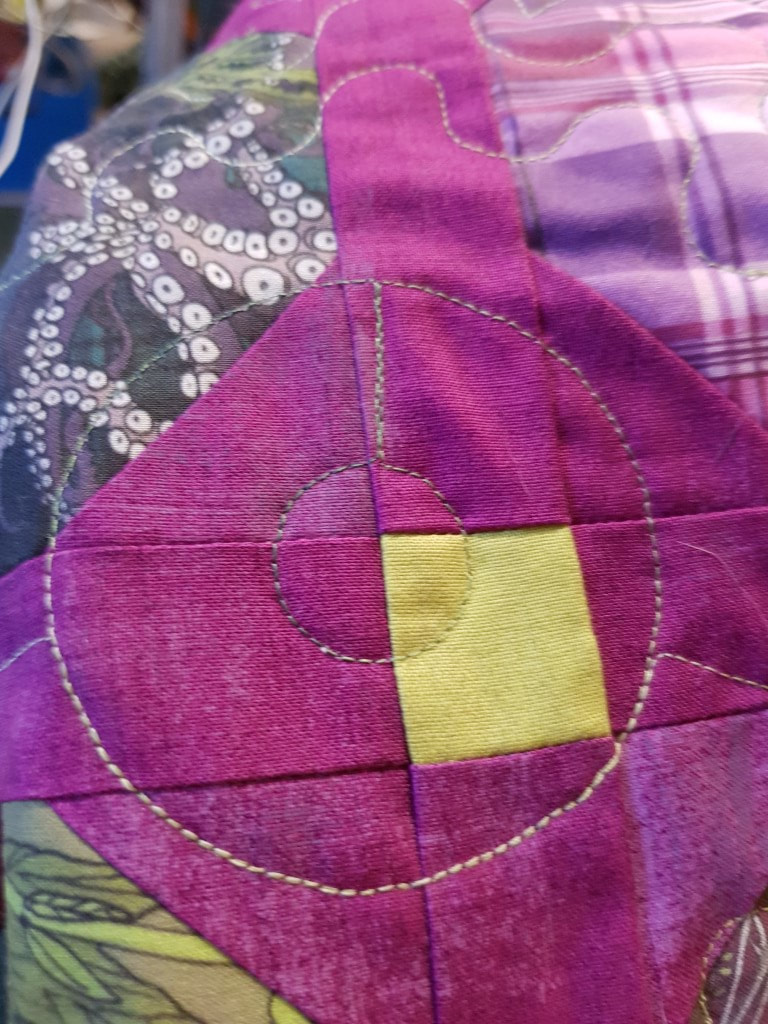
The quilted patterns are Steampunk-inspired gears and cogs!
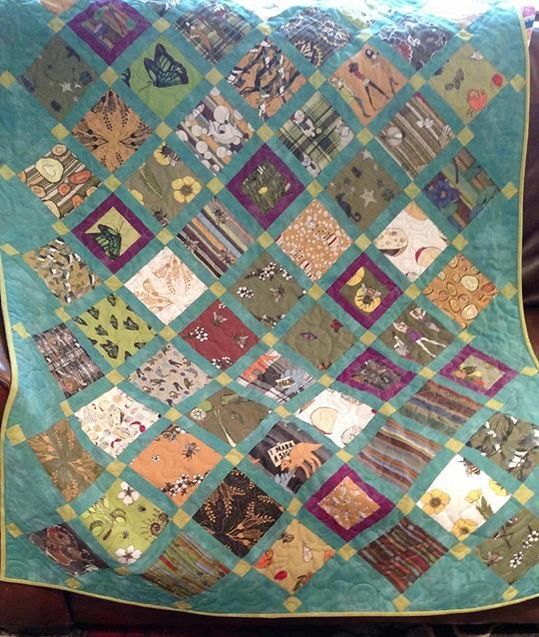
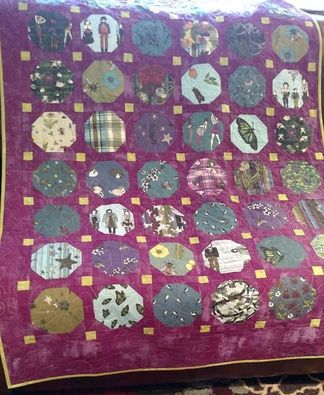
The final masterpiece, quilted and bound and ready to head to New Zealand!
The surprise bonus
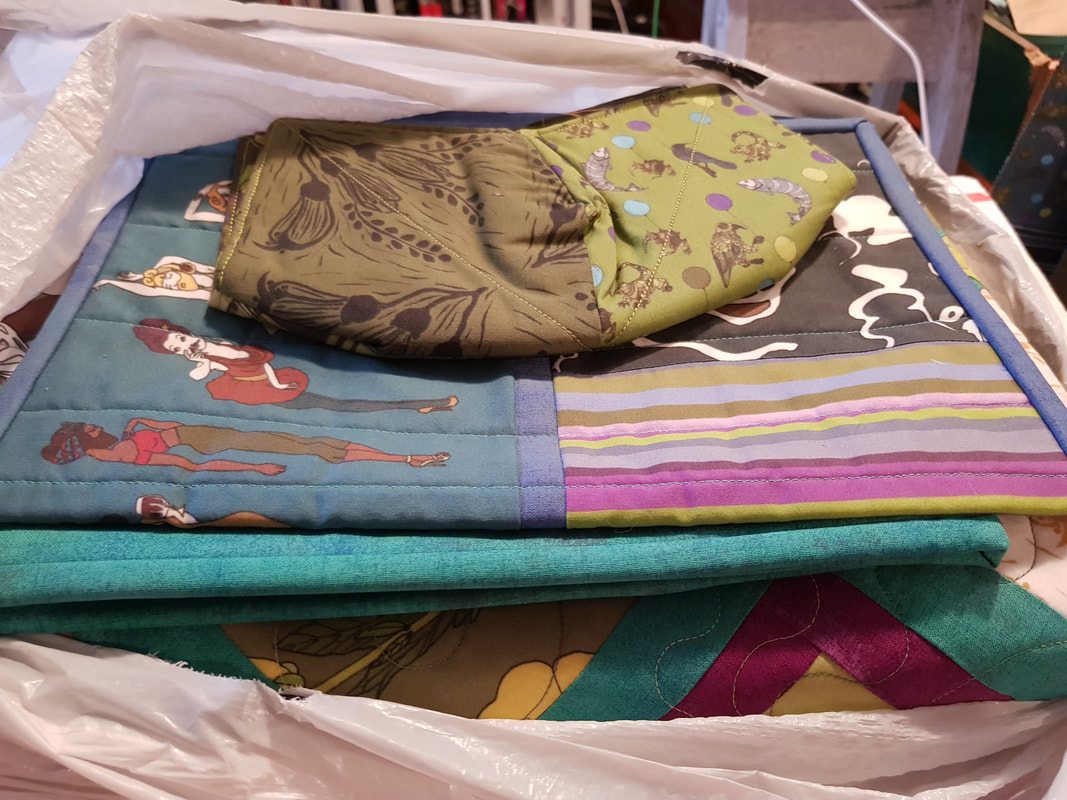
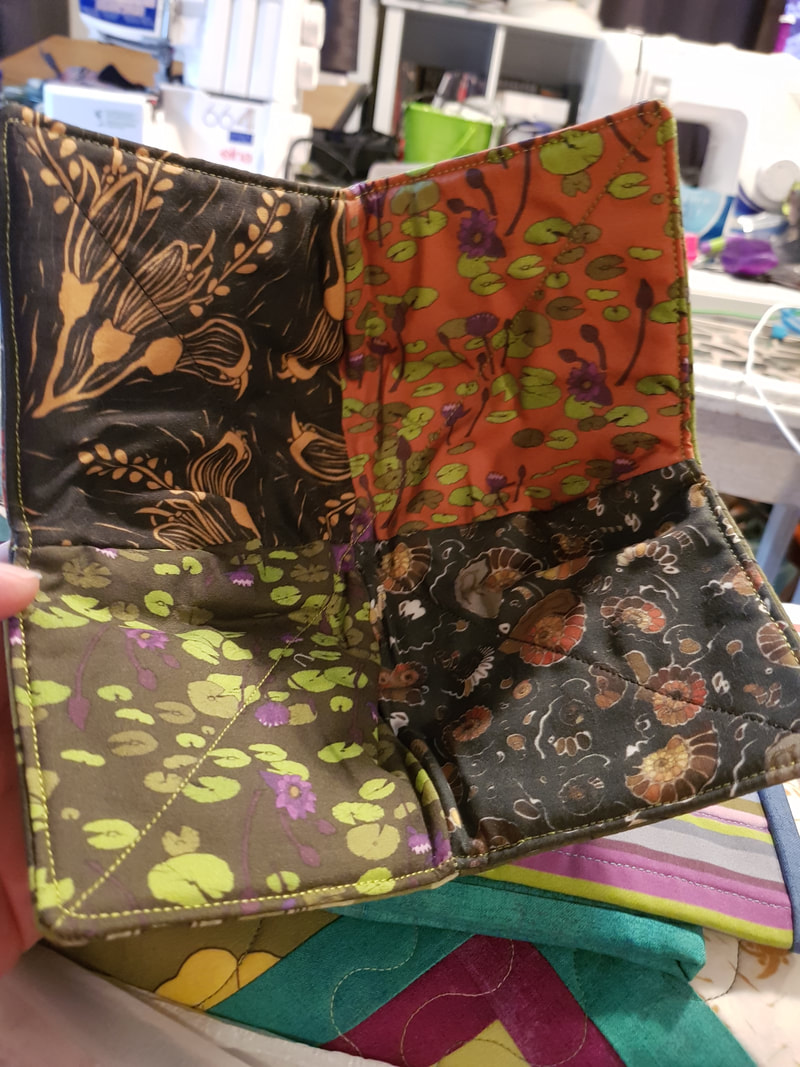
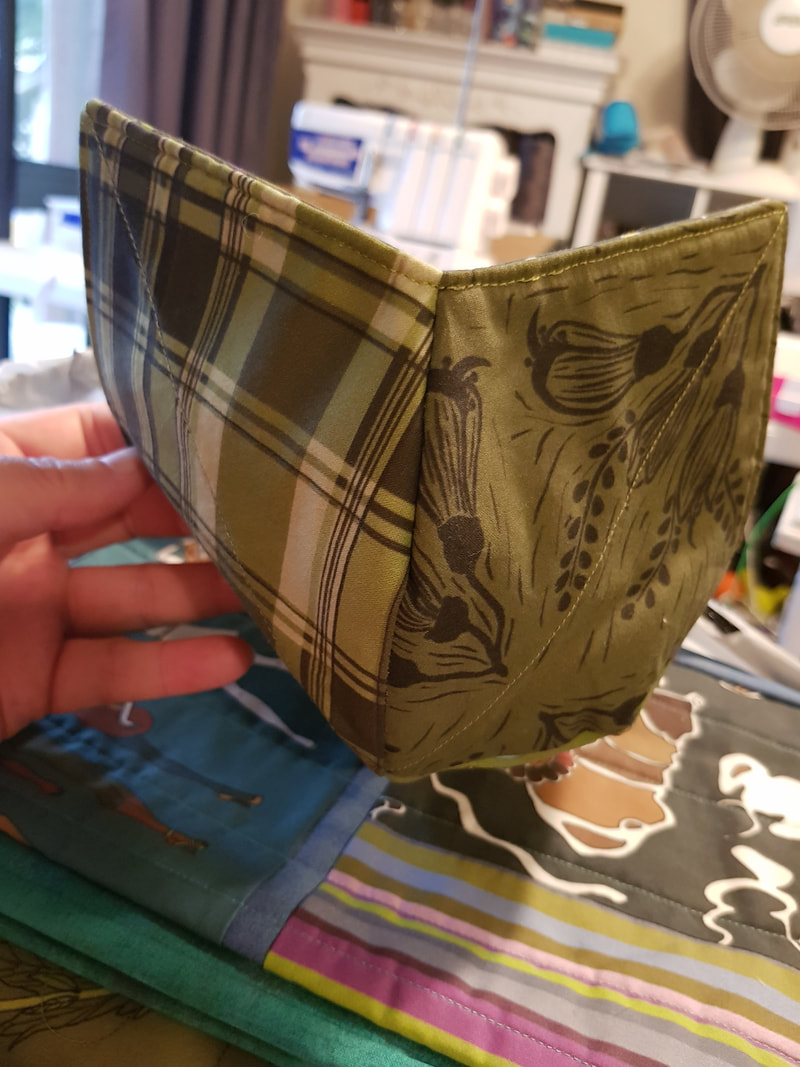
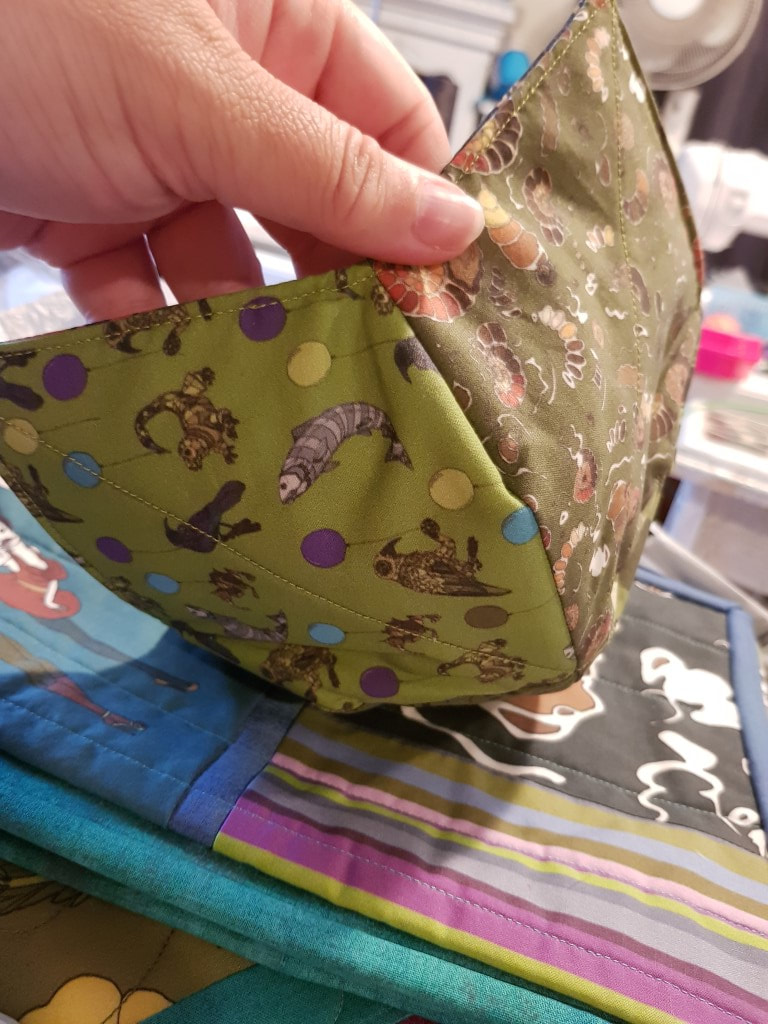
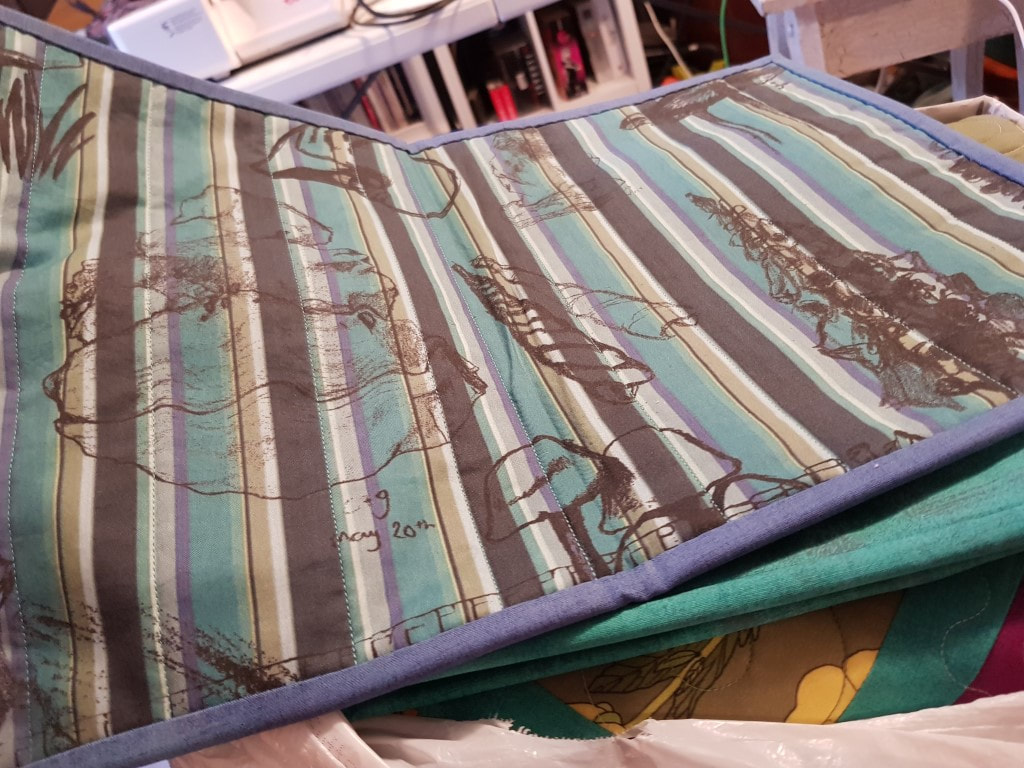
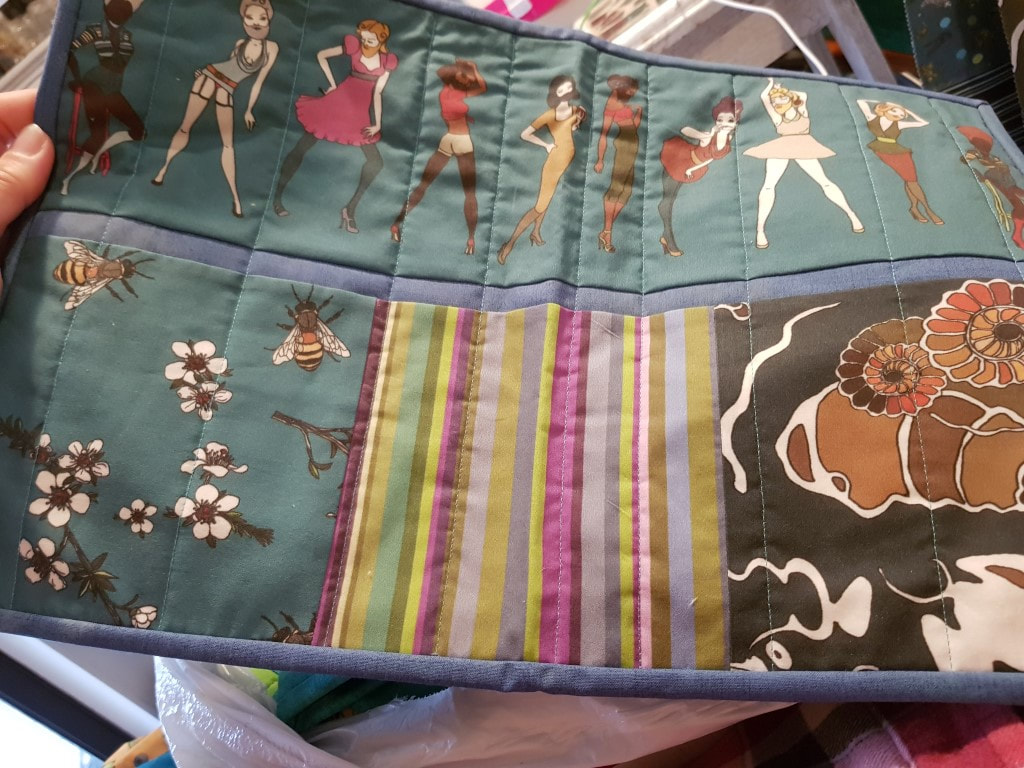
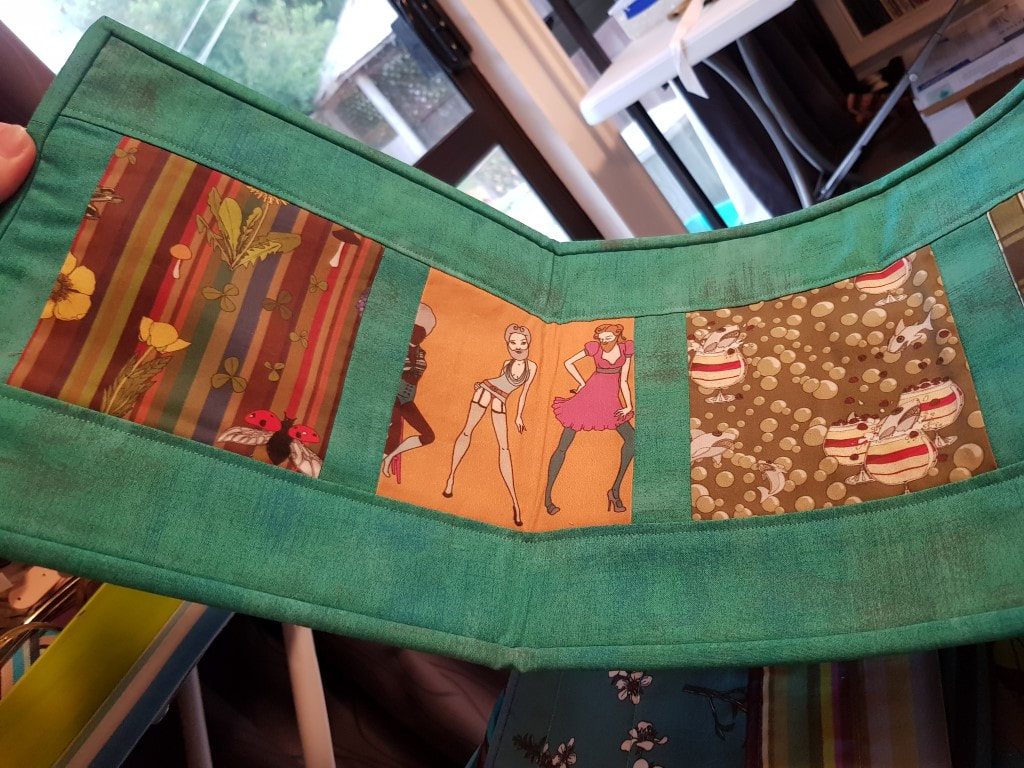
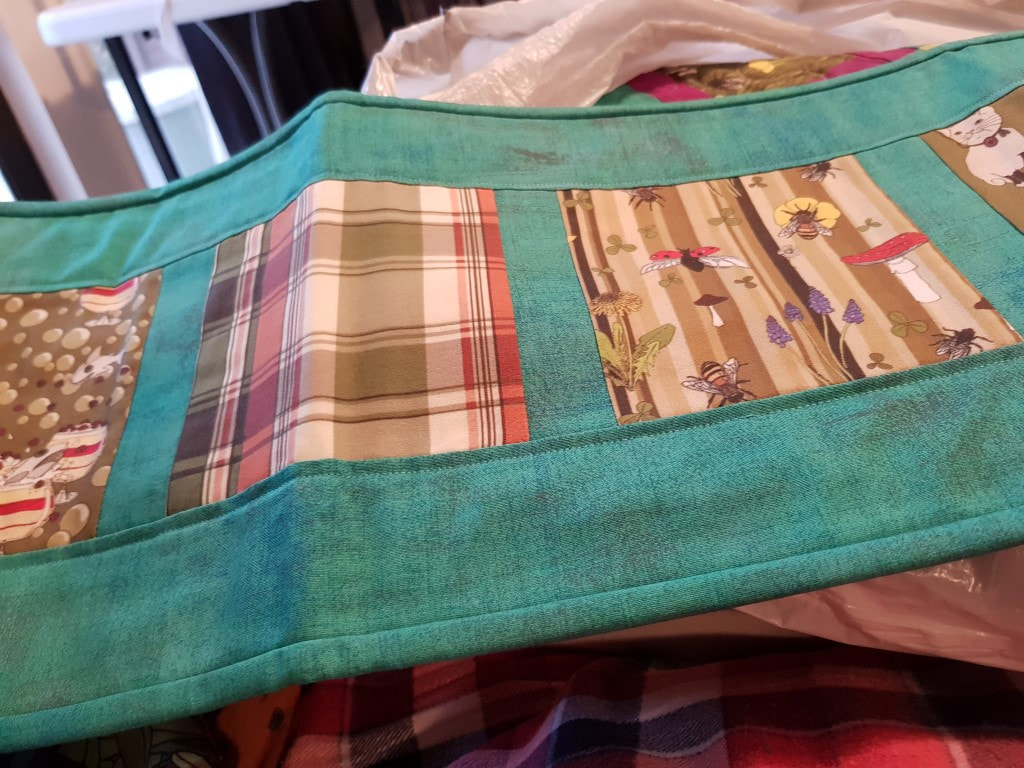
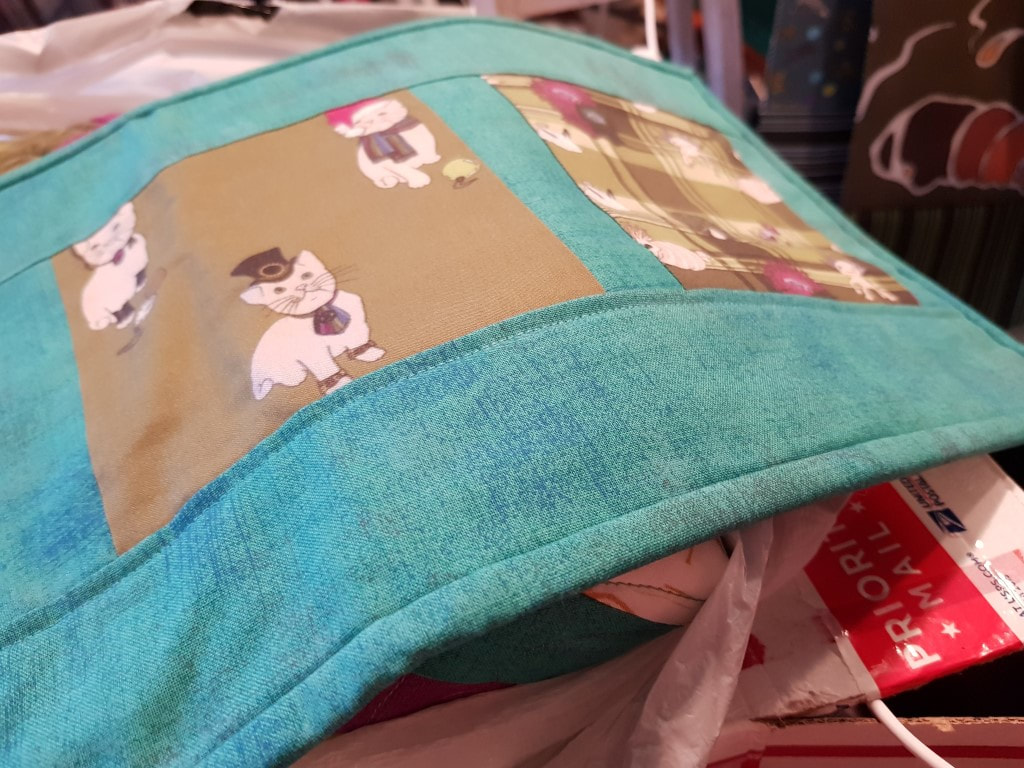
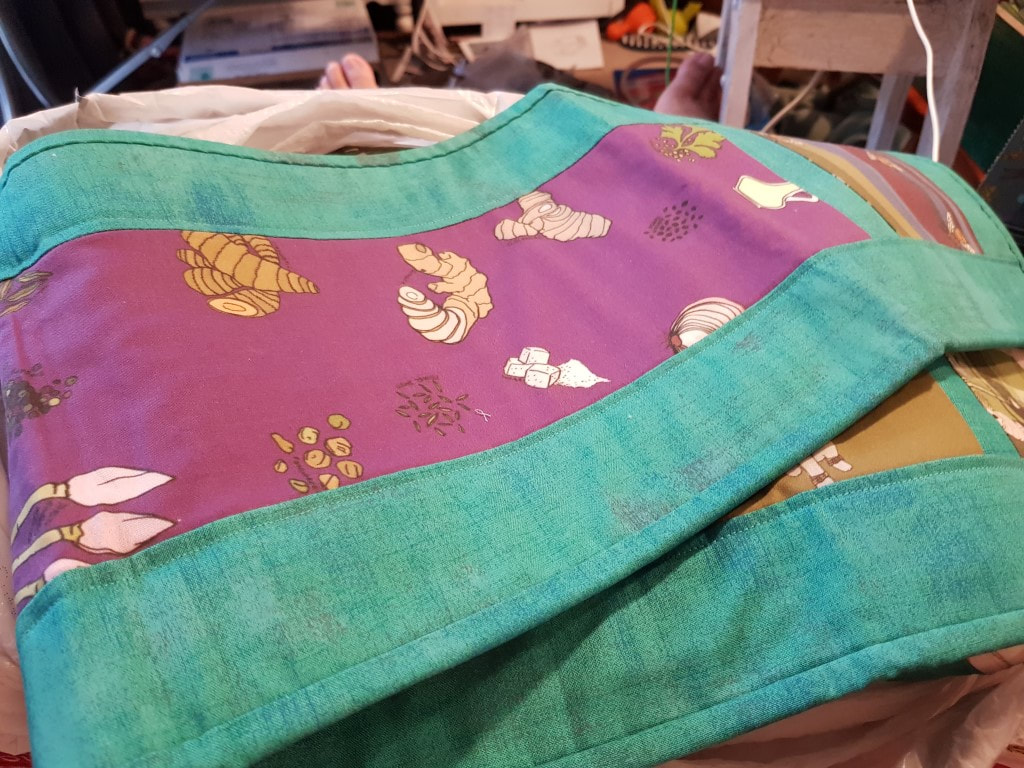
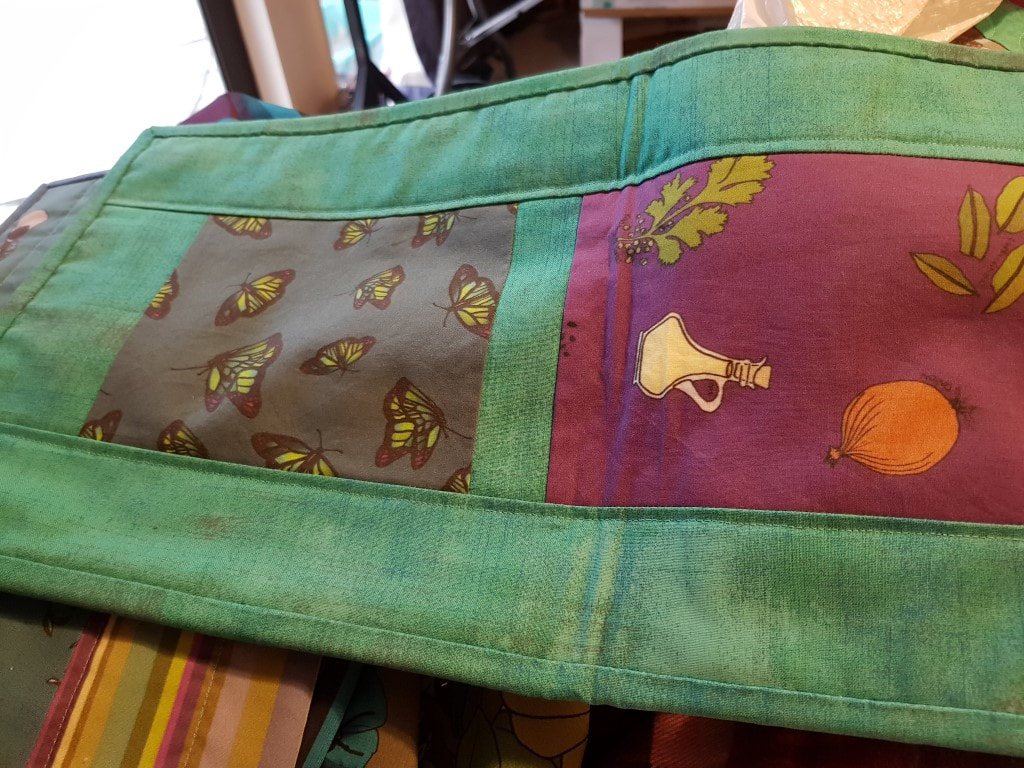
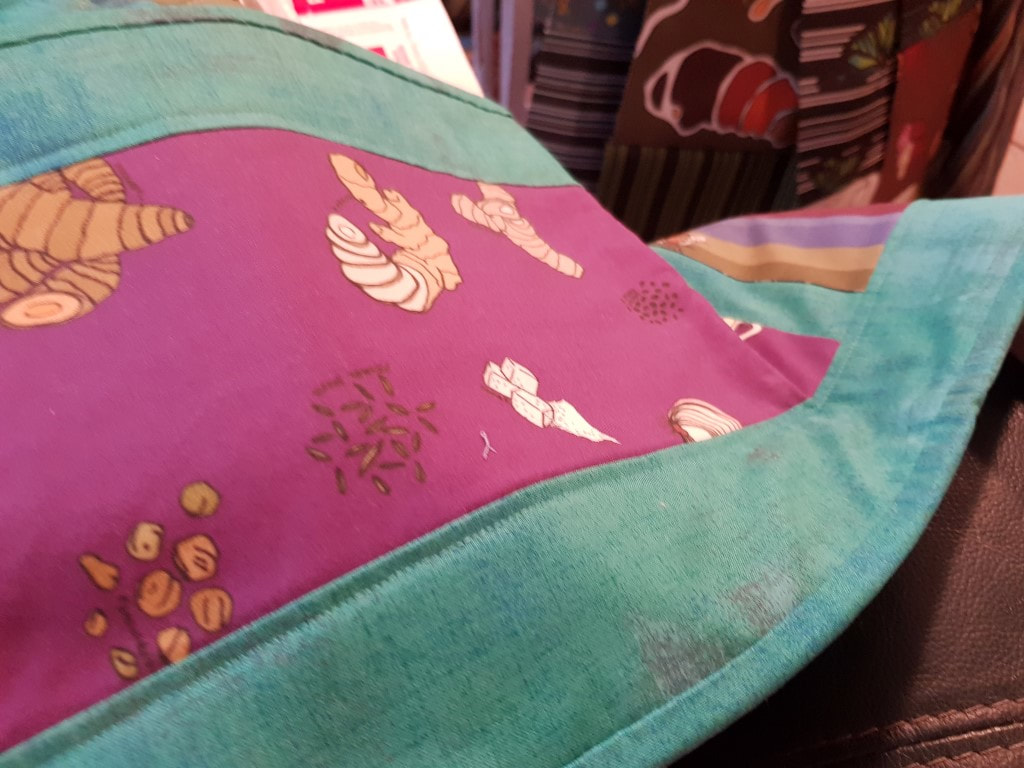
As well as my lovely lap quilt, Alicia included some amazing bonus pieces – a place-mat, table runner, and bowl cosy – to use up the remaining fabric. Amazing! I had no clue, so it was such a treat to find these extra items in the box!
The epic journey home
February 11th: “Hello, hello, Catherine! Your quilt is completely done. I picked it up yesterday from Joyce’s house and I finished putting the binding on today. Yay!”
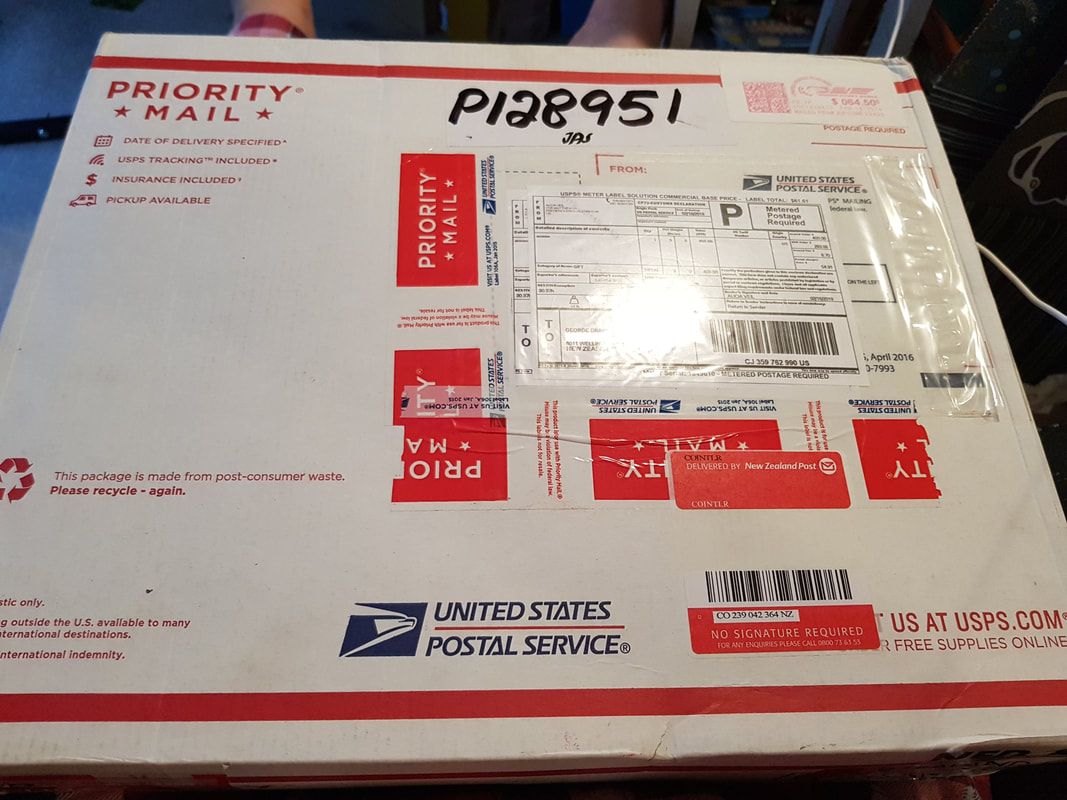
February 17th – we finish figuring out the complexities of shipping, and my quilt begins its journey.
February 23rd: “The quilt has made it to NZ, yay! It’s being held by customs though...”
After weeks of trying to figure out what was required, we finally got the package released from Customs… and it arrived on Friday, March 16th. Woo!
The Great Unboxing
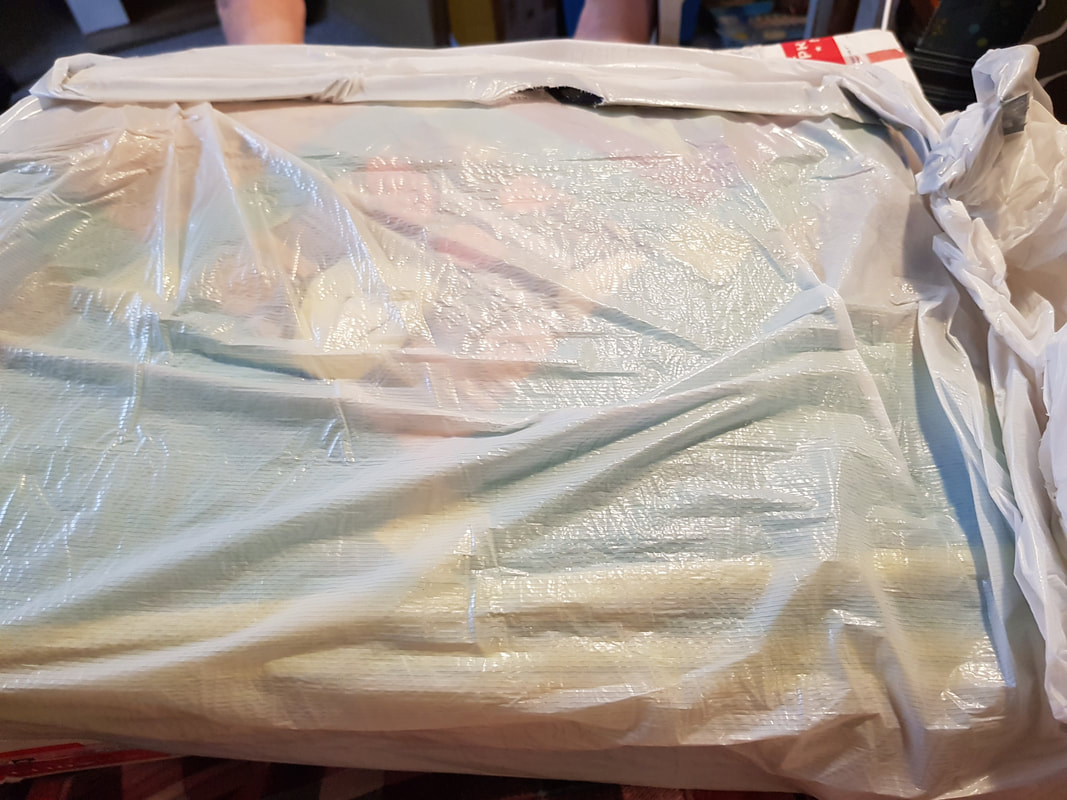
So my quilt has finally arrived, and it’s time to see it for the very first time! I’m excited, but I also like to savour the anticipation – so I stop to take lots of photos 🙂
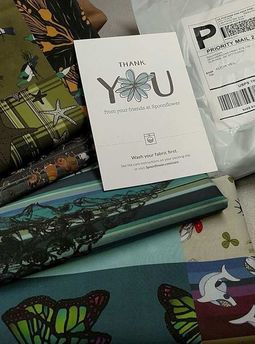
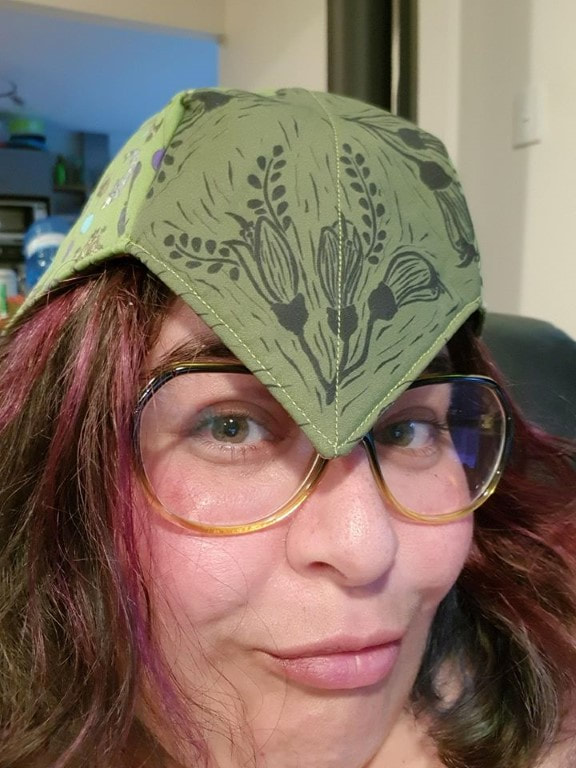
Wow, extra things! What is this? Is it a hat? Oh, I see! It’s a
bowl cosy 🙂
Ooh, and a lovely placemat, and a table runner! What on earth!? How amazing!
THE QUILT
And finally, it’s time to see my QUILT.
First impressions – it’s colourful, beautifully made, feels sturdy and snuggly – and it’s HUGE. I had no idea how large a lap quilt was! But I was so overwhelmed at seeing something so amazing made with my own fabrics that it took George to point out the fact that the quilting was all Steampunk designs – what a thoughtful touch! We were genuinely moved. How lovely, to take the time to add a touch of steam to our gorgeous quilt!
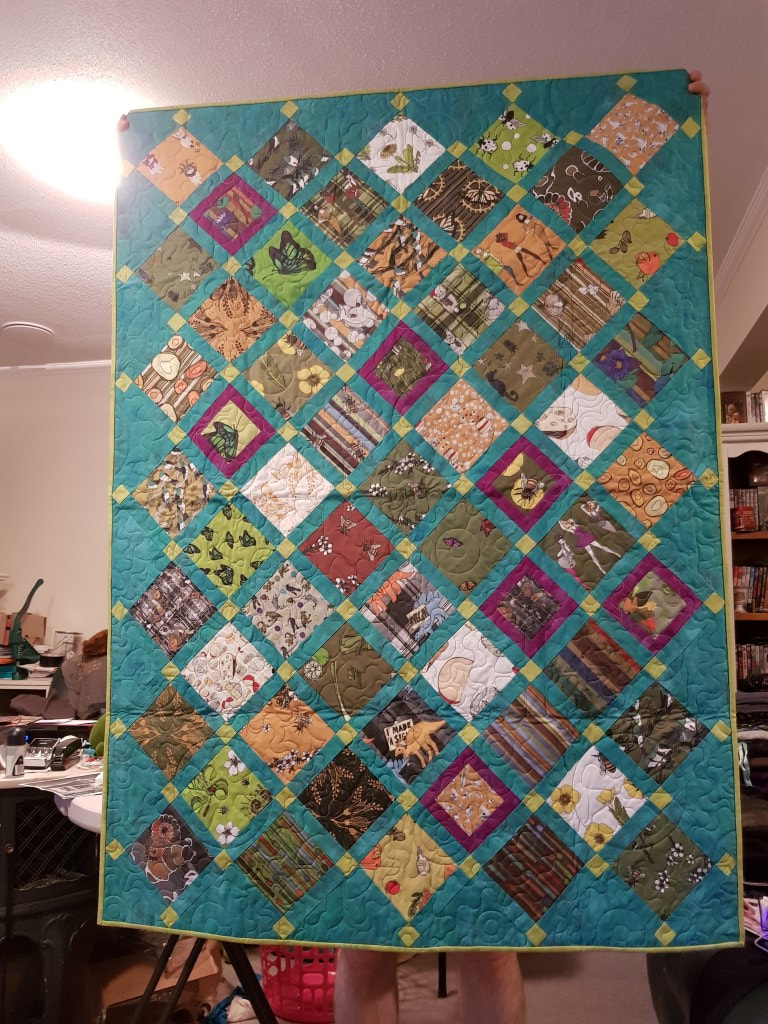
George holds the quilt up at full stretch
|
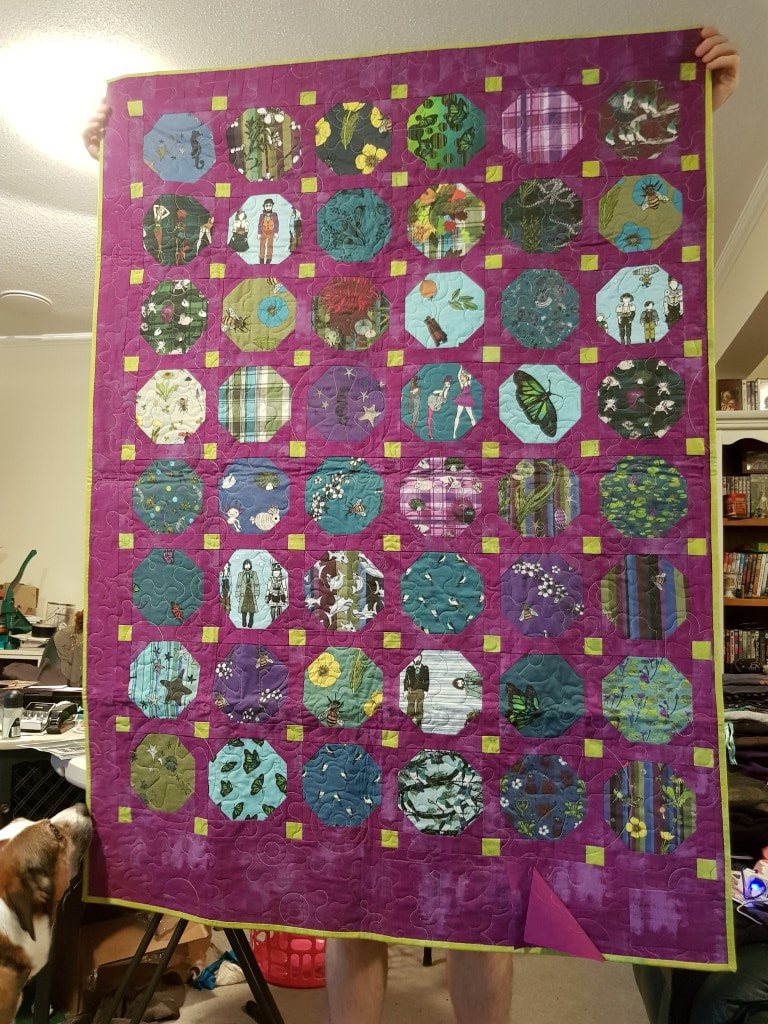
Lizzie-dog inspects our new acquisition
|
The soft-launch
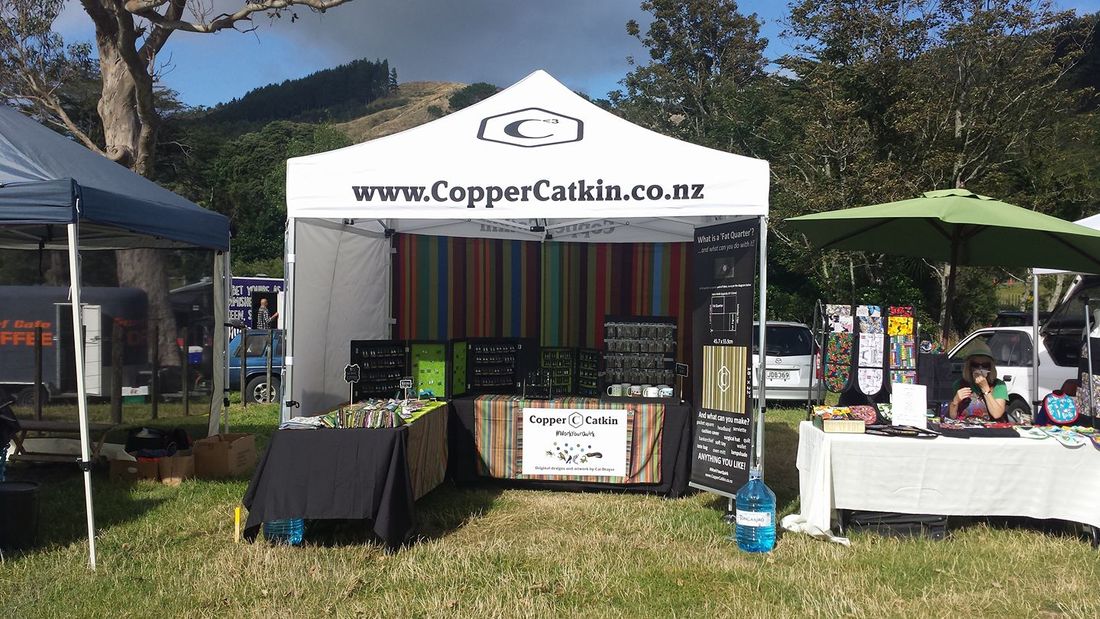
I was far too excited to leave my quilt at home, so it came with us to this year’s March Madness fair, even though we hadn’t come up with a hanging solution for it yet. Check out our little clip of Alicia’s beautiful creations at the Copper Catkin stall!

