Posted on Leave a comment

Laser-cut designs

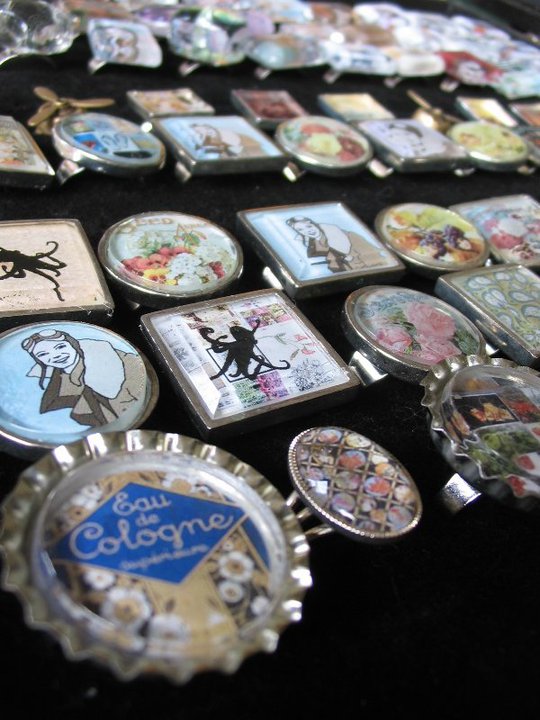
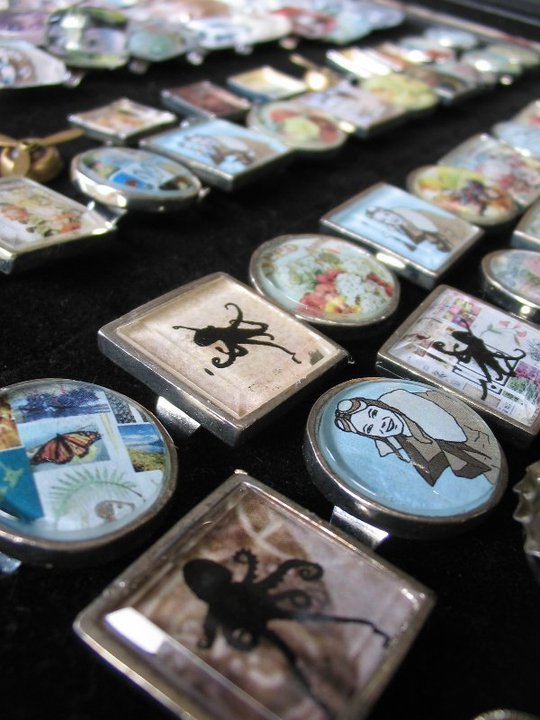
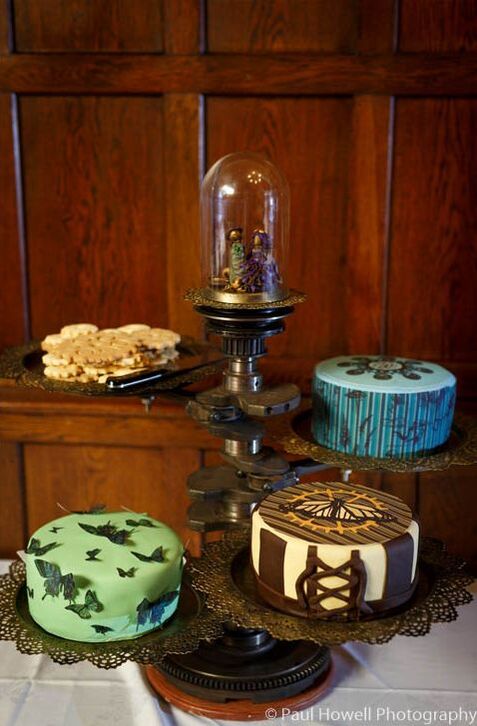
We love laser-cutting at Copper Catkin

It’s been something that has been hovering on the periphery for many years – since the birth of platforms like Ponoko, in fact – but has never been an option because of all the software retraining and style changes required. Not, that is, until our wedding, where we decided to incorporate some laser-cutting into our centrepieces and cake stand
Picture

Picture

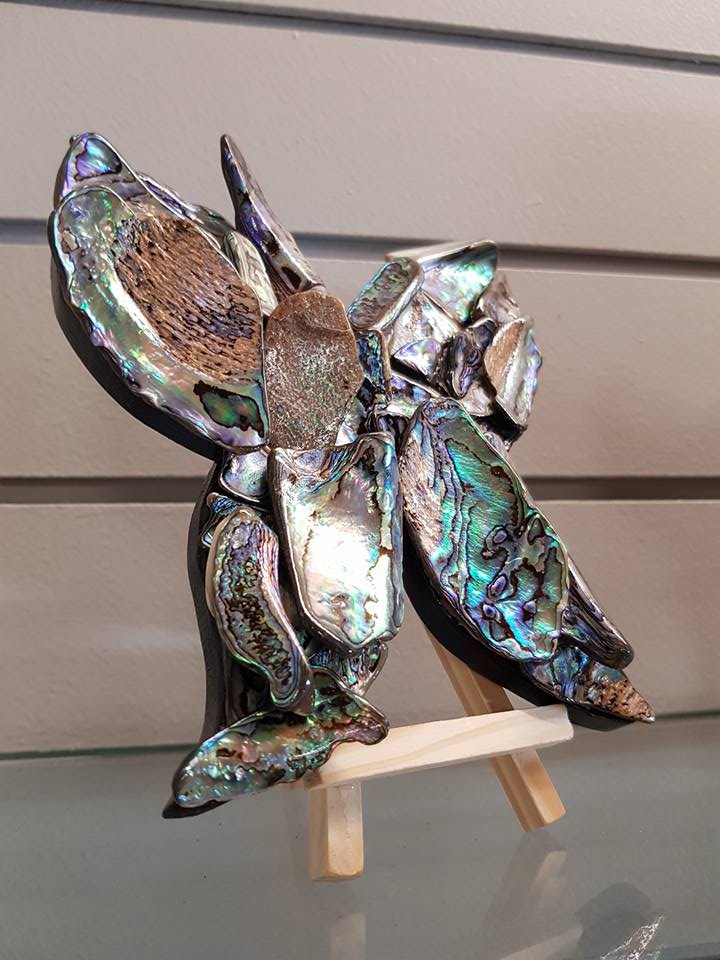
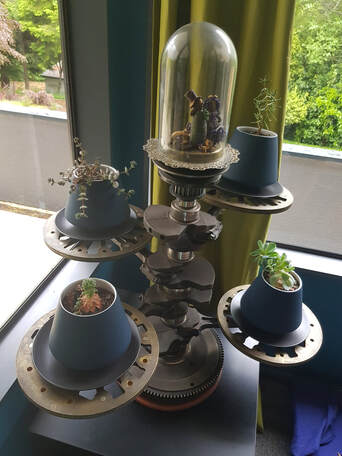
We also used laser-cutting to make the displays for our Steampowered Nuptials polymer clay sculptures.

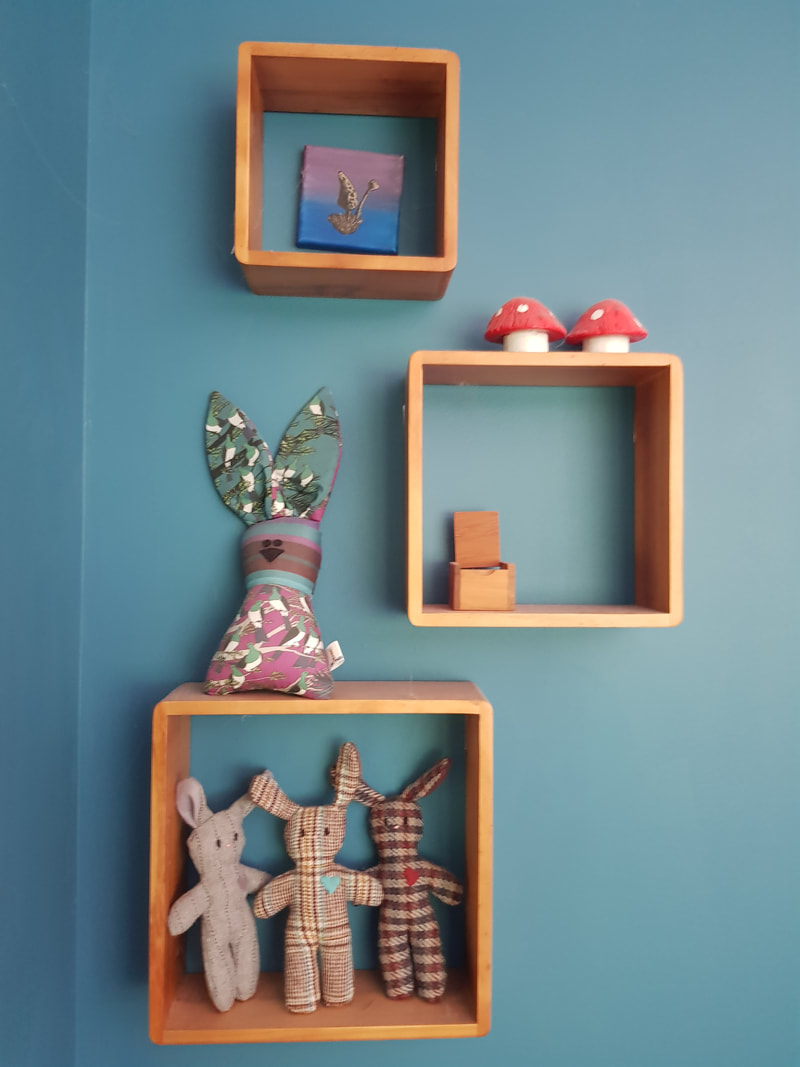
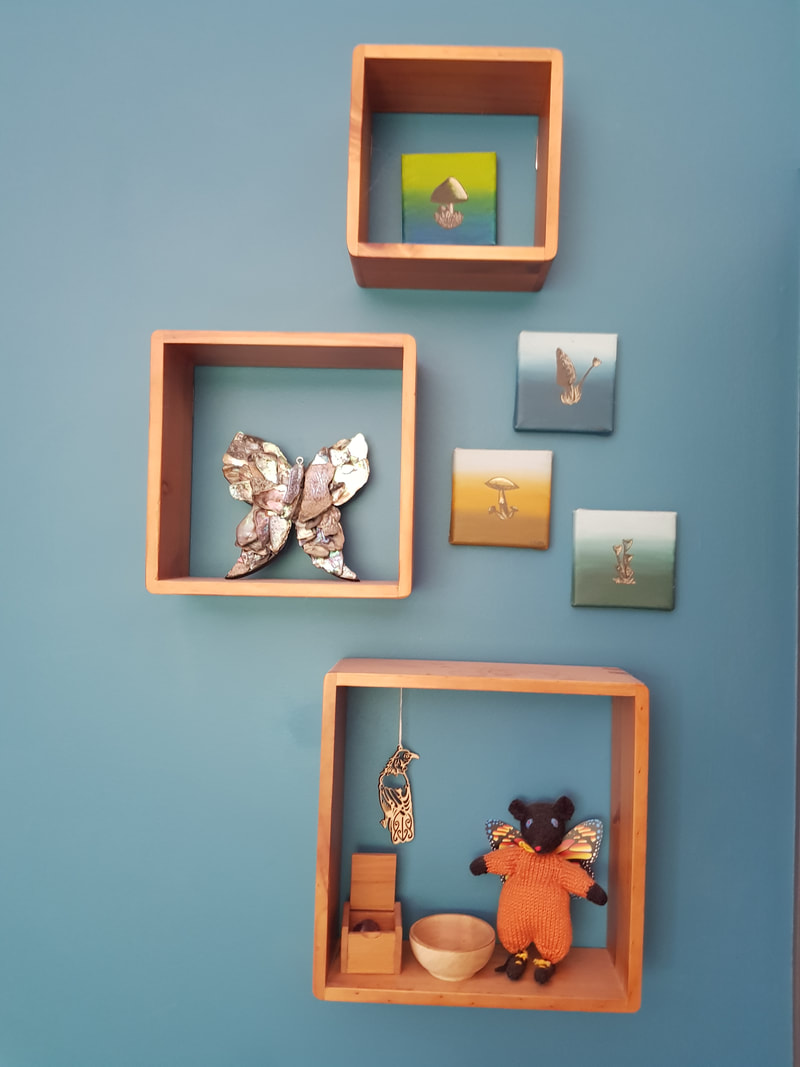
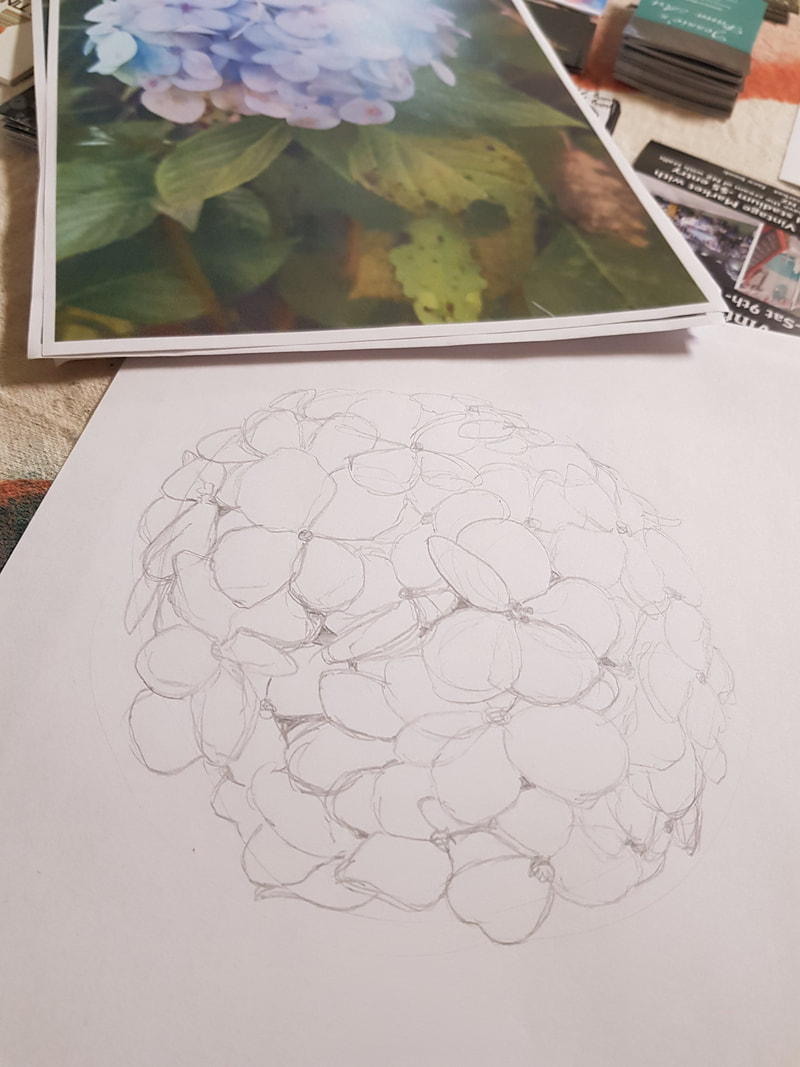
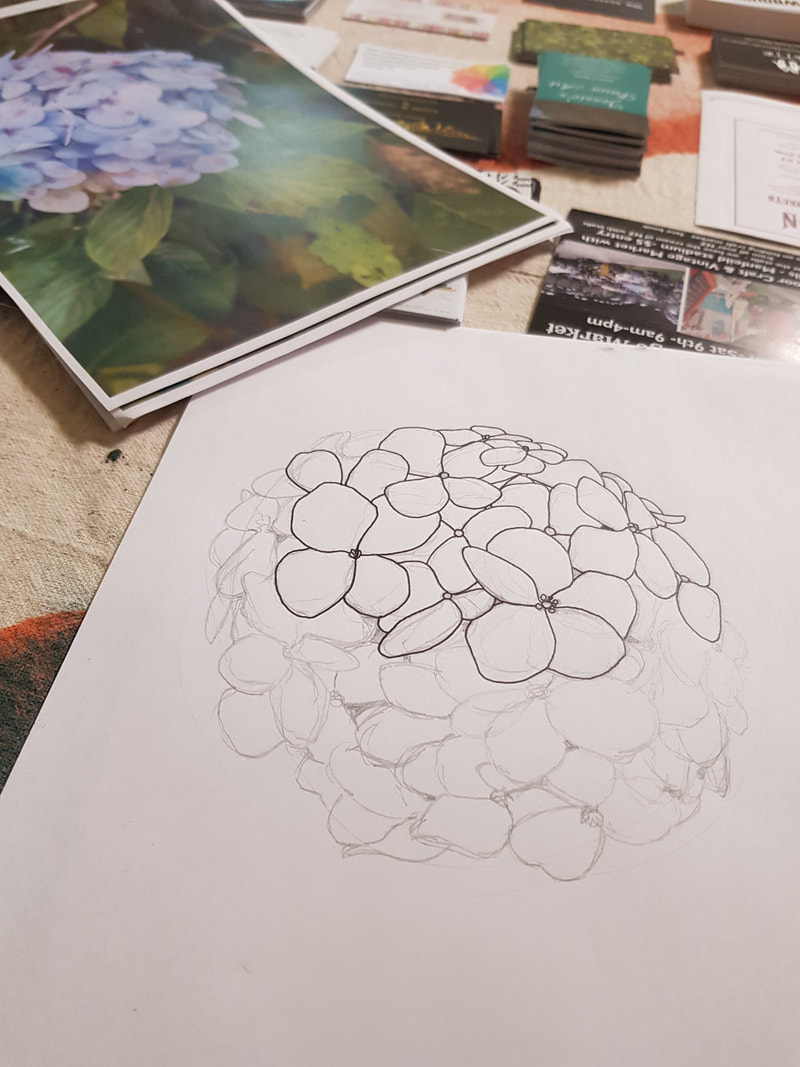
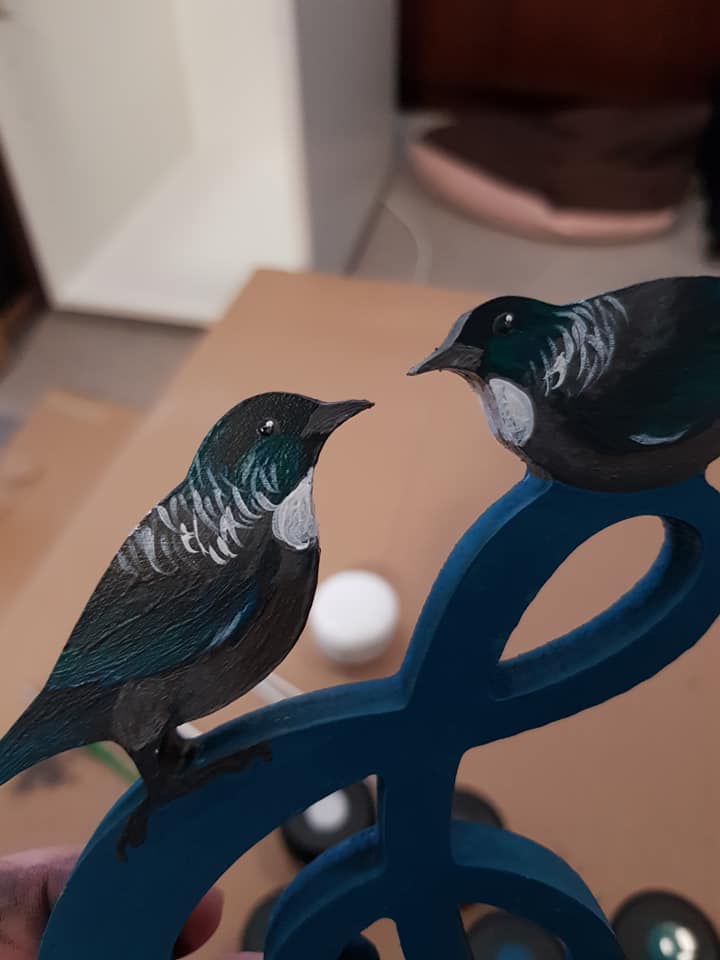
A little craft project

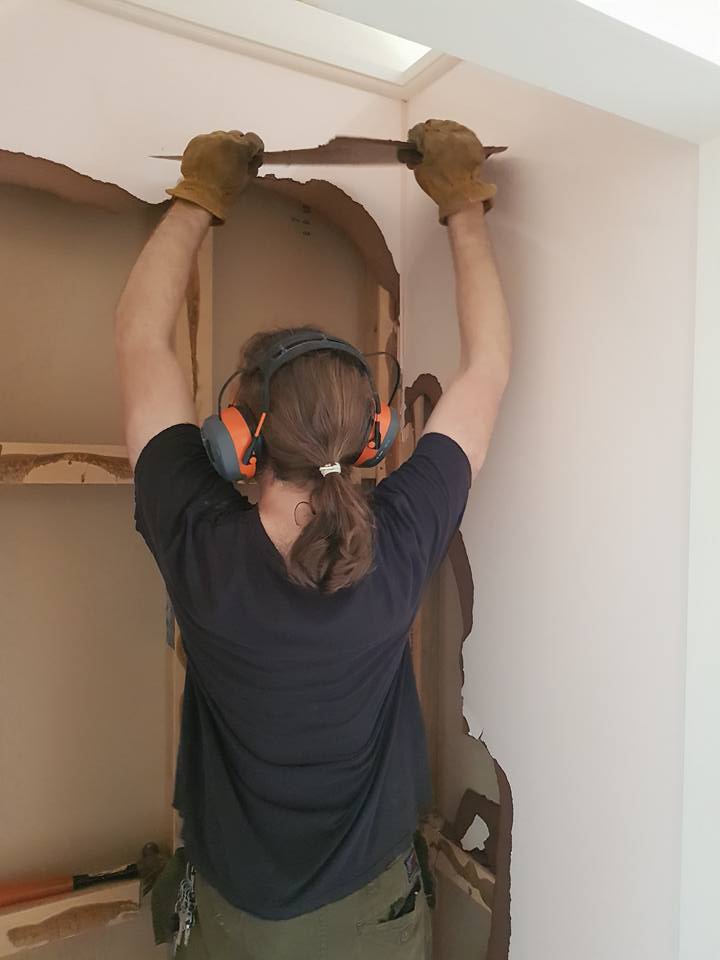
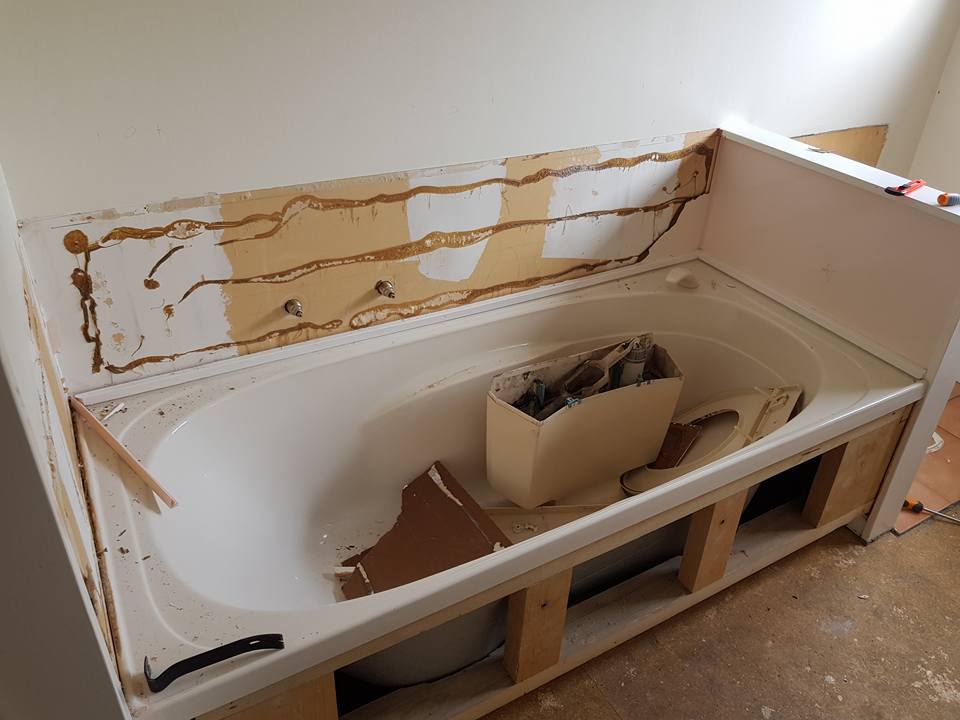
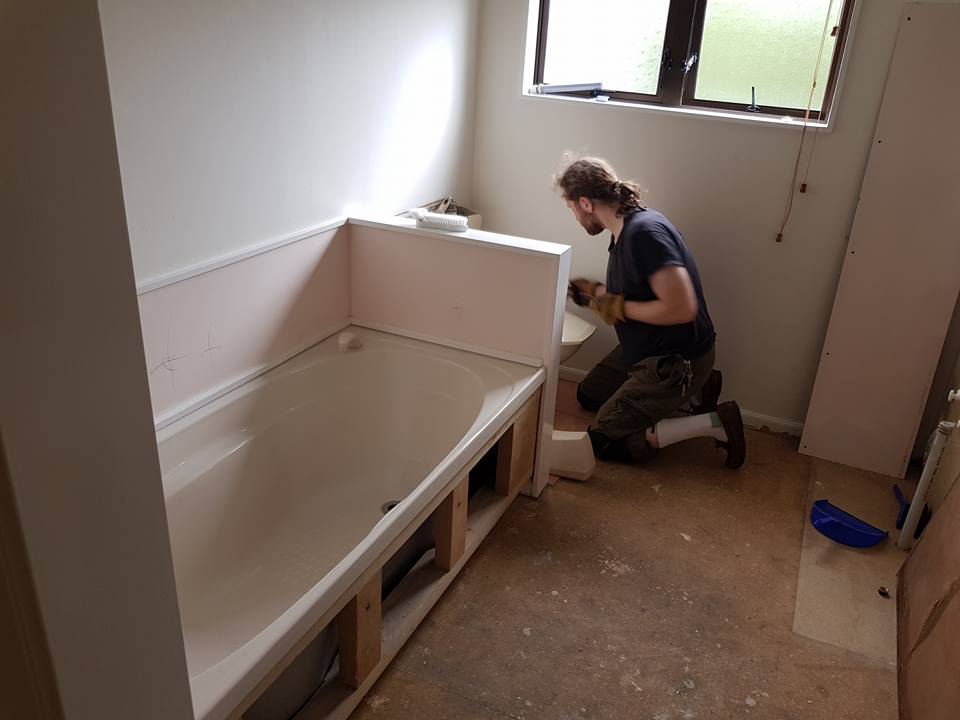
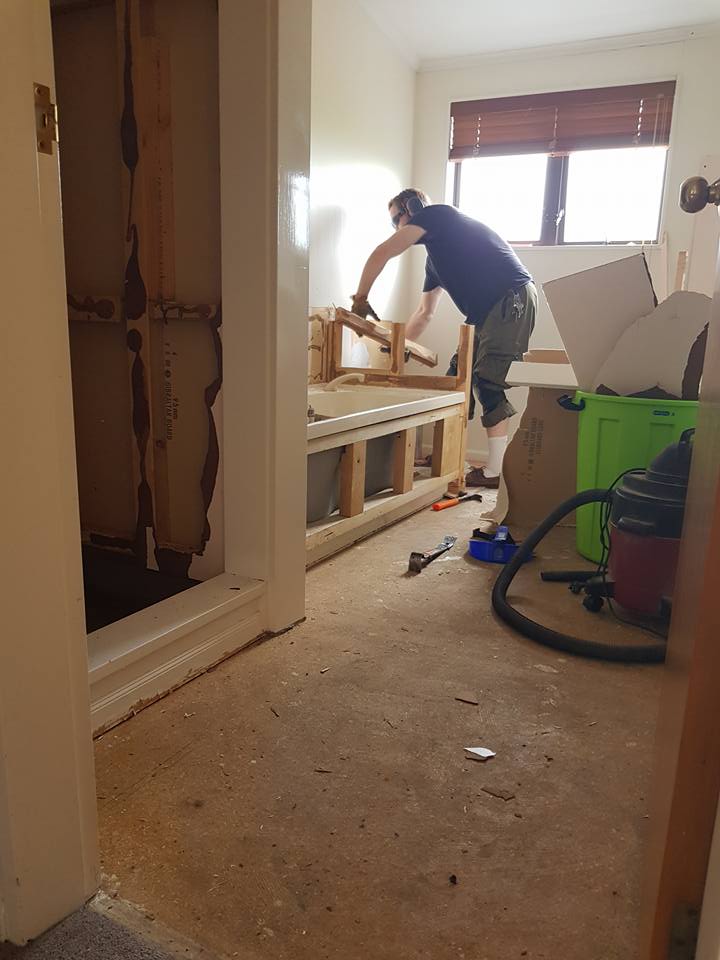
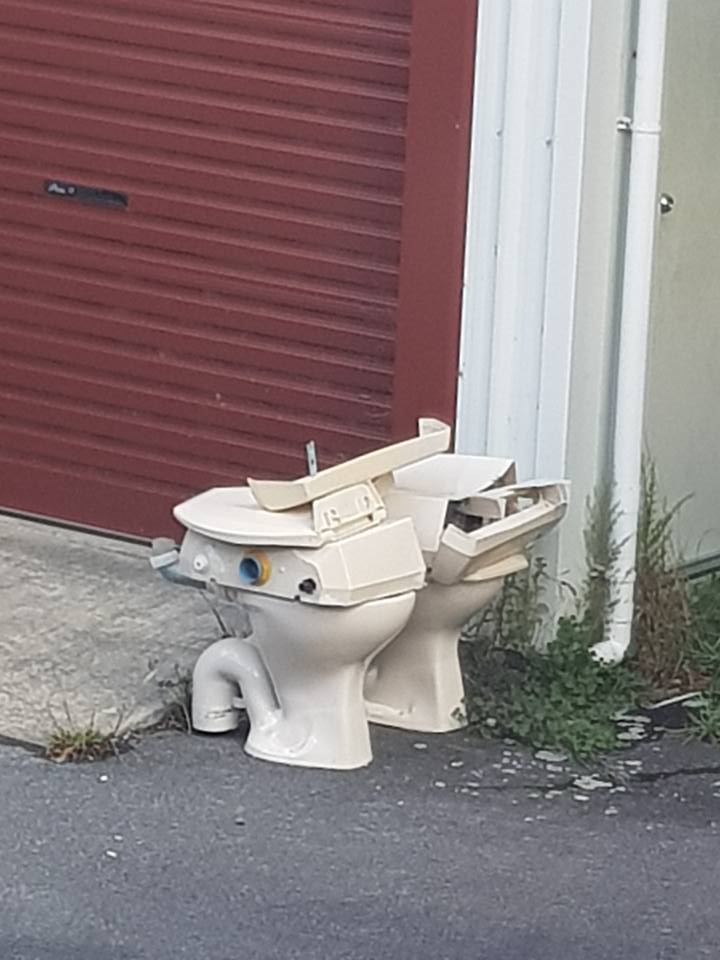
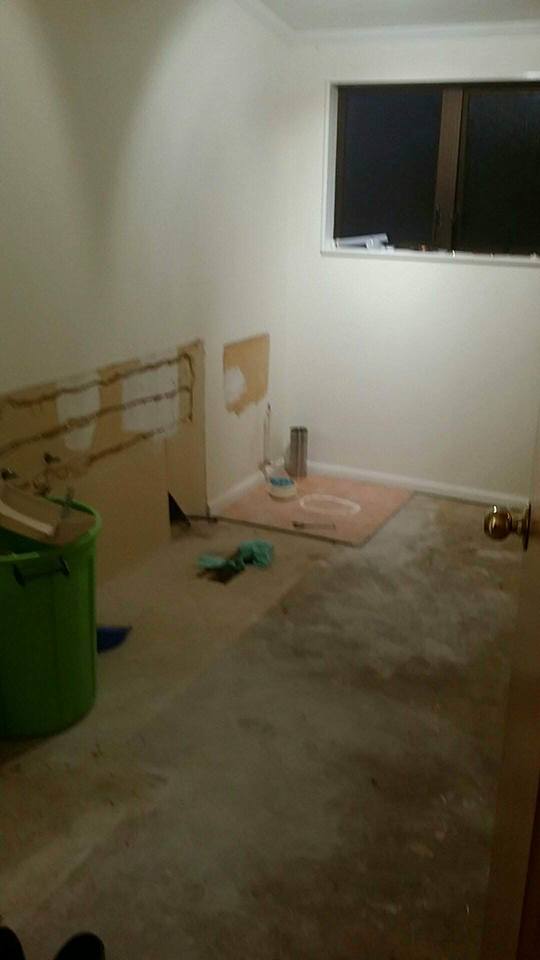
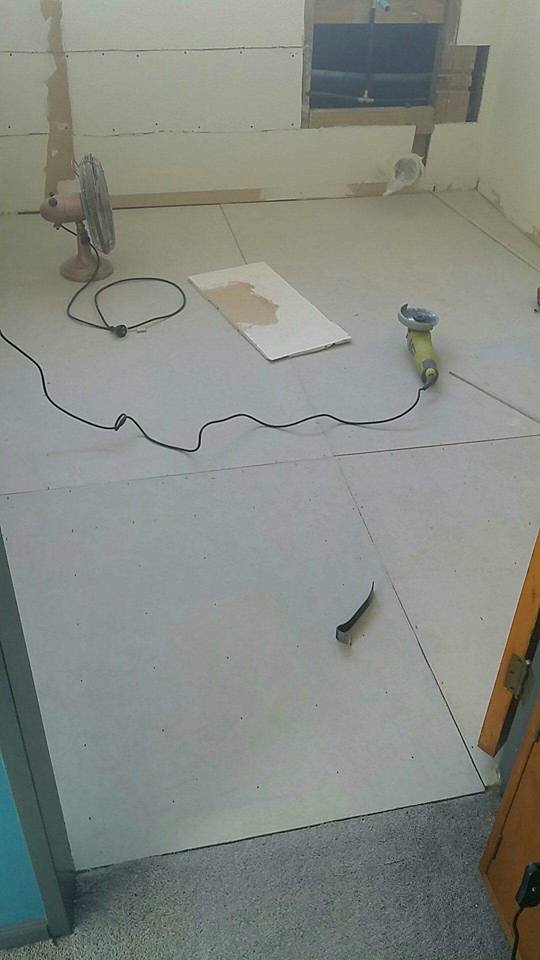
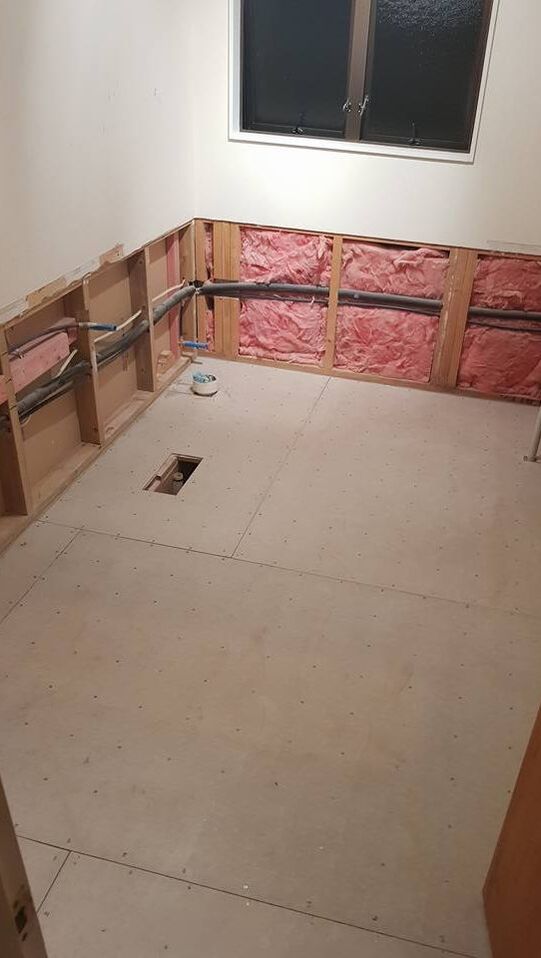
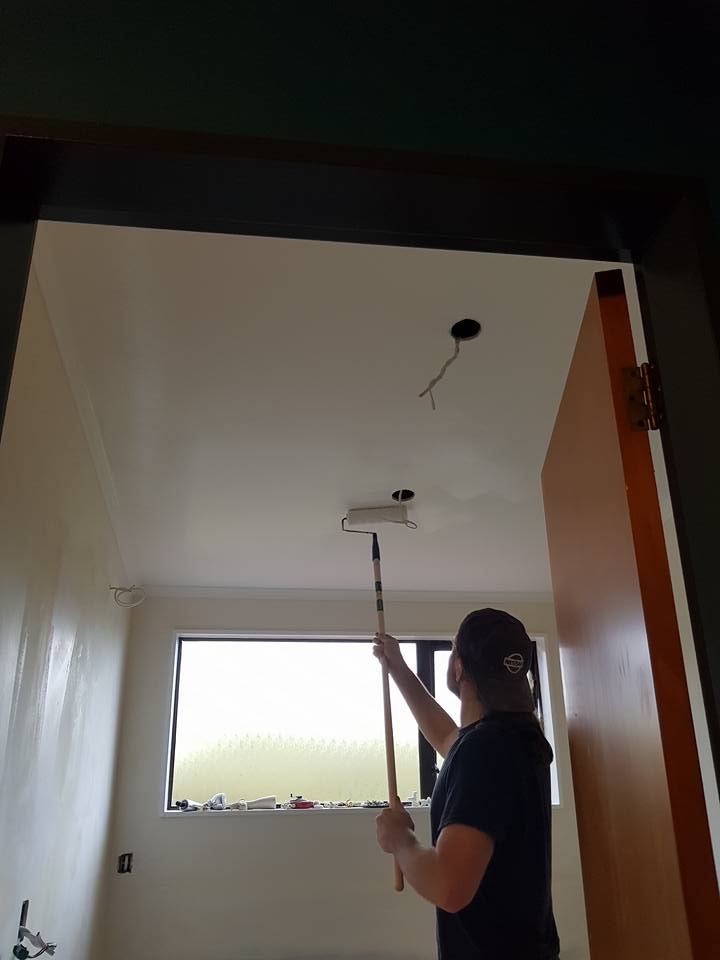
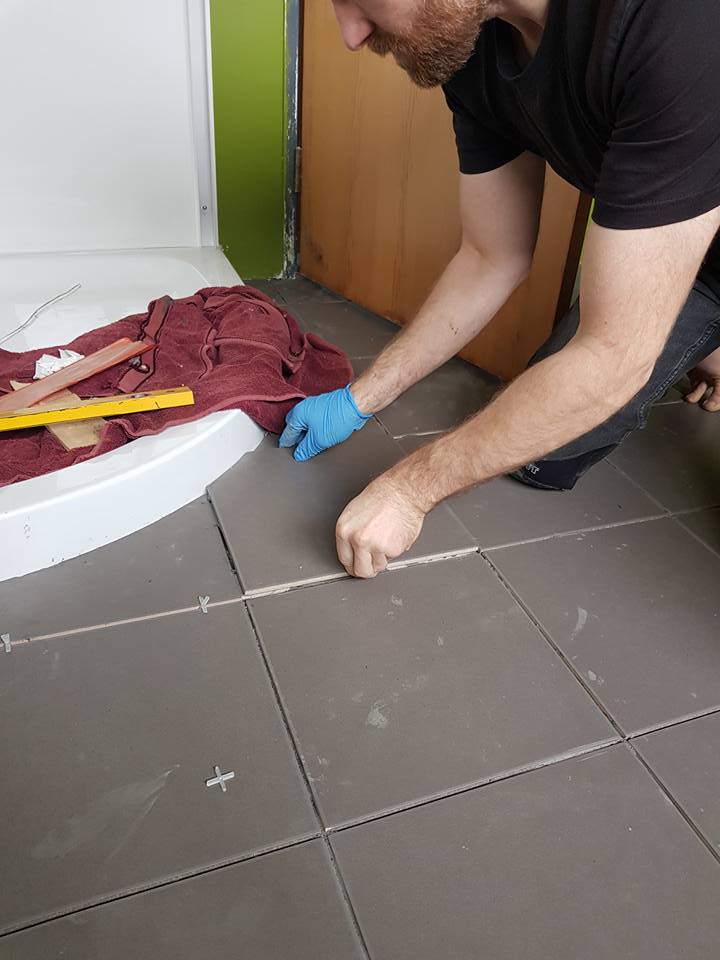
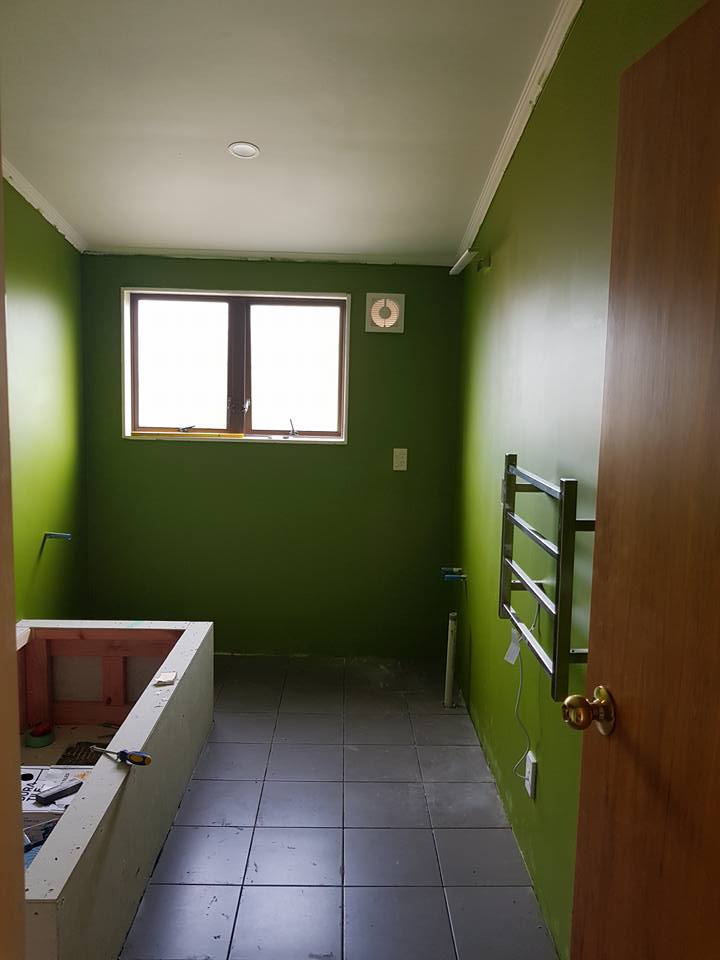
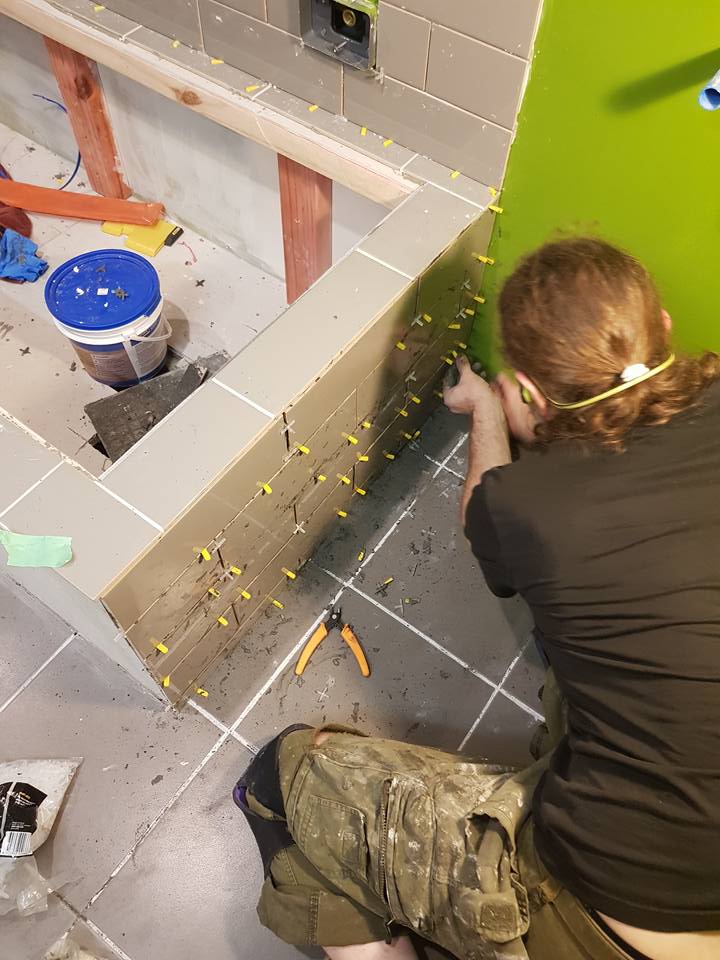
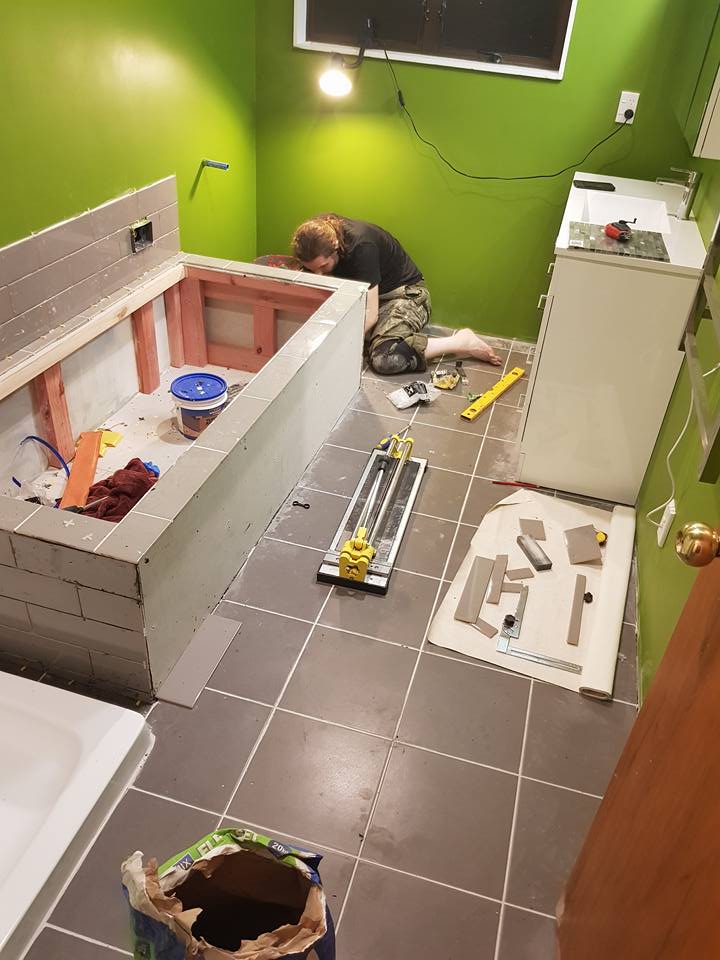
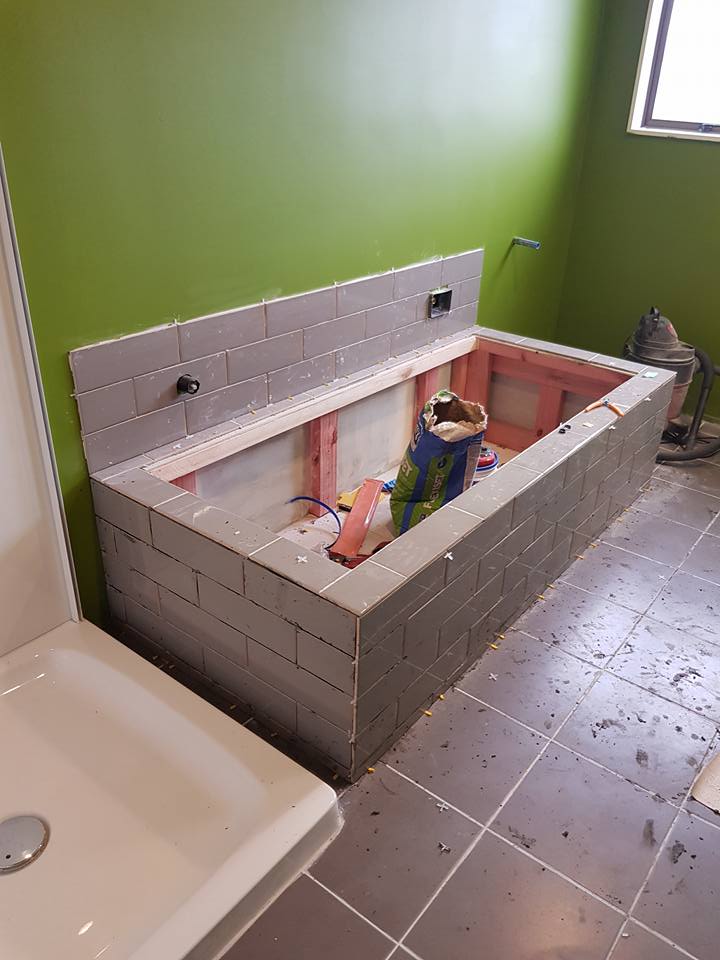
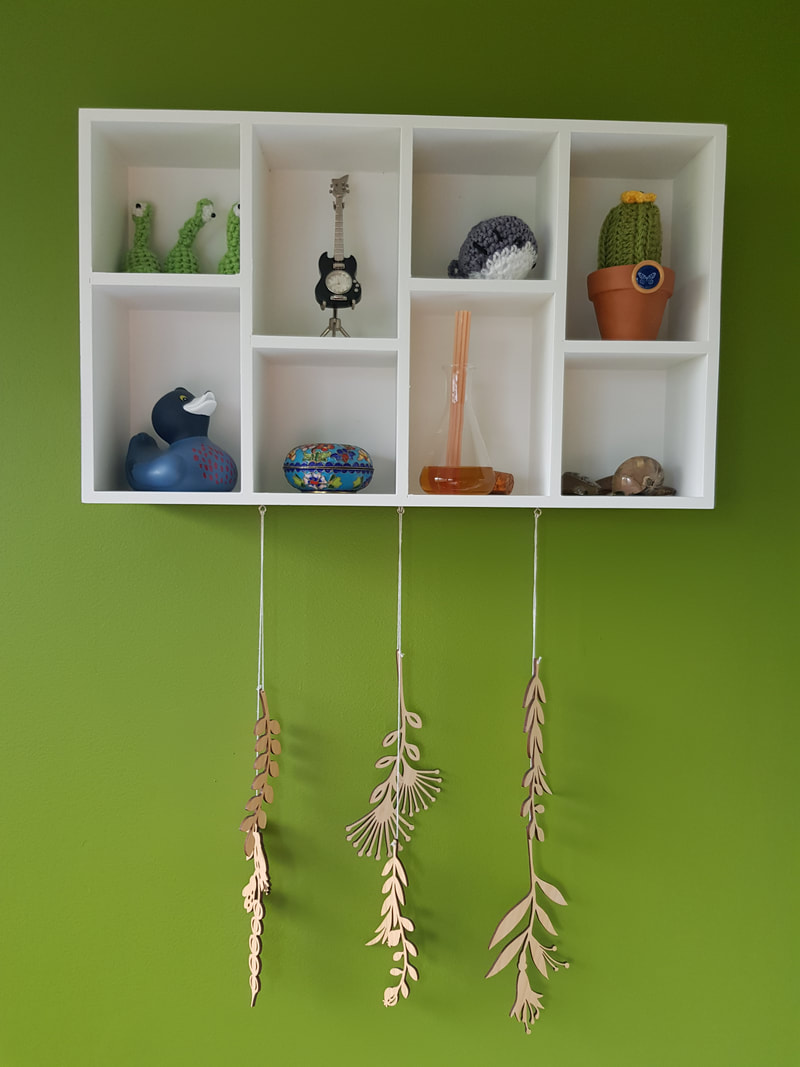
Earlier this year, I was making an effort to take time out from the stress of our extensive renovations by doing a few small craft projects to decorate our home. We thought we were about to go on the market, so we just wanted a few small pieces to put up on windowsills or shelves. 
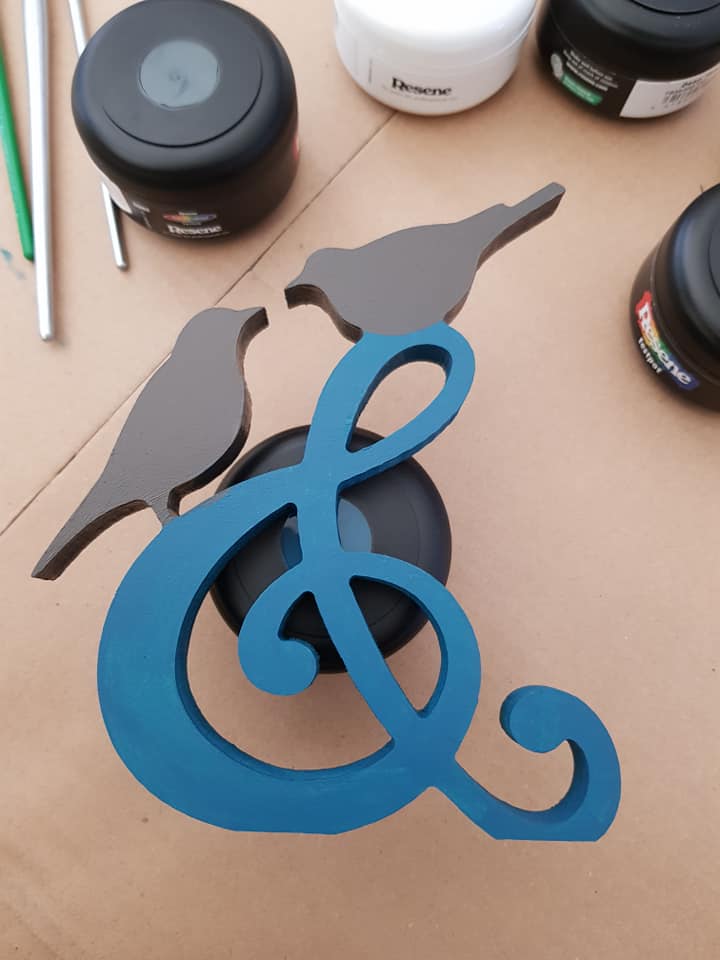
I was looking for something completely different when I spotted this piece at Pete’s Emporium, and thought, well, why not? I could paint it and make it into something inexpensive but fun. 
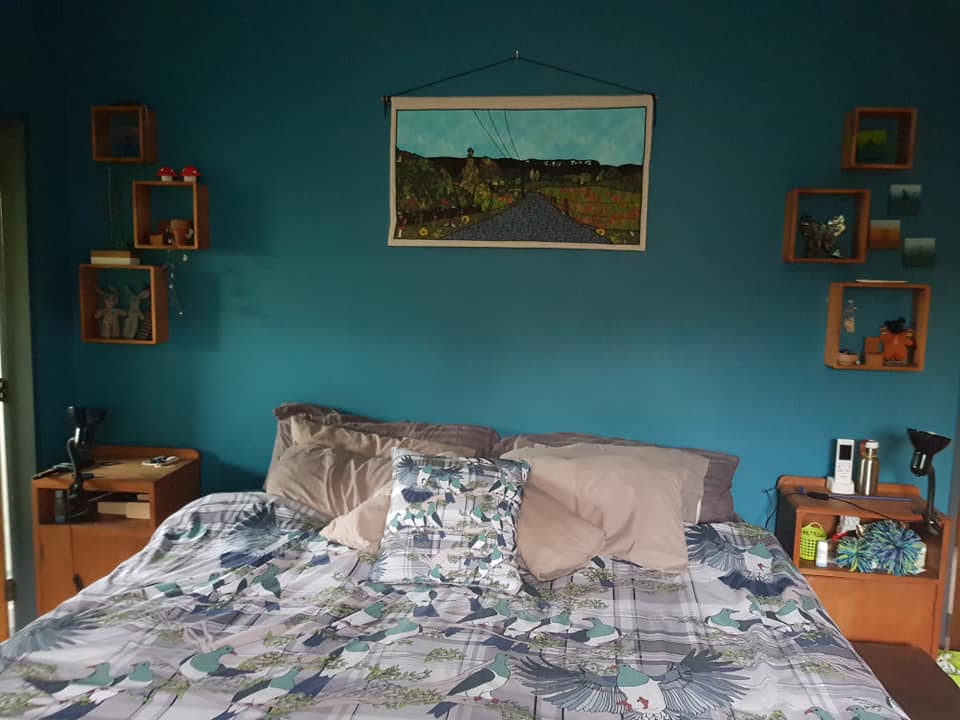
At about this time, we chose the name “Te Rerenga Manu”, the flight of the birds, as the name for our house, so adding bird decor seemed appropriate, especially as we were moving to Portland, home of “put a bird on it”, which, to be fair, was never terribly funny, even if it’s a bit accurate.
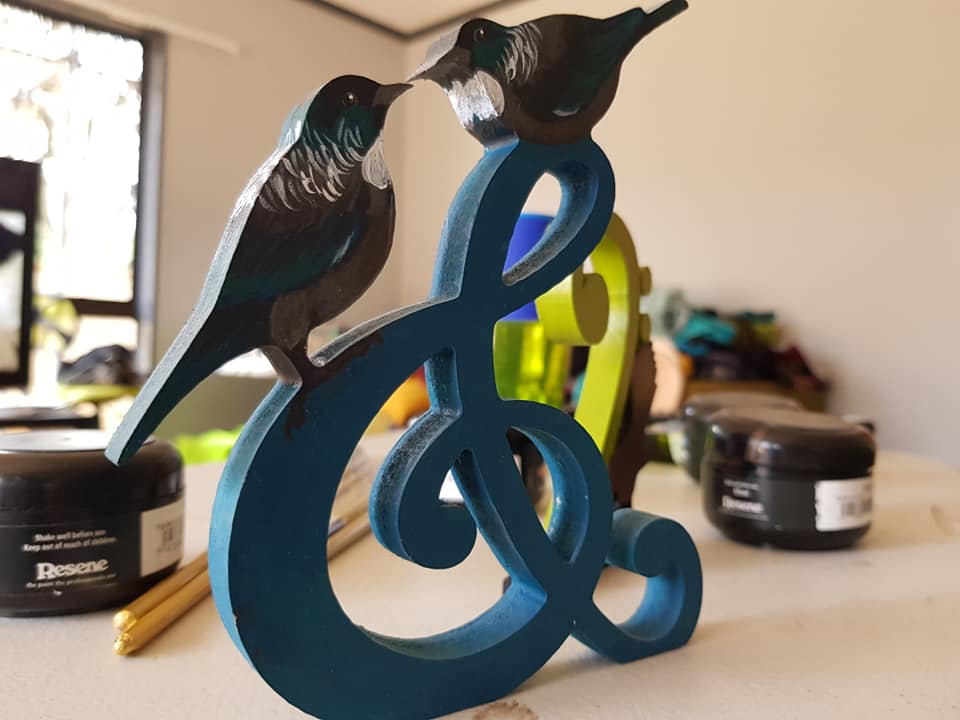
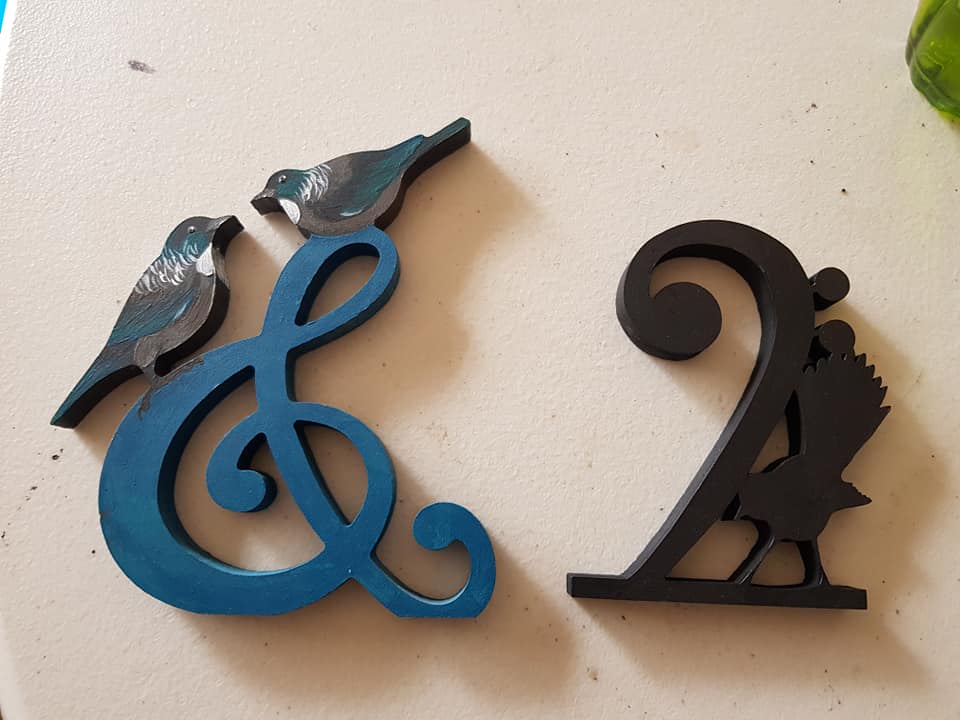
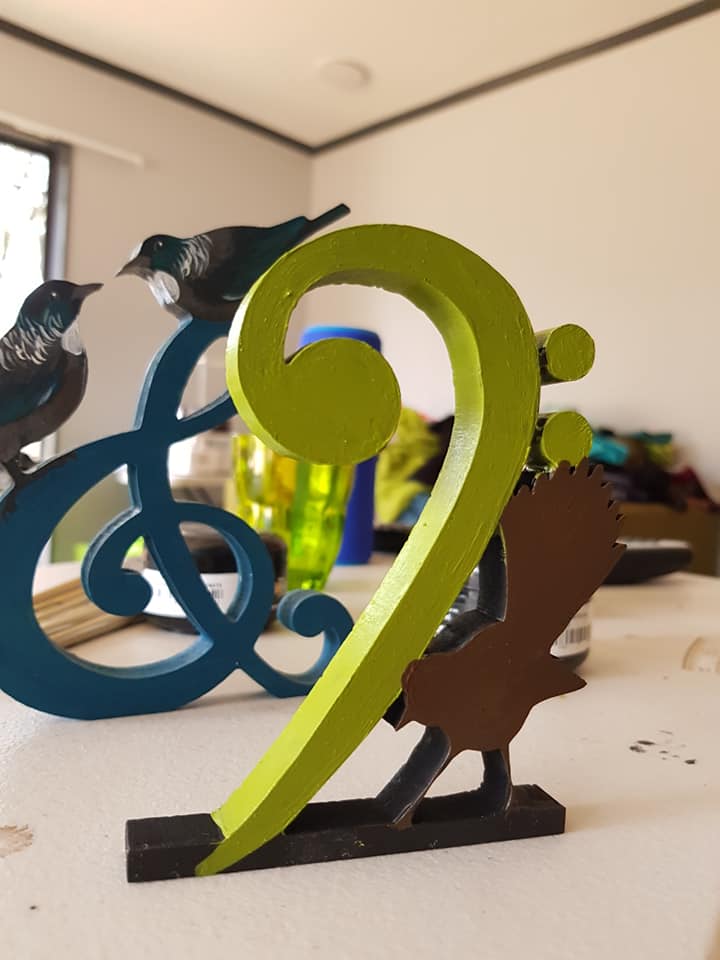
Picture

Picture

Picture

Picture

Picture

A partner clef

So once I had painted up the trreble clef and its birds, I felt like it needed a balance – but a bass clef is quite a hard design to make in 3D, as it has two floating dots. I tried to attach them in various ways, including by placing my bird on that corner, but it just looked lame, so I landed on the little sprues. Not perfect, but it works.
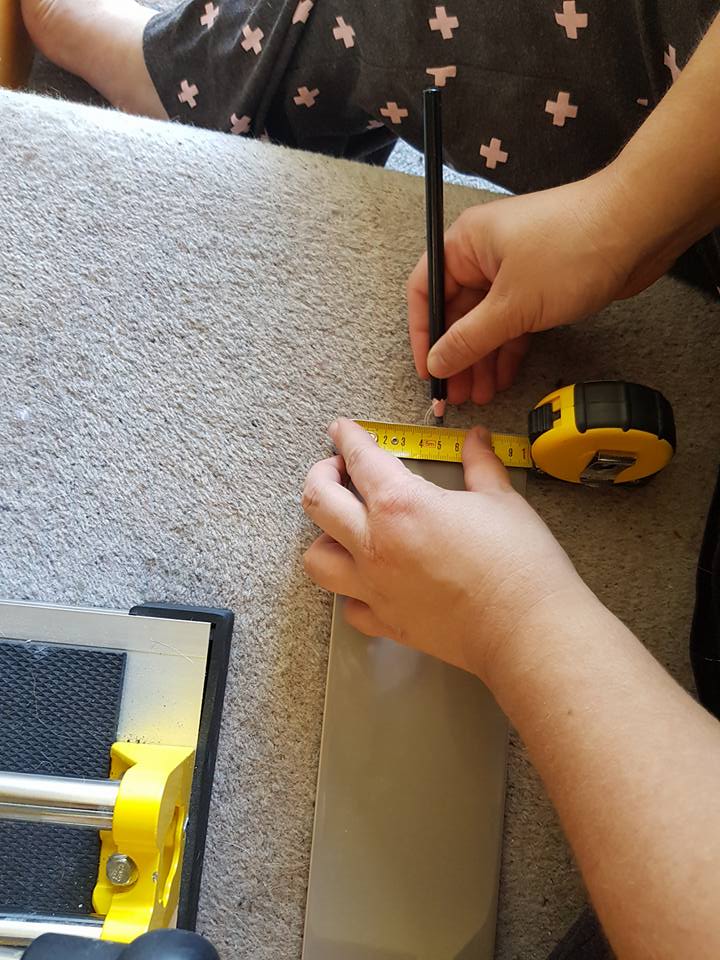
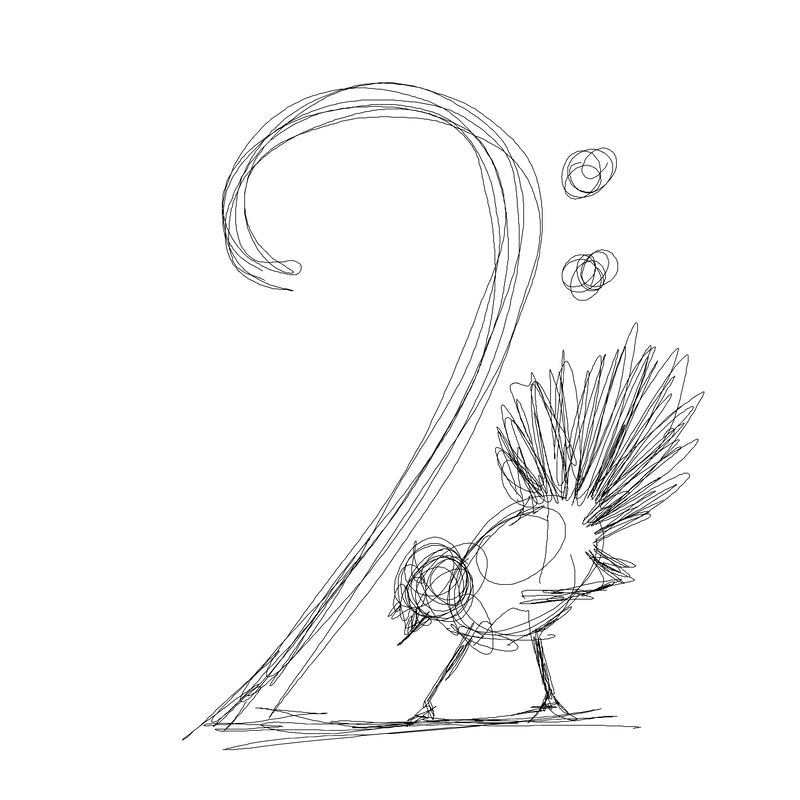
Picture

Picture

Picture

​The next step was to convert it into a file that I could get laser-cut, and of course, at this point, I stalled. 

My bass clef piwakawaka went into the “later” basket, along with my whio, who had been waiting a year already.

Copper Catkin designs meet the laser

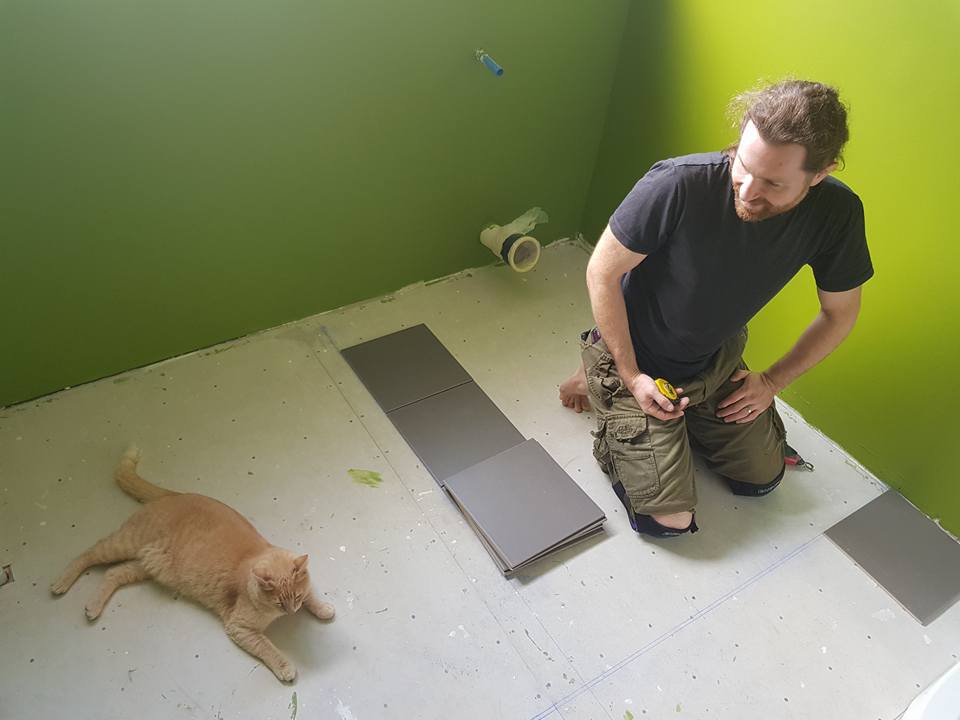
Laser-cutting is still very expensive in New Zealand, so it’s not really feasible to use it to make small lots of products; we would need to consider buying our own laser if we were going to make this a main part of our business. As we will be moving to Portland, a large purchase like this is not an option until we get there, but there’s no harm in getting a bit of practice in ahead of time.
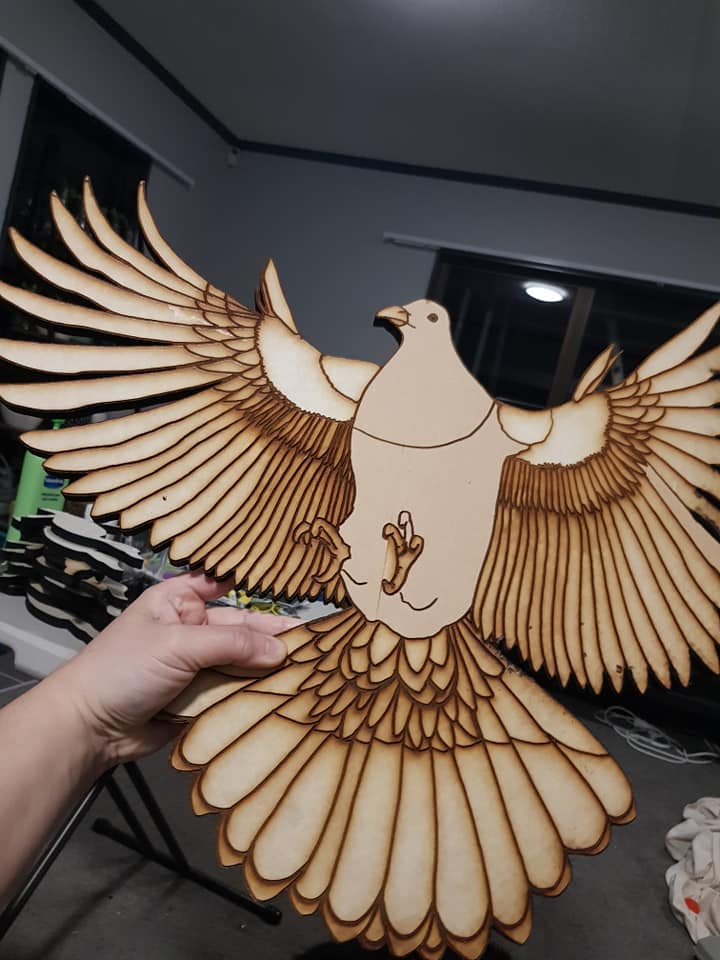
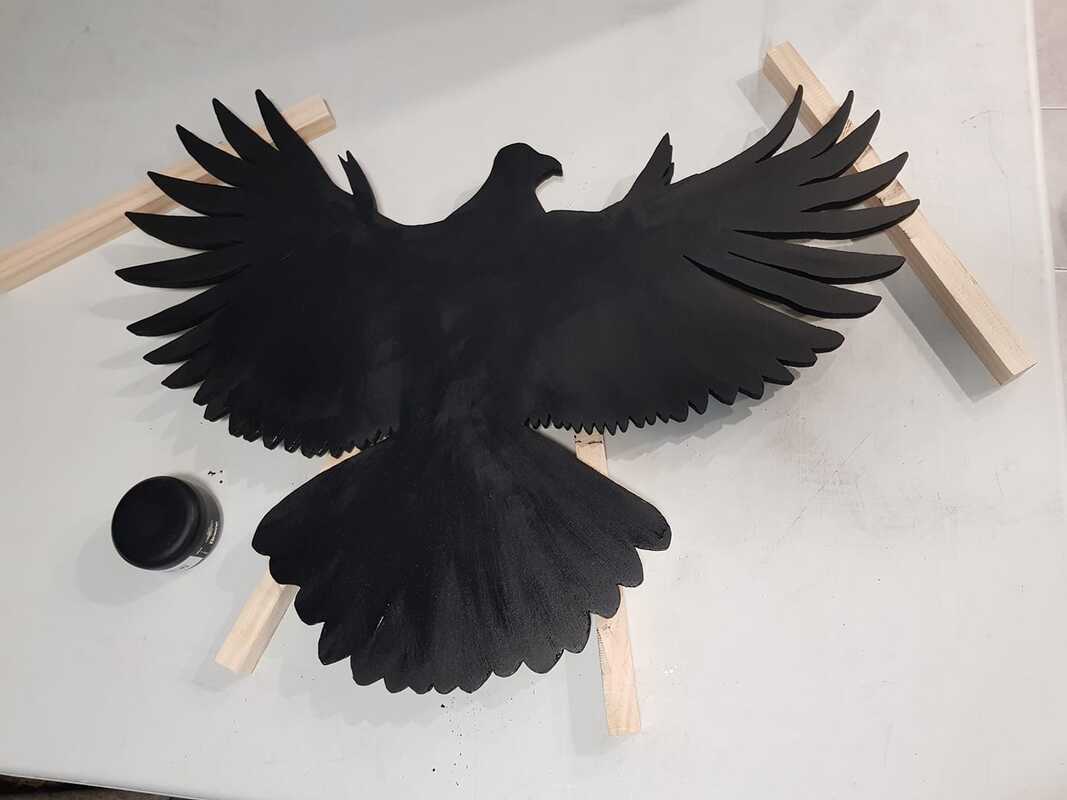
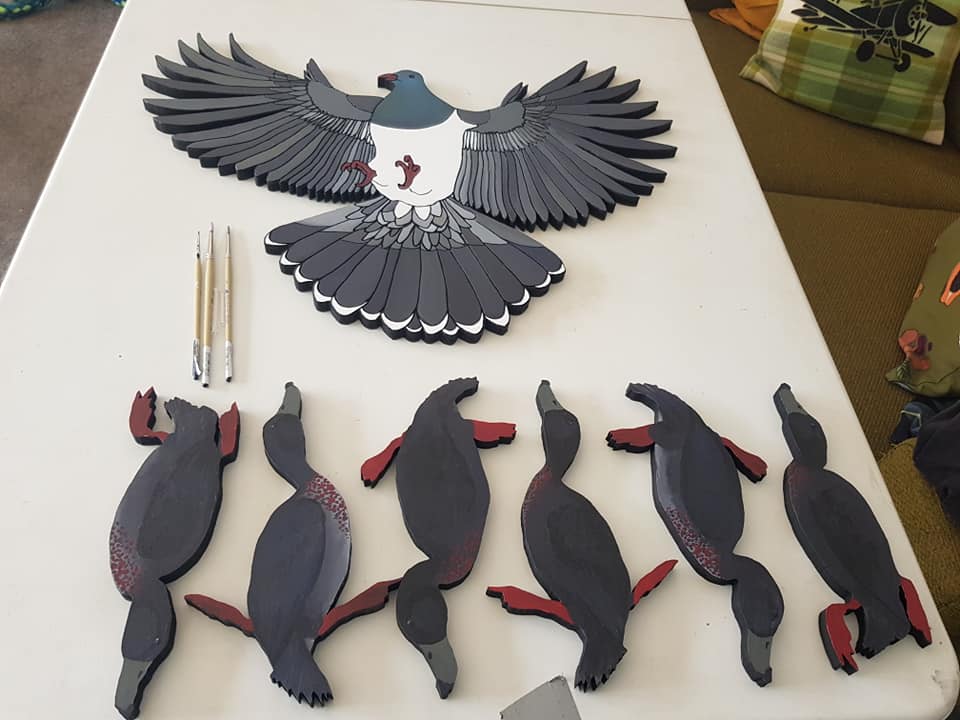
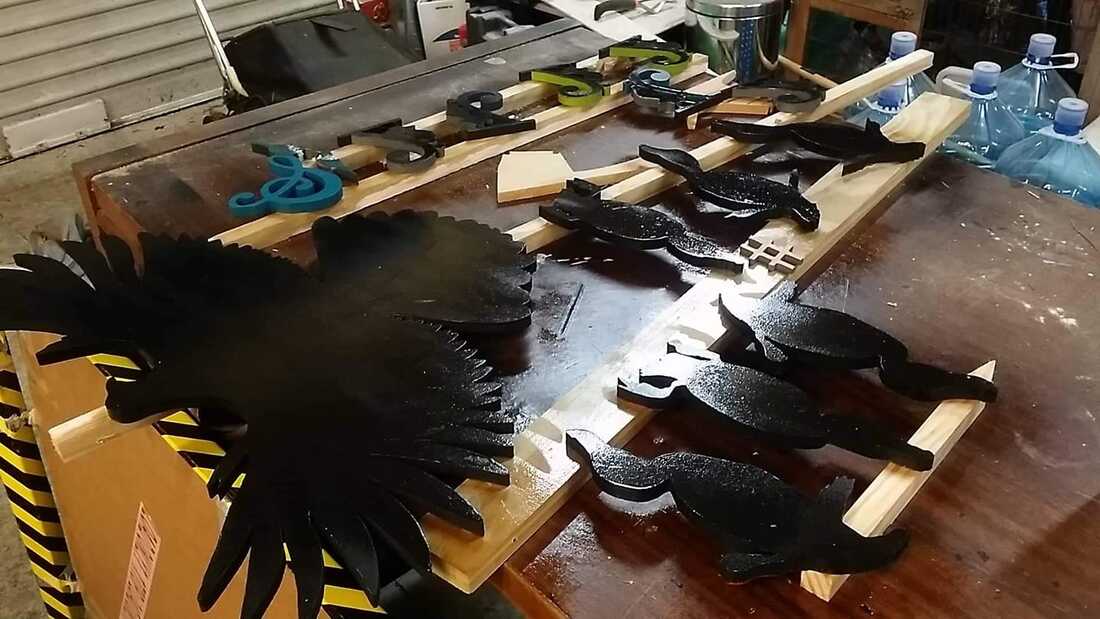
​We decided to test-drive the concept by making a few designs for our home decor, including the bass clefs and the whio, with one giant kereru for the wall. We got extras cut in case they might sell, although that was not the primary purpose. 

Picture

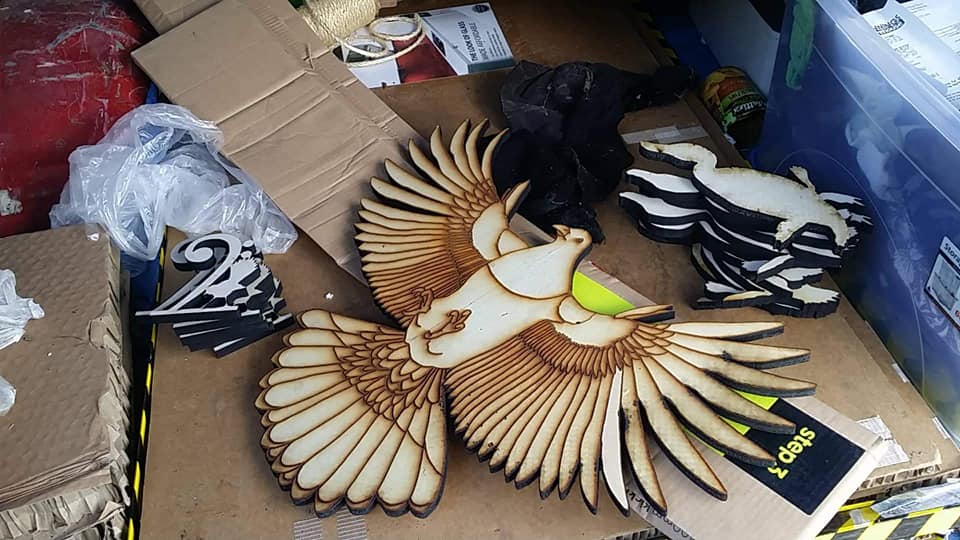
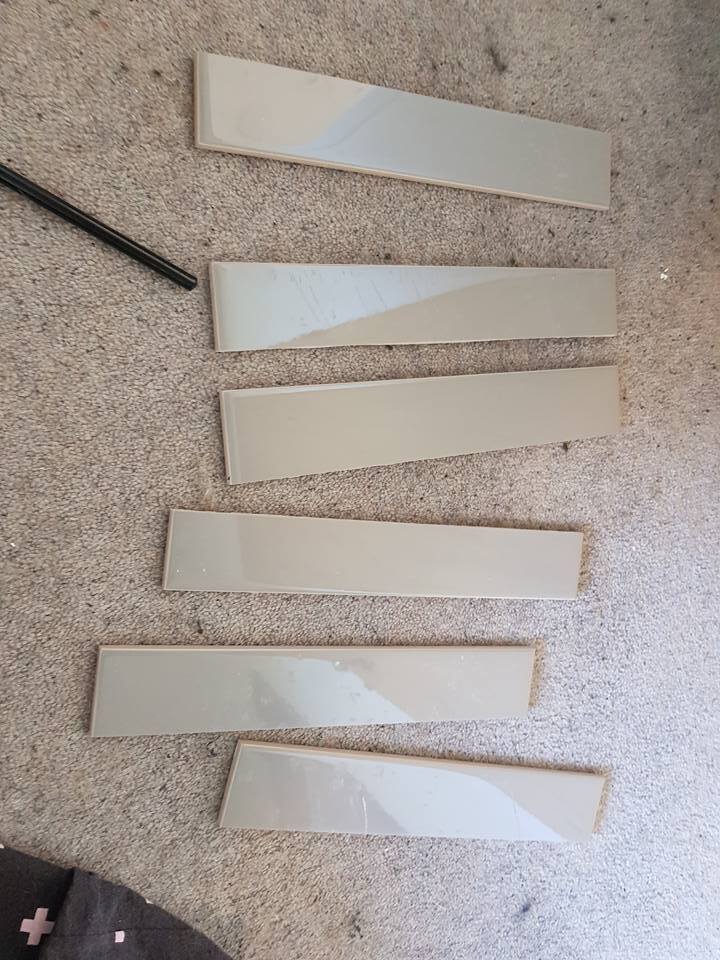
A van-load of potential
Picture

Picture

Picture

​Peeling off the protective paper was both satisfying and frustrating, a bit like peeling off sunburnt skin… 
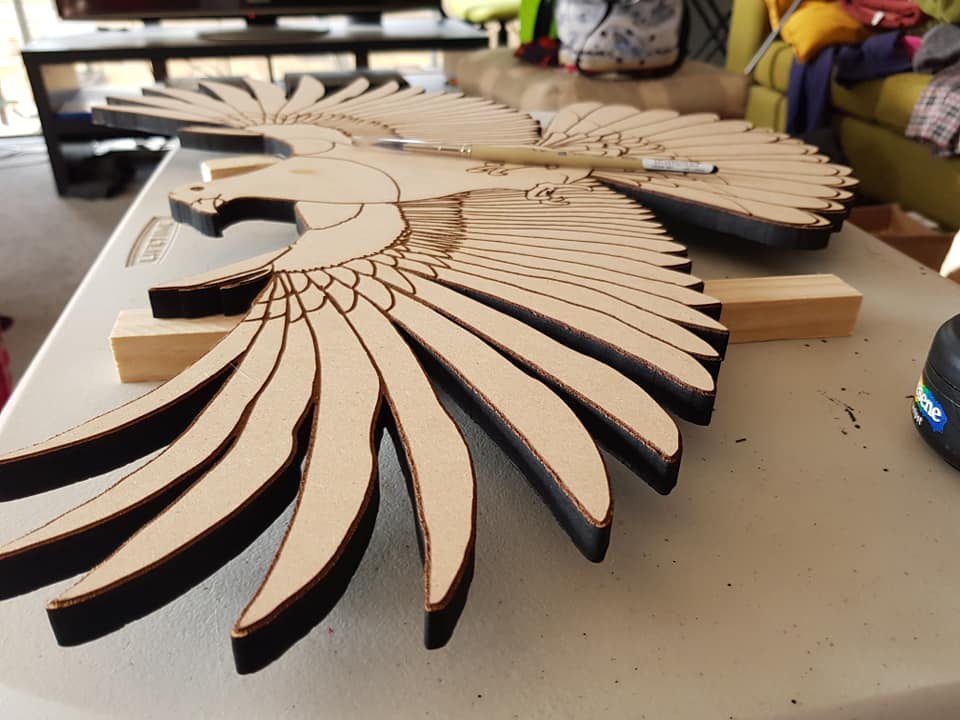
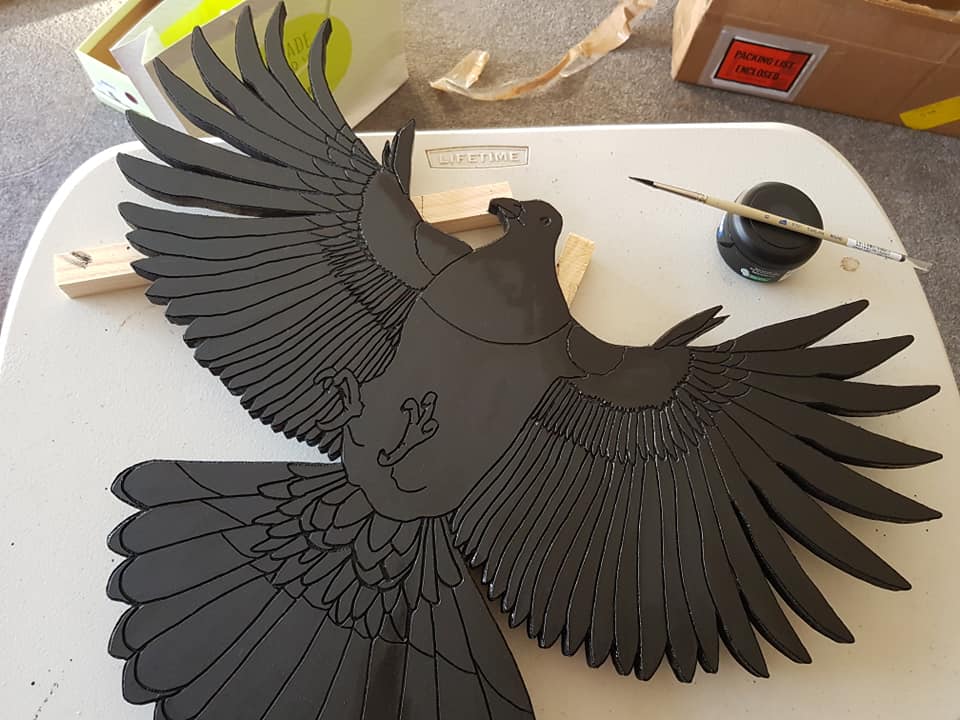
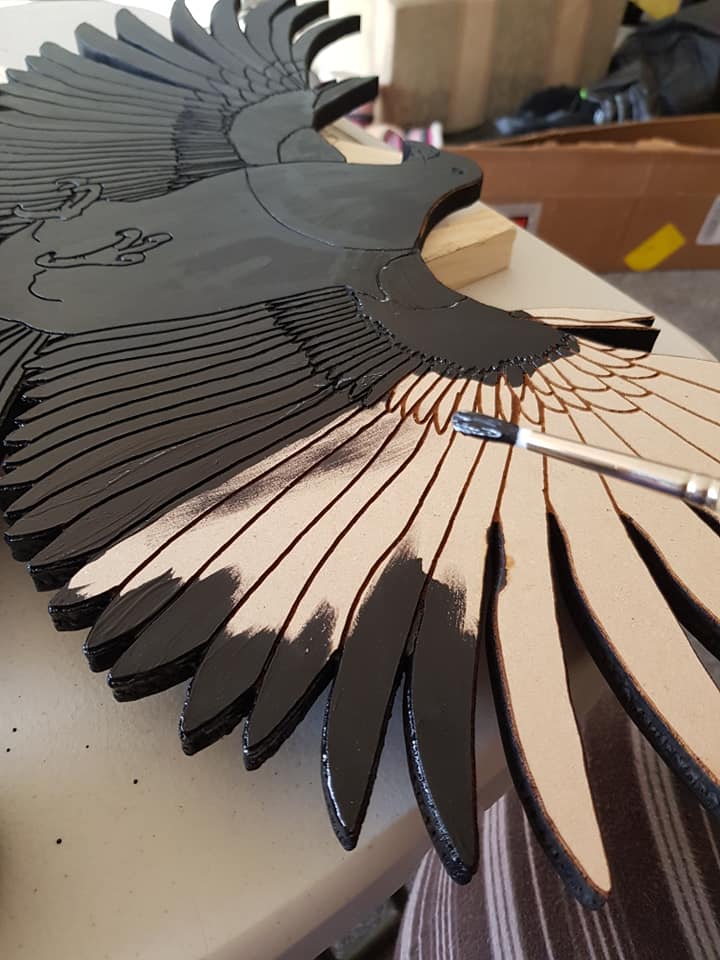
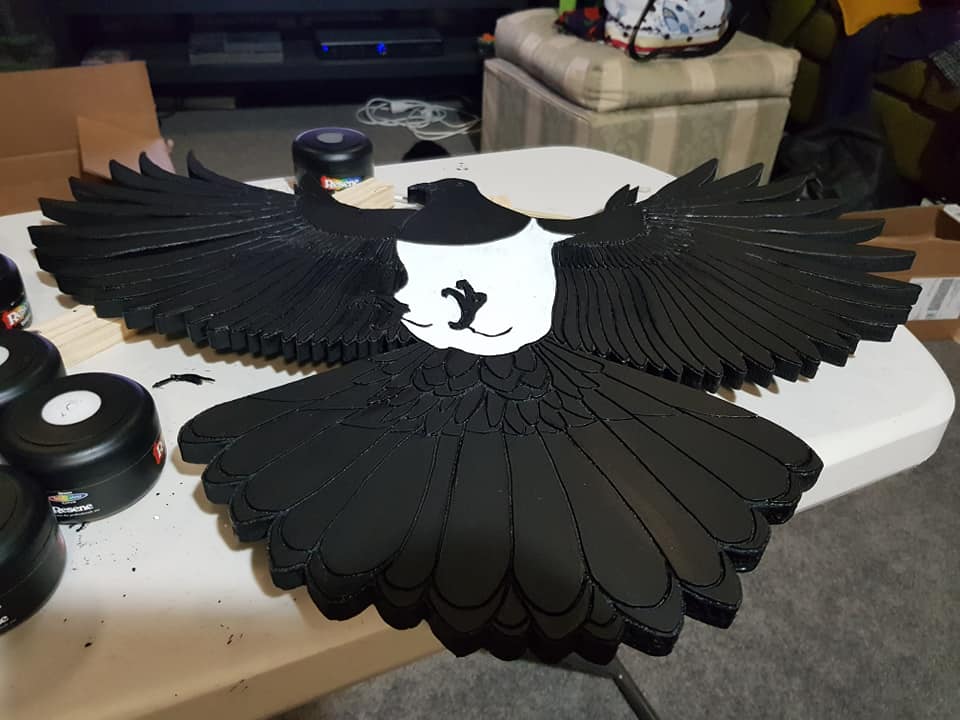
Painting the kereru

Picture

Picture

Picture

Picture

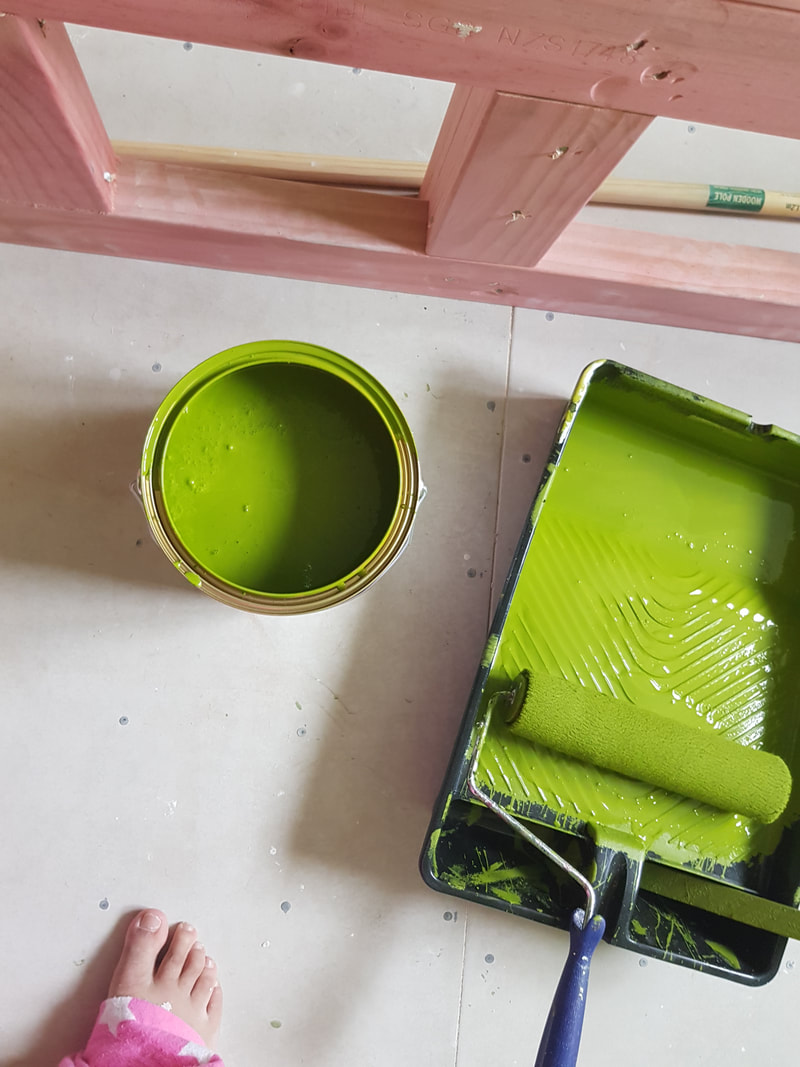
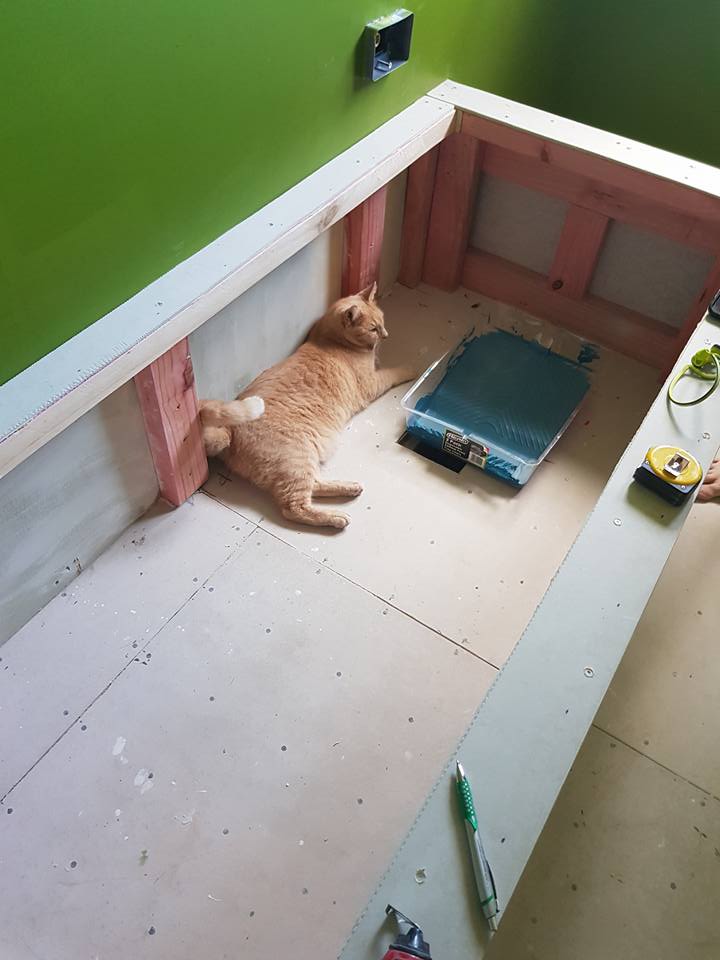
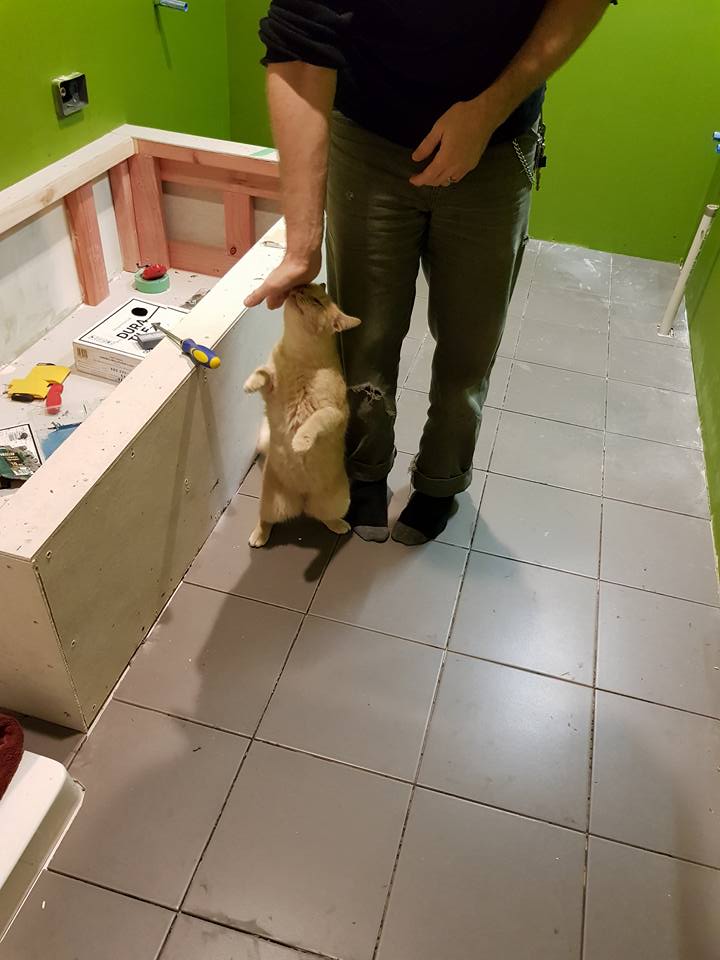
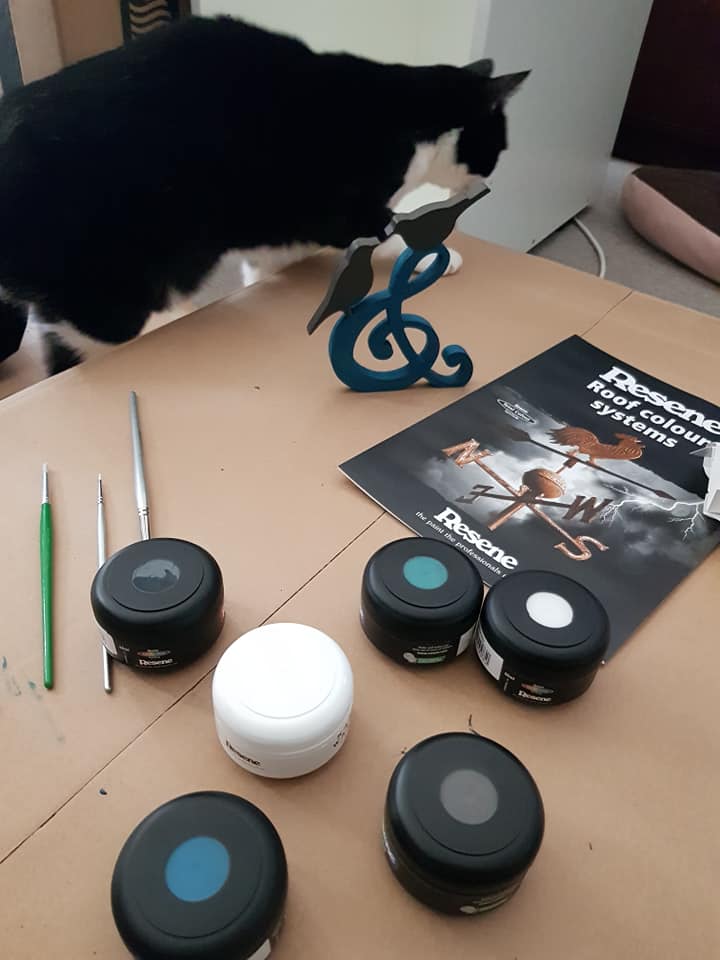
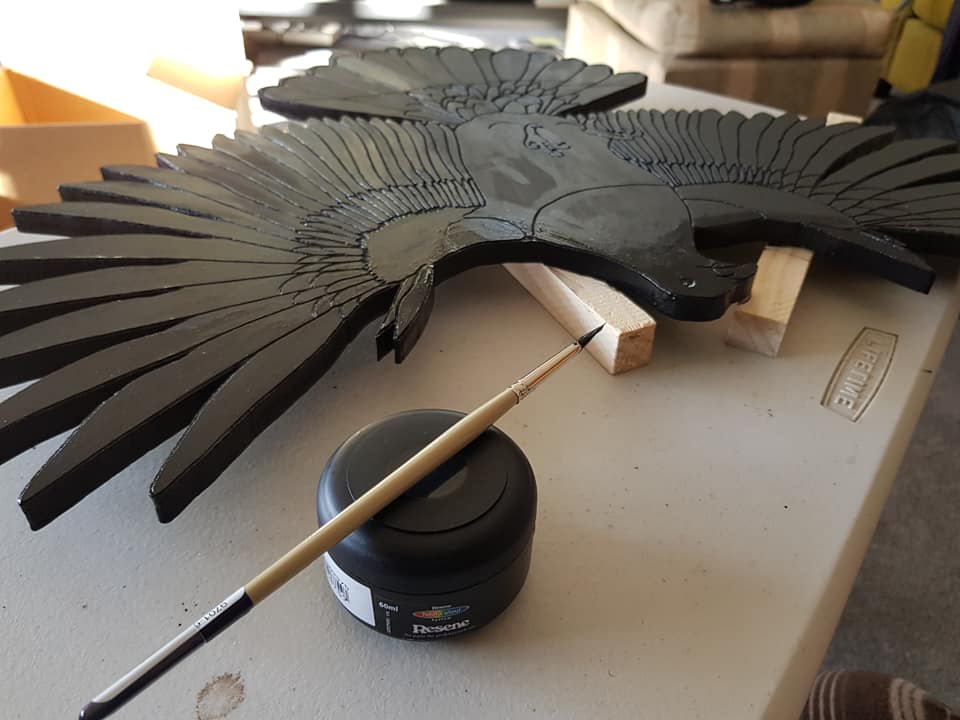
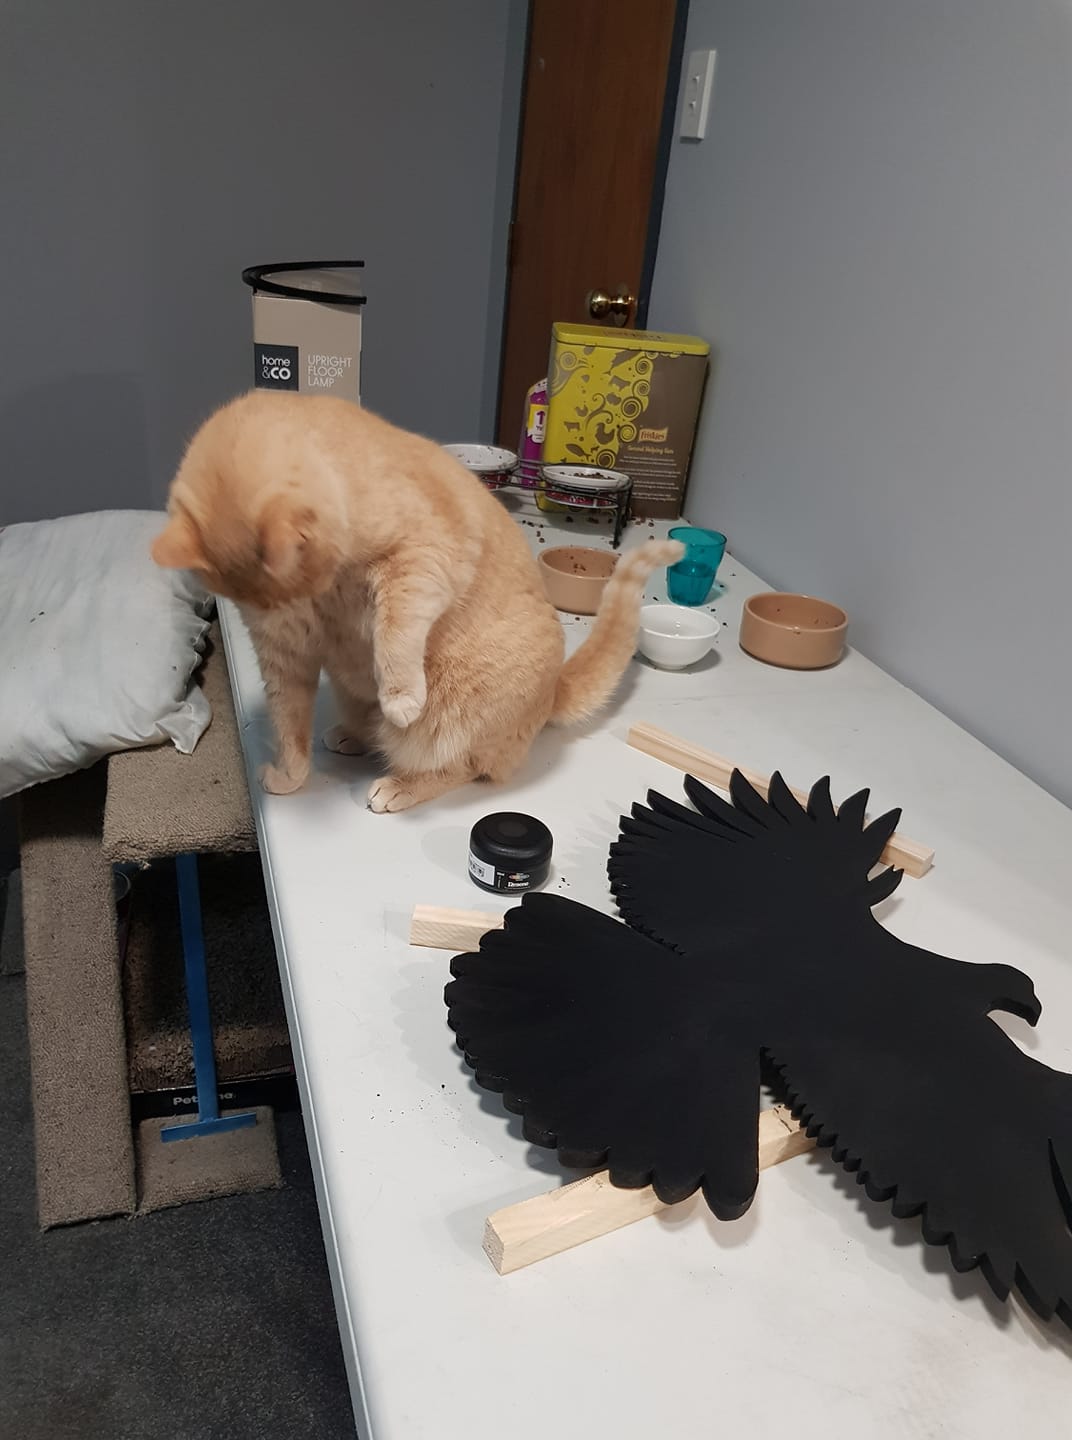
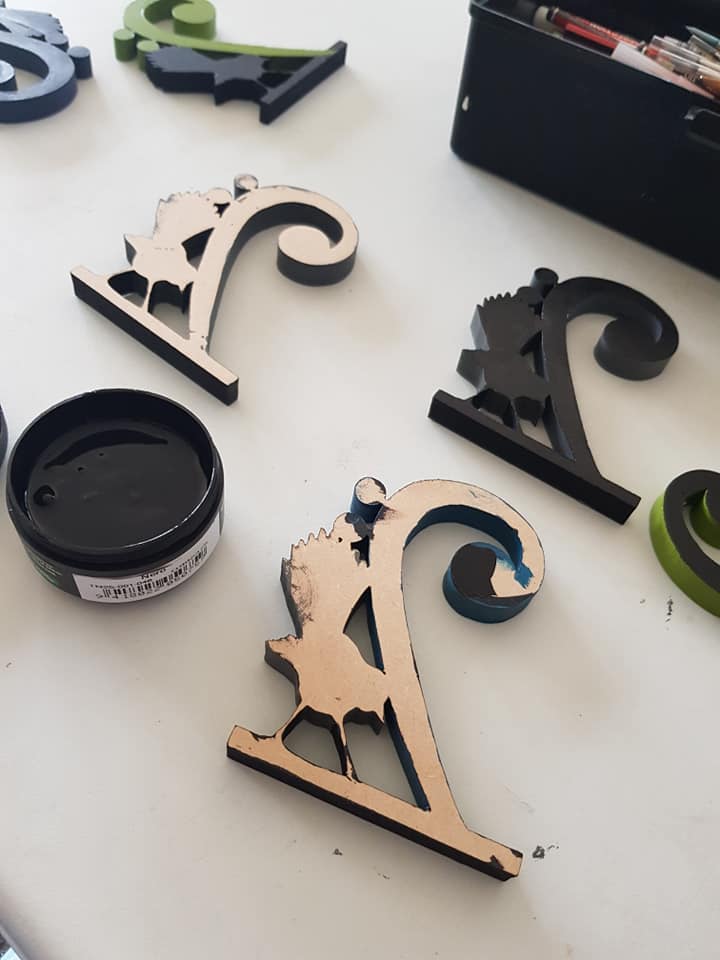
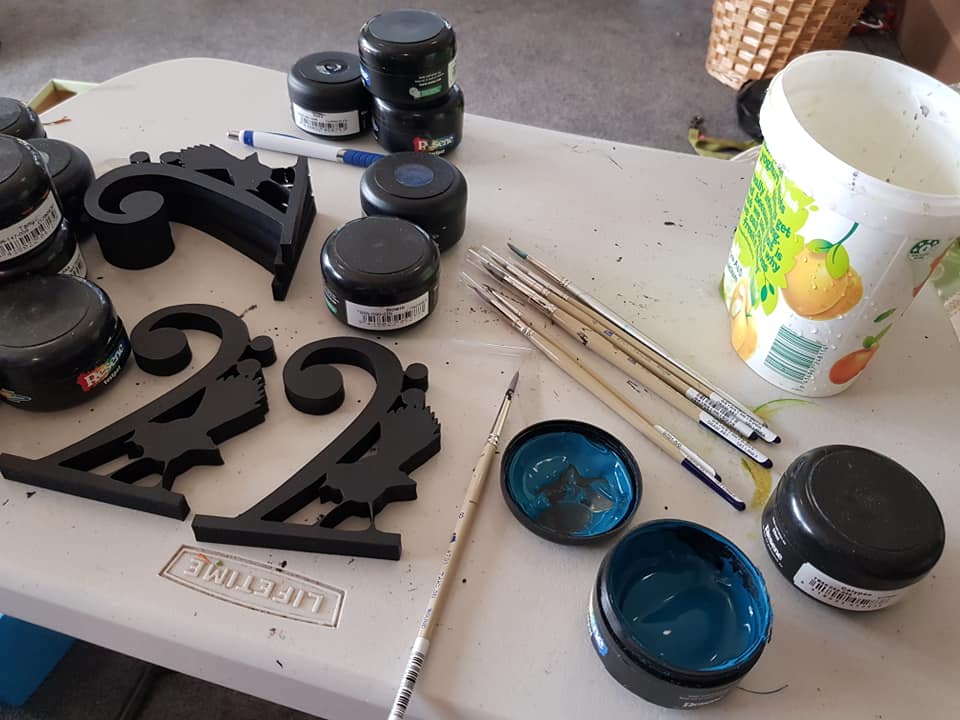
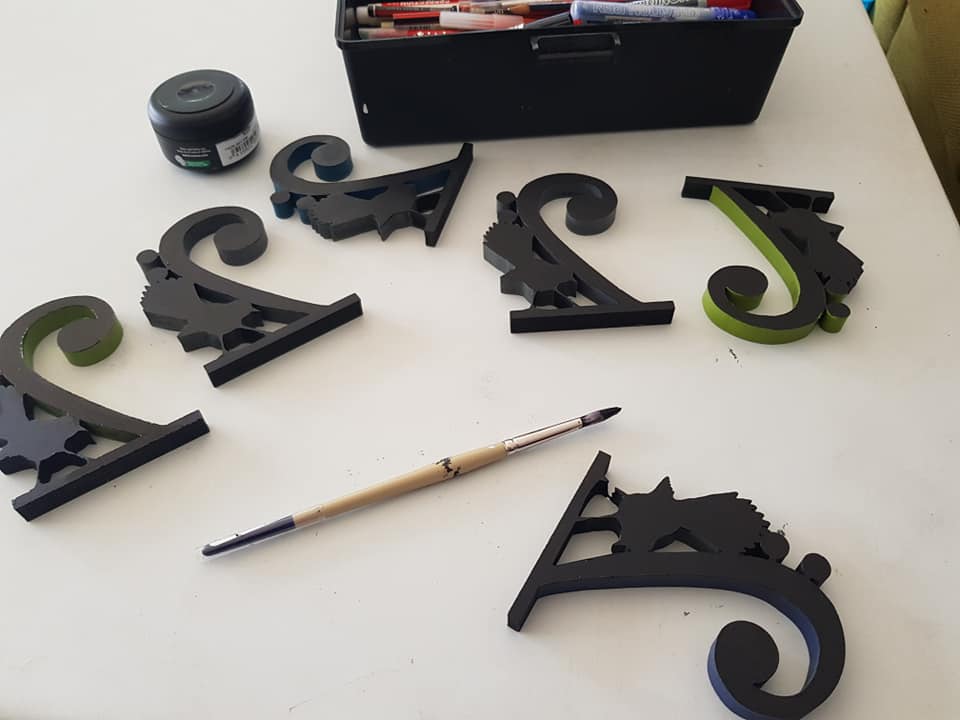
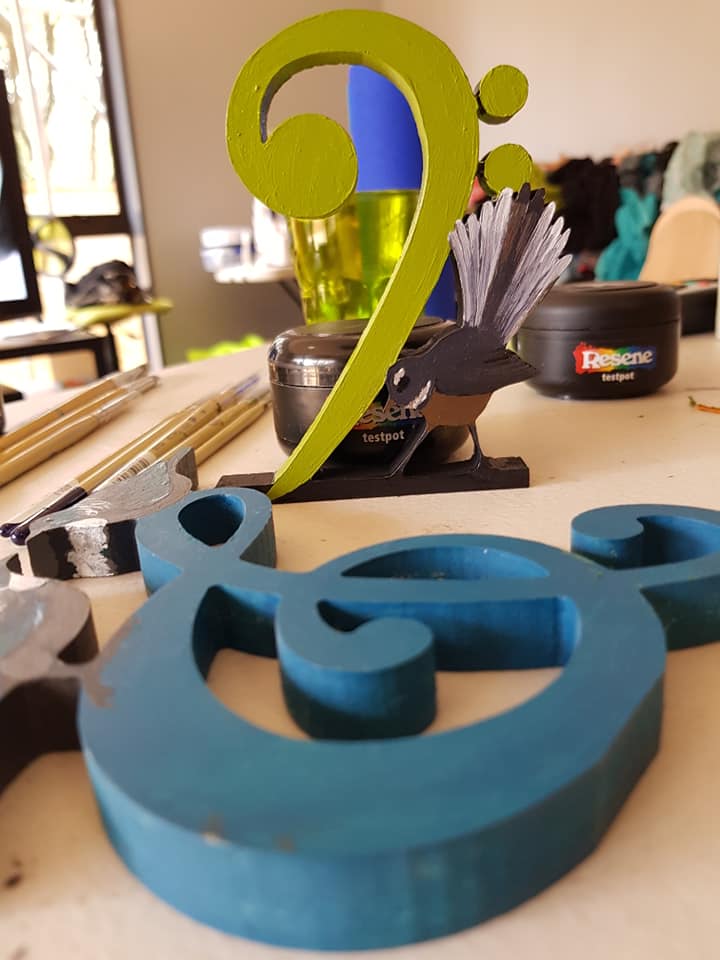
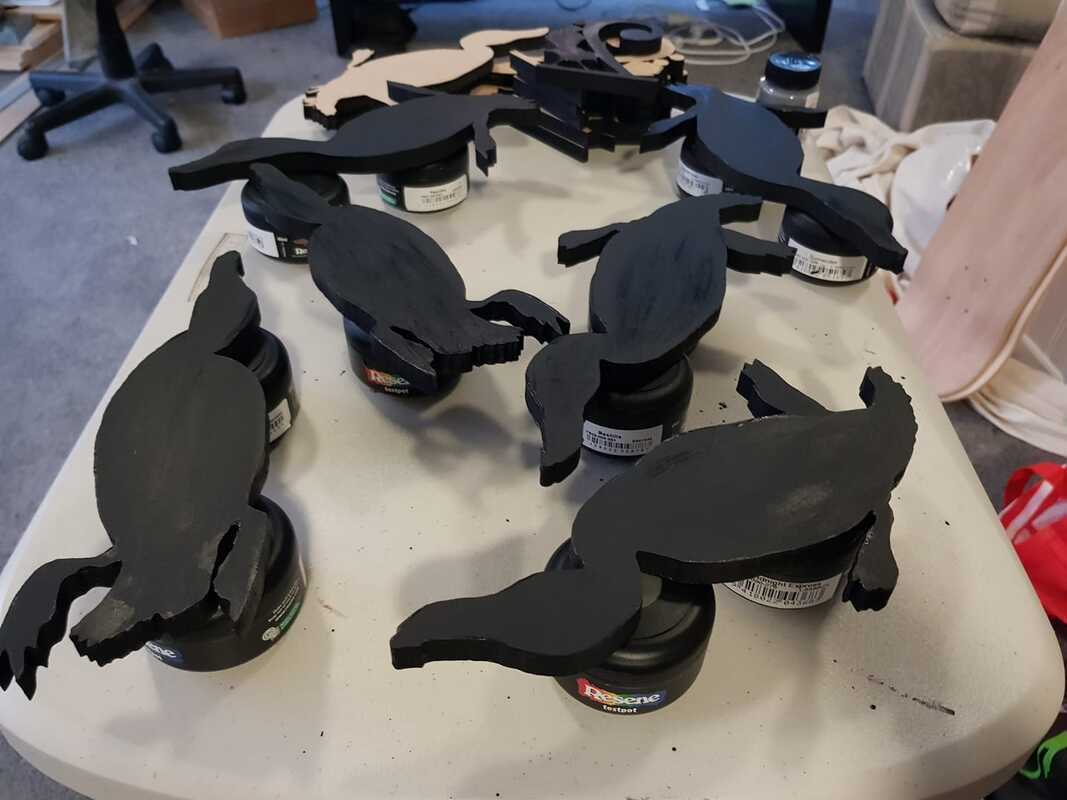
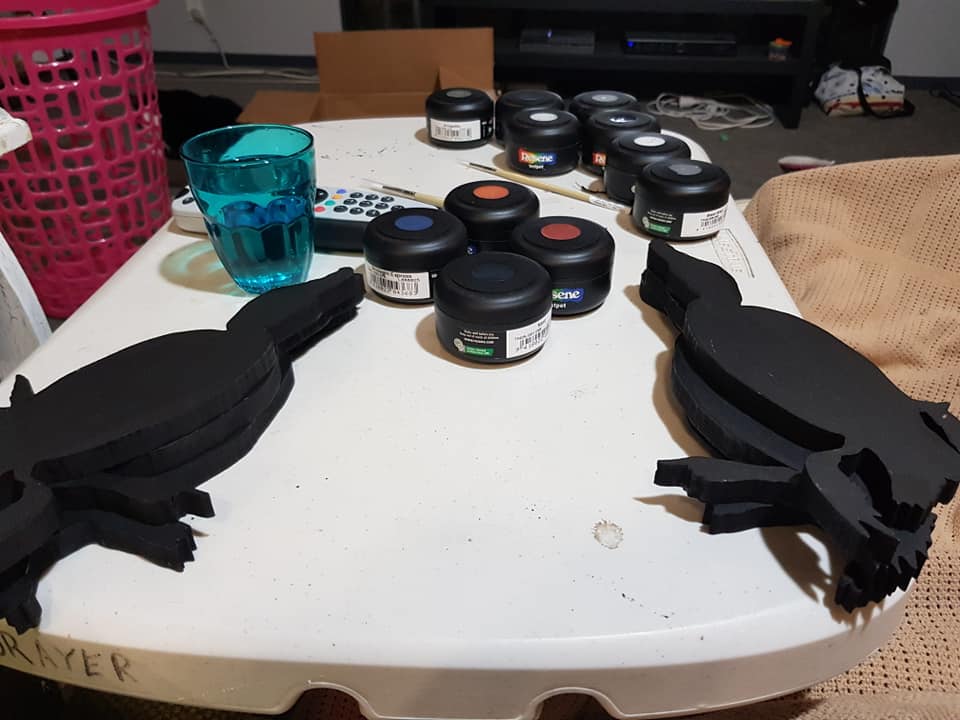
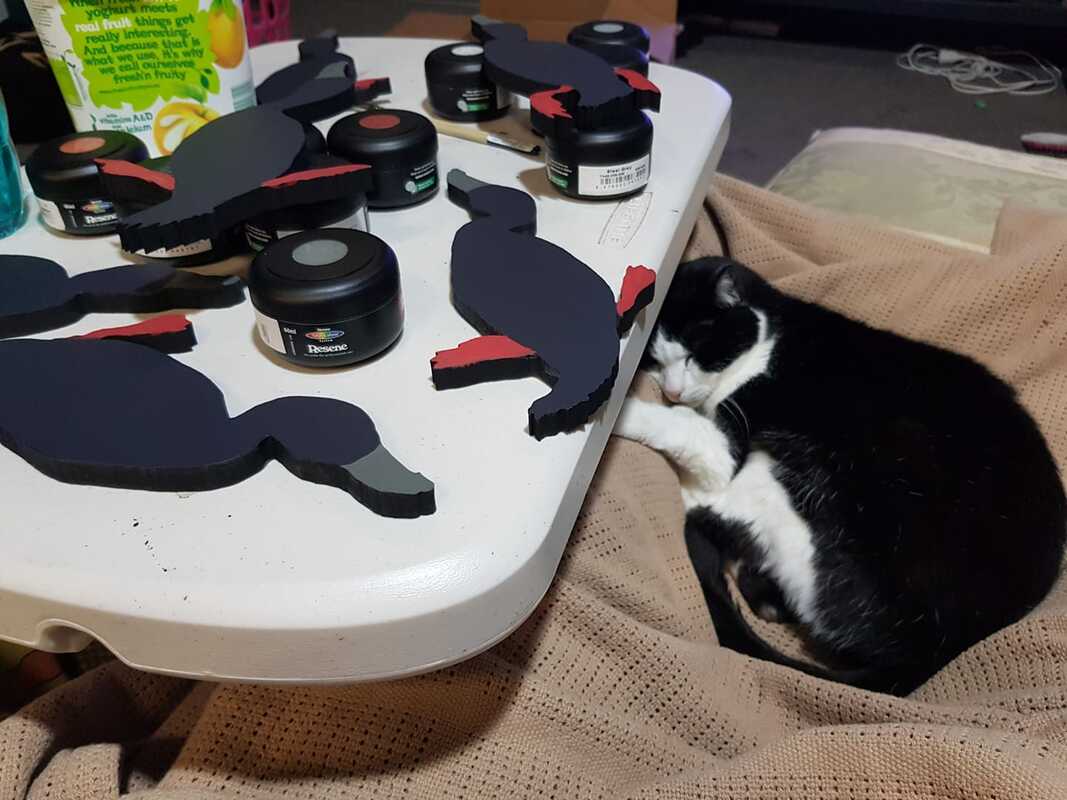
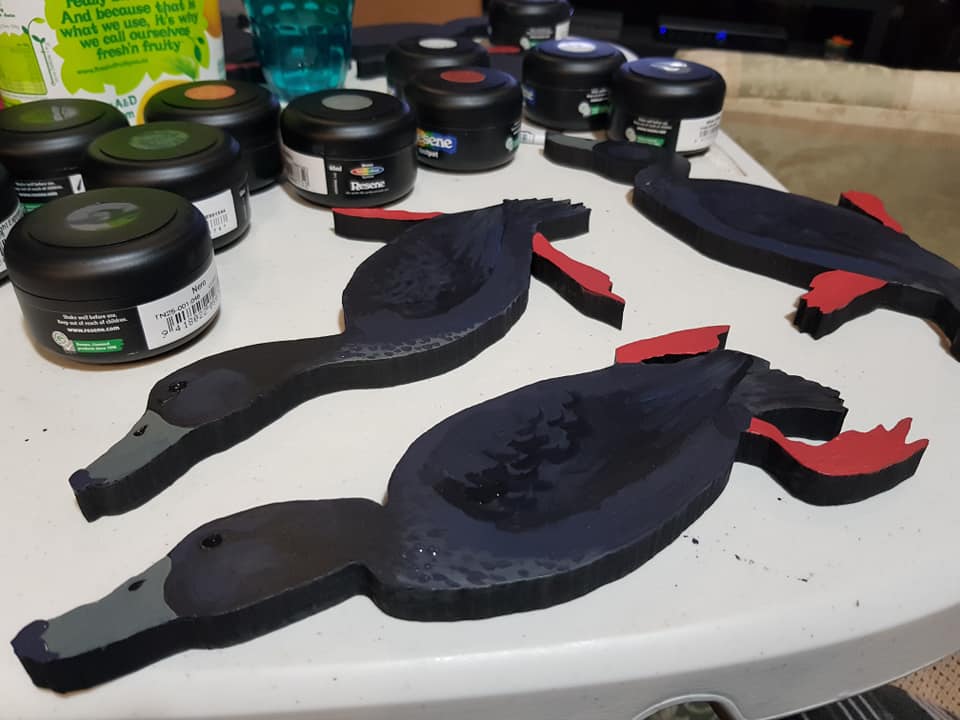
The first step with all the pieces was to completely seal the MDF with Resene Lumbersider in Nero, which is basically black. Loki, of course, was required to help, there.
Picture

Picture

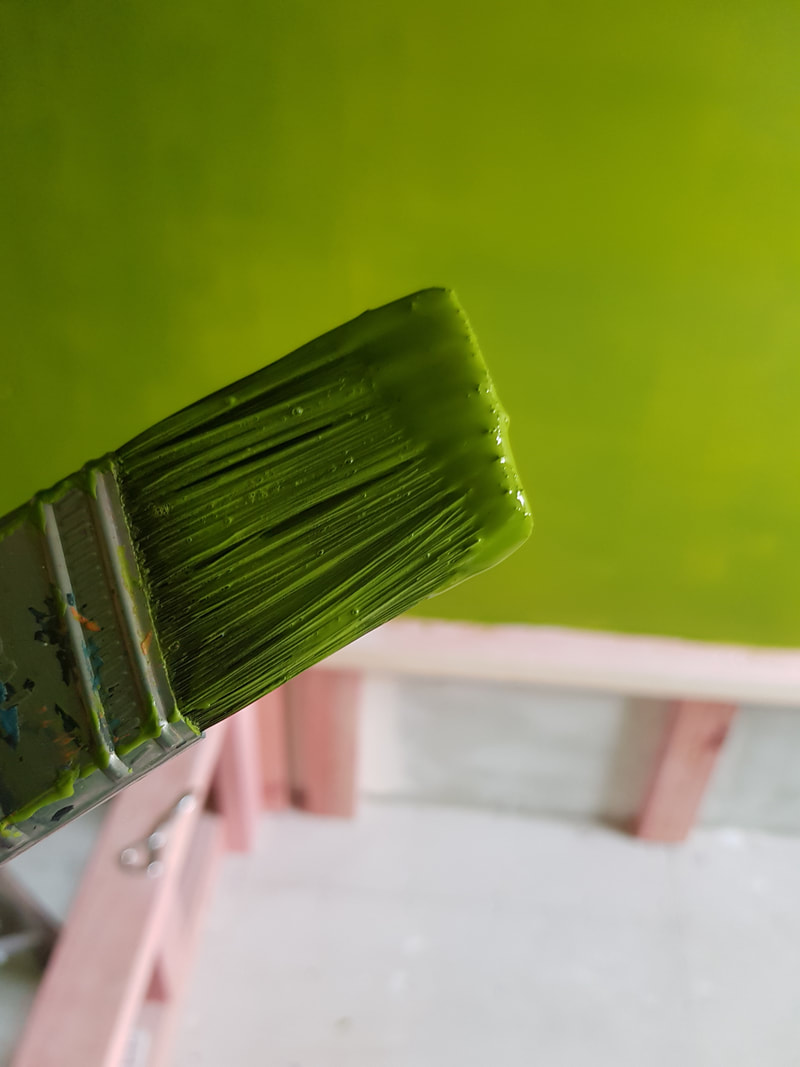
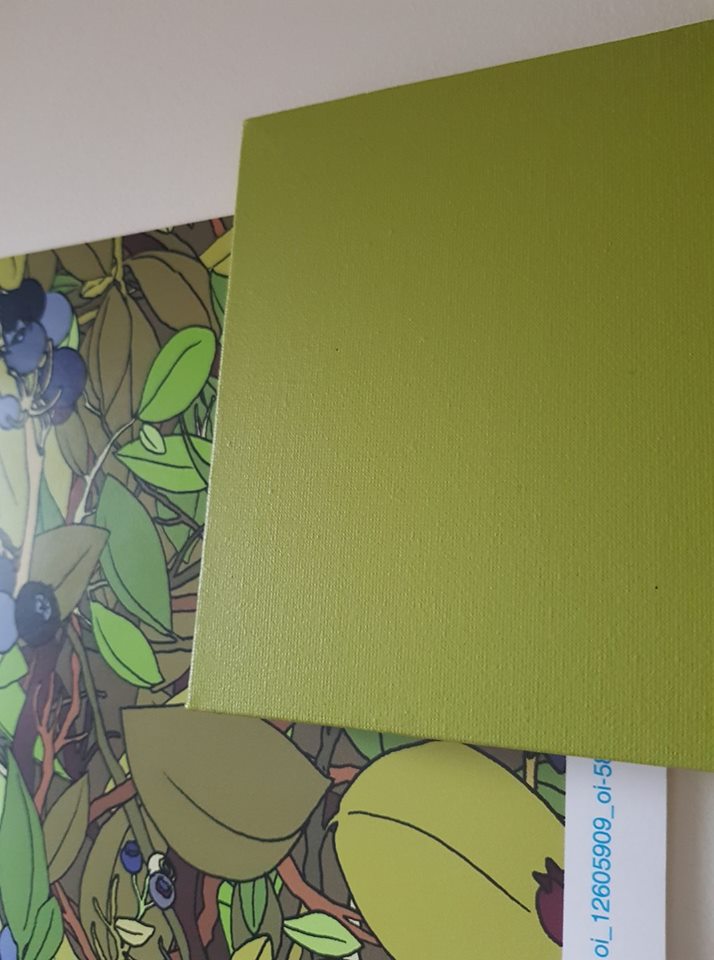
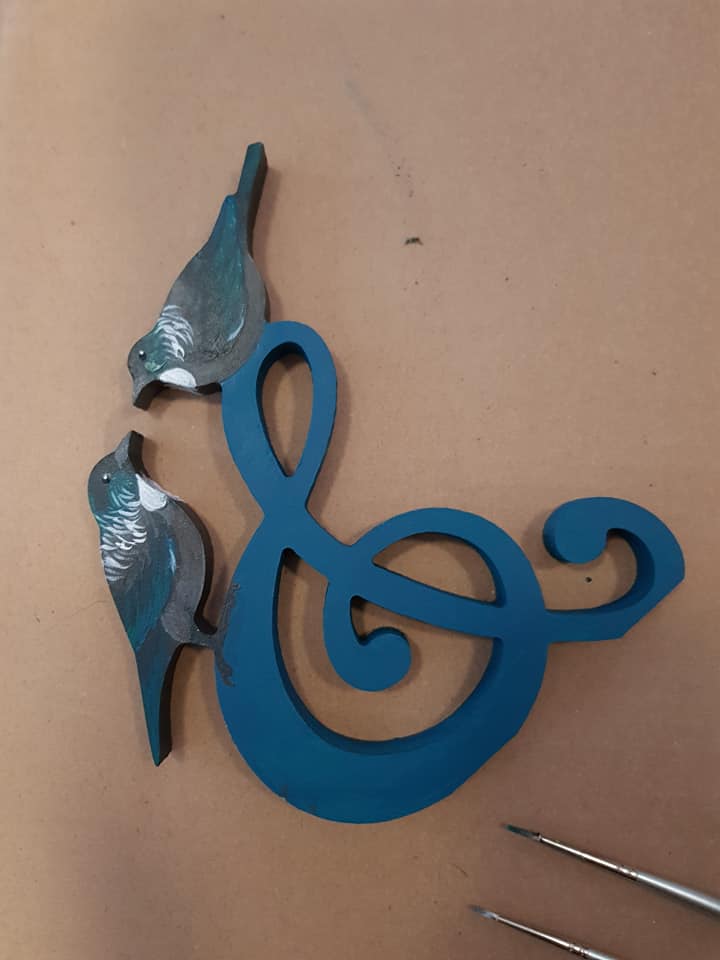
I used the testpots of the colours that I was considering for our interior and exterior wall colours, so it was also a form of recycling.
Picture

Picture

Picture

Picture

It had been quite some time, at this point, since I had held a paintbrush for anything other than painting walls, so it was quite a challenge to paint for pleasure – but a welcome challenge!
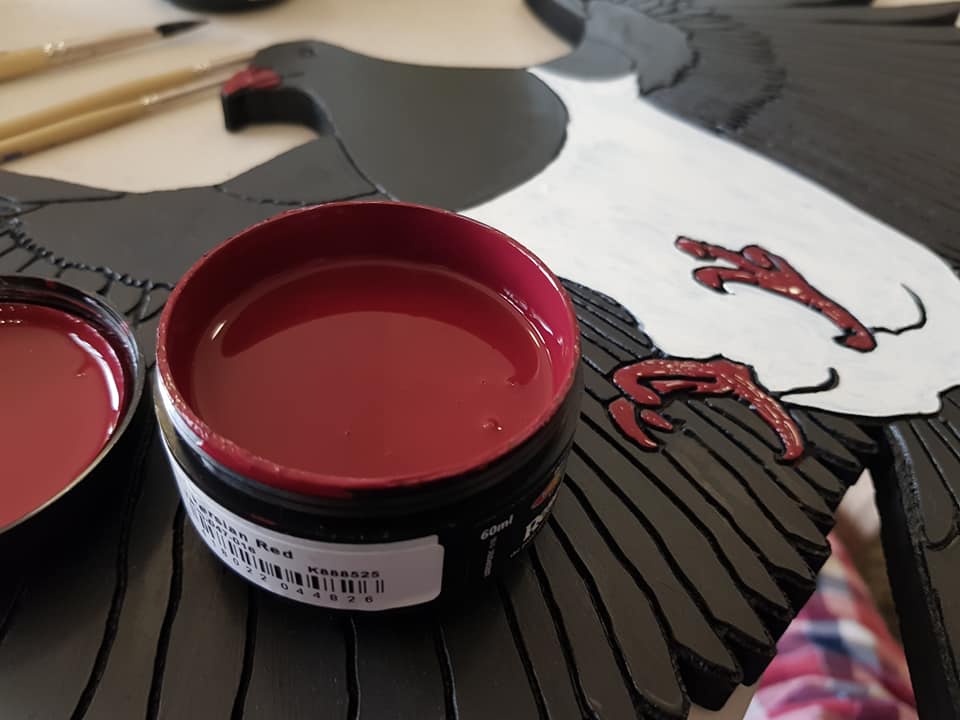
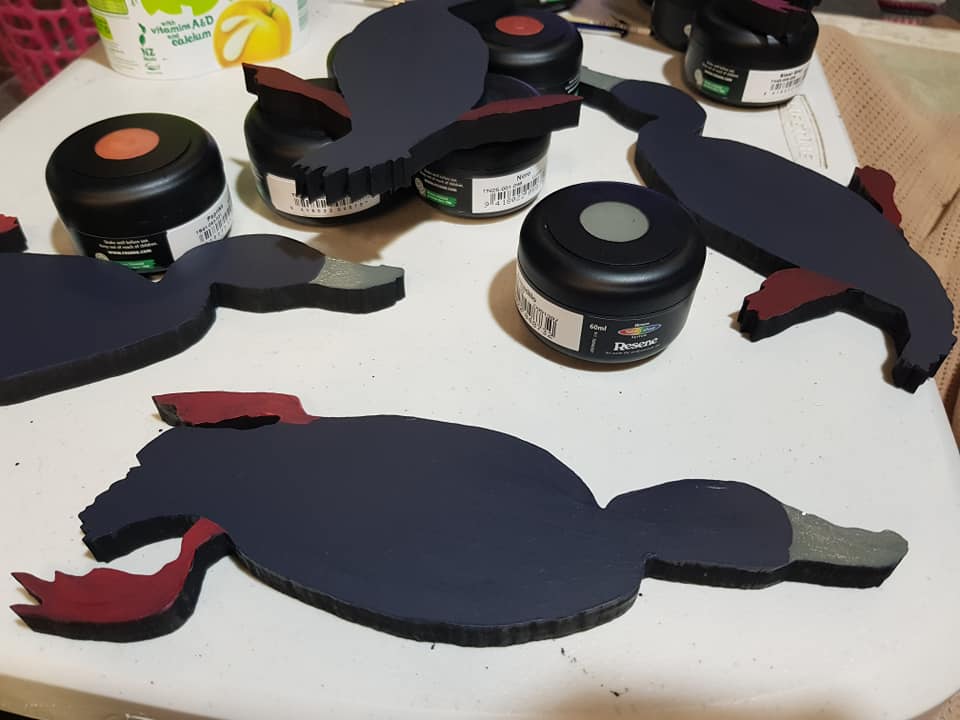
Most of the piece was a single, flat colour, just like my digital art, but it was really nice to do some shading on the head and neck.
Picture

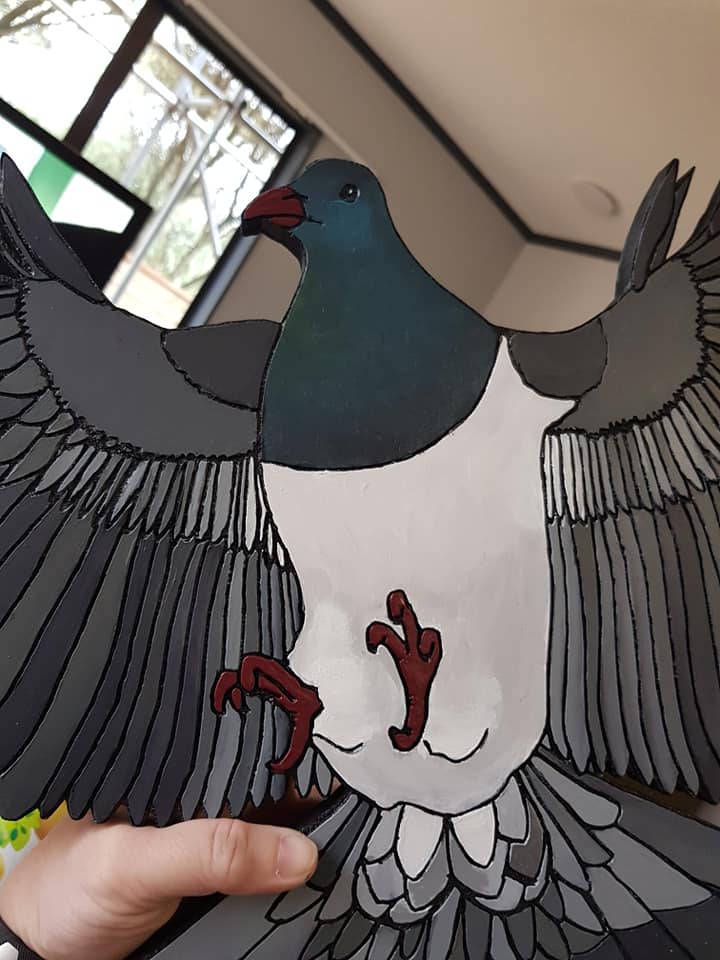
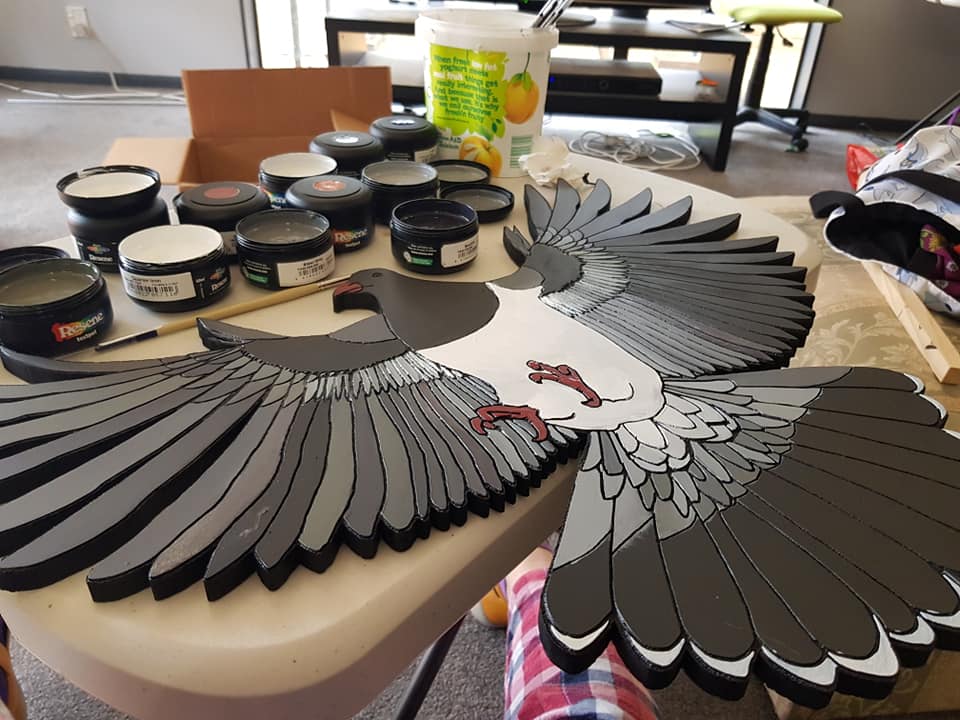
This photo helped me spot that I needed another coat of white on the body
Picture

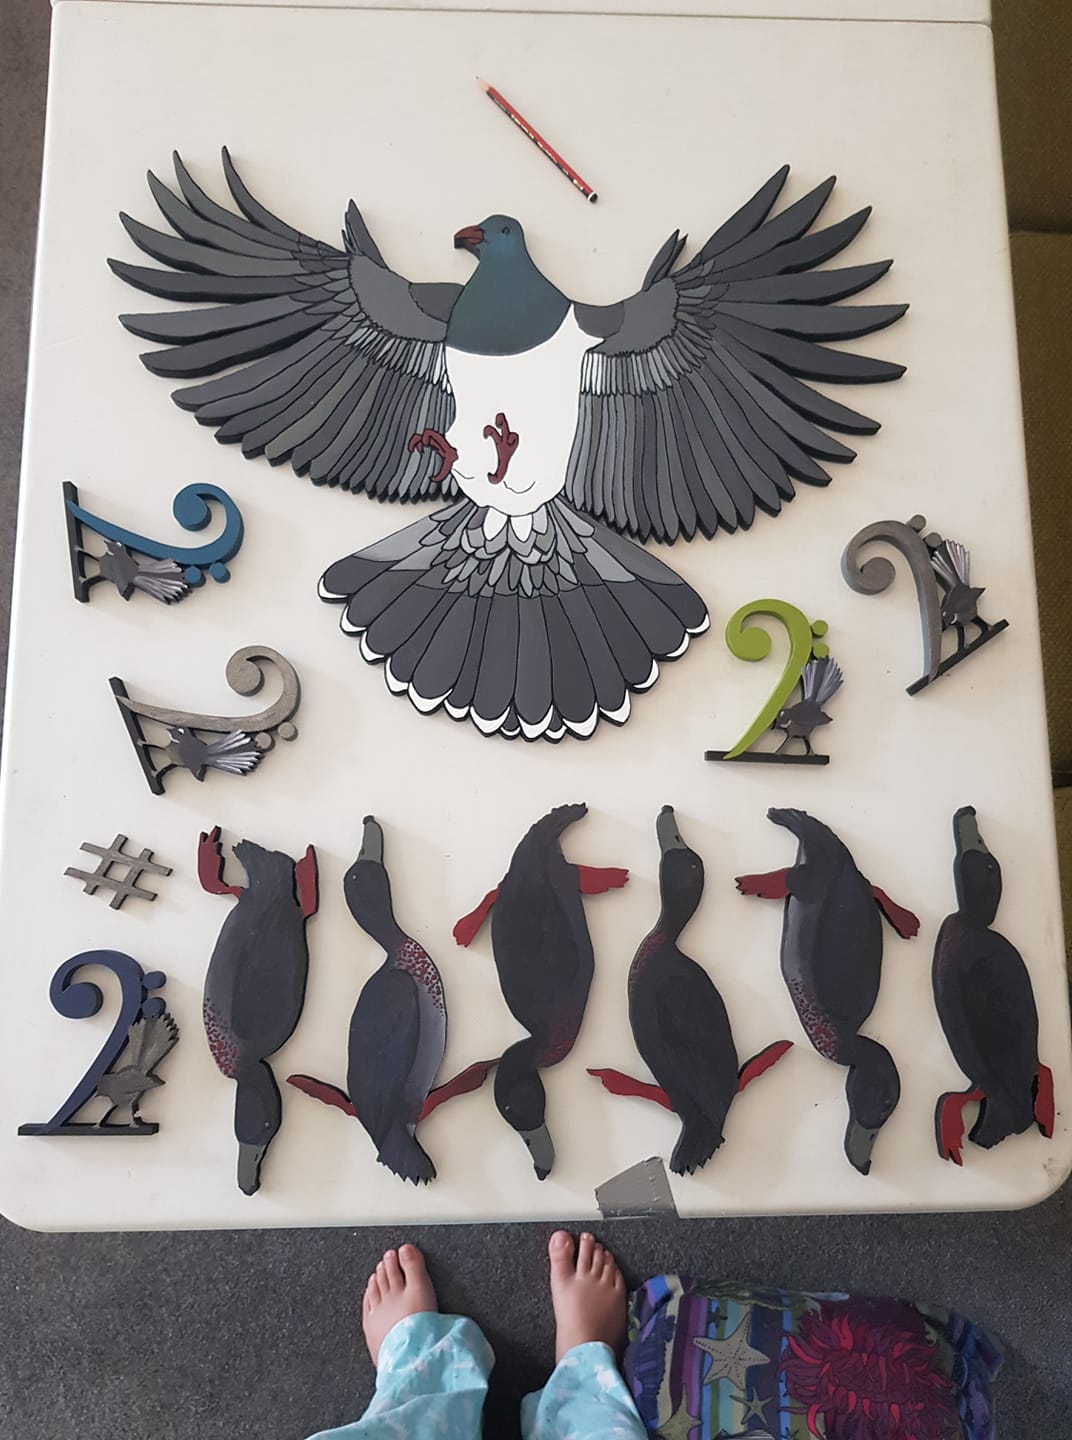
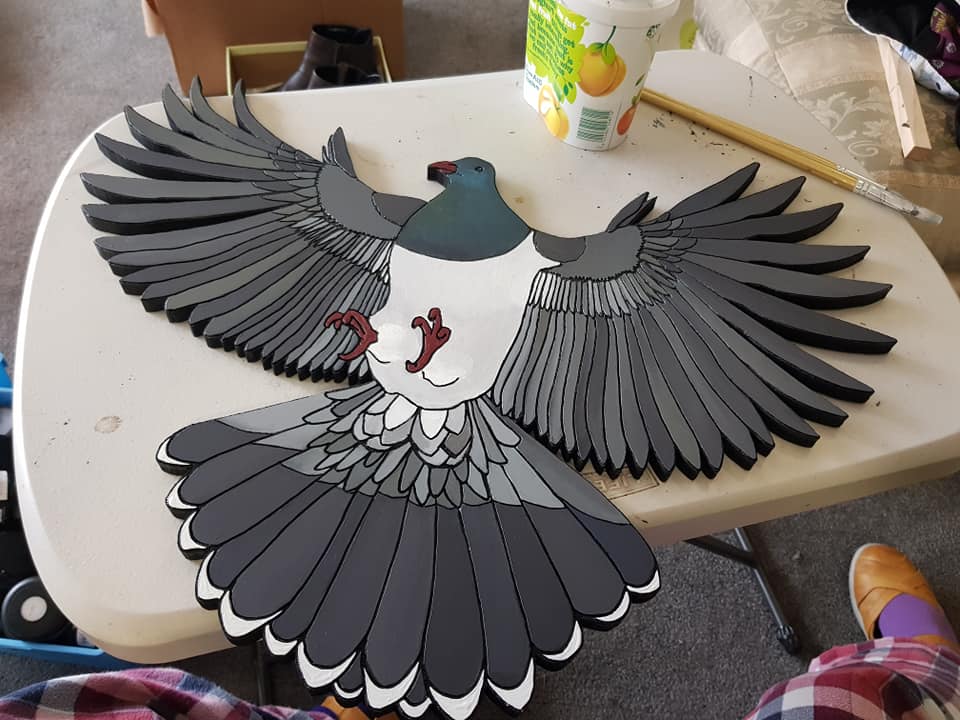
Victory! A finished collection!
​Apart from being a useful record, photos also help me identify the areas that need work – not always apparent to the naked eye, but emphasised by the lens.

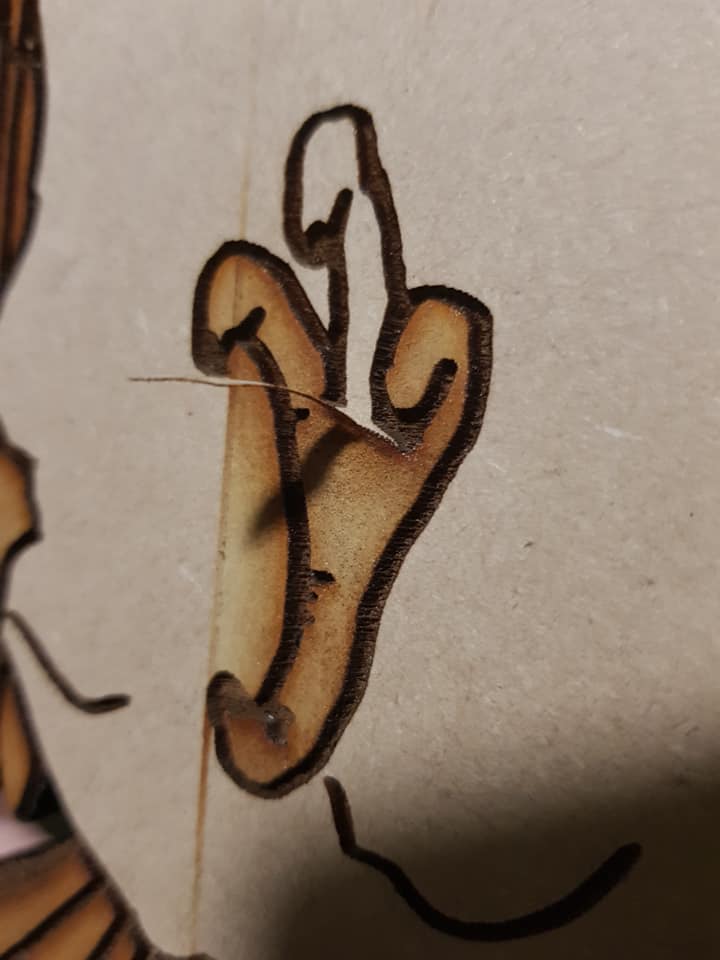
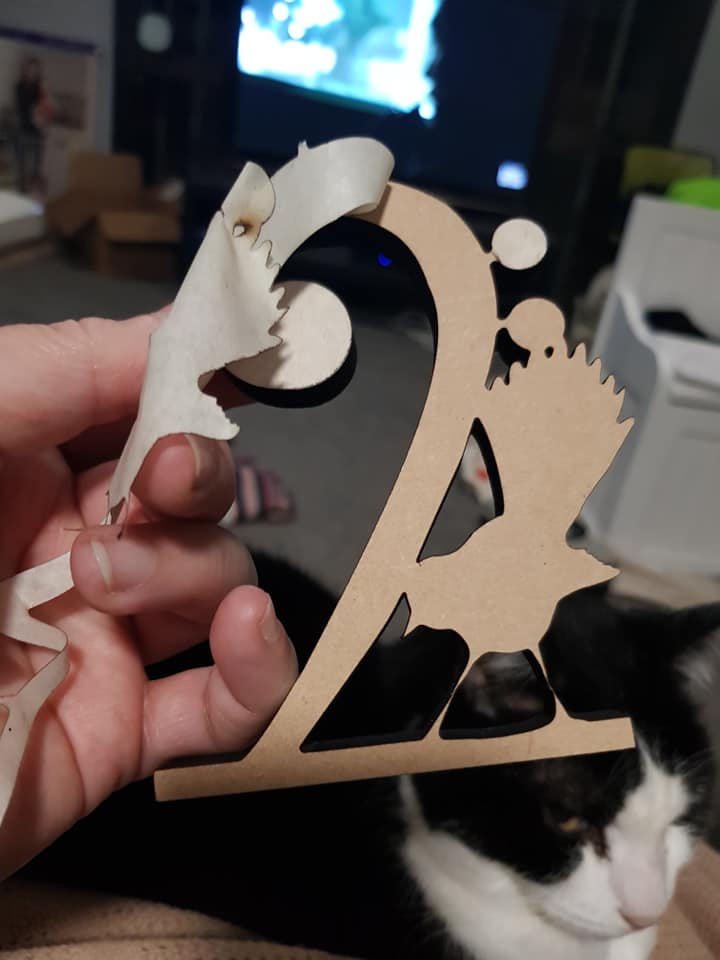
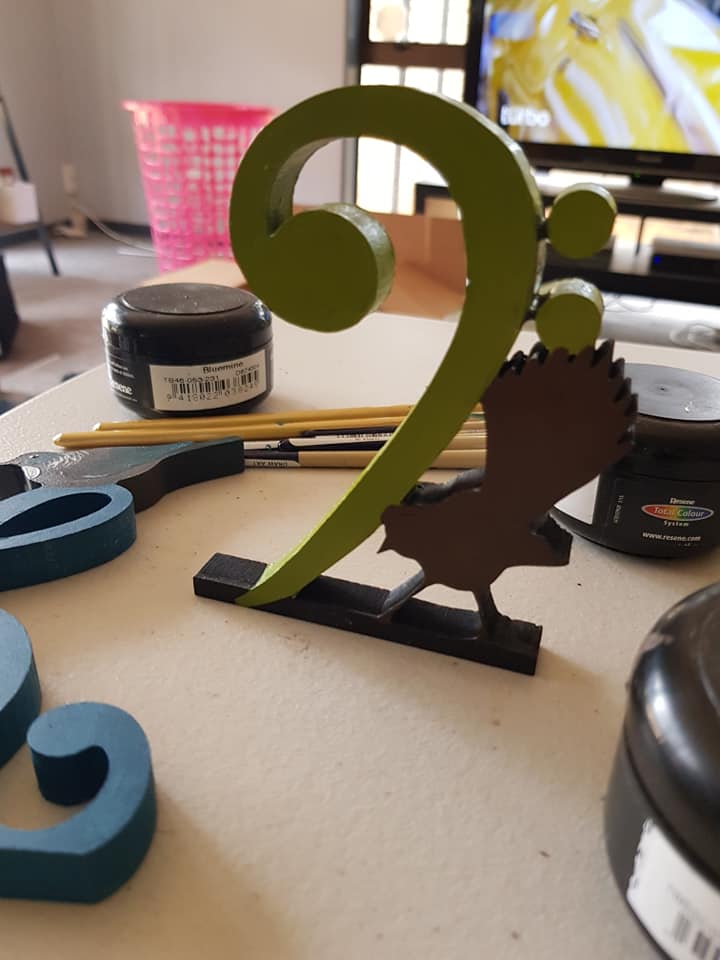
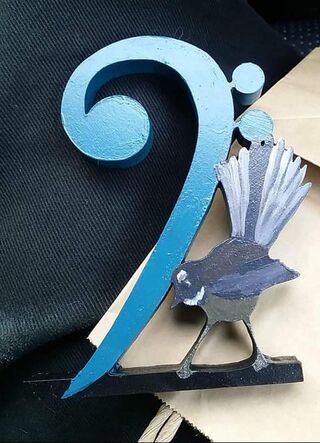
The piwakawaka bass clef

Picture

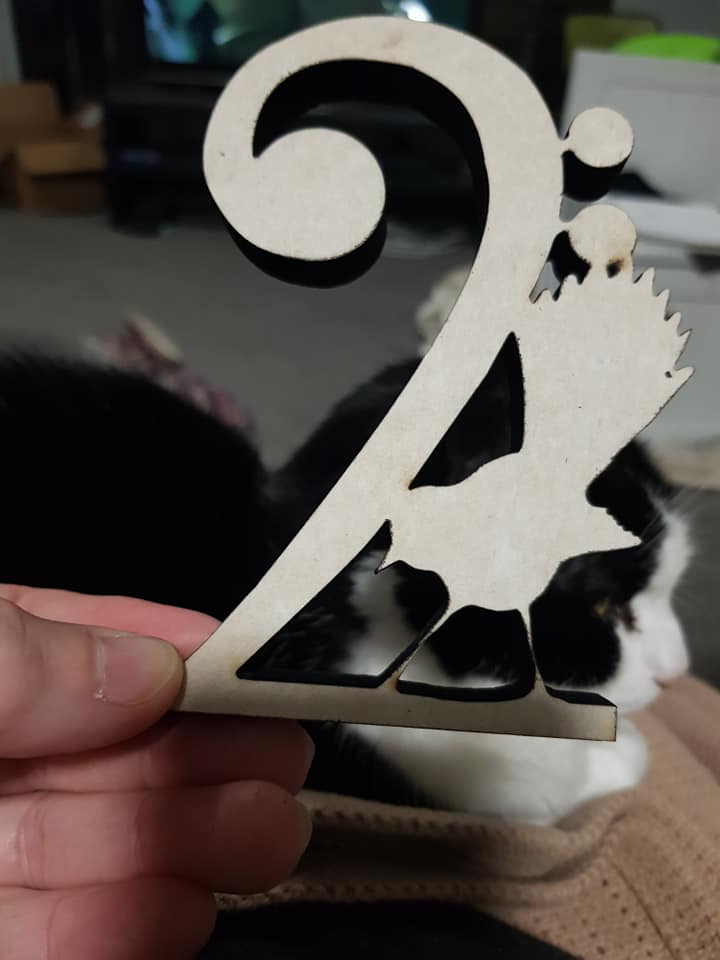
With the protective paper still on…
Picture

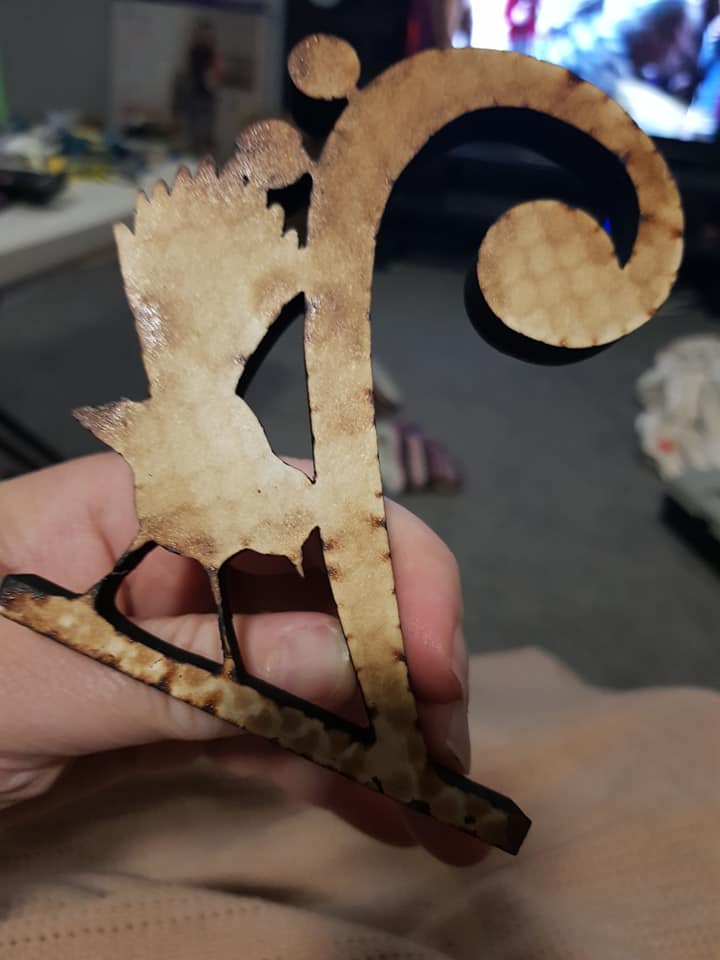
…and this is why it’s there!
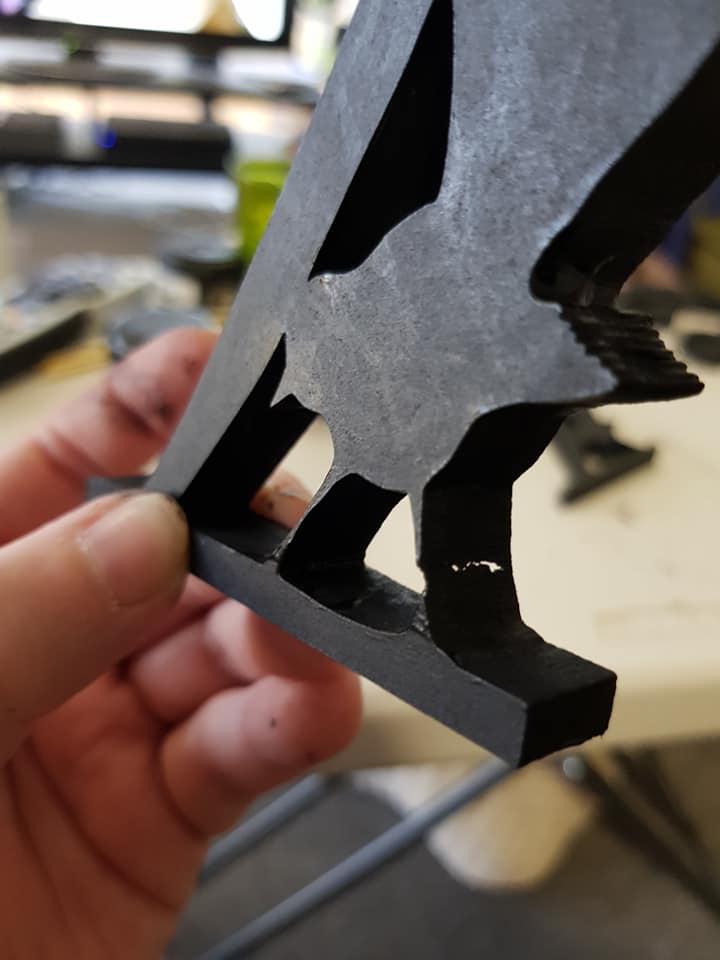
One of the reasons that we did a short test run to start with was this sort of thing – from the front, all good, but then you see how very spindly the leggies are – oops, some were even burnt through! Annoying, but most of them were ok. 
Picture

Picture

Picture

Picture

Picture

Picture

Picture

Picture

Picture

Picture

Picture

Picture

Two of these are sold, one is ours, and one was given as a gift to a good friend. The remaining two have the heat crack we showed above, so we will keep them as decor, too.

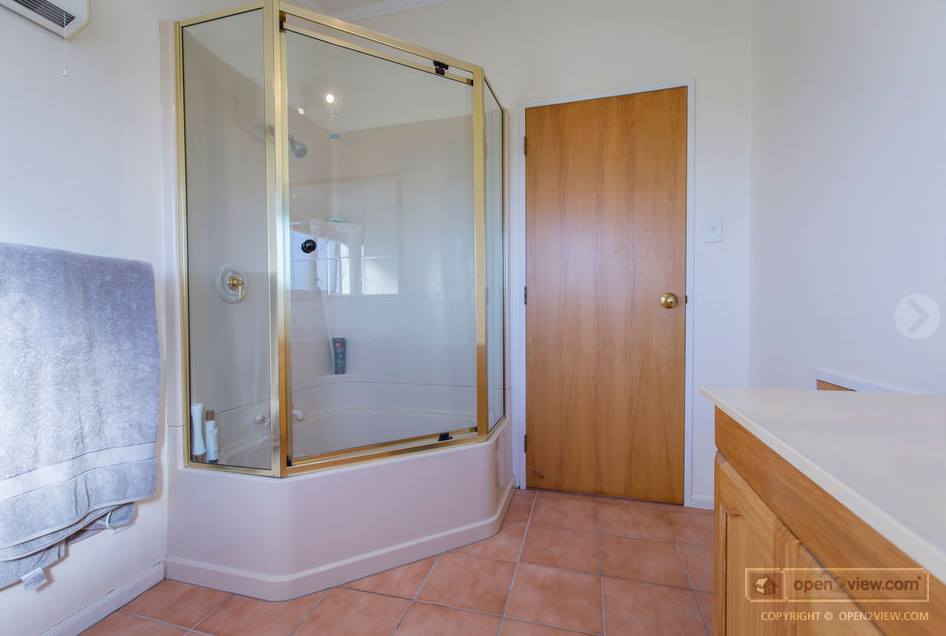
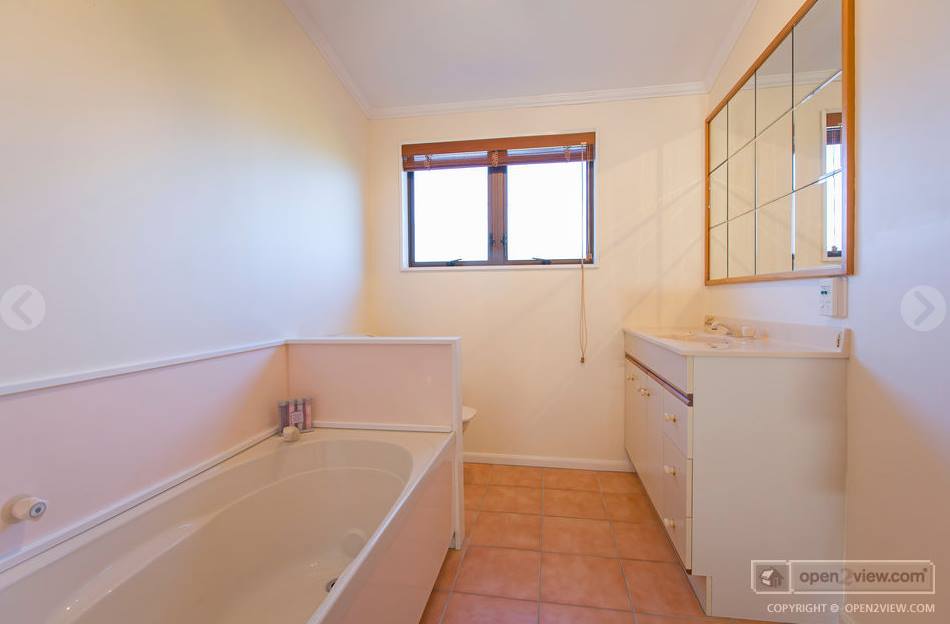
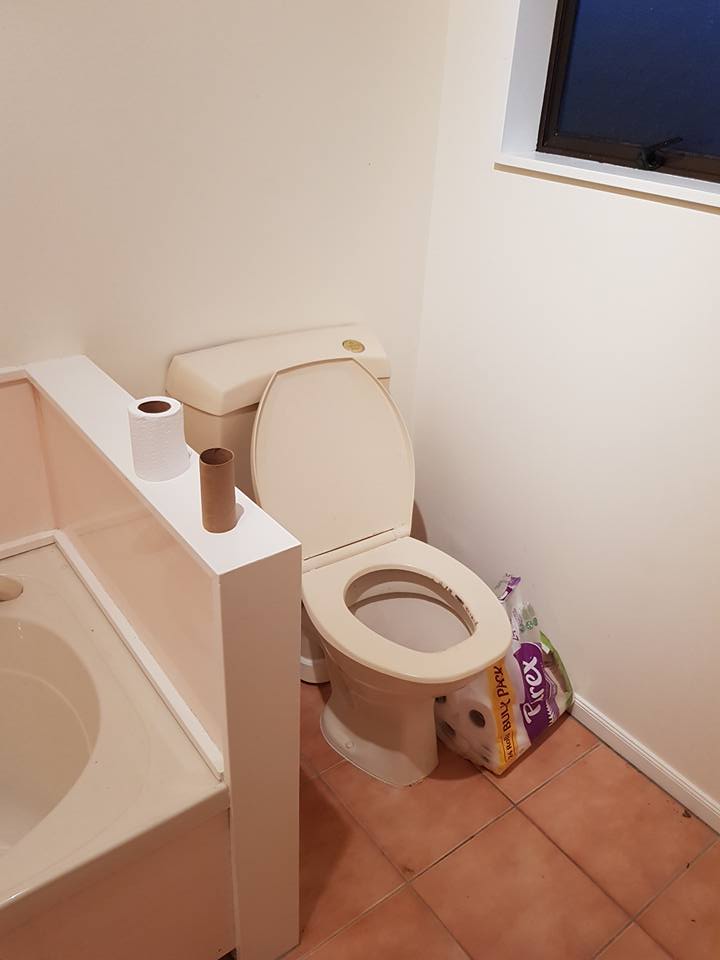
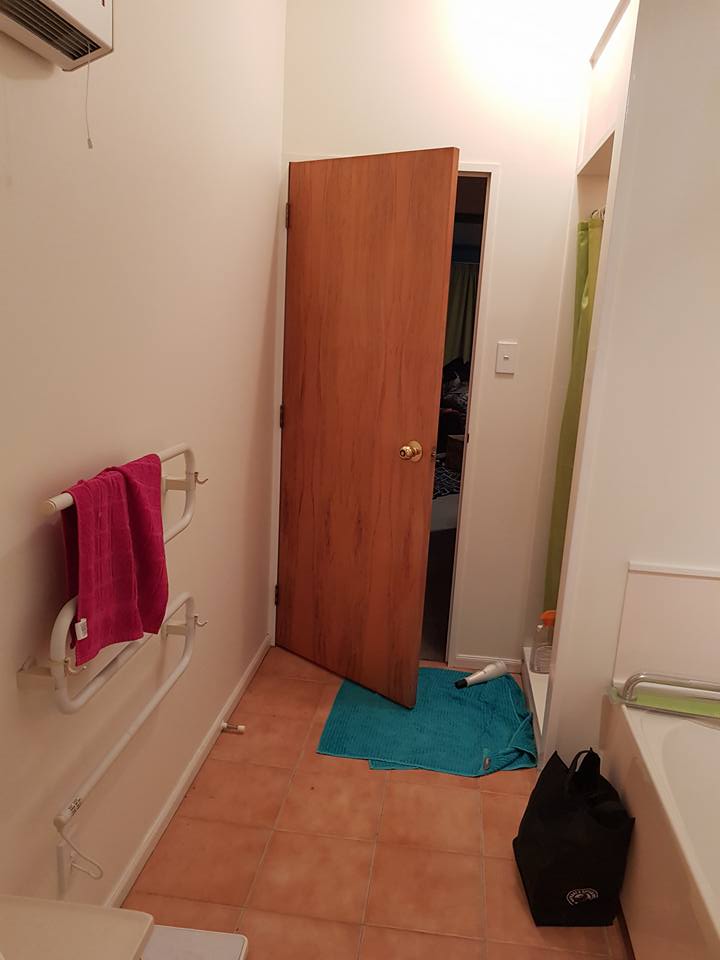
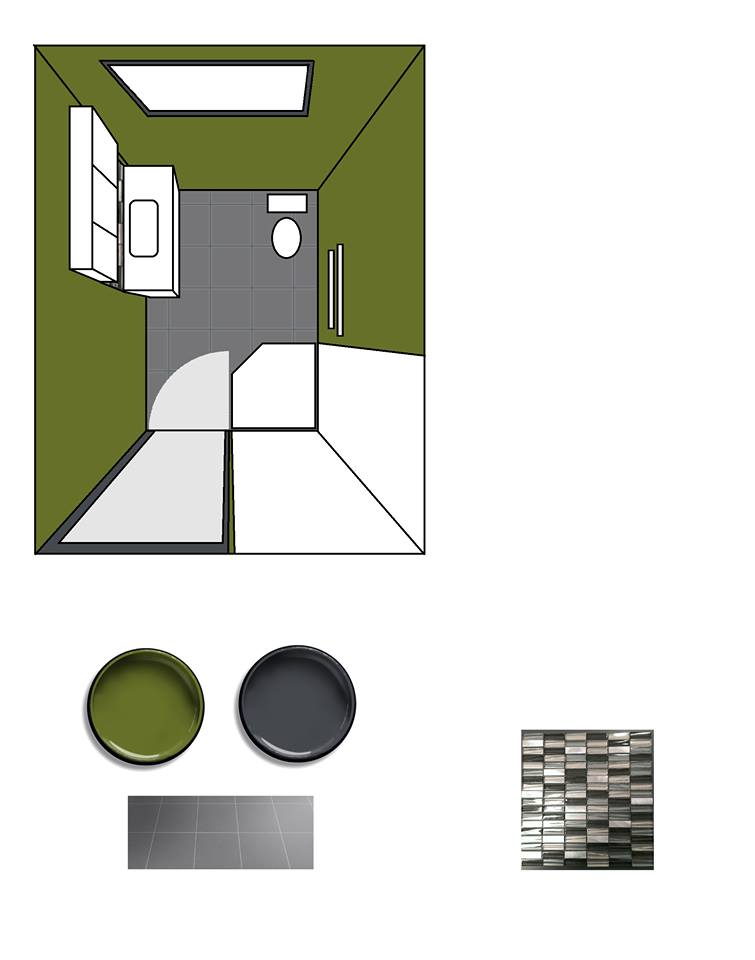
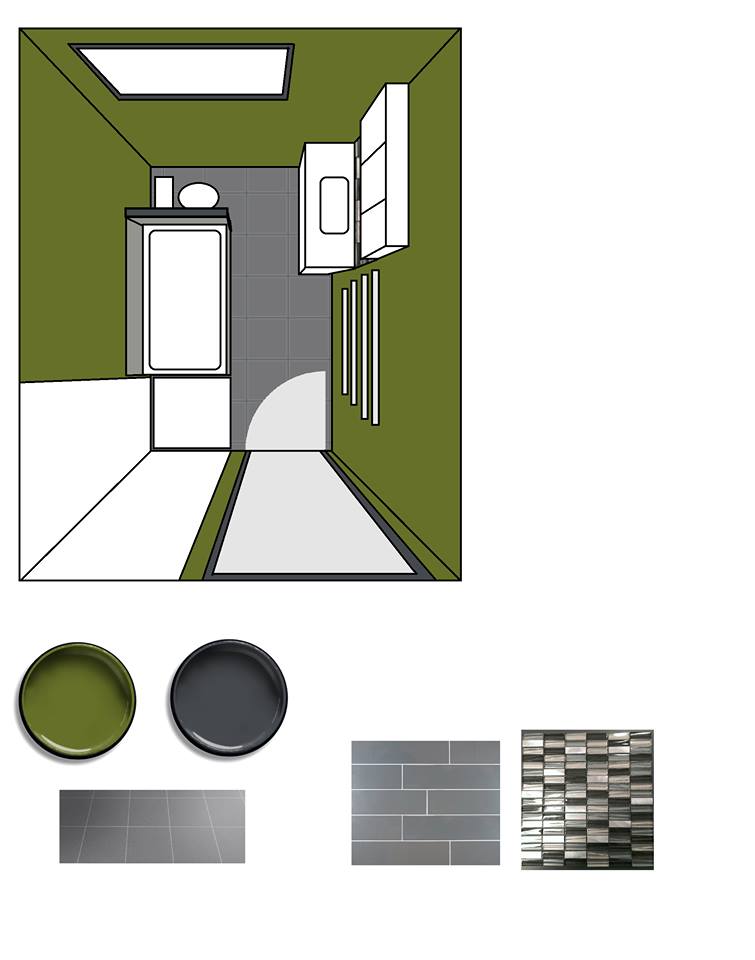
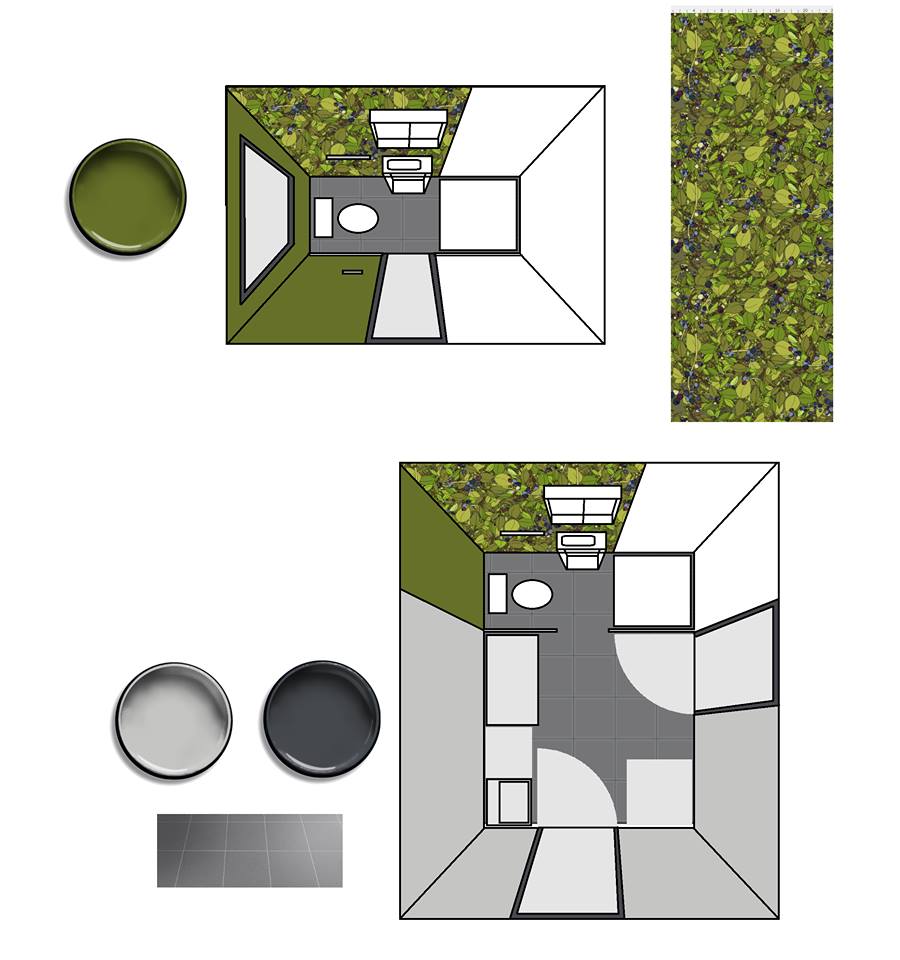
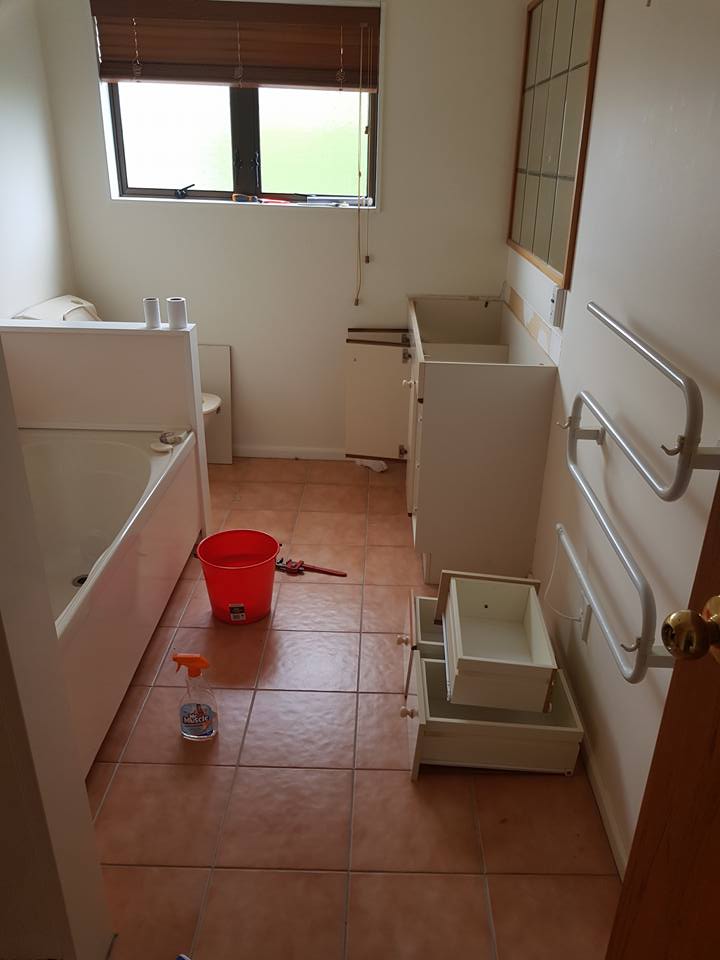
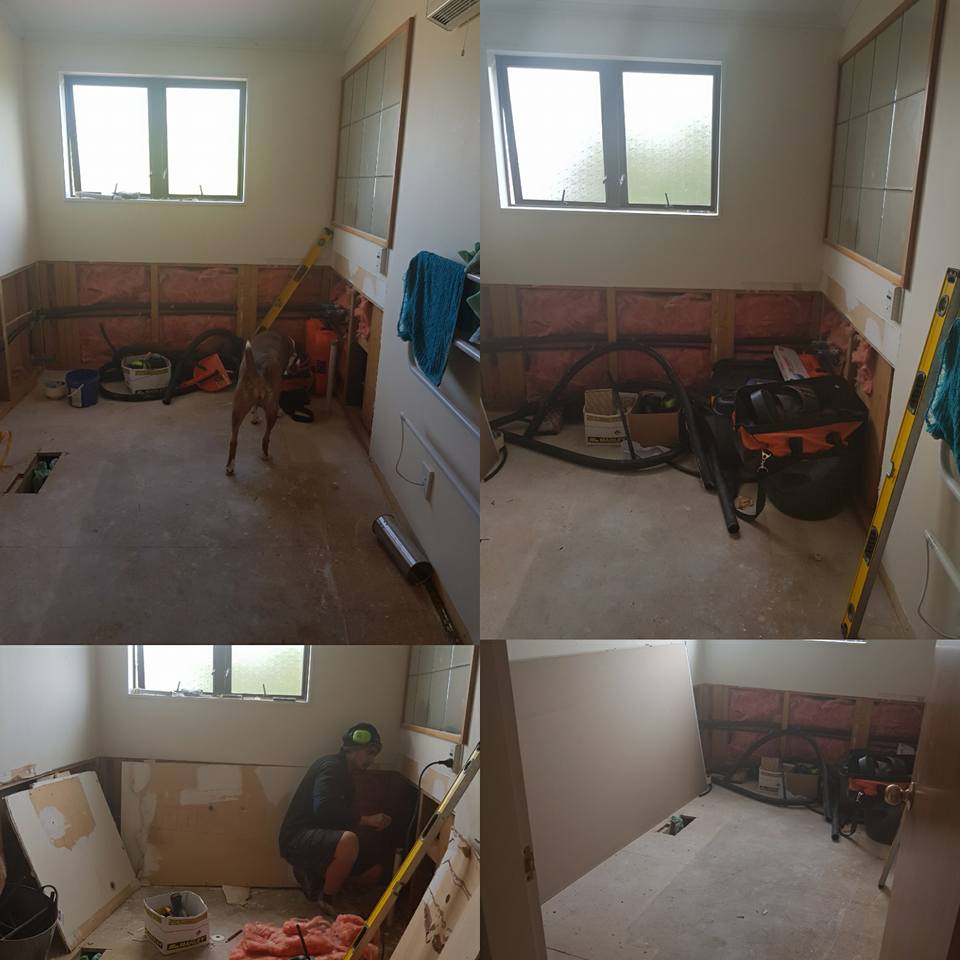
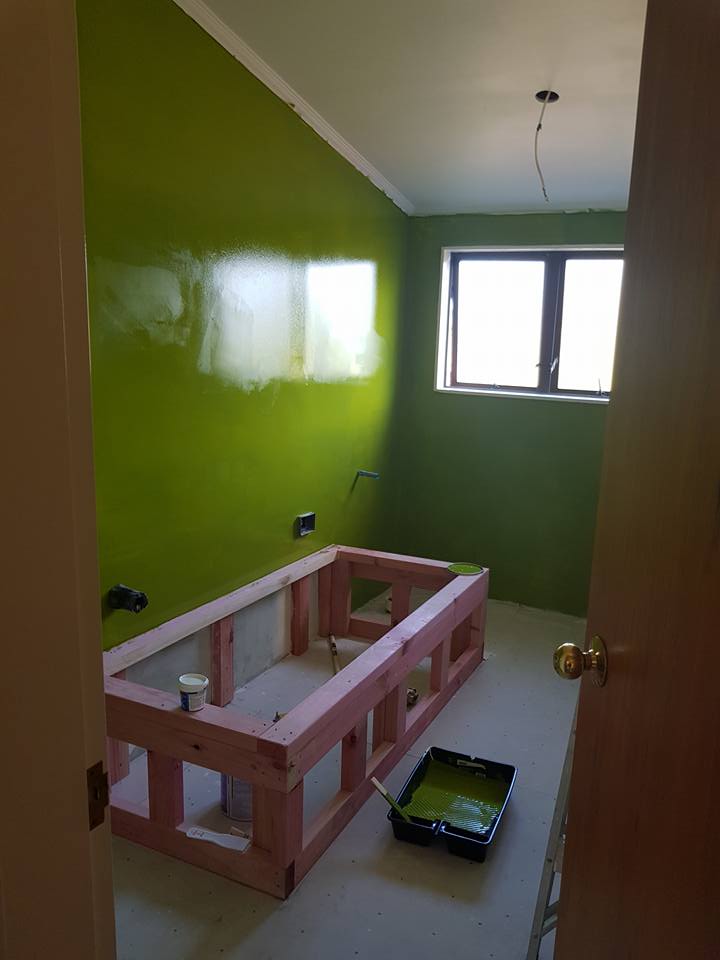
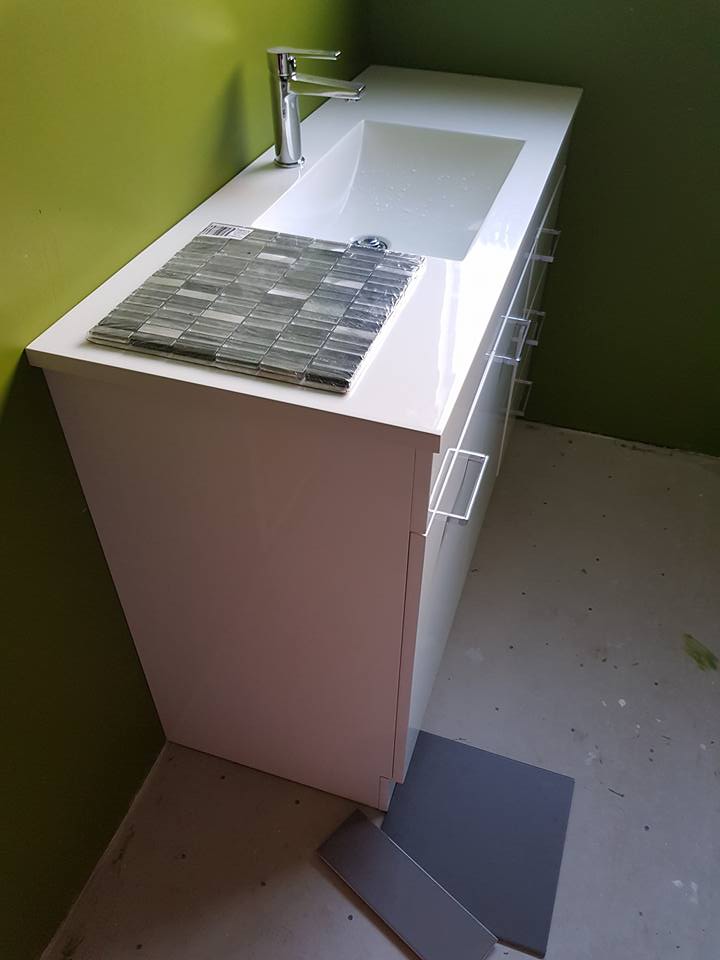
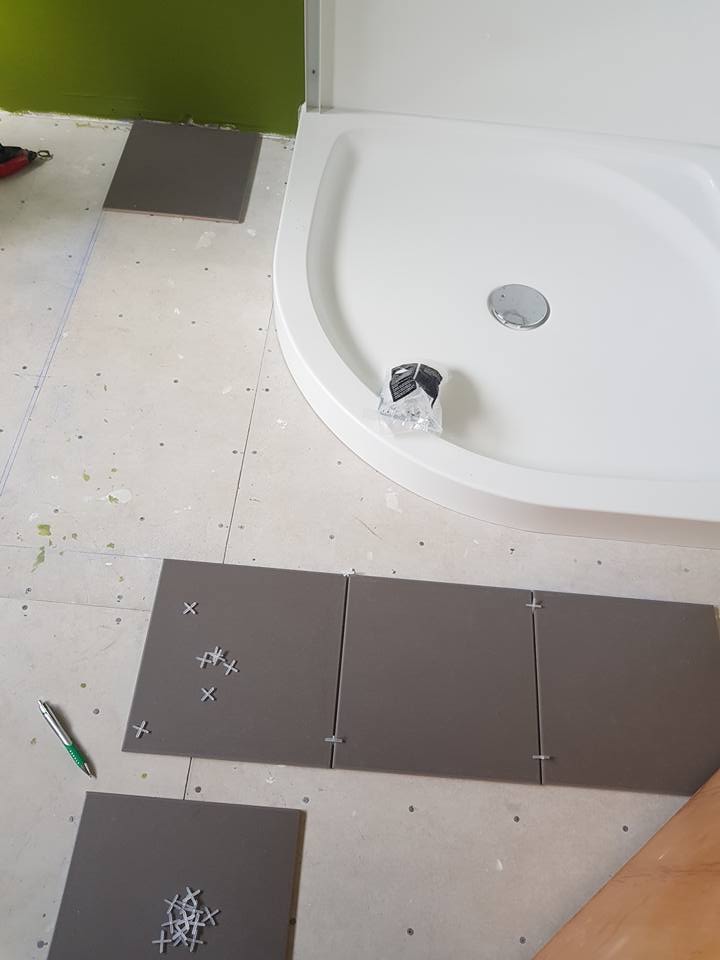
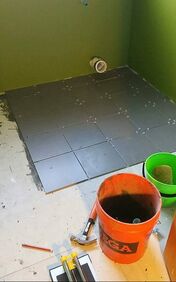
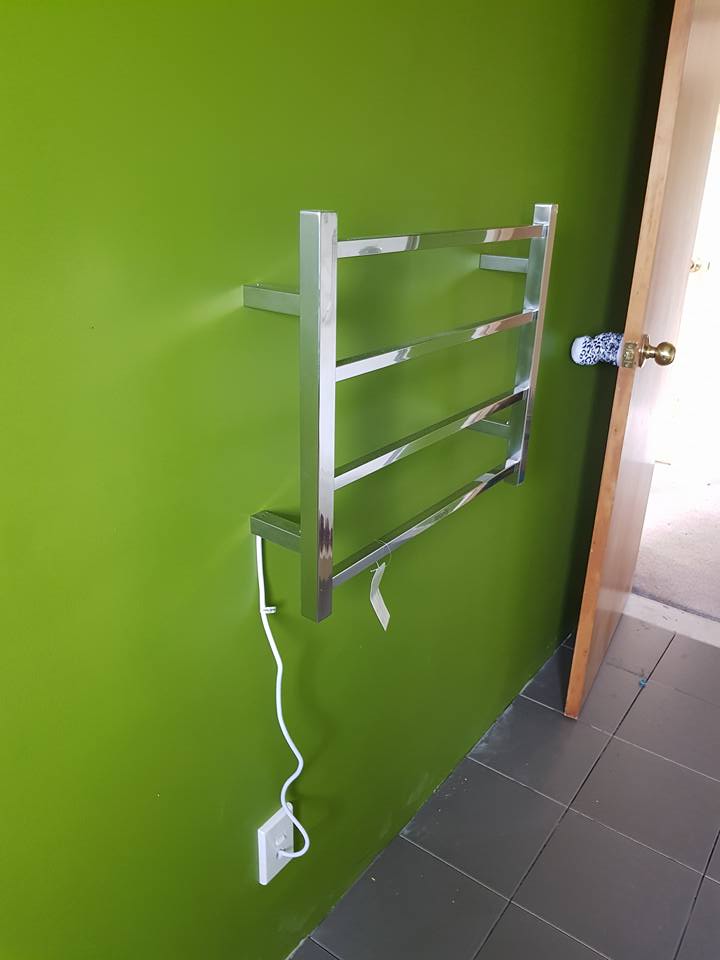
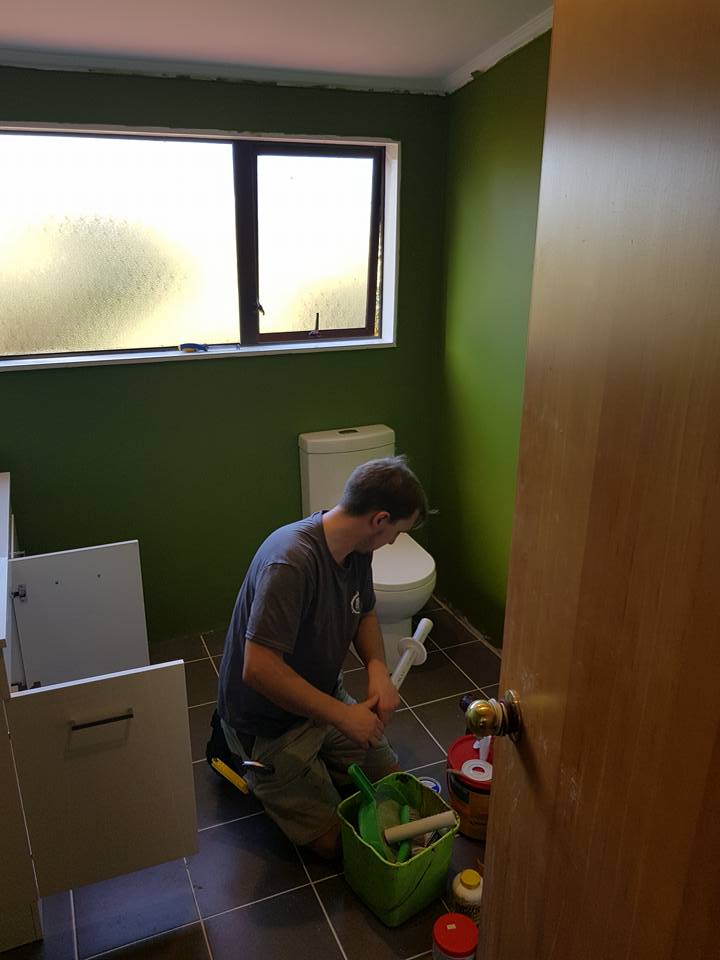
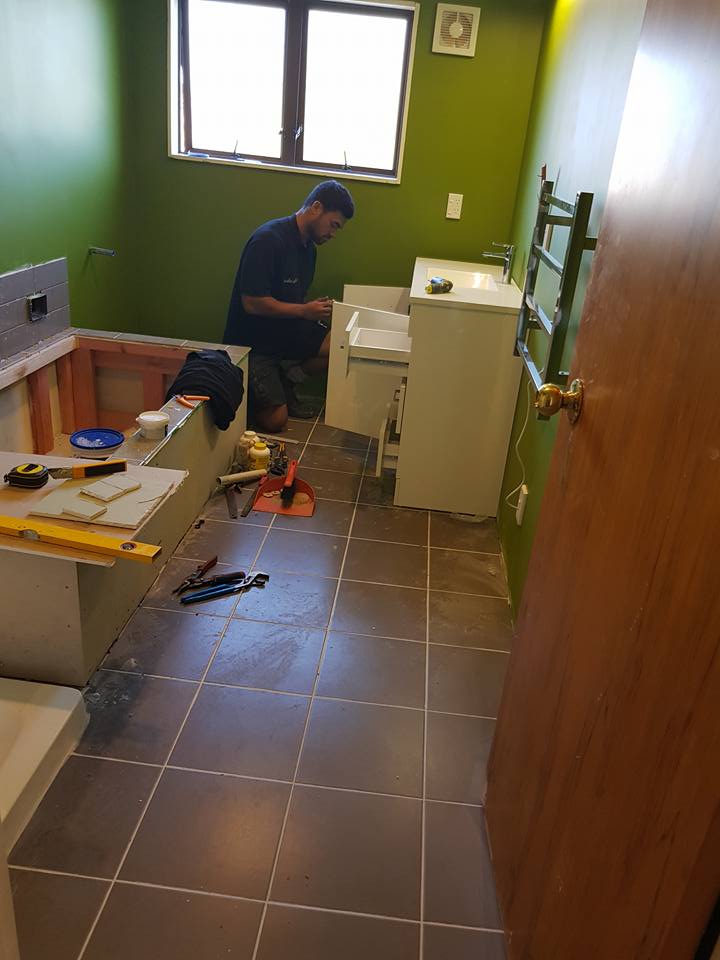
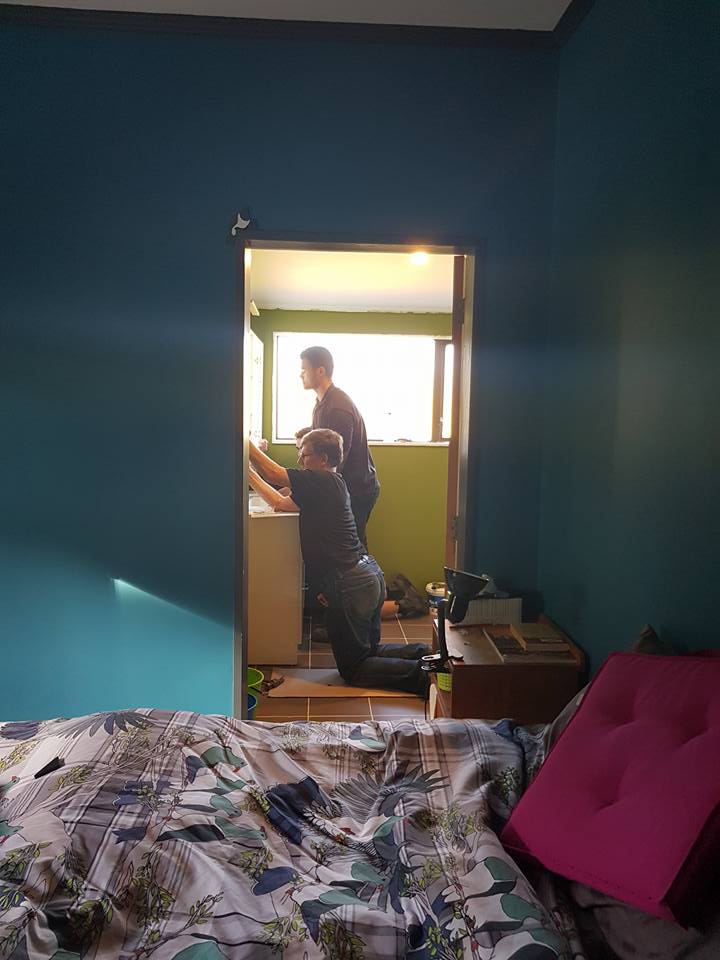
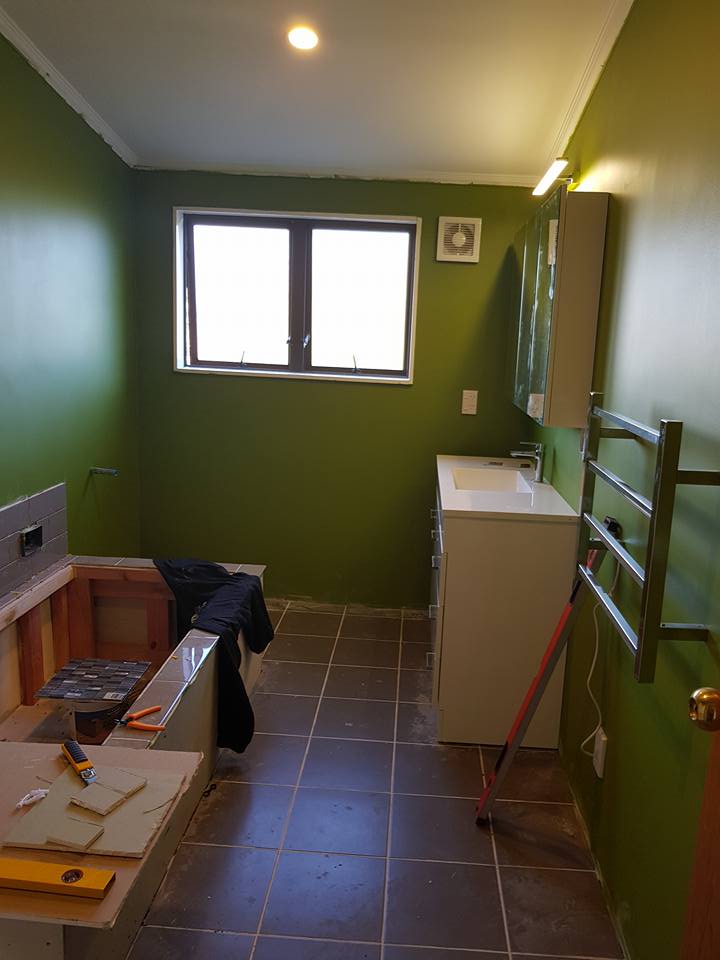
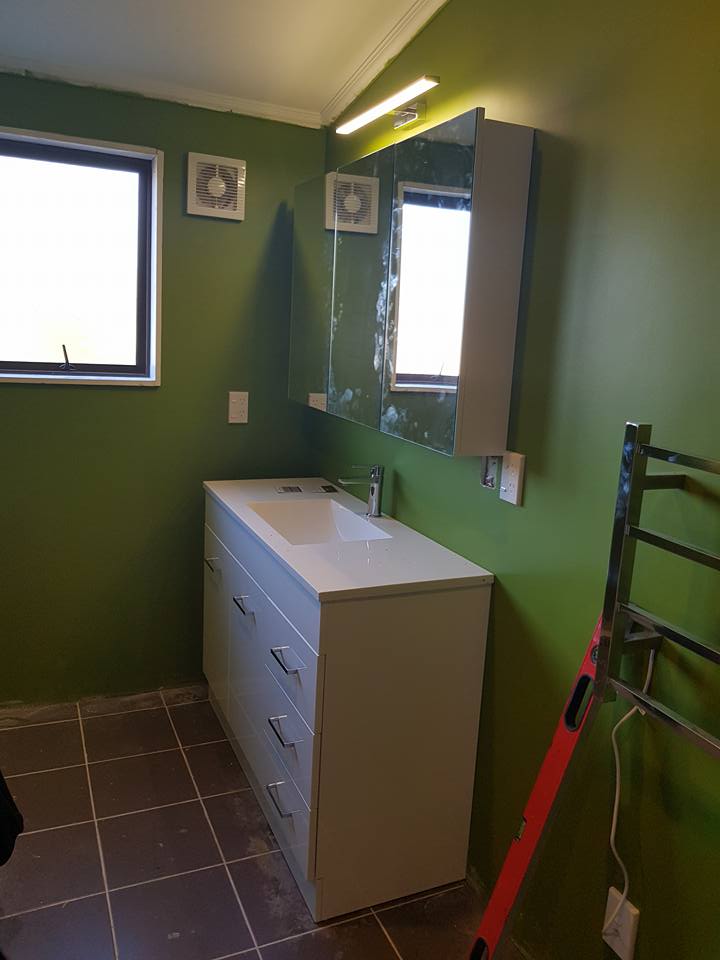
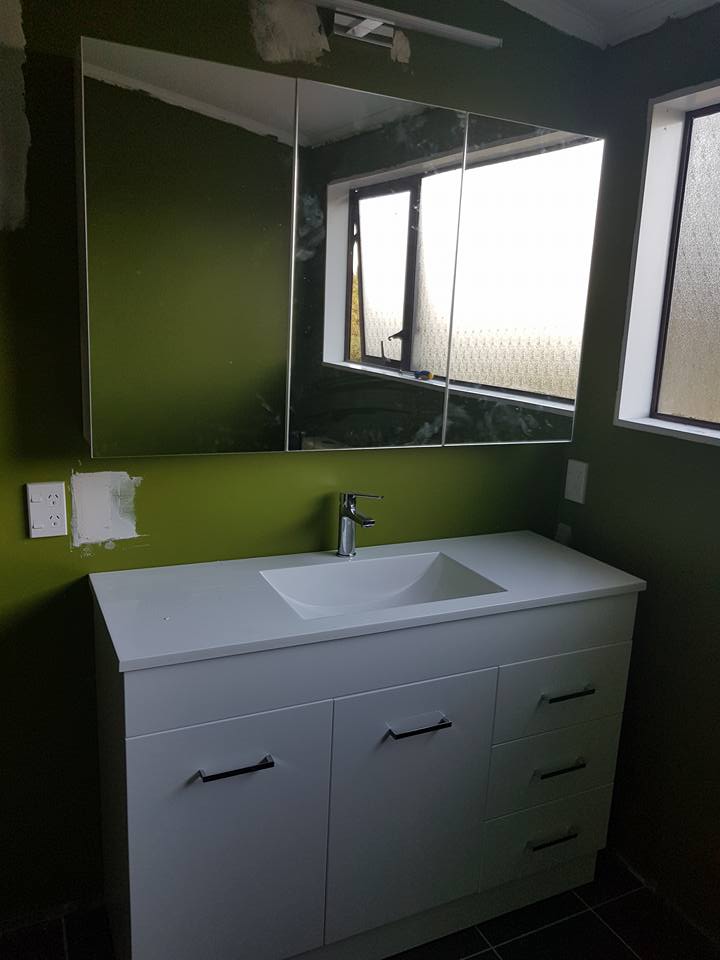
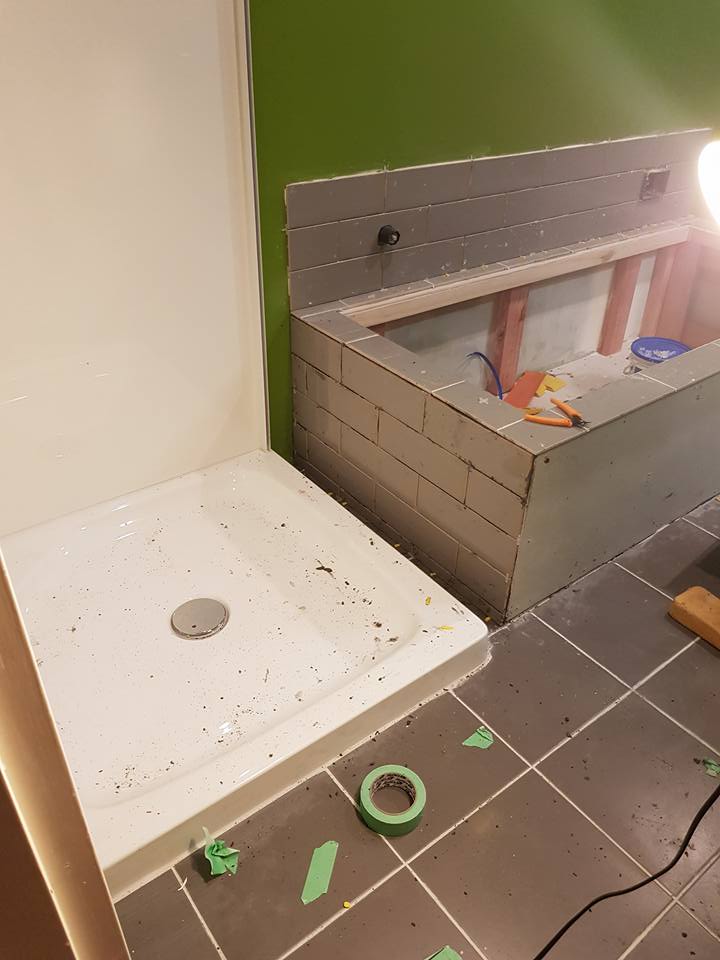
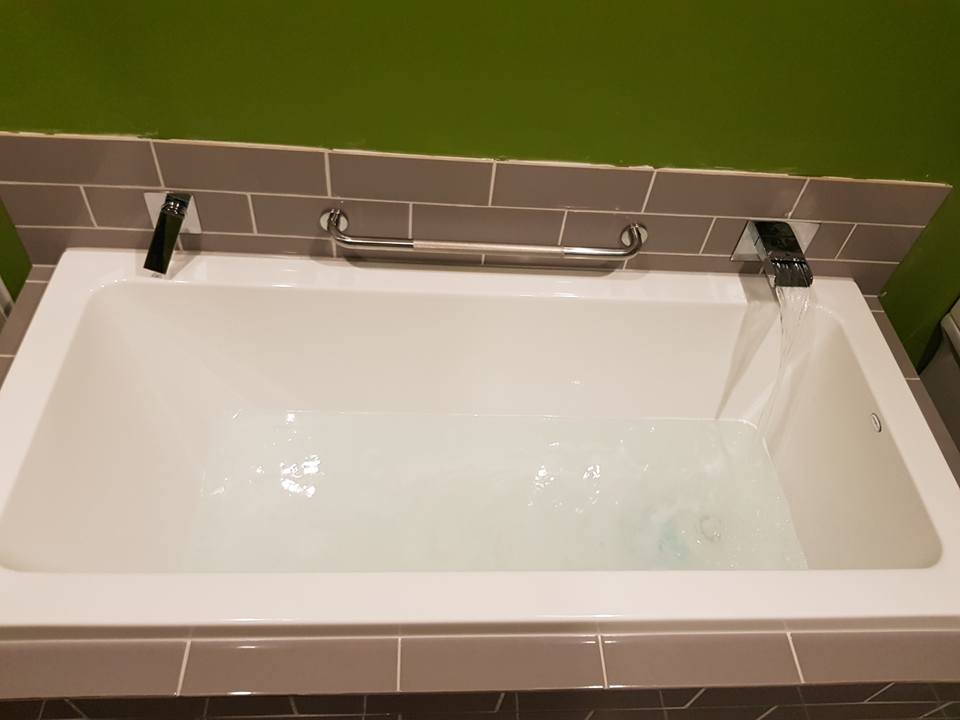
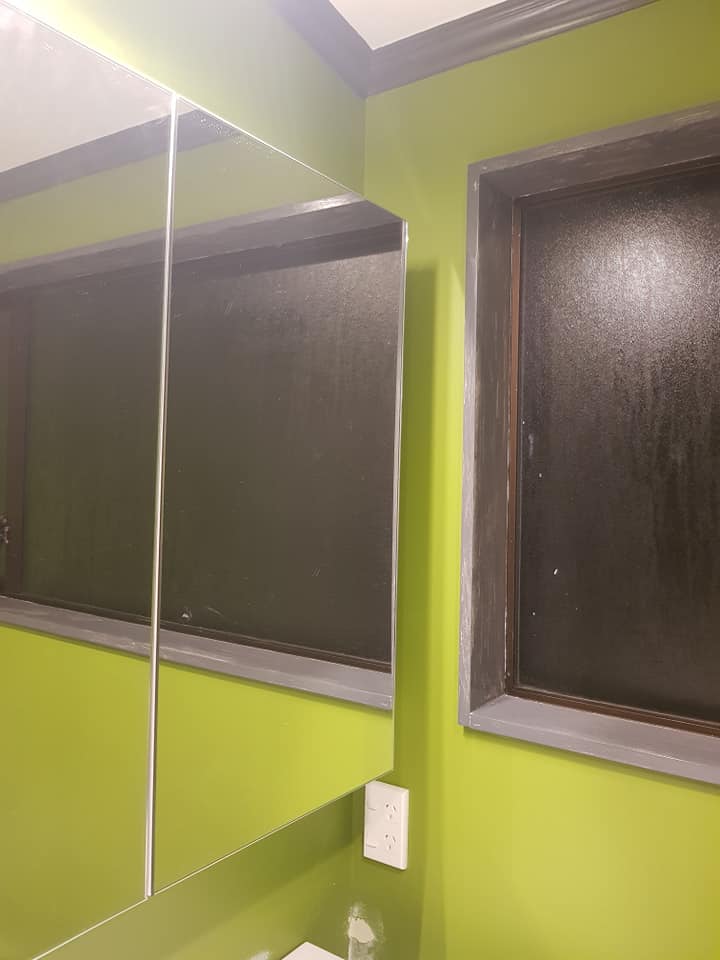
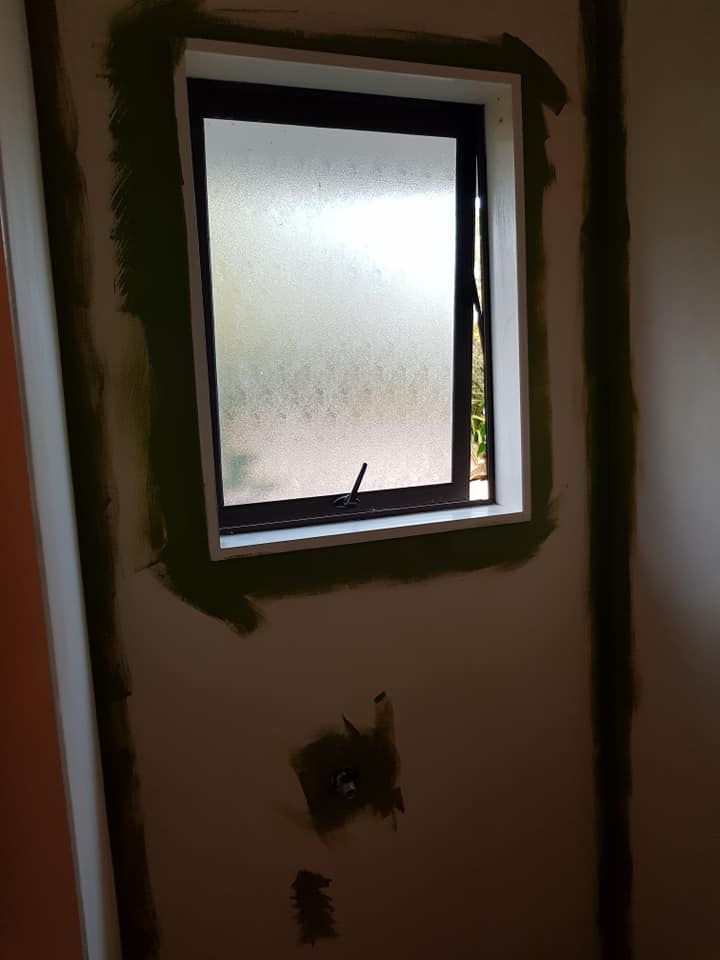
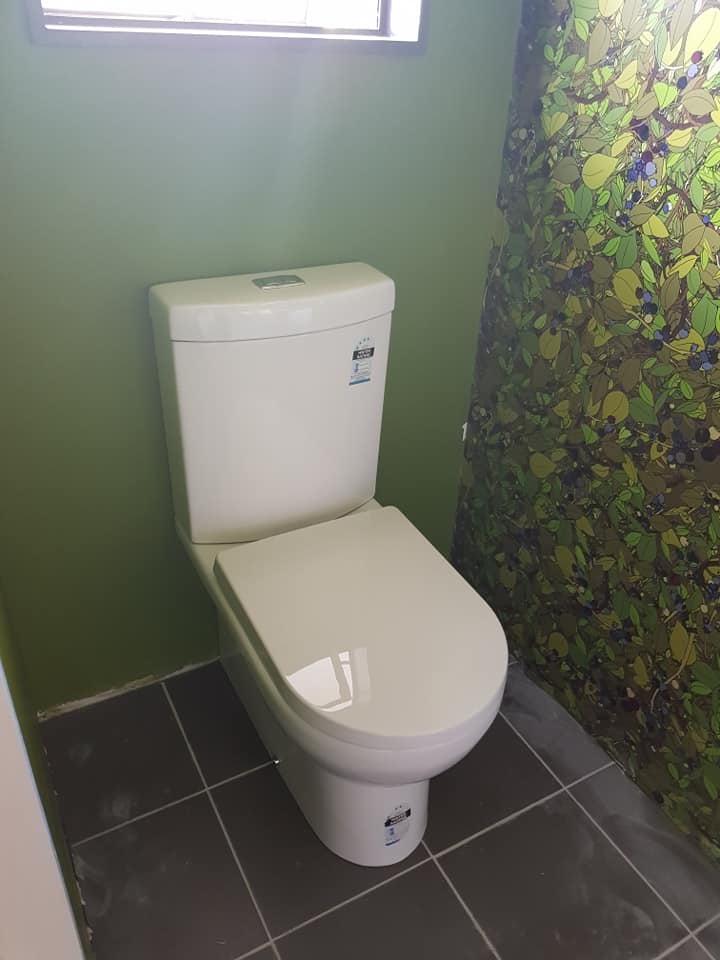
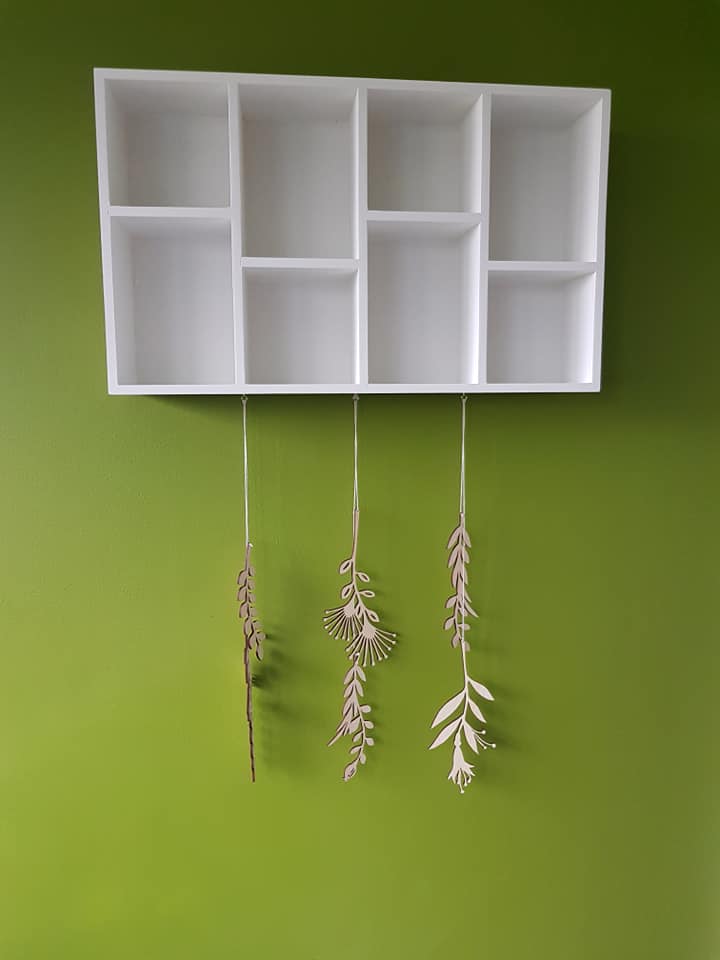
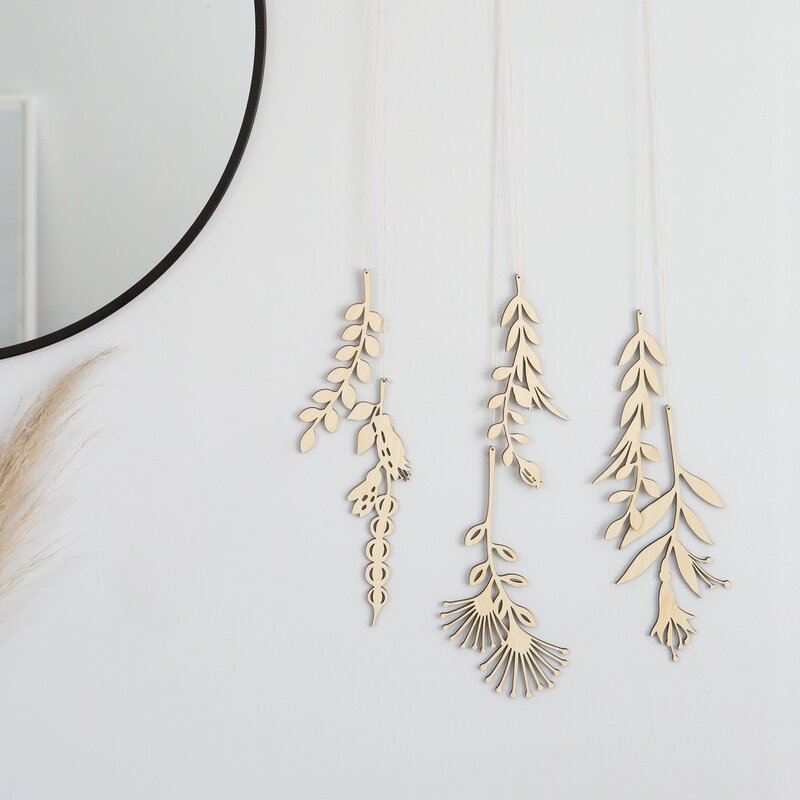
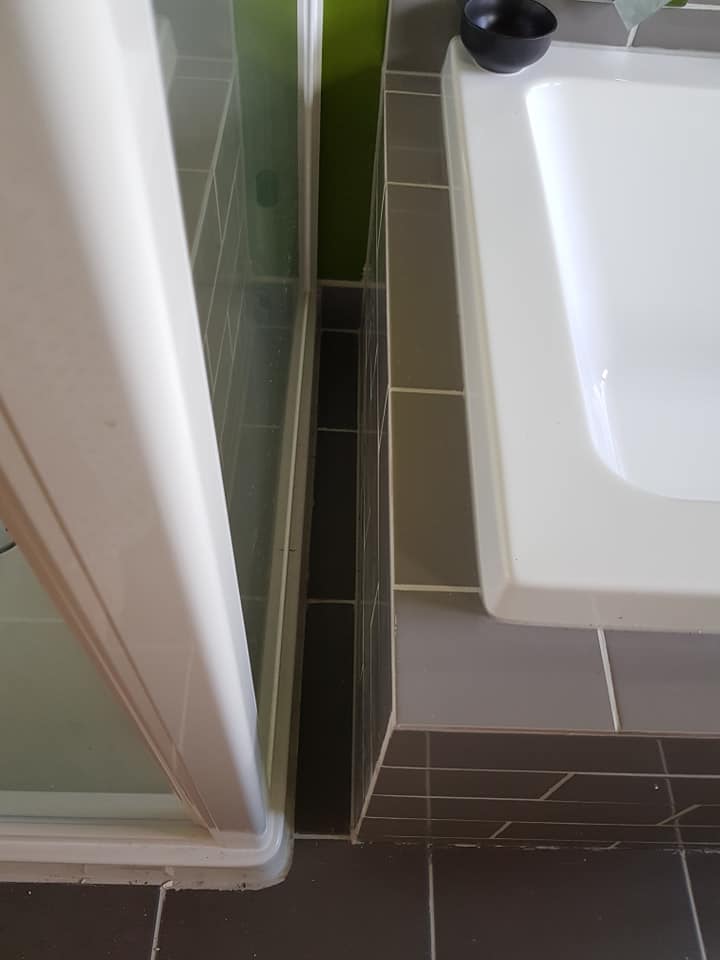
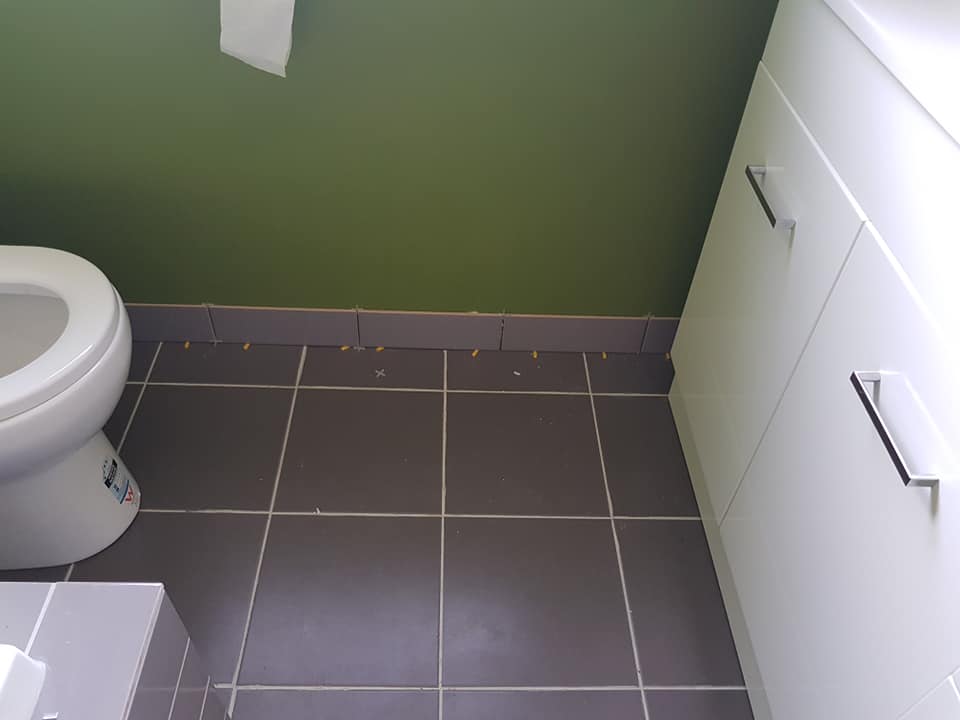
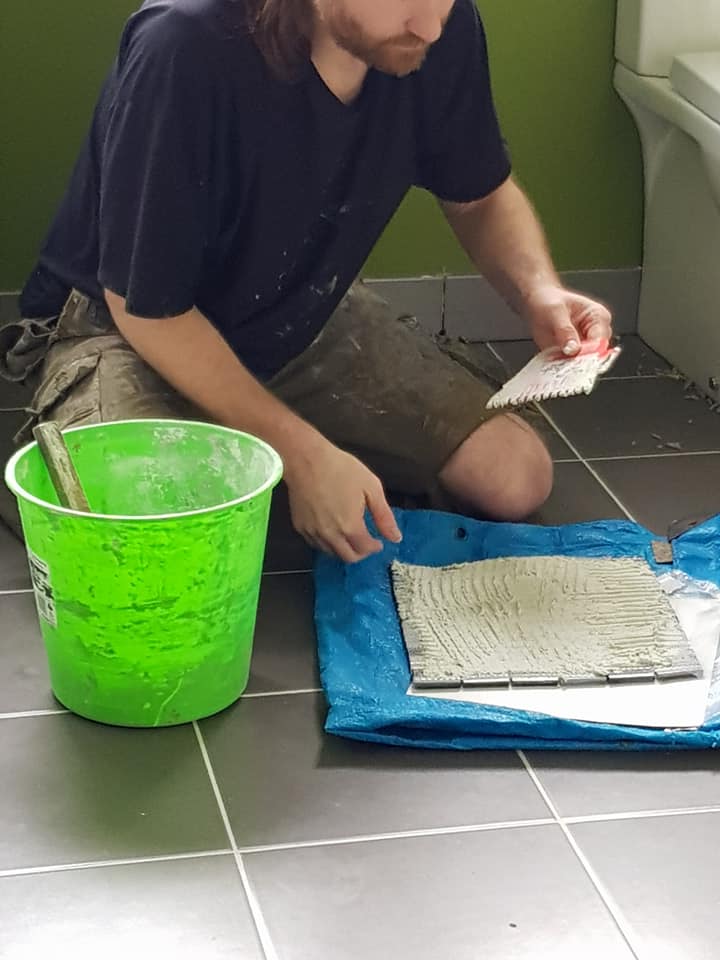
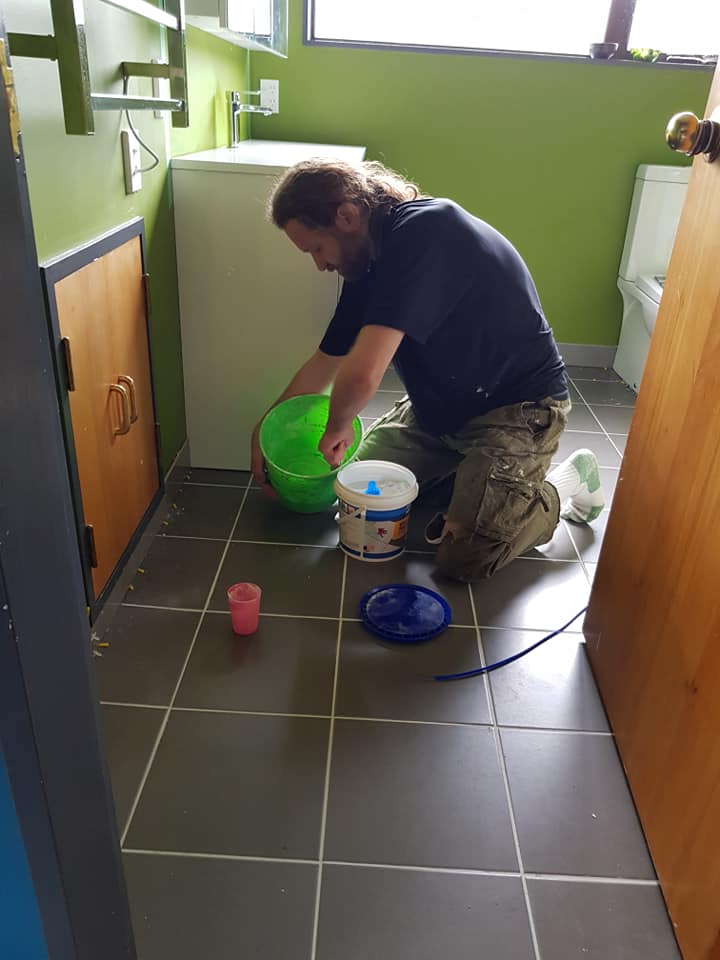
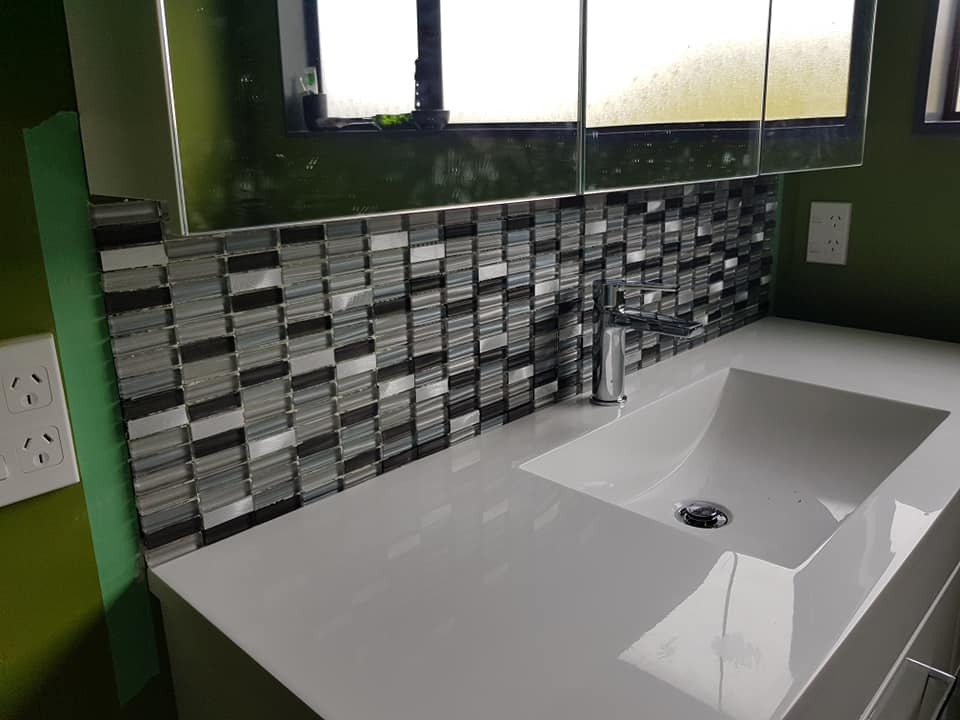
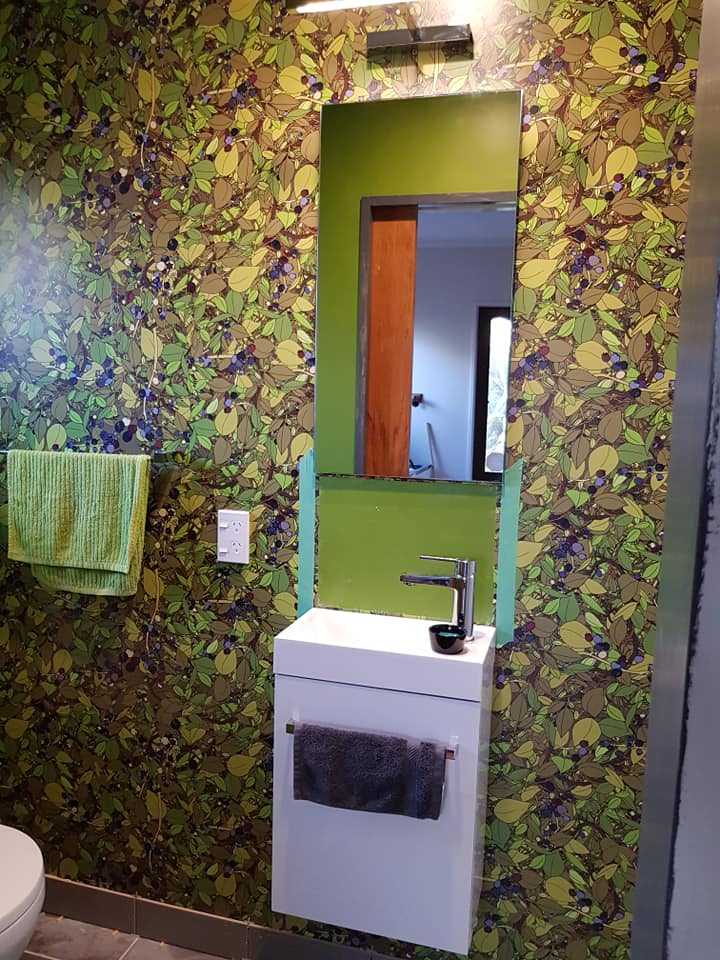
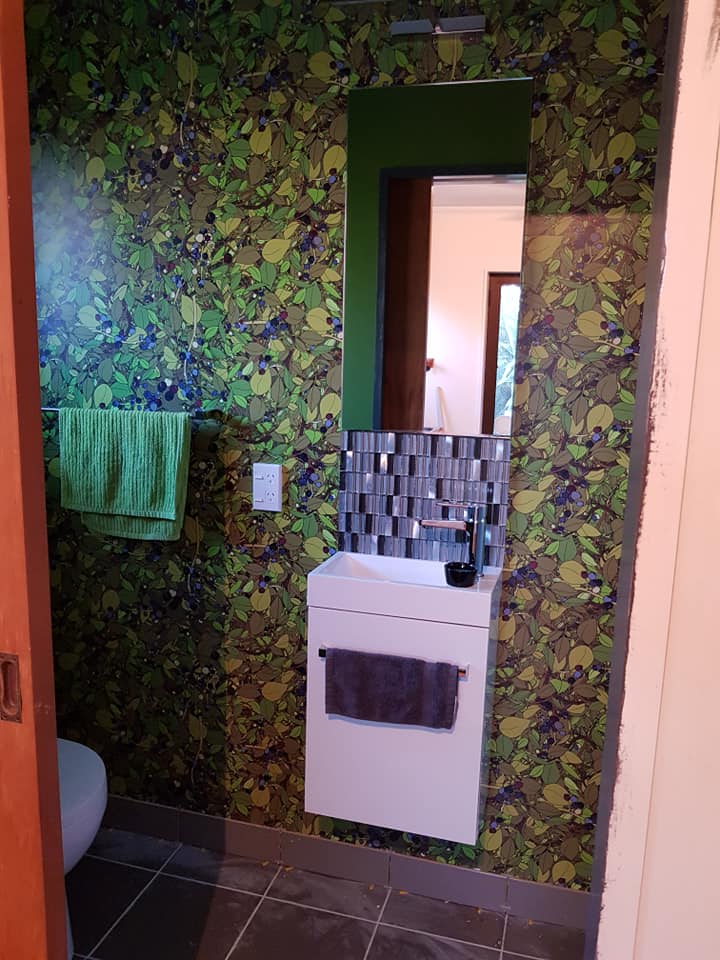
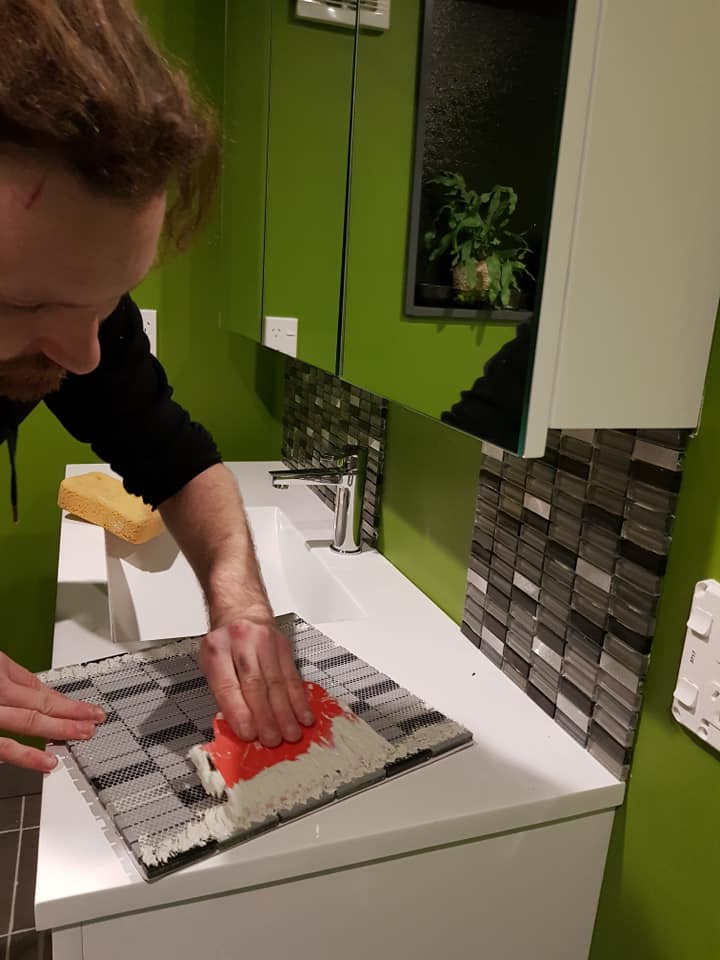
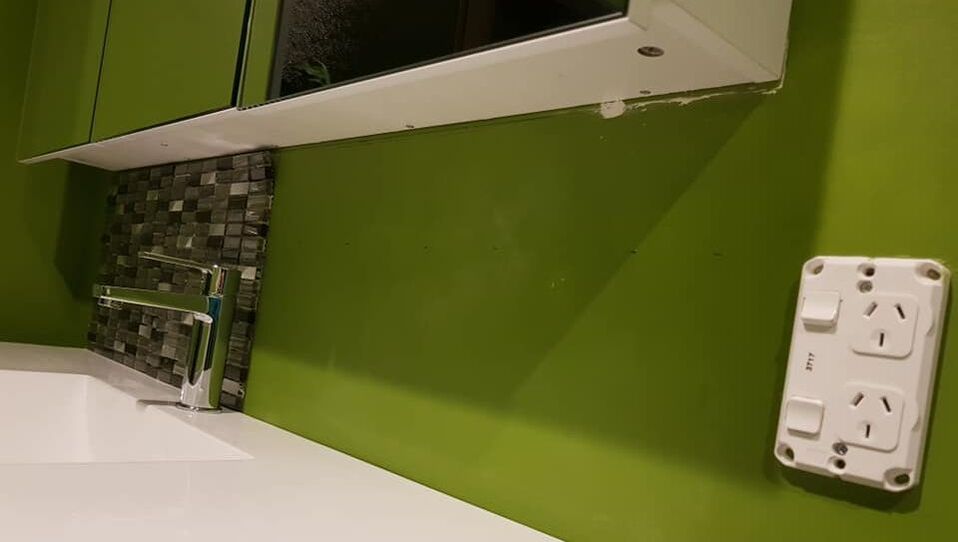
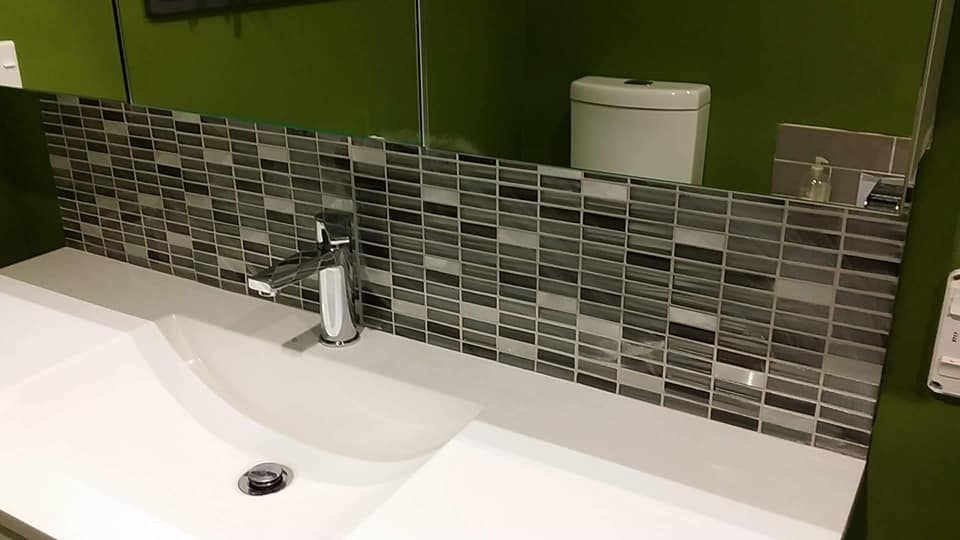
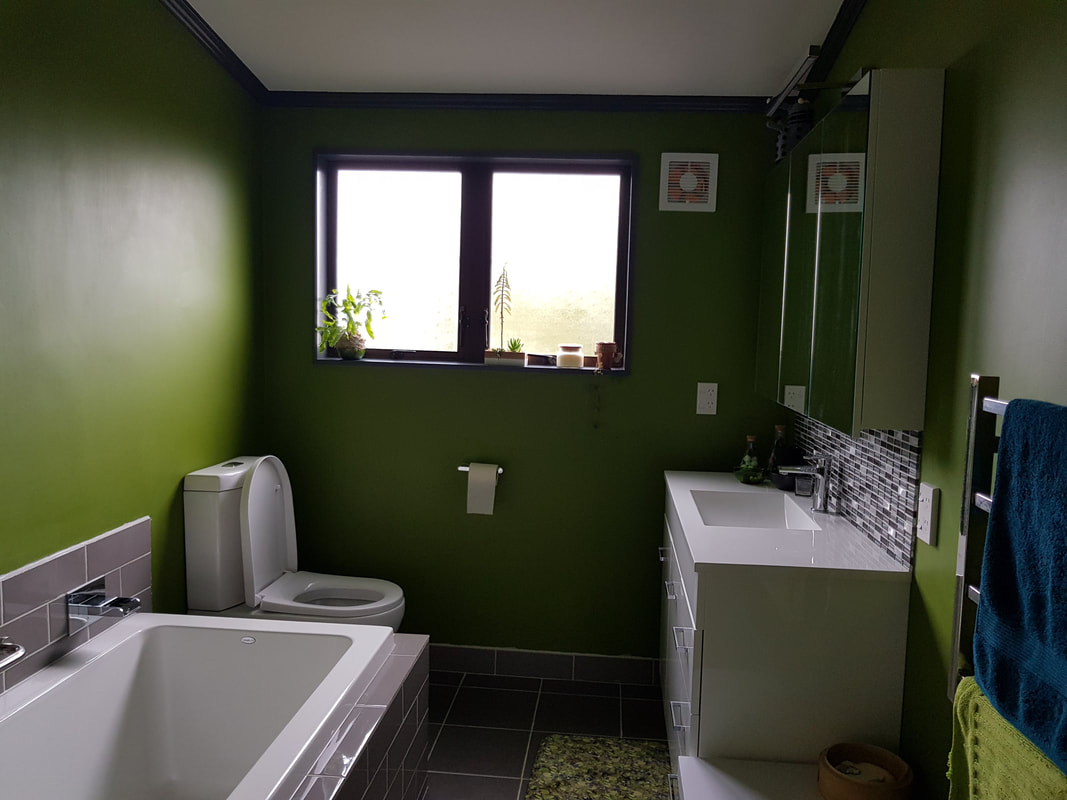
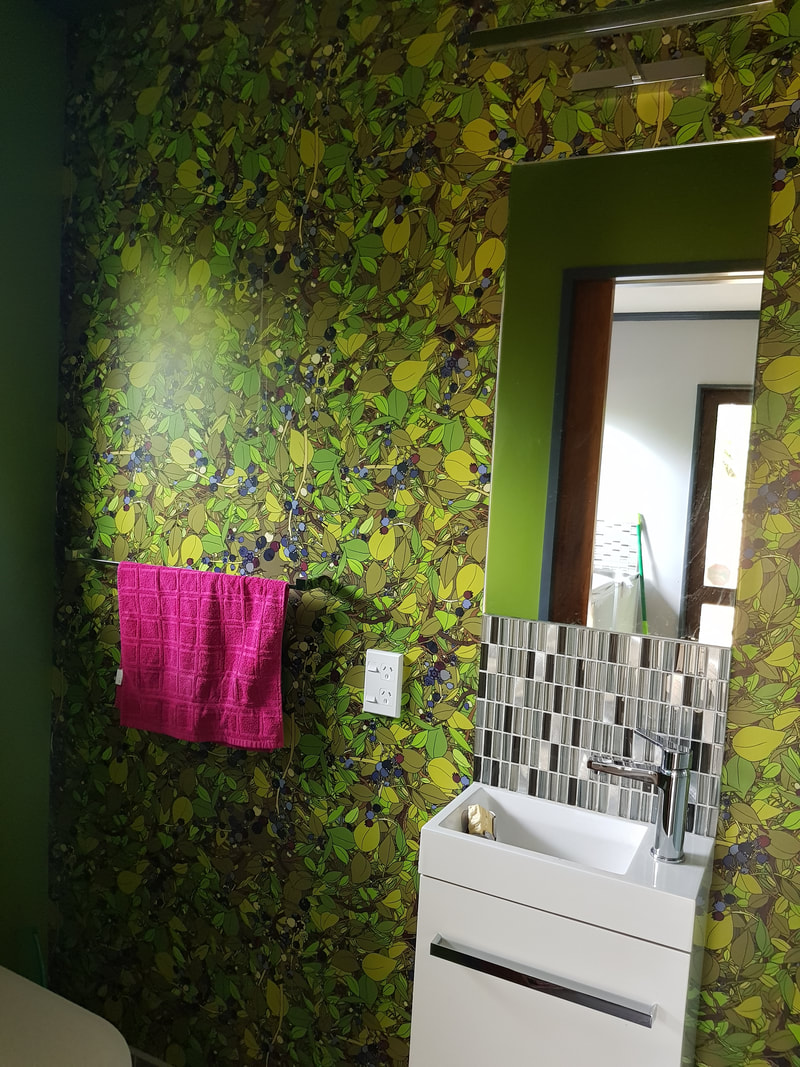
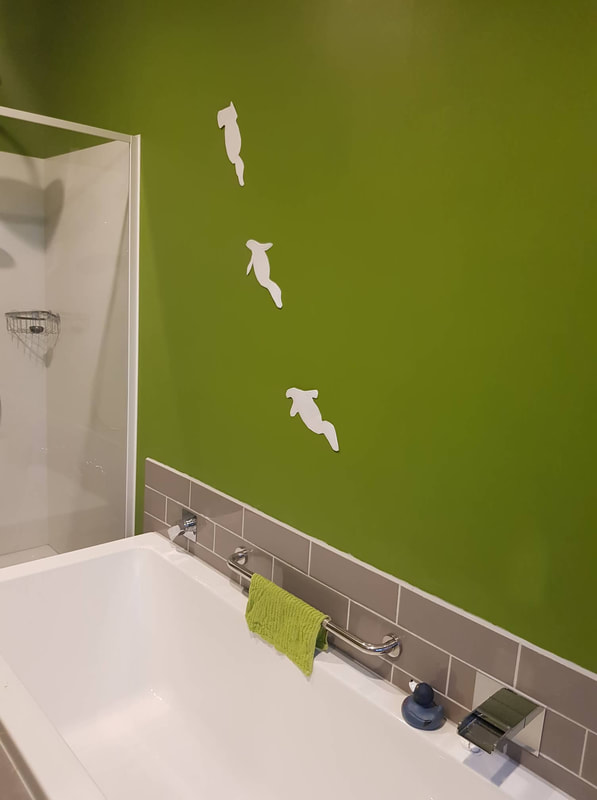
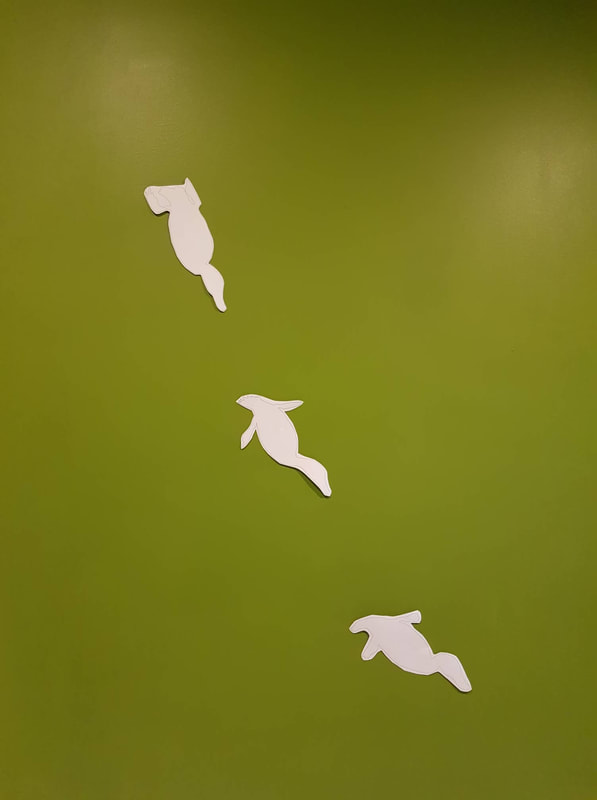
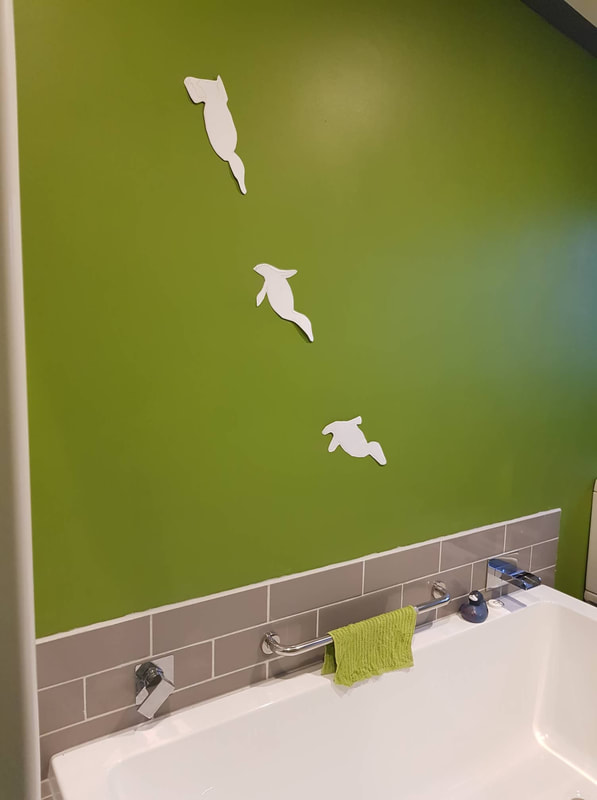
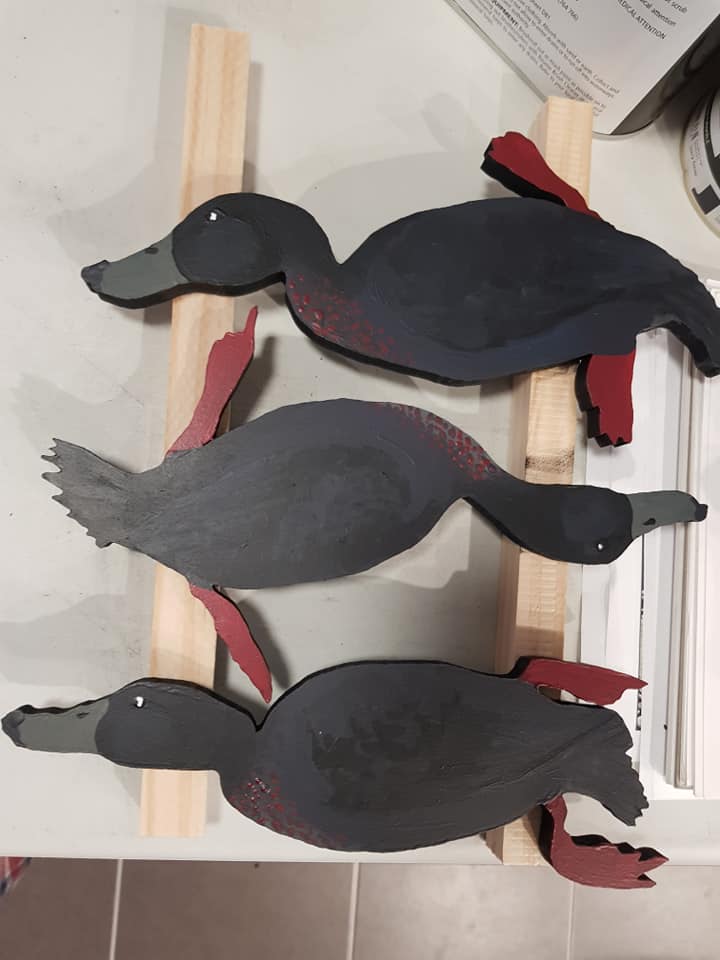
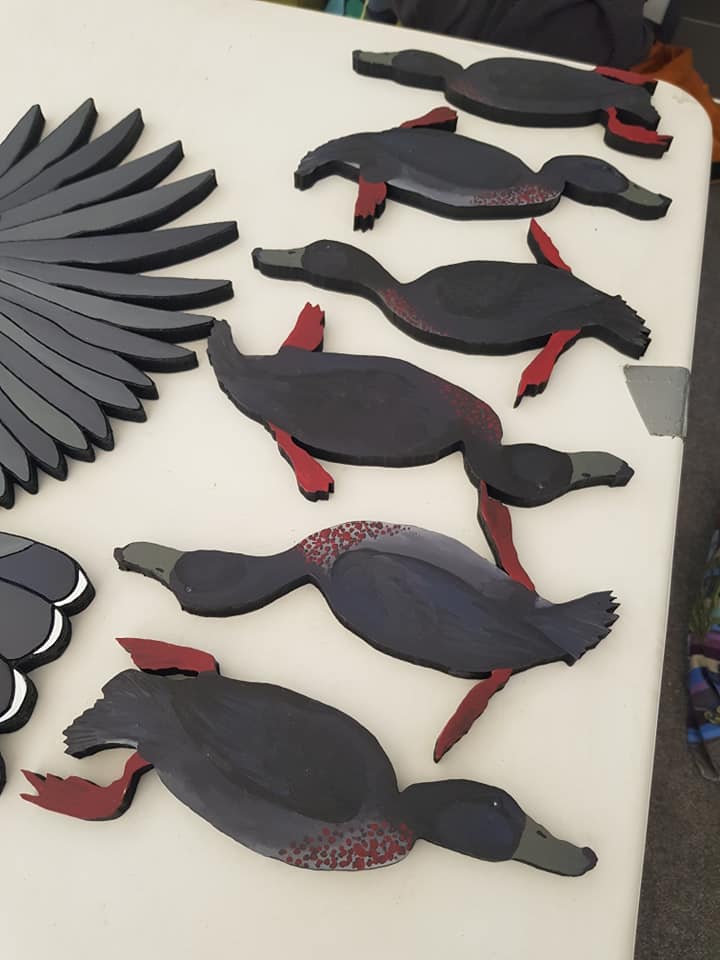
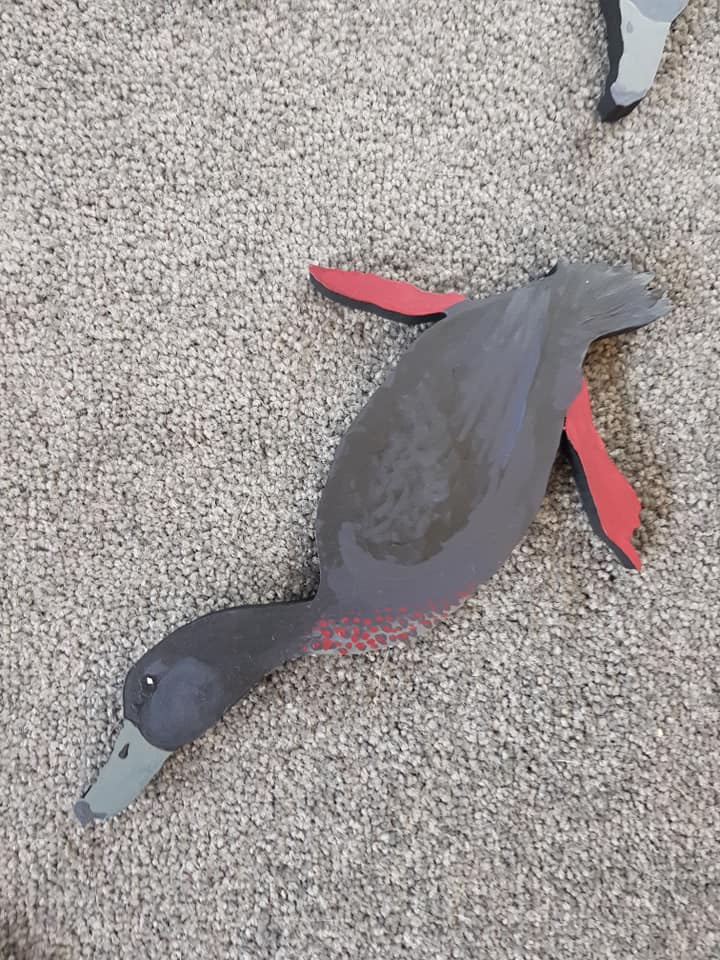
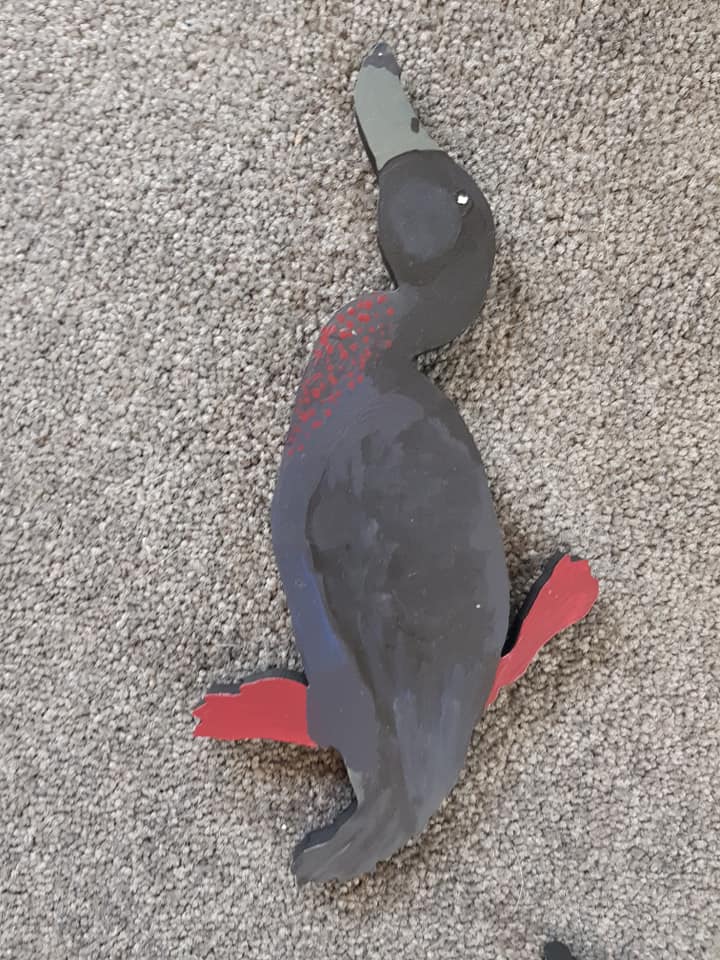
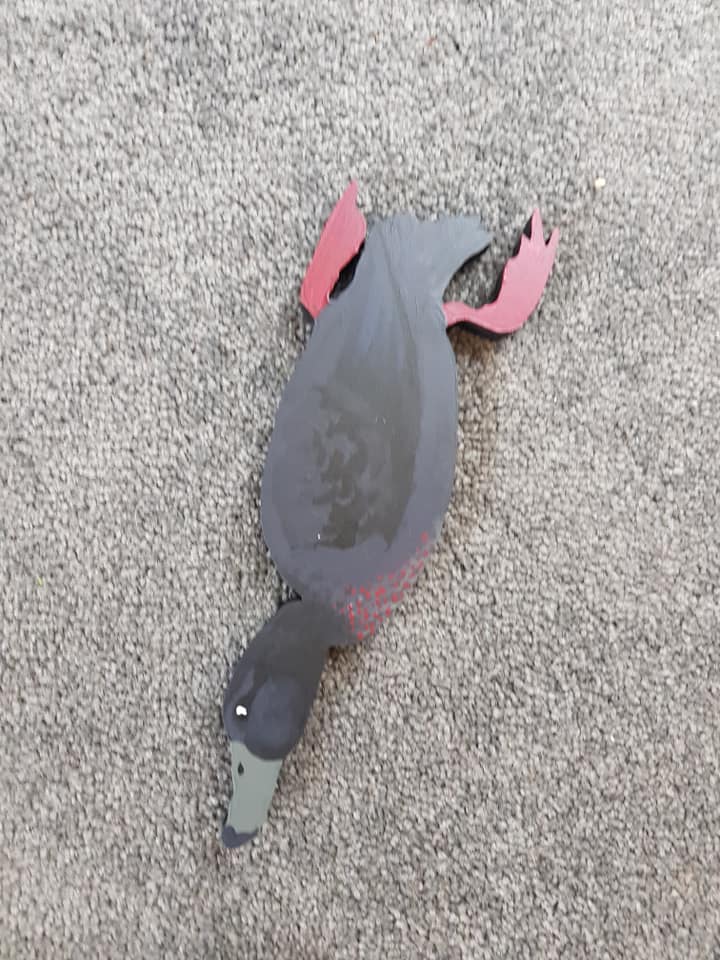
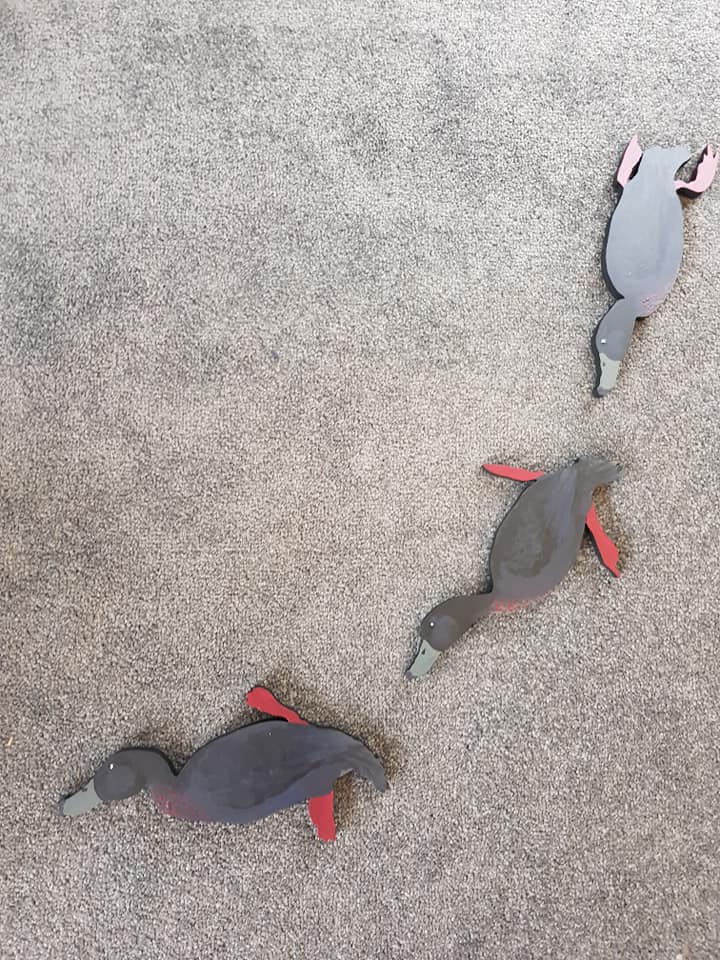
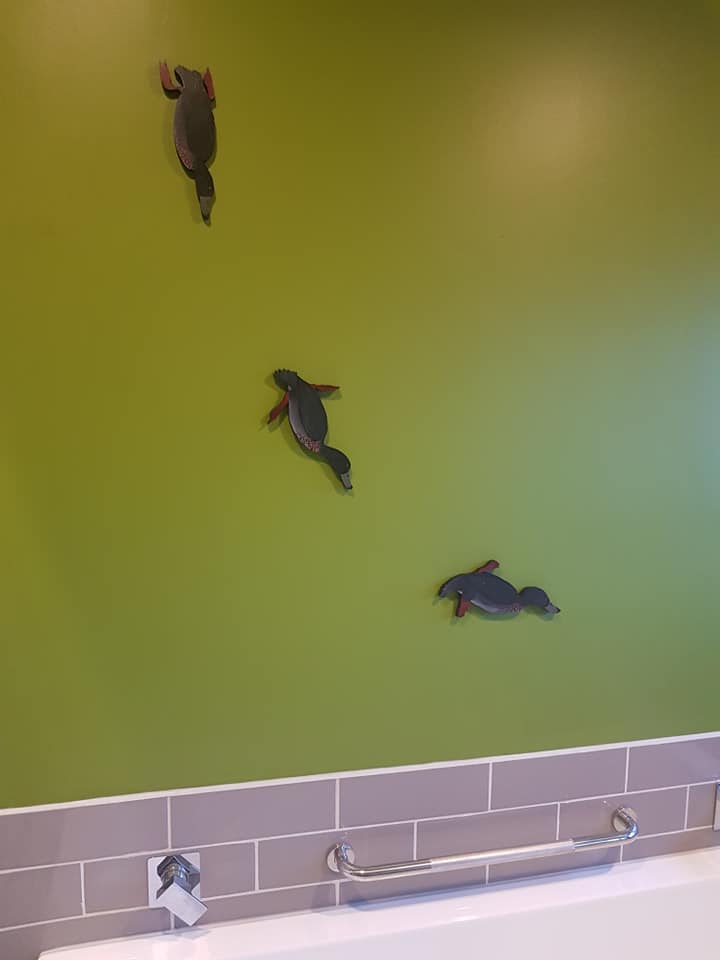
Whio – the diving duck

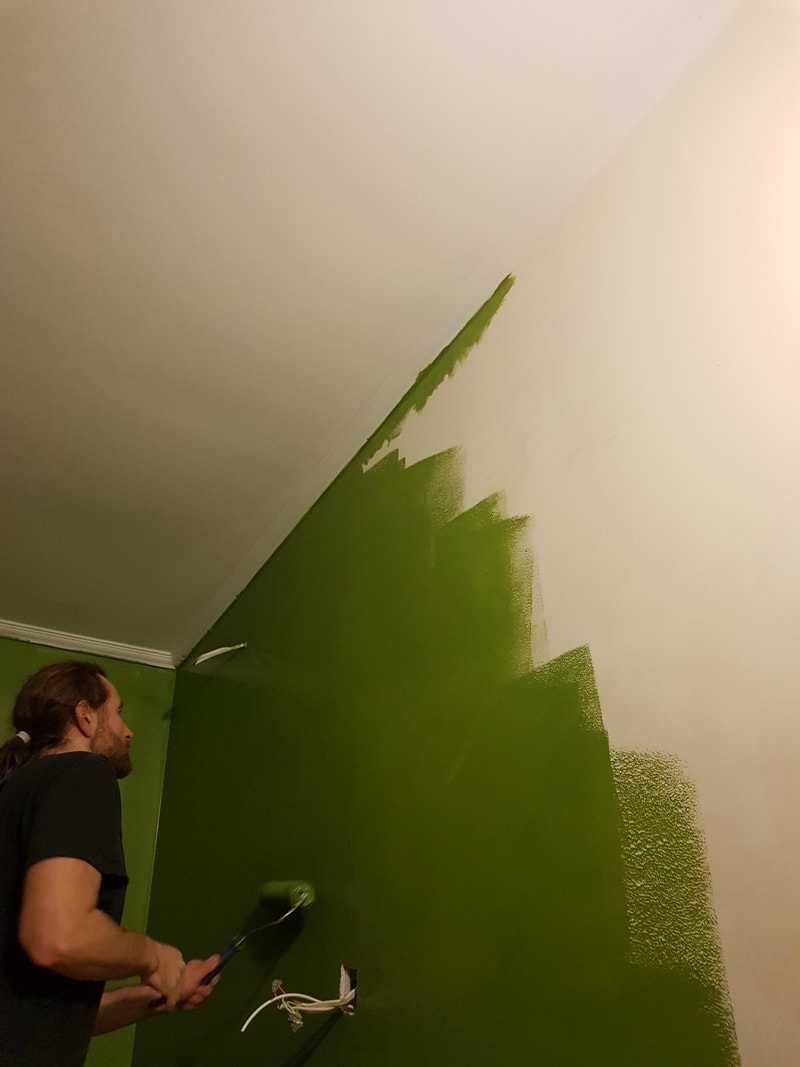
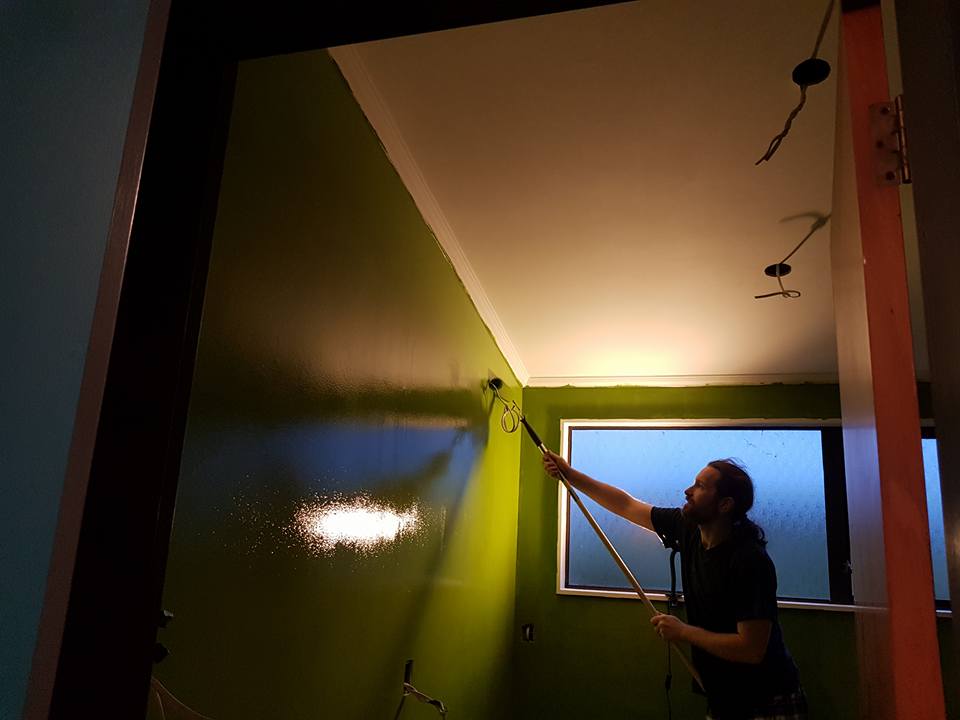
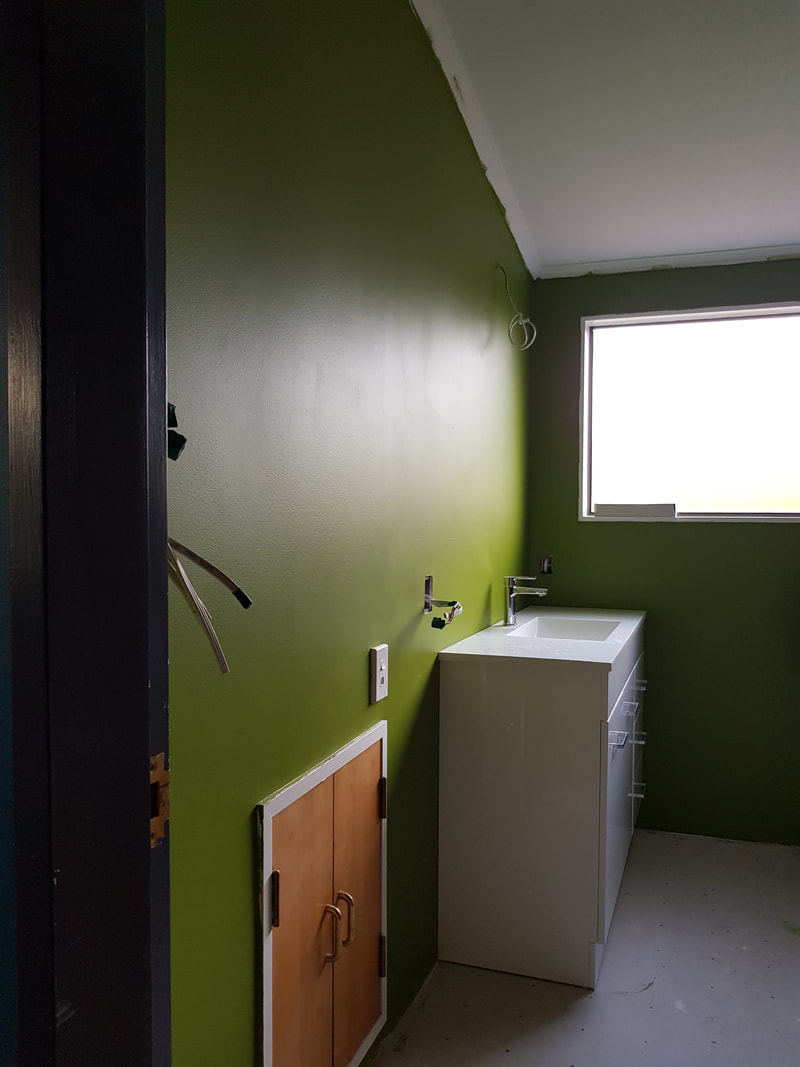
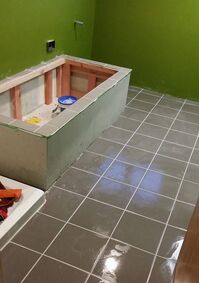
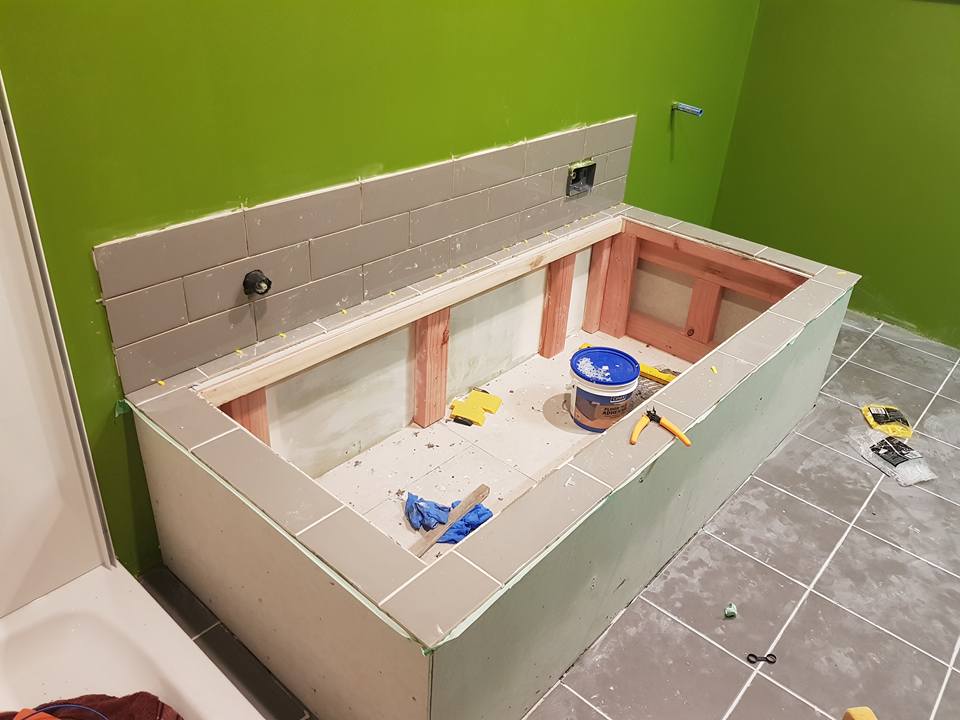
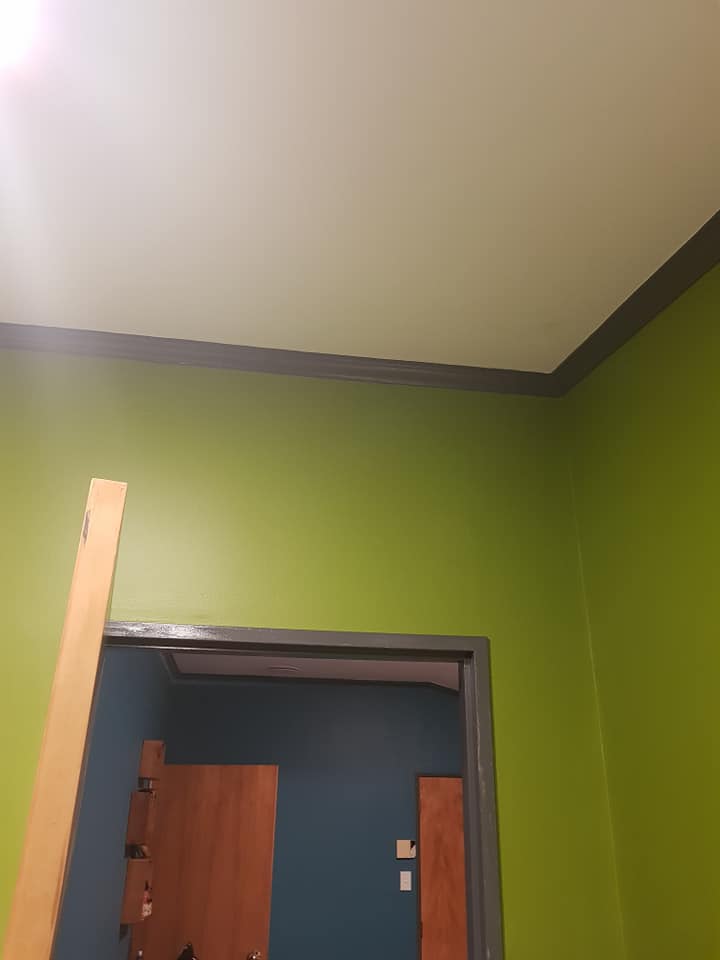
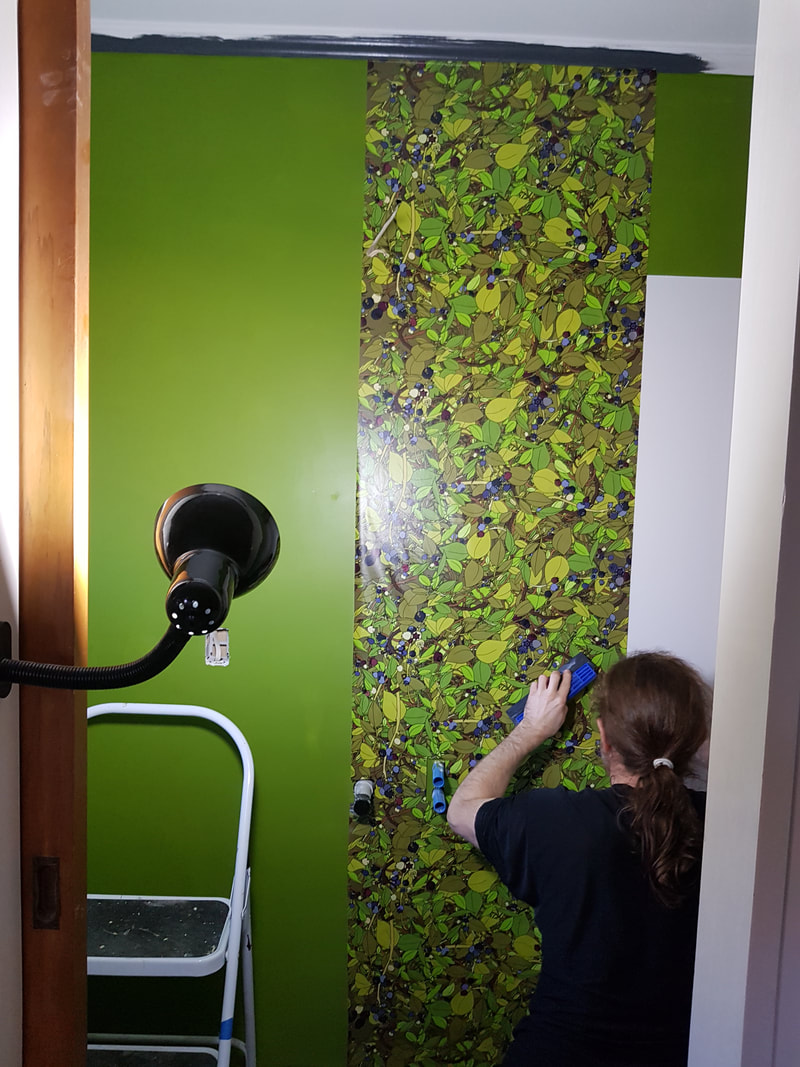
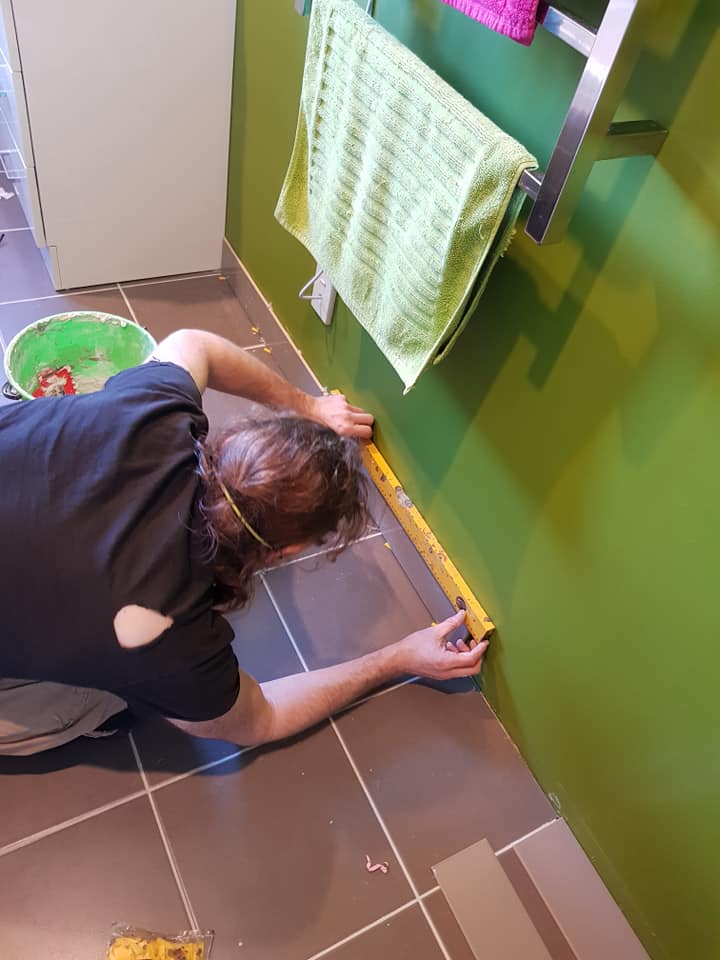
We knew that our bathrooms still needed another coat of paint, so until that was done, the whio for the wall were not urgent. Once we had completed that wall painting, though, it was definitely whio time, so the first thing I did was print out paper mock-ups to test the size on the wall. After a few weeks of living with them, I was sure that the scale was correct, so we were able to order that size with confidence.
Picture

Picture

Picture

Picture

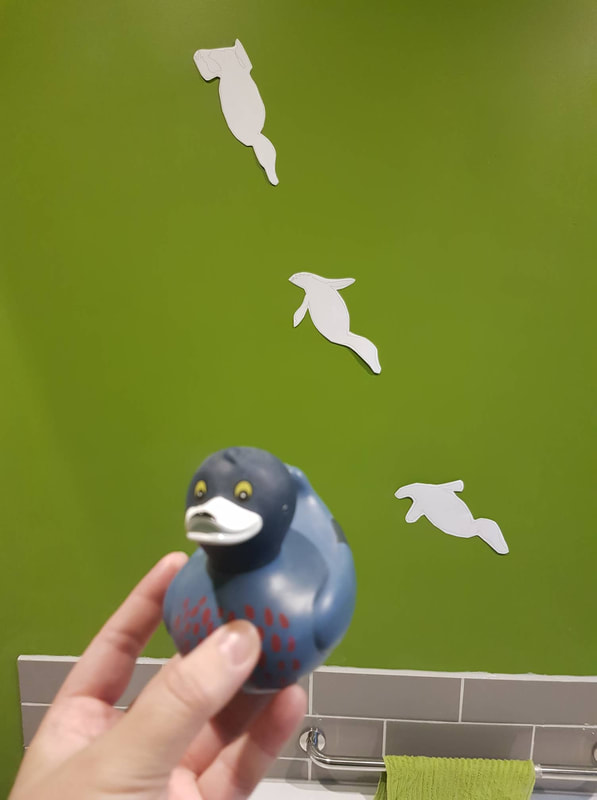
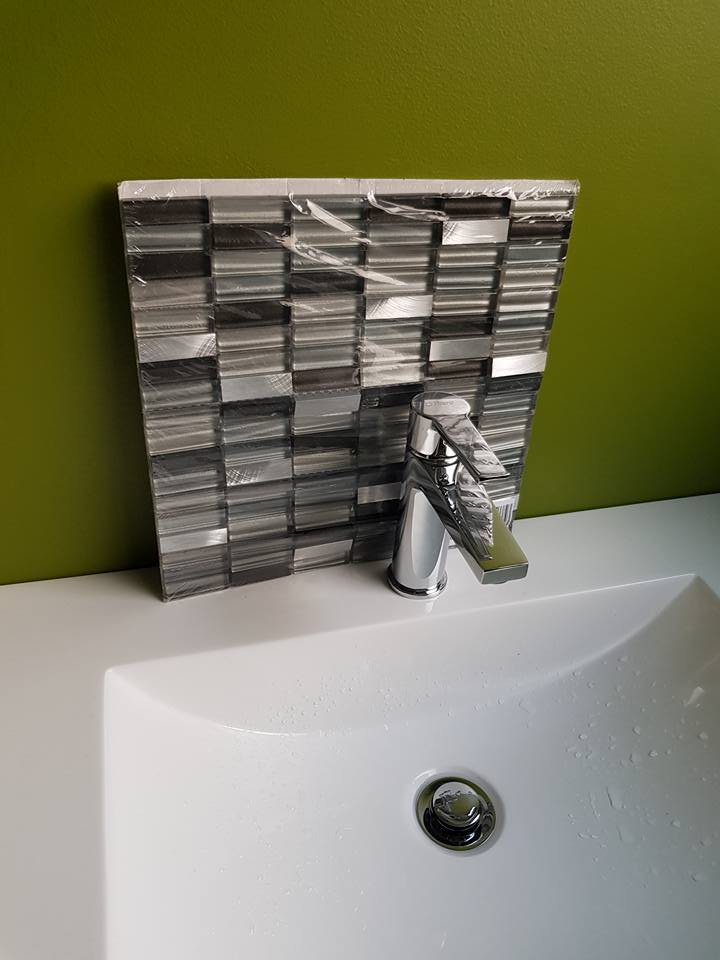
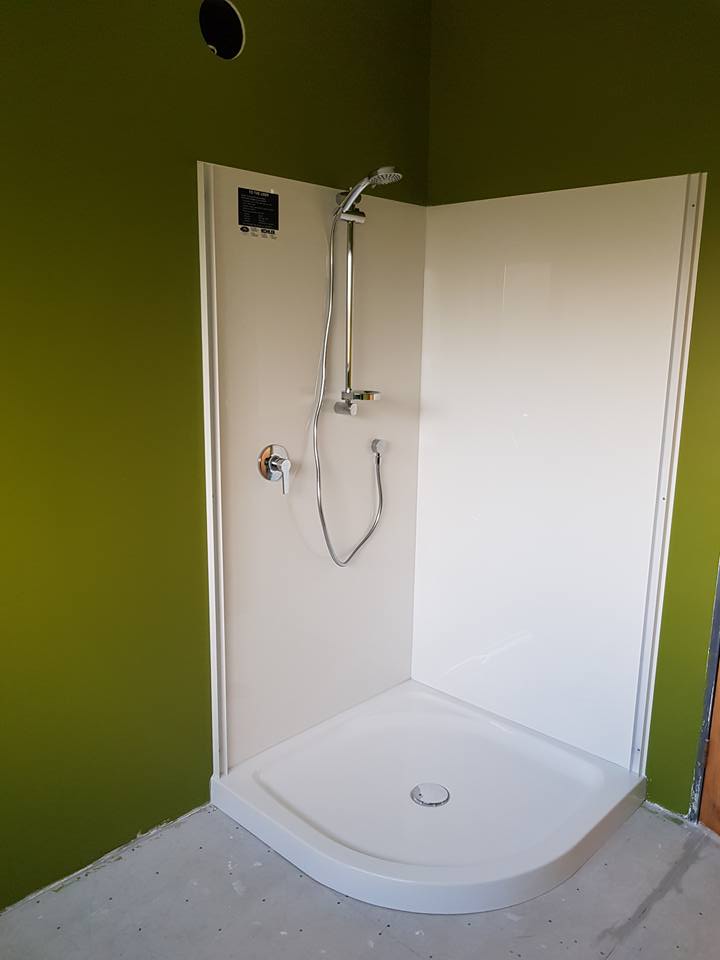
Whio are the theme for this bathroom
Picture

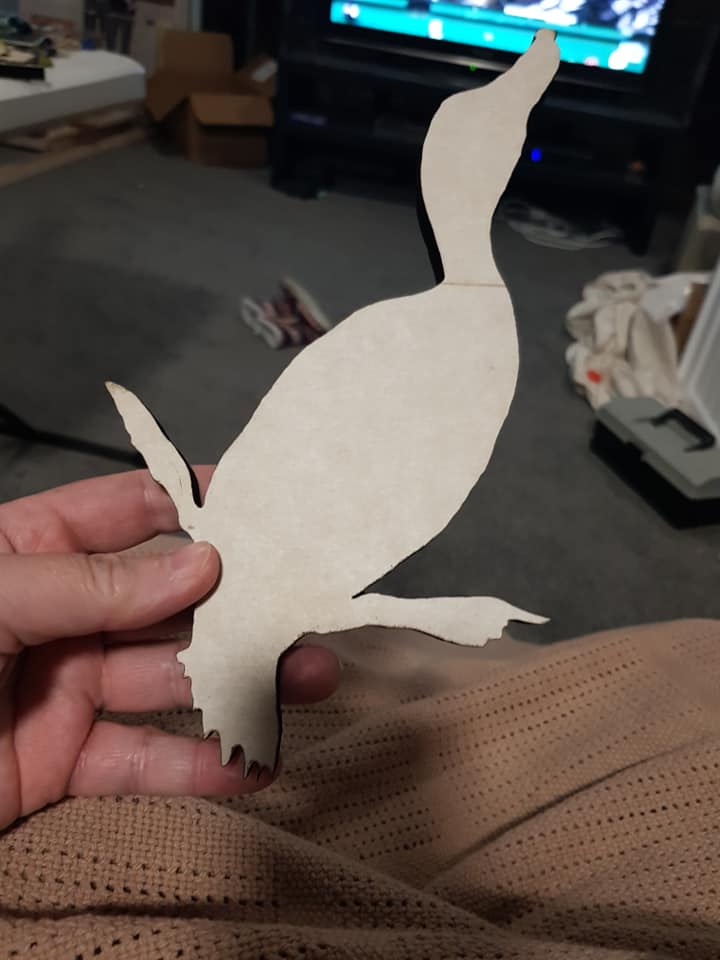
One of the laser-cut whio, ready to peel and paint
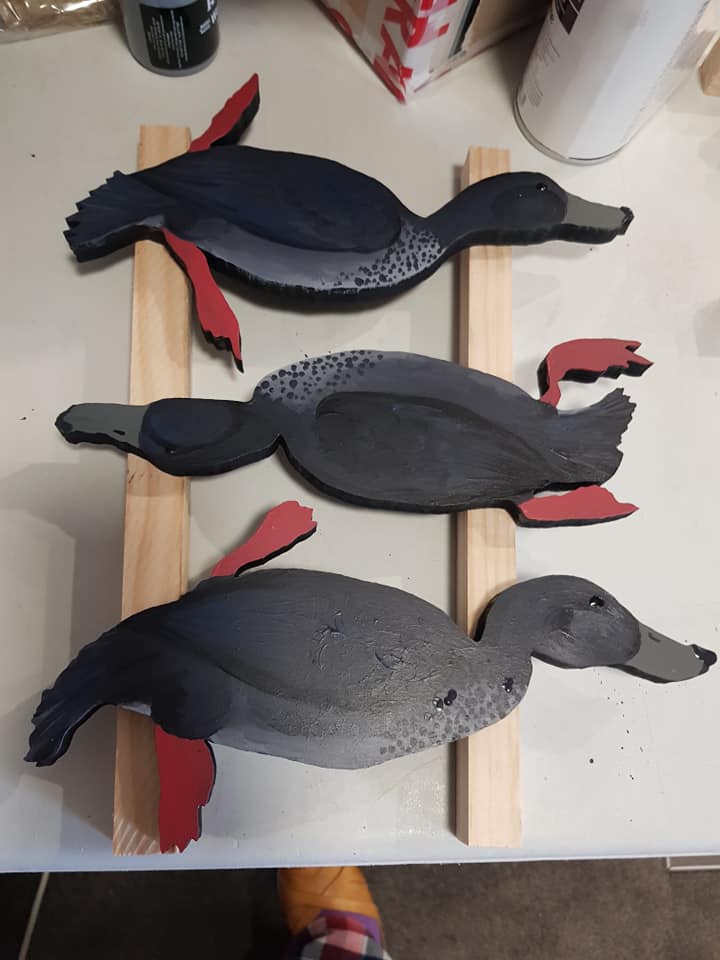
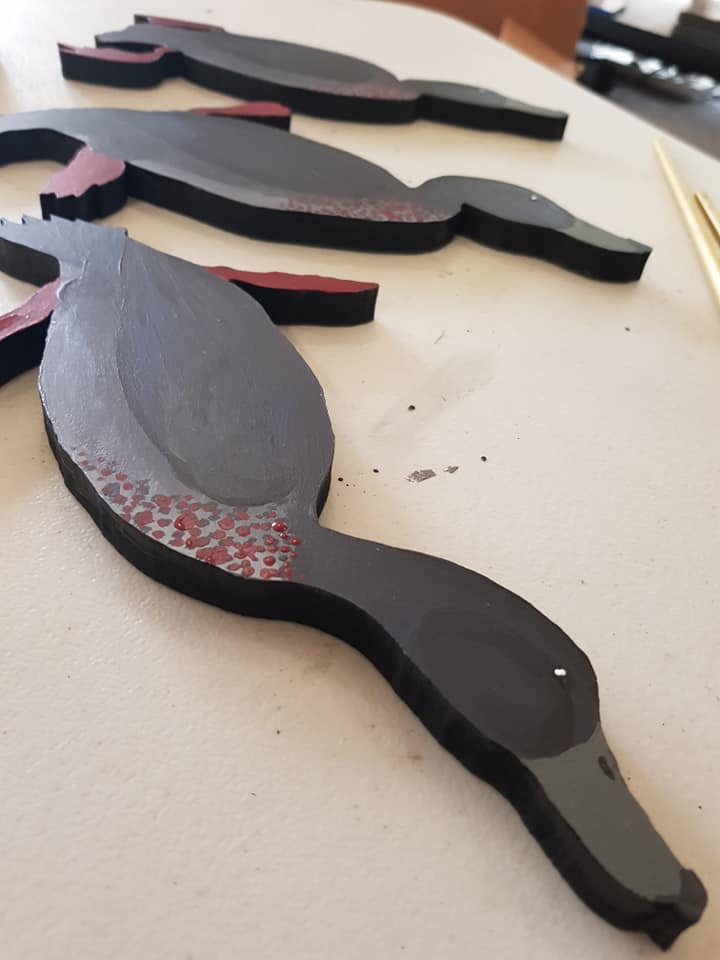
As with the other pieces, I painted all of the whio black to seal the MDF, which was particularly important for a bathroom!  
Picture

Picture

​Resene Lumbersider is self-priming on timber, so there was no need to prime, and it’s house-paint, designed to weather our fairly extreme conditions, so it was a pretty safe bet for a room that doesn’t get very steamy ( we only use it for baths). We did overcoat with a clear coat to protect the paint a bit more, though.
Picture

Picture

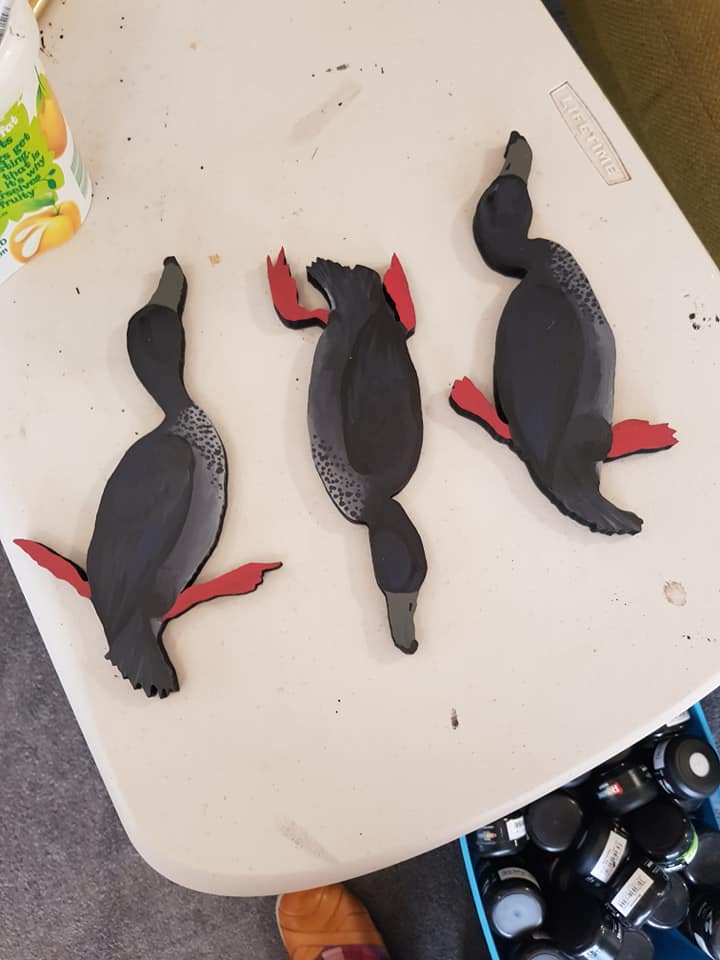
I painted one set diving left to right, and one diving in the other direction, to keep things interesting.
Picture

Picture

Picture

Picture

Picture

Picture

Picture

Picture

Picture

Picture

Picture

Picture

A few coats of gloss to finish off

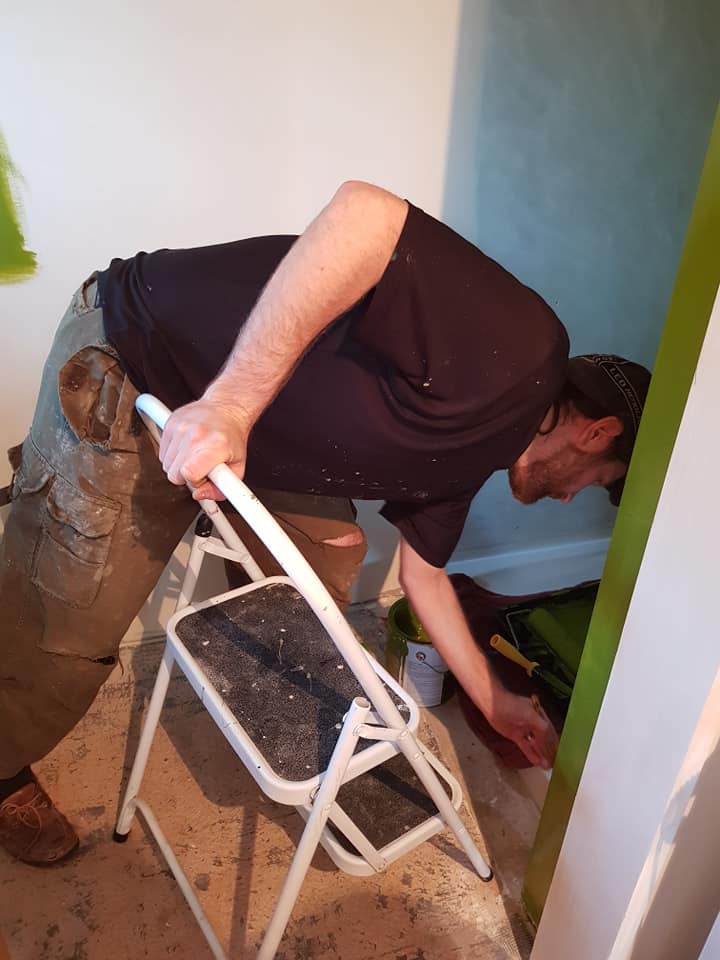
El Huzbando is the king of spraying, so while I can do a decent job, it’s usually best for him to do it when it matters.
Picture

Going “live”

We were honestly quite bowled away by the positive response to these designs – private posts and public posts alike got some really positive feedback. Thank you all again for making us feel so good about our little project – especially to those who bought our test pieces!

Coming soon…

Keep an eye out for our all-year-round decorations, which are also perfect for tree ornaments or gift tags that are part of the gift!
Posted on Leave a comment

Aviatrices

New design celebrating 17 famous pilots

We are attending the Yealands Classic Fighters Omaka airshow in Blenheim, New Zealand, as our last big outdoor event before we transition to winter indoor markets, and their theme this year inspired me to revisit my old “aviatrices” design from back in the day.

My Phersu Dancing Aviatrix designs

While I was still operating as Phersu Dancing, one of the first designs that I drew myself to use in my jewellery was my aviator range.

Throughout the history of aviation, there have been names that stood out and have been remembered – and many of them were women!  To celebrate this, I made a series of portraits which were available for purchase in the full range of glass jewellery.

I drew Amelia Earhart, Amy Johnson, Jean Batten, and Bessie Coleman, as well as the Red Baron.

It’s times like these when you realise just how far you have come! My style has eveolved so much that, even if I could locate the originals, I simply couldn’t re-use these drawings – it was time to start again. 

Choosing my subjects

There are a staggering number of women who have contributed to the history of aviation and been recorded in the annals of history – and many more, certainly, who have not. I used this Wikipedia article as a starting point in my triage, then came across this useful list. I refined my shortlist even further, but I still had far too many options, far too many to draw, but I was having trouble deciding on my selection criteria. I decided to follow my colouring book format, and select 17 subjects.

The portraits

Eventually, I narrowed it down to 17 women over the history of aviation, who made important contributions – and had good photos available , so that I could get a good sense of their faces. Here they are, in chronological order by date of birth.

Raymonde de Laroche​

France, (1882-1919), first woman in the world to get a pilot’s licence.

​Katherine Stinson

USA, (1891-1977), “Flying Schoolgirl”, first woman to loop the loop.

​Bessie Coleman

​USA, (1892-1926), first African-American woman pilot, earned her license in France in 1921.

Amelia Earhart

​USA, (1897–1937), first woman to fly solo across the Atlantic.

Beryl Markham

​Kenya, (1902-1986), first woman to fly solo west across the Atlantic, direct from England to North America.

Amy Johnson

​UK, (1903-1941) first woman to fly solo from England to Australia.

​Elsie MacGill, OC

Canada, (1905-1980), world’s first female aircraft designer, known as “Queen of the Hurricanes”.

Evelyn “Bobbi” Trout

​USA, (1906–2003), set many endurance records, and was the first woman to fly all night in 1929.

​Col. Jackie Cochran

​USA, (1908–1980), first woman to fly faster than the speed of sound.

​Jean Batten, CBE, OSC

​NZ, (1909–1982), first solo flight from United Kingdom to New Zealand in 1936.

Elinor Smith

​USA, (1911–2010), “Flying Flapper of Freeport” who was, at age sixteen, the youngest licensed pilot in the world.

Eula “Pearl” Carter Scott

​Chickasaw Nation, USA, (1915–2005), youngest pilot to solo at age 13 in 1929.

​Ola Rexroat

​USA, (1917-2017), only Native American woman to serve in the Women Airforce Service Pilots (WASPs).

Betty Skelton

​USA, (1926-2011), “The First Lady of Firsts”, Aerobatic Champion, and the fastest woman on Earth.

​Col. Eileen Collins

​USA, (b. 1956) former test pilot and NASA astronaut; first female pilot and first female commander of a space shuttle.

Capt. Wang Zheng

​(Julie Wang), China, (b.1972), first Asian woman to circumnavigate Earth in an aeroplane, first Chinese person to fly solo around the world; first Chinese female pilot to fly around the world.

Kimberly Anyadike

​USA, (b. 1994), youngest African-American female pilot to complete a transcontinental flight.
Each of these designs is available on Redbubble, Spoonflower, and will soon be available in jewellery, scarves, and colouring books.
Click the image to shop on the Redbubble site
​Click the image to shop on the Spoonflower site
Click the image to shop with Copper Catkin
Posted on Leave a comment

Our new bathrooms

Our bathroom renovations took a gruelling 6 months, but we learnt a great many things, principle among which was: do NOT trust random tradespeople when they say that they know how to do a renovation rather than just a repair.

That being said, we did take a slightly different tack from most people, as we did the demolition, painting, and tiling ourselves, as well as choosing all of the furniture and tapware – and we somehow also ended up replacing our roof in the process!

In the beginning

​​Let’s start with a bit of a “before” vision – the bathrooms were very dated. These are real estate photos, and they still can’t really hide how old and worn everything was. 
Picture

Picture

​On top of everything being a bit worn and outdated, the hardest part for me, as someone who had spent quite a lot of my career working with colour and design, was the colour scheme – basic Spanish White, pinkish melamine, and faux-terracotta tiles just made me sad every time I saw them.
Picture

Picture

Picture

Picture

Picture

Picture

The fact that the whole house had to be re-plumbed to remove Dux Qest from the walls was the perfect opportunity to turn our home into a space that I could really love (and clean!). We got a discount for it, and the wobbly shower enclosure in the ensuite, when we bought the house, but it was nowhere near enough to cover the eventual cost of all the renovations. 

Design

I started with what I know, which is colour, and worked outwards – layout, then eventually, hardware. We won’t go into all the dramas there – suffice it to say that a particular company of plumbers are not good at renovation project management. 
Picture

Ensuite mock-up – view from above
Picture

Main bathroom mock-up from above
Picture

Mudroom and laundry from above
Picture

Colour scheme – wallpaper, paint, tiles
My first decision was that I would base the colour scheme around my Blueberry Bush design. 
Then, I took that concept to Resene, and chose Resene Pacifika and Resene Half Shark for my walls and trims, respectively.

I then spent days slogging around all the specialist kitchen decor and tile shops, only to find exactly what I wanted at Bunnings, for a fraction of the price. WINNING! 
The tile choices allowed me to confirm my paint colours, and select my neutral, for the laundry and living areas – multiples of Resene Concrete. We ended up using Double Concrete in the upstairs rooms, and Triple Concrete downstairs, in the living spaces, kitchen, and laundry. 

Work begins

  • We started ripping out the upstairs bathrooms 8th March 2018
  • The plumbers started replacing piping 21 March 2018
  • The plasterer started 5 April 2018
  • The plumbers finished 8 August 2018

Here’s our first weekend of demolition – we took it gently, as we weren’t sure how much they wanted us to remove. Just the tiles (YUSS) and the vanities, both of which unfortunately disintegrated during demolition and were not able to be recycled into the community.

Picture

Picture

Picture

Holes in everything, â€‹with the plumbers cutting holes in walls, crawling under the house, and generally turning our world upside-down.
Picture

Picture

Picture

The pets and I spent many months confined to one of the lounges, surrounded by banging. It was a tough time.
Picture

Picture

Picture

Our second weekend of demolition, we had a much clearer idea of what the plumbers wanted us to do – so it was on with the PPE, and off with the walls!
Picture

Picture

Picture

Picture

Picture

Picture

Picture

Picture

Picture

Picture

Picture

Ready for the plumbers to re-pipe, re-Gib, and install the bath, toilet, vanity… 

Enter the plumbers

So this is the bit where, once again, I wish I had known more about supervision of tradespeople. A year and a half later, and we are still finding flow-on effects from the mess these guys made with a nail-gun. Nails out every wall, including out to the exterior, the stairwell, the hallway, and the neighbouring room. Pro-tip – check all adjoining rooms before signing off.
Picture

Picture

Picture

Picture

Tile underlay

This was really cool – it gave me a chance to see how much skill and knowledge is hiding inside my husband’s brain, as well as to learn something new myself. We did a lot of research, called the suppliers for the tiling adhesives, and eventually figured out that the previous tiles were so hard to remove because they had been installed incorrectly for the chipboard sub-flooring.

Following advice from the professionals, we laid down concrete underlay board – and I learnt to use a chalk line!

Picture

Picture

Picture

Picture

Picture

Picture

Progress!

There’s something terrible exciting about testing things. It was such a thrill when the plumbers were able to show me that my special tap worked, especially as I was very restrained with all the other bathroom accoutrements. 

Painting

We ran up against a really annoying roadblock – because the sparkies hadn’t installed the lights yet, we couldn’t paint at night. It meant some very long days, and, yes, some quite poor painting at night, in the end. We ended up doing a third coat about a year later (when we found the time again, after the next huge tradesperson invasion – more on that later).

Anyway, once the ceiling and walls were plastered, we sanded, sealed, sanded, dusted, and painted them.

Picture

Picture

Picture

Picture

Picture

Picture

Picture

Picture

Picture

Picture

​When I was little, I used to imagine very hard that I could hear Father Christmas’ reindeer on the roof. I would snuggle down in my bed and try to make sleep come so that it would be morning soon and I could go and open my presents.

Listening to the plumbers working in the ensuite above me felt similar – I just wanted to go and look, but I also didn’t want to ruin the surprise!

I spent a lot of time looking at my paint samples and imagining VERY HARD.

Picture

Picture

Picture

Installation!

So. Very. Exciting. to see the whole thing coming together at last!
Picture

Picture

Picture

Picture

Picture

Picture

I always start decorating long before things are ready for final touches, lol – but how was I supposed to resist this gorgeous whio rubber ducky?!

Tiling time

It wasn’t until we were up to our necks in tiling that I learnt that El Huzbando’s “previous tiling experience” was a couple of basic mosaic tops on some side tables, but luckily, he has a natural affinity for handiwork like this. 
Picture

Picture

Picture

Picture

I was often having to leave George to work on the tiling while I did markets, so it was lucky that he had Loki for company. 
Picture

Picture

Picture

Picture

Picture

Picture

Picture

Picture

Picture

Electrical installation

4 May 2018 – So good to have light again! Even if we can’t actually use the upstairs bathrooms at all, having light means that we can work much later – especially in the main bathroom, which, being on the south side of the house, gets dark around 3pm.
Picture

Picture

Picture

More tiling…

Our lives have felt like they have been utterly swallowed by renovations and craft markets. As we move into the third month of renovations, the end is in sight for the upstairs bathrooms – after the tiling, that is.

**breaking tiles in the
​Hot sun**

Picture

Picture

Picture

Grouting is kind of like buttering toast, only you have to scrape and scrub and clean it off afterwards. 
Picture

Picture

Picture

Meanwhile…

We discovered that the hot water cylinder has to be replaced in order to cope with the new mains pressure pump. Ok, what’s more money, right? Everything is fine
Picture

Picture

Picture

And a new roof, too

We had initially asked the plumbers to quote to repair the roof, too, but the costs they gave us were so high that we decided that we might as well replace the whole thing for a few grand more. Make it rain. It’s only ALL of our savings. Renovations are great. 

​So we went from painting the roof and exterior, to replacing the roof entirely.

Picture

Picture

Picture

Picture

Picture

Picture

I was initially really optimistic – we were helping a young man launch his business, and he was helping us out because his boss wasn’t going to take the job.

Guys, just don’t. Pay the extra, get a reputable roofer.
We just had to pay DOUBLE to get all his mistakes fixed – but fixed they are, and the roof does look pretty good. Sigh. 

Tiling the bath

This was definitely a different challenge – getting tiles to sit correctly and adhere to a wall, especially around the bath frame and hardware, was quite an adventure!

We did it in two stages, so that it all had time to set, and because we were under the pump to get the bathtub installed.

Picture

Picture

Picture

Picture

Installation continues…

Hooray, the upstairs bathrooms are finally starting to look like bathrooms!
Picture

Picture

Picture

Picture

Picture

Picture

Picture

Picture

Picture

So much to do…

This is my task list update from May 9th 2018. Yikes.

​Right then, so that’s it for plumbers until “next week”, when the tiling will be done, and the demolition of the downstairs bathroom can start after that.
So next steps are:
Drayers:
Tile bath surround
Tile skirting in both bathrooms
Tile splashbacks
Grout all tiling
Remove toilet, shelf, towel rail, and sink from downstairs bathroom (mudroom)
Remove tiles from mudroom and laundry floors
Next week:
Electricians: replace incorrect vanity lights; straighten fan grille
Plumbers:
Sand plaster
Seal plaster
Complete piping changeover
Install new pump
Complete hot water cylinder outflow and adjust water pressure
Install bath
Install main bathroom shower doors and toilet
Drayers:
Re-paint plastered patches
Paint trim if time allows
Week after next:
Drayers:
(once paint cured)
Demolish mudroom shower
Plumbers:
Re-gib mudroom
Plaster entire room
Sand plaster
Install shower tray
Electricians:
Move and change power point
Install lighting
Drayers:
Seal and paint/wallpaper mudroom walls
Tile floors
Plumbers:
Install toilet, vanity, shower, and mirror
Drayers:
Paint trim throughout
Tile mudroom splashback
Install new laundry cabinets and work bench
Hang dryer

Picture

Picture

Picture

Picture

Picture

Picture

15 May 2018
“11pm. Almost caught up on Wrought admin and social media. Been up since 4am.
Meanwhile, George has just finished prepping the tiles around the bath, and is starting the grouting.”
​
George finished at around 00.15am.
Picture

Picture

Picture

While all of this was going on, I was doing ridiculous hours working on the Wrought Pop-Up shop. 
“​So a little update – we have a bath and shower in the main bathroom! Can’t use it yet because 1) plastered walls are not sealed, painted, and cured; 2) the silicone beading needs to set, and 3) I’m not home for long enough, lol
Should be ready by the time the pop-up ends though!”
After waiting for some time for several issues to be remedied (plastering issues, incorrectly-hung cabinet, etc), I eventually gave in and had my first bath at last on May 31st, even though the silicone on the backsplash wasn’t finished, lol
Picture

Mud room and laundry

Now that we finally have working bathrooms upstairs, it’s time to demolish the mudroom bathroom. It’s July 2018, and we have been in renovation chaos for 5 months now.
Picture

Picture

Picture

Picture

Picture

Picture

14th July – starting on the joinery in the upstairs bathrooms at last!
Picture

Picture

Picture

Finally, the new pump (well, the first one, sigh – yes, that too required replacement).
Picture

Picture

The mudroom bathroom, part 2

Picture

Picture

Picture

Picture

Picture

Picture

Thanks for reading this far – and if you think this post is long, imagine living it!

Wallpaper – the pièce de résistance

​We did a thing we have never done before. We hung wallpaper! And bonus points – it’s my very own design! All of my designs on Spoonflower can also be purchased as wallpaper.
Picture

Picture

Picture

Picture

Picture

Picture

5 months since we started demolition and the plumbers started on the bathrooms. 8th of August.
Picture

Picture

Picture

Finishing touches

A lovely knick-knack display for the ensuite, featuring dangles by Peg Creative. Click on their photo to shop on their site!
Picture

Picture

Picture

​Meanwhile, George is making great headway with the skirting tiles in the main bathroom and ensuite!
Picture

Picture

Picture

Picture

Picture

Picture

Why not do some more tiling?

I mean, we said we would, so we should
Picture

Picture

Picture

Picture

Picture

Picture

Picture

Picture

Picture

Picture

Picture

21 August 2018
Grouting and silicone done – just need to silicone around the backsplashes once the grout is dry, then touch up and clean up. So close!!
Picture

And… what about the roof?

Well, after battling for months, our roof was finally “finished” on October 14th, 2018. Until we found out about what he didn’t do, that is. But that’s a story for another day.
Picture

Picture

Posted on Leave a comment

The art and craft chez Copper Catkin, part 1

Maker-made home decor

We love to fill our home with art, craft, and decorations made by local makers.
When we travel, we also buy from the local markets, so we have beautiful collections of souvenirs from all over the world – Europe, several countries on the Mediterranean coast, North Africa, and the Middle East, are represented here. as well as the USA and some Pacific Islands. 
Picture

Photos, postcards, and prints by artists, making a mosaic of memories on our bedroom wall
Picture

Souvenirs from our honeymoon in Rarotonga
Lots of our treasures are currently packed away in preparation for the big move, so we have a very pared-down aesthetic at present. It’s nice, but I miss my pieces of flair…
Picture

WIP photo as I packed my souvenir shelf so we can sell the cabinet.
Picture

A “before” pic from a t-shirt quilt I made from old souvenir shirts

Karma seeds

Picture

Picture

​When I attend markets myself as a stallholder, I have a little tradition of buying something from another stallholder at the start of the day, even if it’s food, as a sort of karma seed – if I start by sending good vibes out, hopefully, the good vibes will bring me good sales that day. More importantly, it puts me in a good mood, and gives a fellow stallholder a boost at the start of their day.

​I love to find places for these little treasures around our home.

Master bedroom

​So, let’s start with the shelves in our room. Here, we have cute little mushroom artworks by Ceri’s Creations
Picture

Picture

​On the nexgt shelf, we have a custom-made bunny, using our own fabrics, made by Tings, perched above three gorgeous bunnies from Knack craft market.
Picture

A selection of Ickle Things by Tings – click on the image to visit their page!
Picture

My nephew’s Xmas loot from 2018, including another Tings creation
Picture

Picture

In between the floating cube shelves, we have a beautiful tapestry by Polly Lind Artist, featuring the scene that we photograph every day when we leave the house.

​The two tiny wooden boxes were bought back in the mists of time at the now-defunct touring craft fair, and contain my little collection of semi-precious stones and crystals, collected during my teens and early twenties. 

​The paua butterfly is by Paua Art by Jessie, the tui is by Peg Creative, and the winged mouse is by Mouse Maker.​

Picture

Picture

Picture

Picture

The duvet cover and the throw pillow are my own kereru design – click on the photo to shop on Redbubble!
Picture

Click to view the Kereru collection on Redbubble
Picture

Click to view the plaid design on Redbubble
Picture

A beautiful print by Take A Moment designs
Picture

An early version of a Rykeland Design kereru light switch topper
You may have read about our extensive bathroom renovations earlier, so here is just the detail of the artwork in our bathrooms.

I have started collecting small things for this shelf – it currently features aliens by Wonky Stitches NZ, a bass guitar clock, a baby shark by Shop Nikkis, a cactus, also by Wonky Stitches NZ, a whio rubber ducky by Antics, a little enamelled box that was a gift from my brother, a flask from What The Fox filled with scented diffuser oil from Button + me, and a collection of fossils.

As we are trying to both support local makers but also not increase our own clutter, we generally buy consumables, like soaps and pampering items. I really love relaxing with a candle by Button + me, or a Doodlebum wax melt, scenting the air.

Picture

The display shelf in the ensuite
Picture

My whio, laser-cut and hand-painted

View this post on Instagram

I GOT TINY ALIENS Thank you, Wonky Stitches!

A post shared by Copper Catkin (@coppercatkin) on

In the main bathroom, we have a selection of handmade soaps  – custom berry soaps by Underground Soapery and rainbow soap by Kiki’s Creations, in etched bowls by Burnt Offerings – and soaps in What The Fox flasks, with bath salts by River Mist Soaps.
Picture

Adding the oil to the flask
Picture

Luxuriating in wax melts by Doodlebum
Picture

Handmade soaps in etched bowls
Picture

Soaps and baths salts
Picture

This rainbow soap looks so pretty against the light!
Picture

Block Docks and Underground Soapery soaps
Picture

Art in the ensuite
Picture

In our ensuite, we have another Burnt Offerings dish filled with soap made by Sweet Escape, next to a ceramic tÅ«Ä« dish by Melissa Boardman, and a slate tile painting by Paper Pigment Rock.
We also got towels printed at Society6 to match my wallpaper design, which is the feature wall in the mudroom bathroom.
Picture

Picture

Posted on Leave a comment

Hydrangeas

Hydrageas grow all along the front of our family bach property, near the Rakaia river mouth. I have always associated them with holidays, and found their colour changes, based on the soil ph, fascinating. 
When we bought our new house, I found that we had white, blue, and pink hydrangeas in different parts of the property, all within a few dozens of metres of each other.
​One day, I decided to photograph some of them, and draw them.
I was working long hours at the Wrought Pop-Up Boutique, so I brought printed photos and drew them. It was a really productive period for me, actually – so nice being back in the centre of town, surrounded by creativity and activity.
I think the most interesting part of the process, for me, was seeing how they are attached together to form the effect of large balls of petals. 
And it looks pretty great in fat quarters and scarves!
And here it is, along with some of my other designs, made into liners by Fluff Mail.
You can order my hydrangea designs in three print sizes and a large range of print-on-demand fabric choices from Spoonflower – click on the button below to see the whole “Roadside Colour” collection!