
Save trees, only print what you need
We are choosing not to print our instructions, to reduce waste and our impact on the environment.
With that in mind, we are going to put instructions for our various Colour-Cut-And-Sew projects on the blog instead.
Here’s how to make this bag – lined, and unlined.
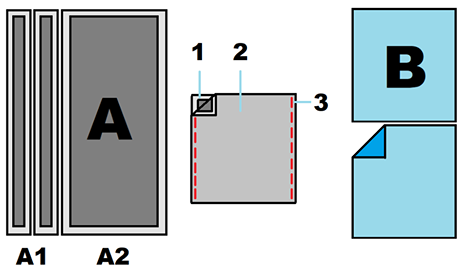
A – your CCS fabric – includes the body of the bag, and two straps. You can colour this in first, or afterwards. Choose whatever colouring media you like, and be sure to follow the manufacturer’s instructions to set the colour.
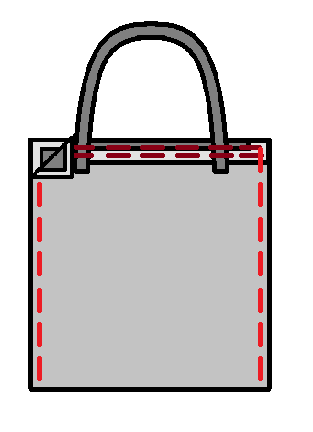
1 – the ‘good’ side, or printed side, also showing the seam allowance
2 – the ‘bad’ or unprinted side
3 – new stitches to sew for this step
1 – the ‘good’ side, or printed side, also showing the seam allowance
2 – the ‘bad’ or unprinted side
3 – new stitches to sew for this step
B – when lining the bag, these two pieces can be cut from your own stash, or from Copper Catkin fat quarters. You will need two fat quarters, cut to x by y, where x = the width of A. and y = half the length of A plus a 2cm seam allowance
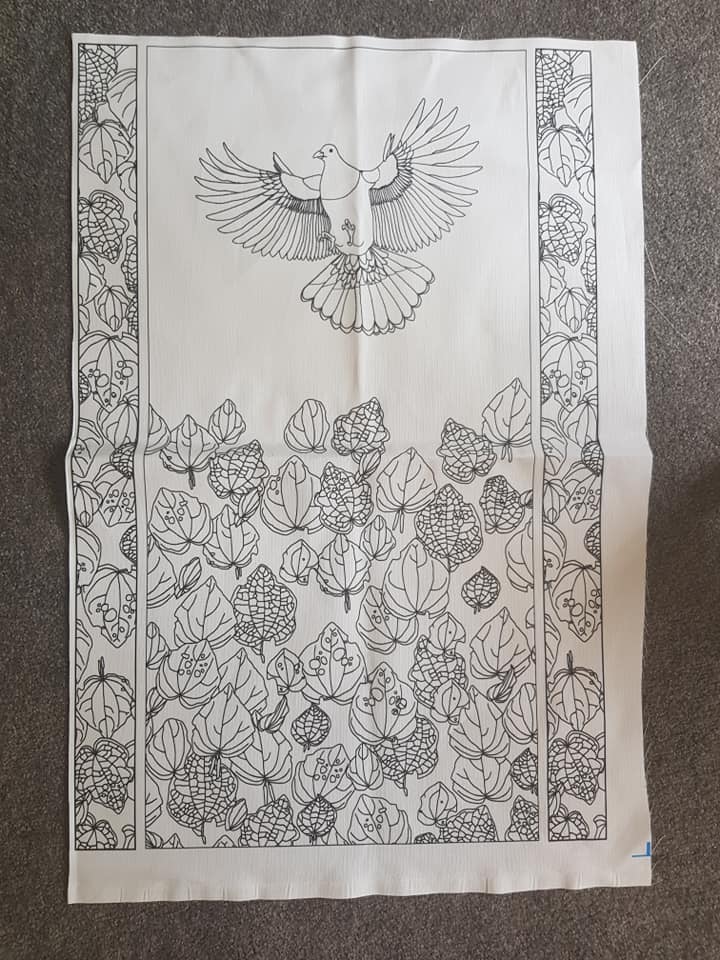
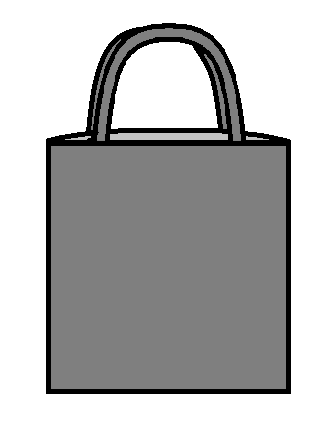
An example of how “A” looks
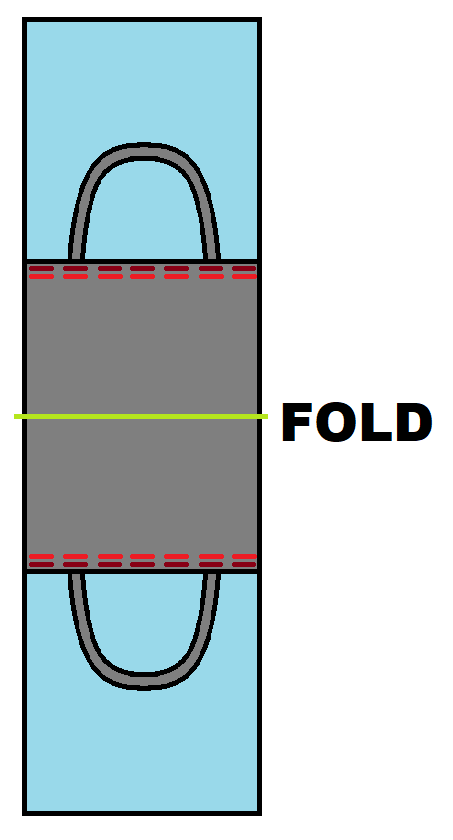
Step 1 – make the straps
Folding the fabric so that the good side is on the inside, form a tube. Sew all down the open side, then turn inside-out. Press neatly with the seam down the middle of one side.

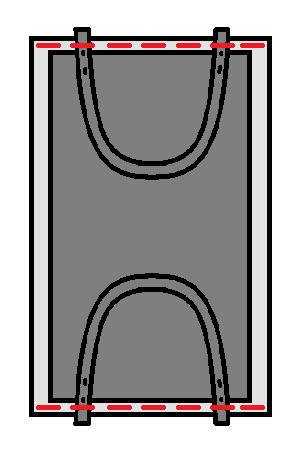
Step 2 – attach the straps
Pin the pressed straps to the good side of the bag, and stitch in place along the top.
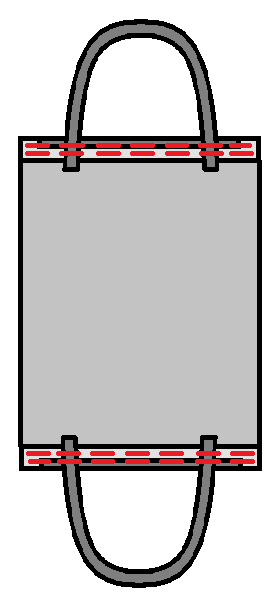
Unlined bag – step U1
Fold towards the “bad” side and press along the top edges, then stitch two more rows to secure the straps.
Unlined bag – step U2
Folding the bag in half with the good side facing inwards, sew the two side seams.
Unlined bag – step U3
Turn right-side-out, and press. Your unlined bag is finished!
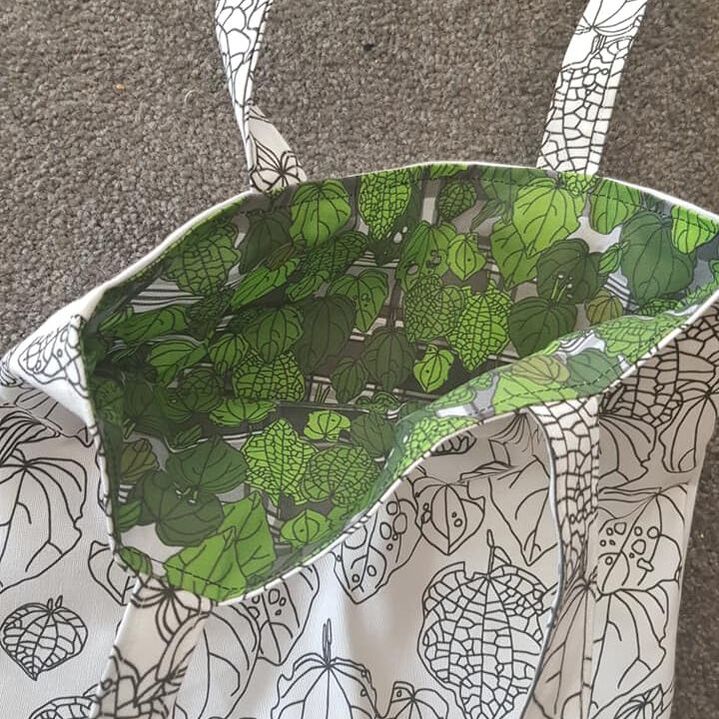
Lined bag – step L1
Complete steps 1 and 2 as above.
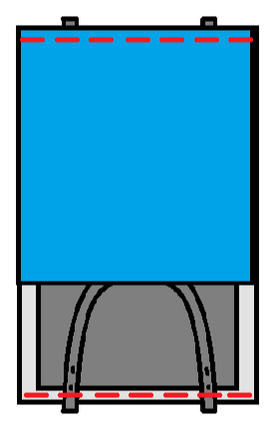
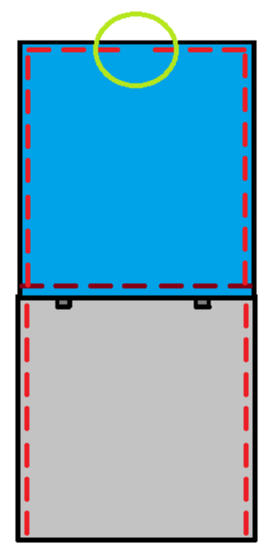
Attach your lining along the top edges of the bag.
The two lining pieces should overlap a little – this will form the seam allowance for the bottom of the lining.
Attach your lining along the top edges of the bag.
The two lining pieces should overlap a little – this will form the seam allowance for the bottom of the lining.
|
|
Lined bag – step L2
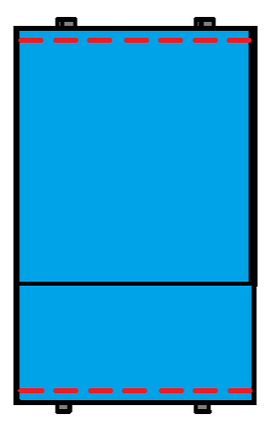
Flatten out the bag and sew along the top edges, below your previous stitches, to reinforce the handles. Ensure you are not sewing the lining as well at this stage.
Lined bag – step L3
Fold the whole length of the bag in half, good side inwards, and sew up the sides and along the bottom of the lining, leaving a gap at the bottom of the lining.
Lined bag – finishing
Turn the bag right-side-out by pulling it through this gap, then stitch gap closed, and press if desired.
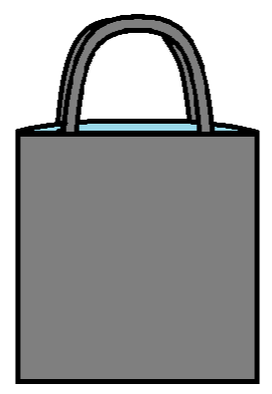
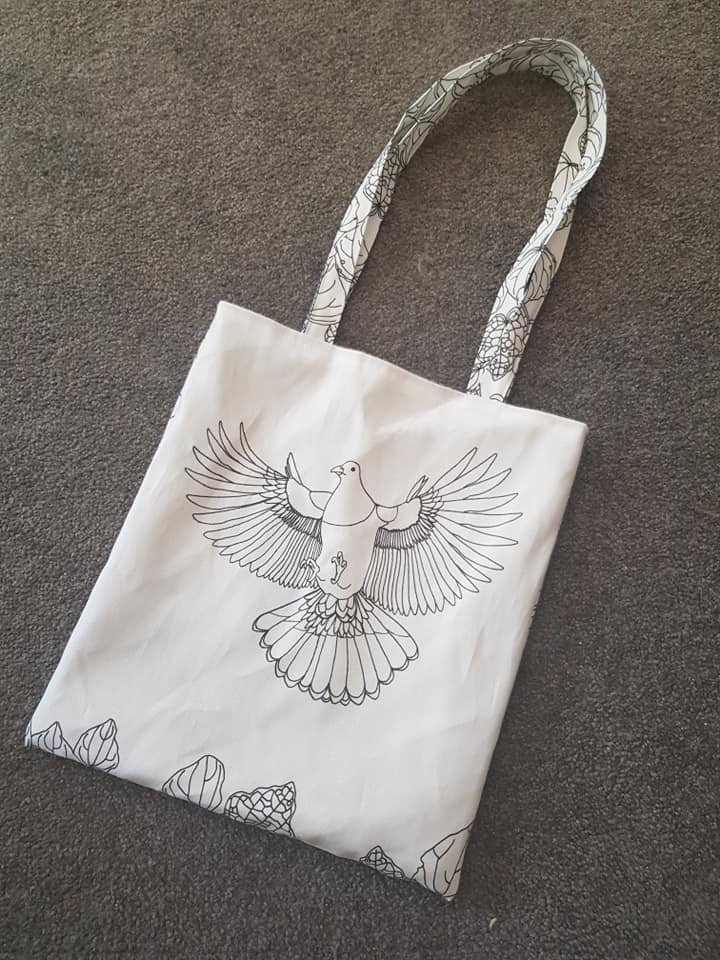
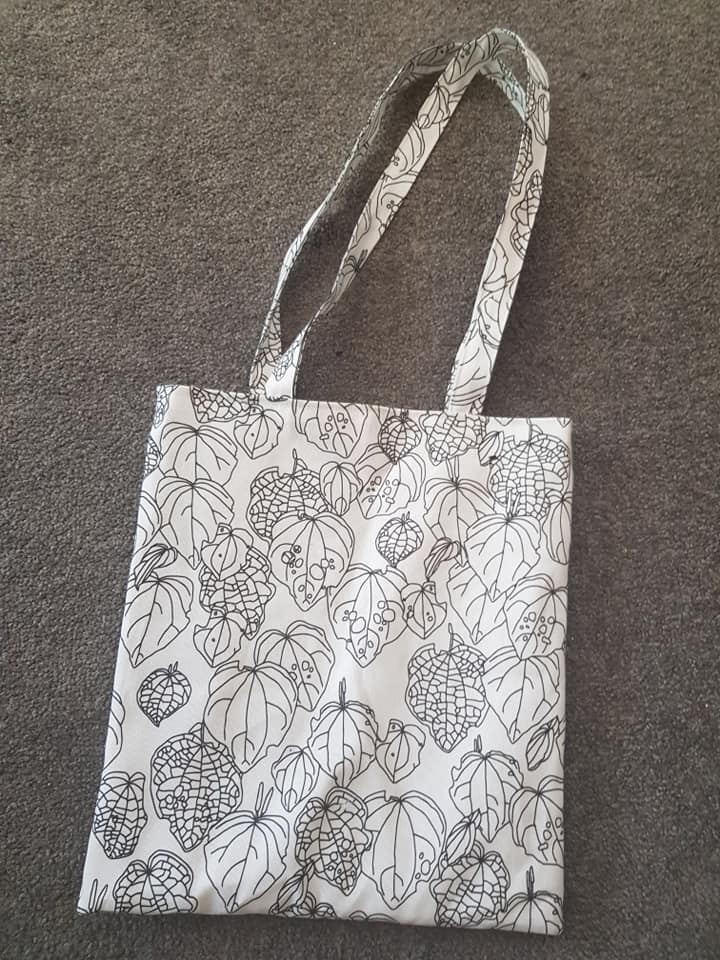
And here’s an example of a finished bag for reference:
|
|
How did you get on with yours? Pop over to our Facebook page and send us a message with photos, if you like!
Click on this photo to read more about the design process for this bag
|
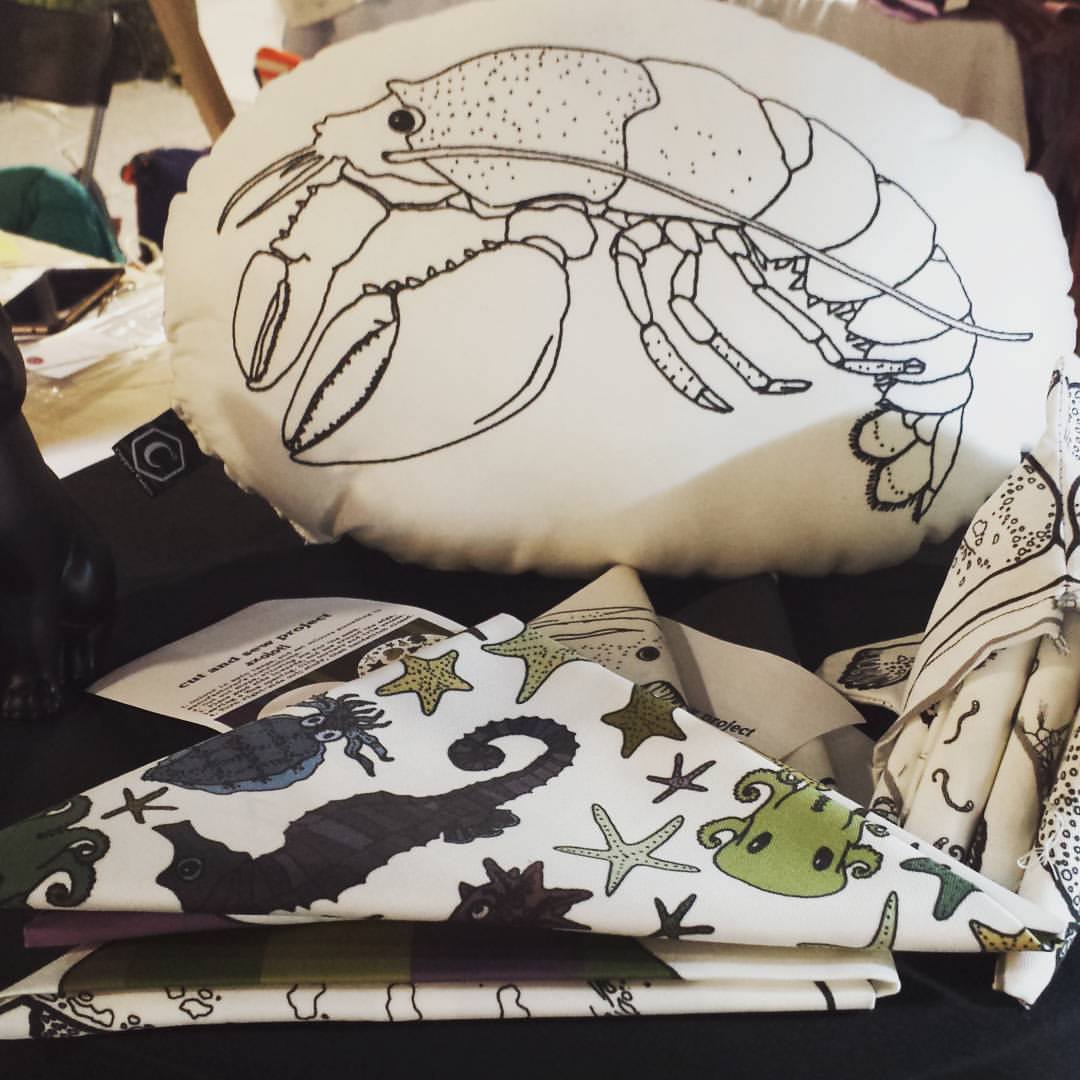
Click on this photo to shop for CCS projects on Spoonflower
|