Our bathroom renovations took a gruelling 6 months, but we learnt a great many things, principle among which was: do NOT trust random tradespeople when they say that they know how to do a renovation rather than just a repair.
That being said, we did take a slightly different tack from most people, as we did the demolition, painting, and tiling ourselves, as well as choosing all of the furniture and tapware – and we somehow also ended up replacing our roof in the process!
In the beginning
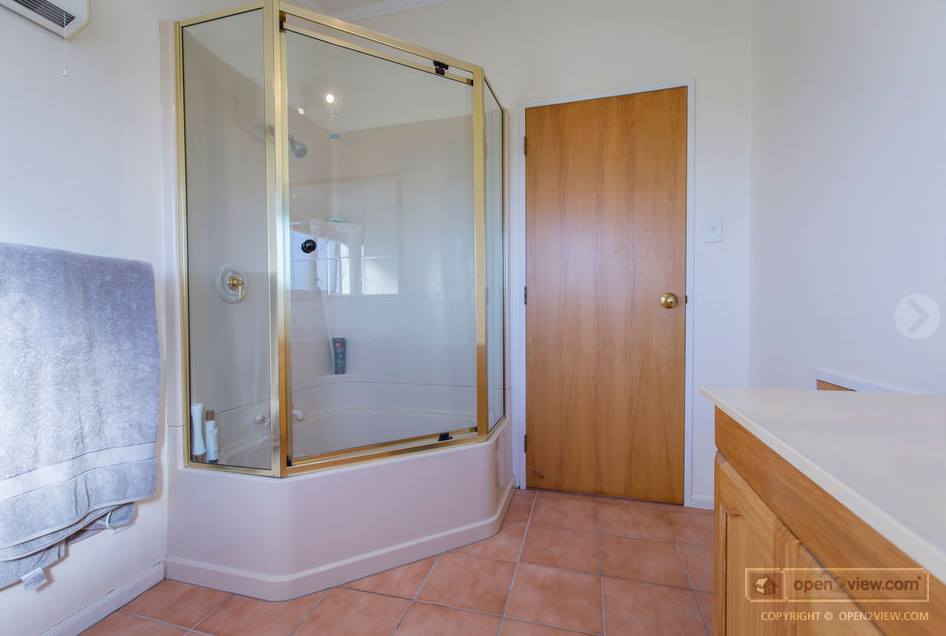
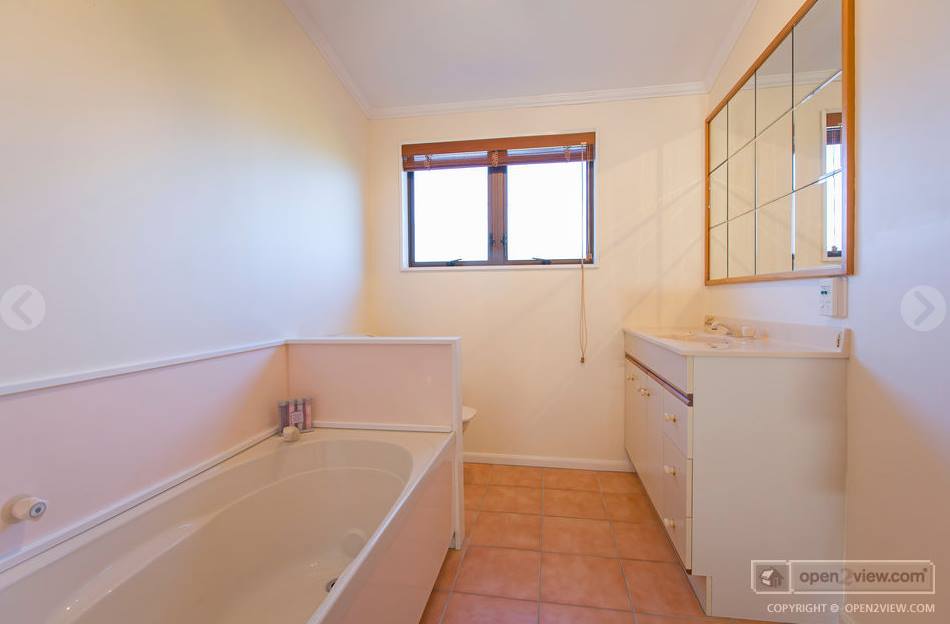
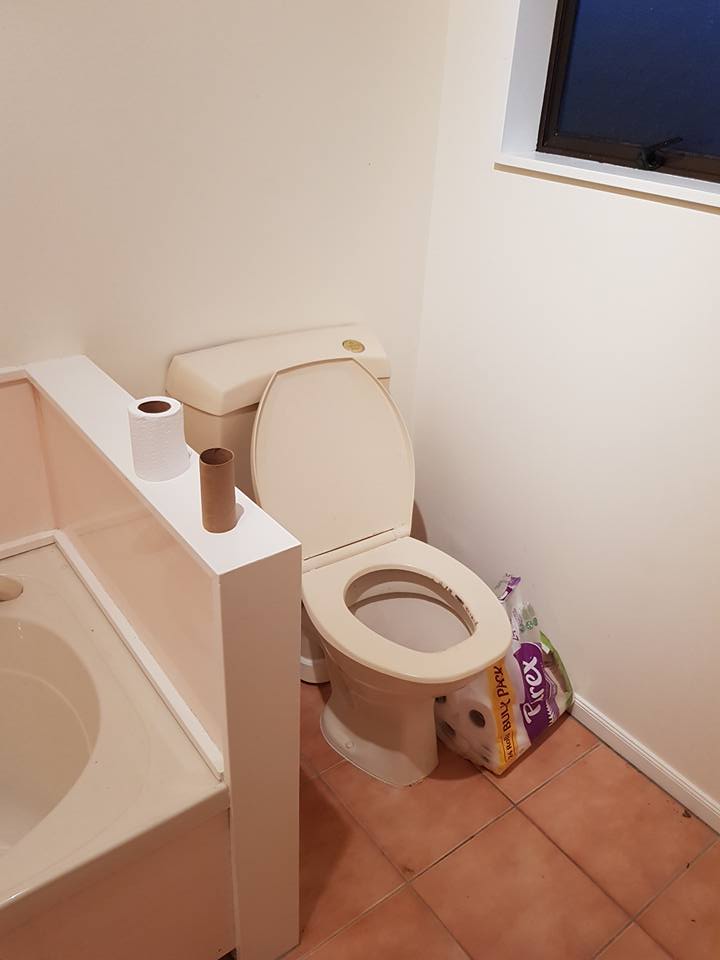
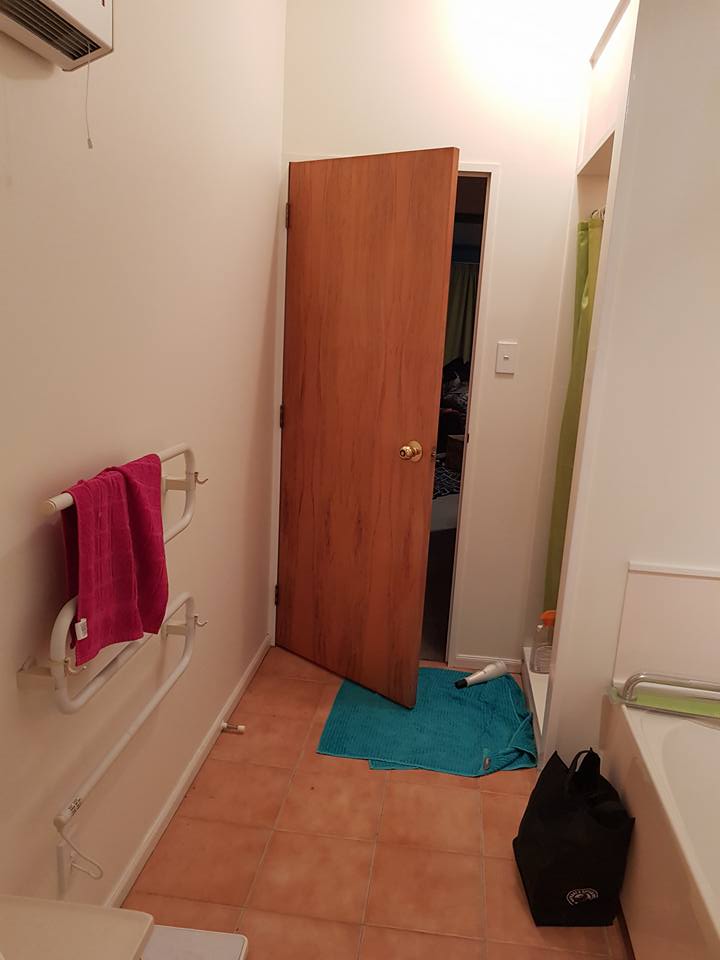
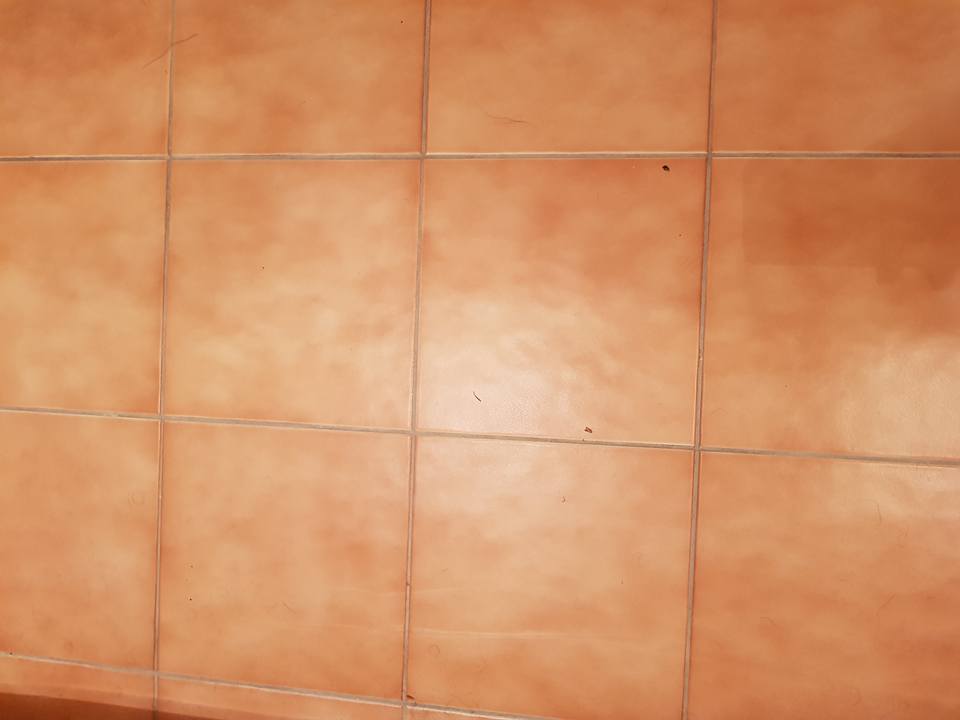
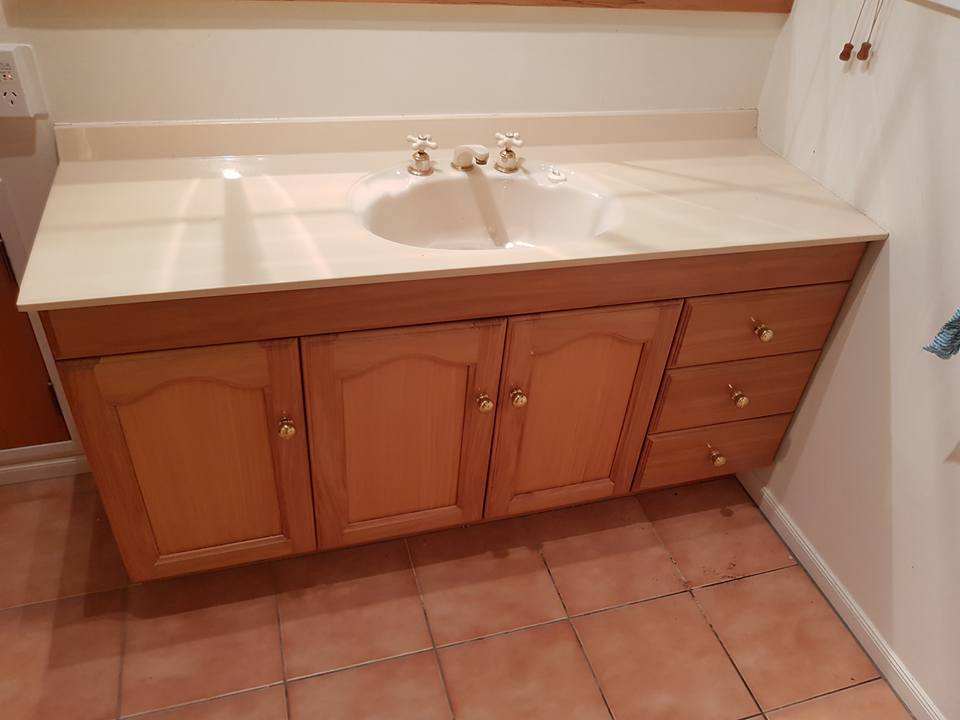
ââLet’s start with a bit of a “before” vision – the bathrooms were very dated. These are real estate photos, and they still can’t really hide how old and worn everything was.
âOn top of everything being a bit worn and outdated, the hardest part for me, as someone who had spent quite a lot of my career working with colour and design, was the colour scheme – basic Spanish White, pinkish melamine, and faux-terracotta tiles just made me sad every time I saw them.
The fact that the whole house had to be re-plumbed to remove
Dux Qest from the walls was the perfect opportunity to turn our home into a space that I could really love (and clean!). We got a discount for it, and the wobbly shower enclosure in the ensuite, when we bought the house, but it was nowhere near enough to cover the eventual cost of all the renovations.
Design
I started with what I know, which is colour, and worked outwards – layout, then eventually, hardware. We won’t go into all the dramas there – suffice it to say that a particular company of plumbers are not good at renovation project management.
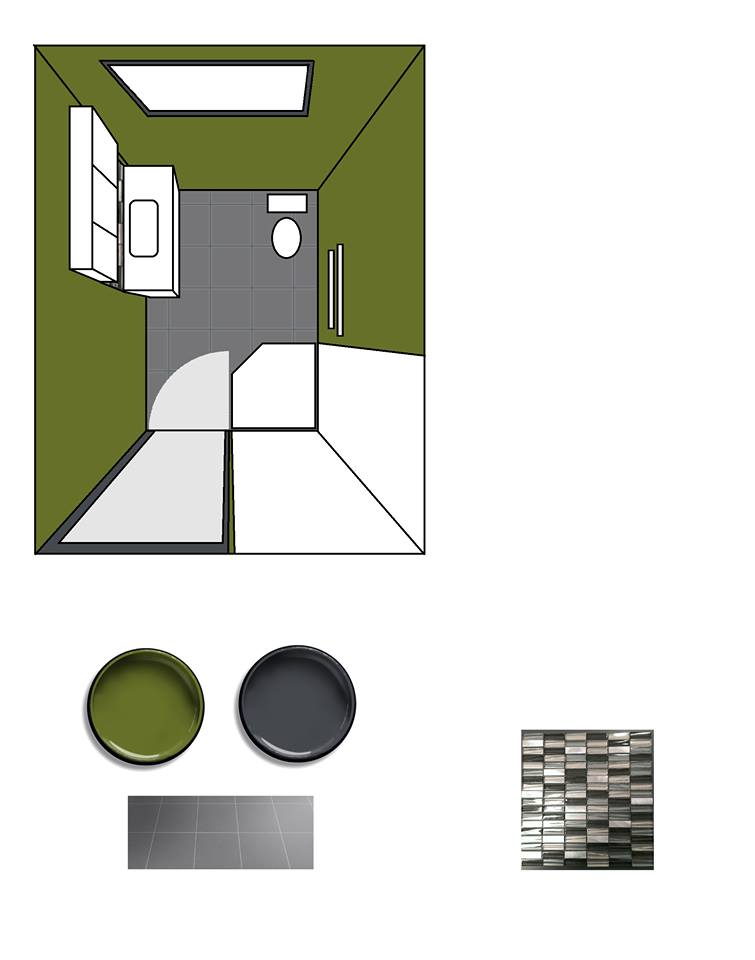
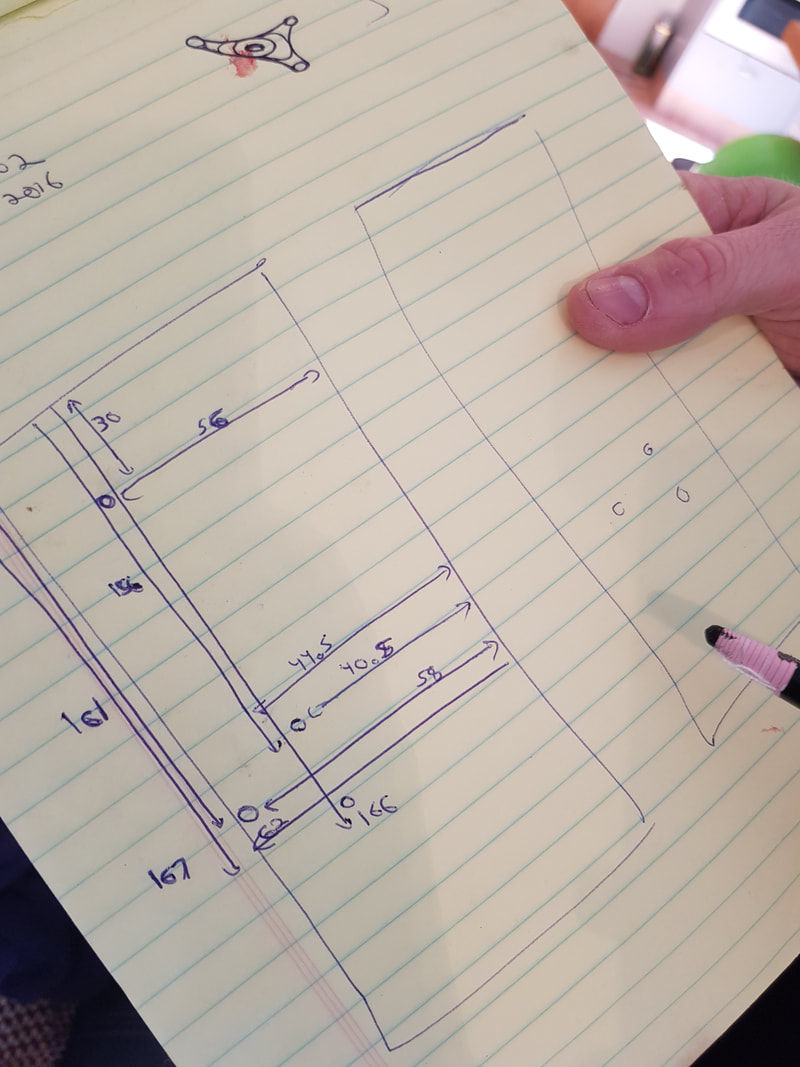
Ensuite mock-up – view from above
|
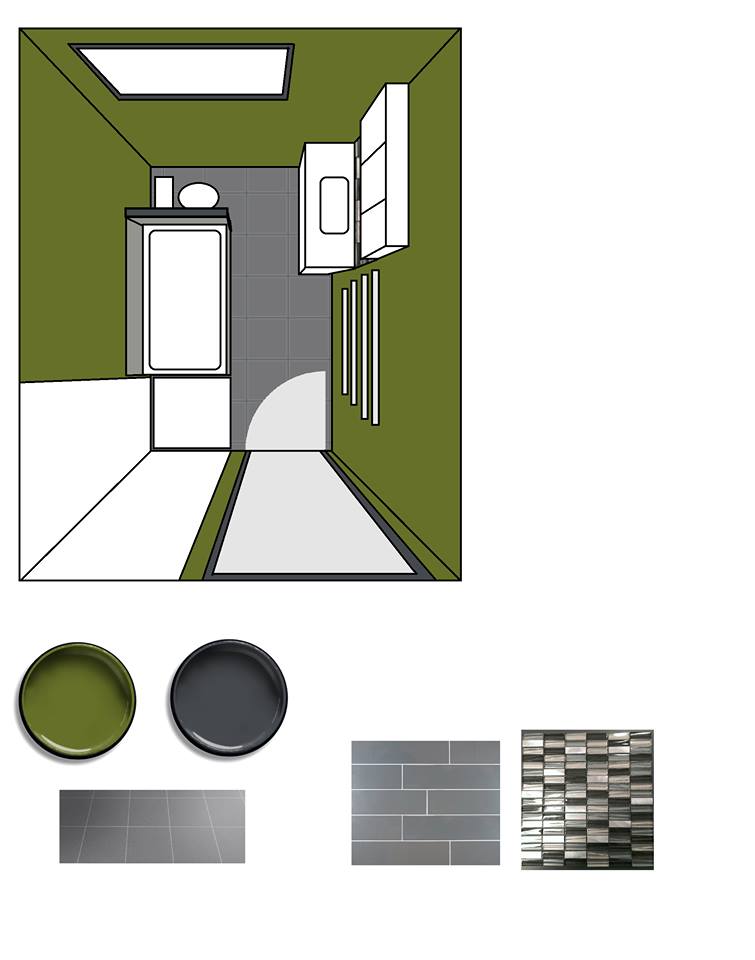
Main bathroom mock-up from above
|
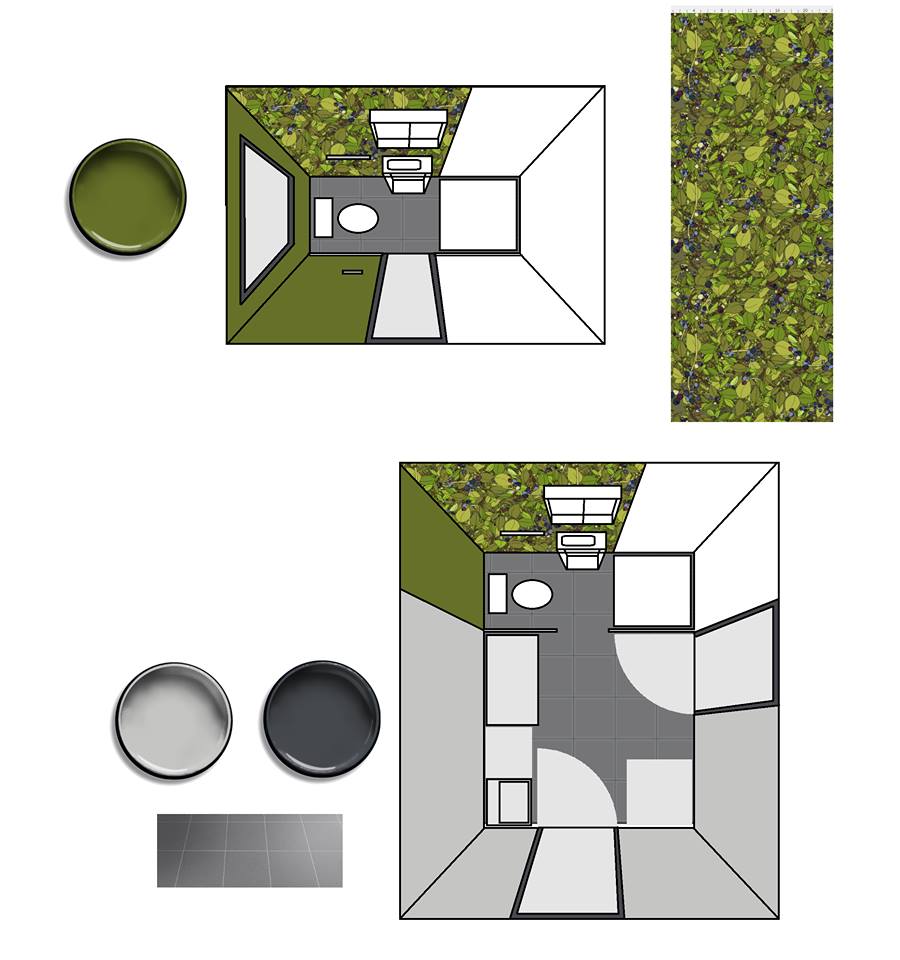
Mudroom and laundry from above
|
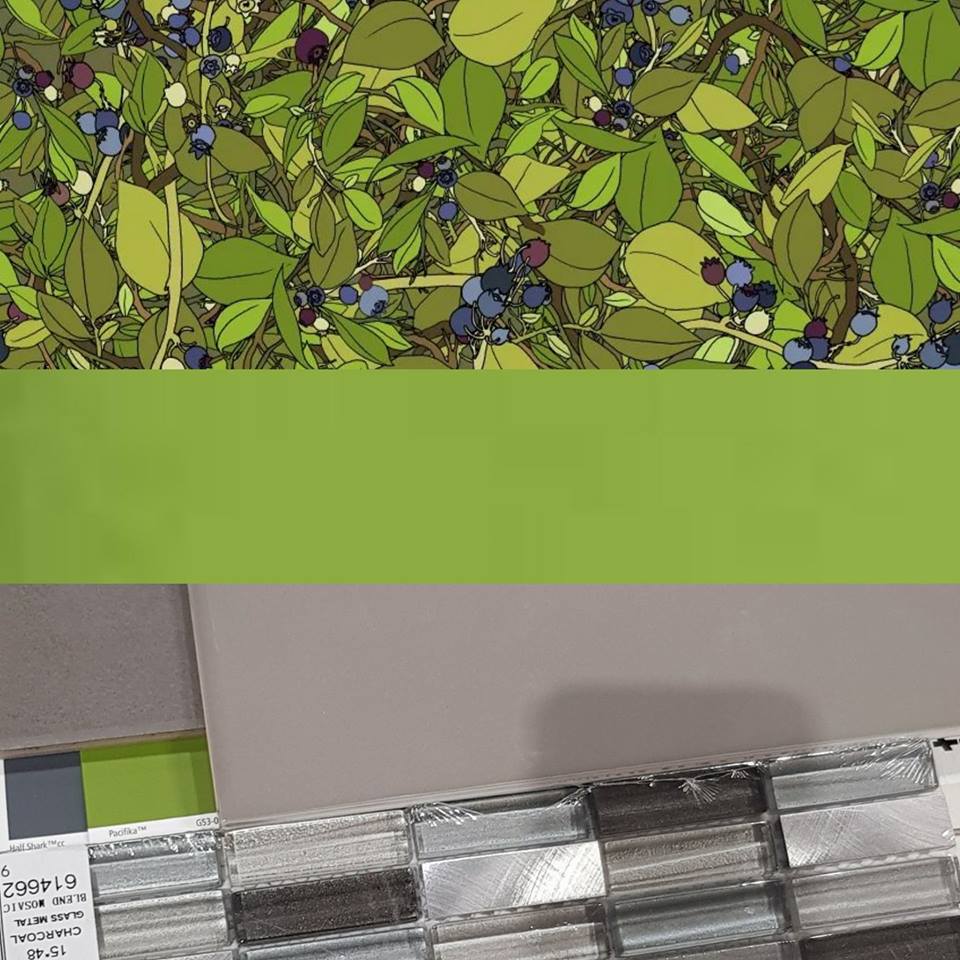
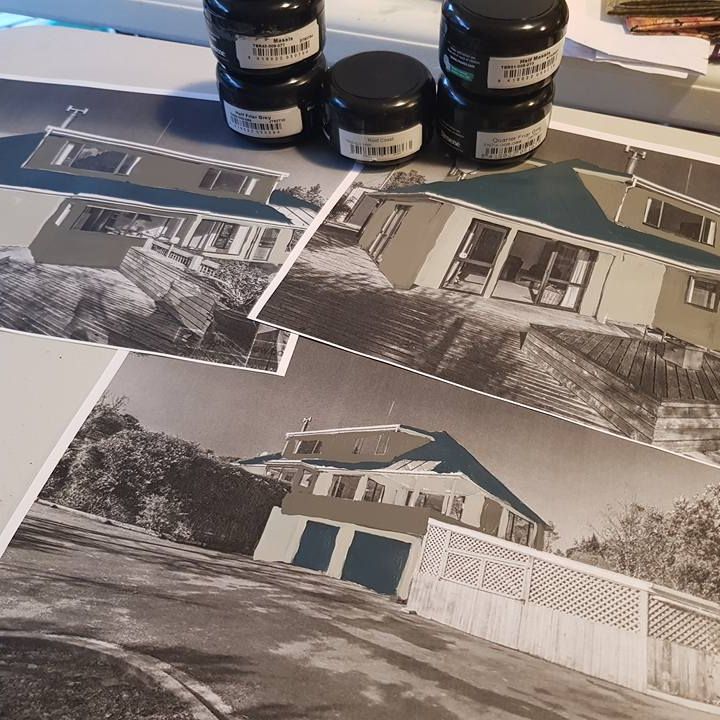
Colour scheme – wallpaper, paint, tiles
|
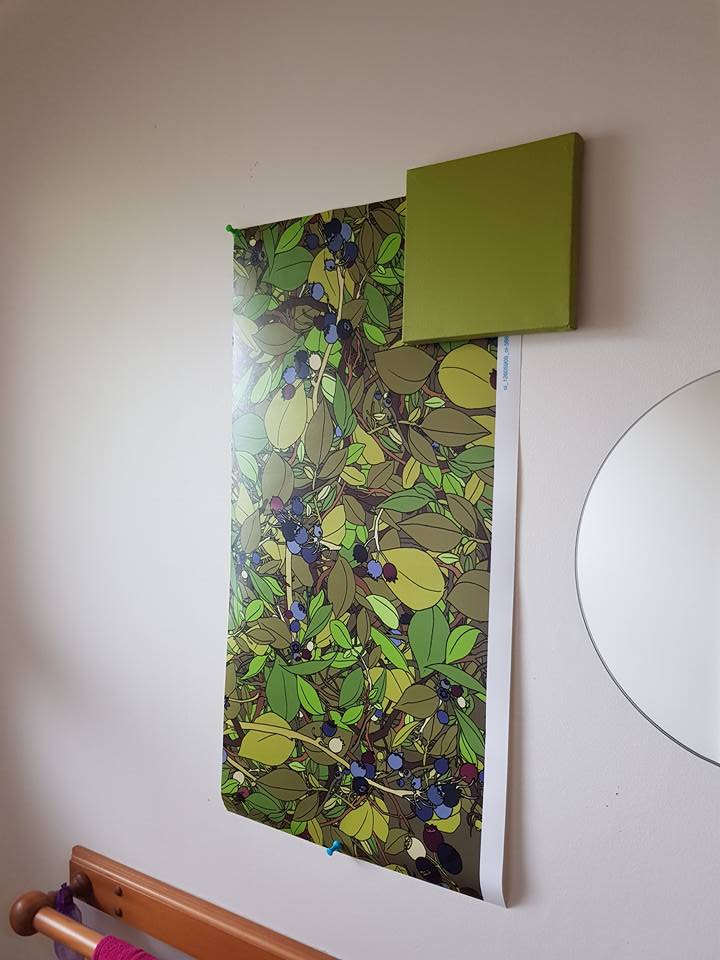
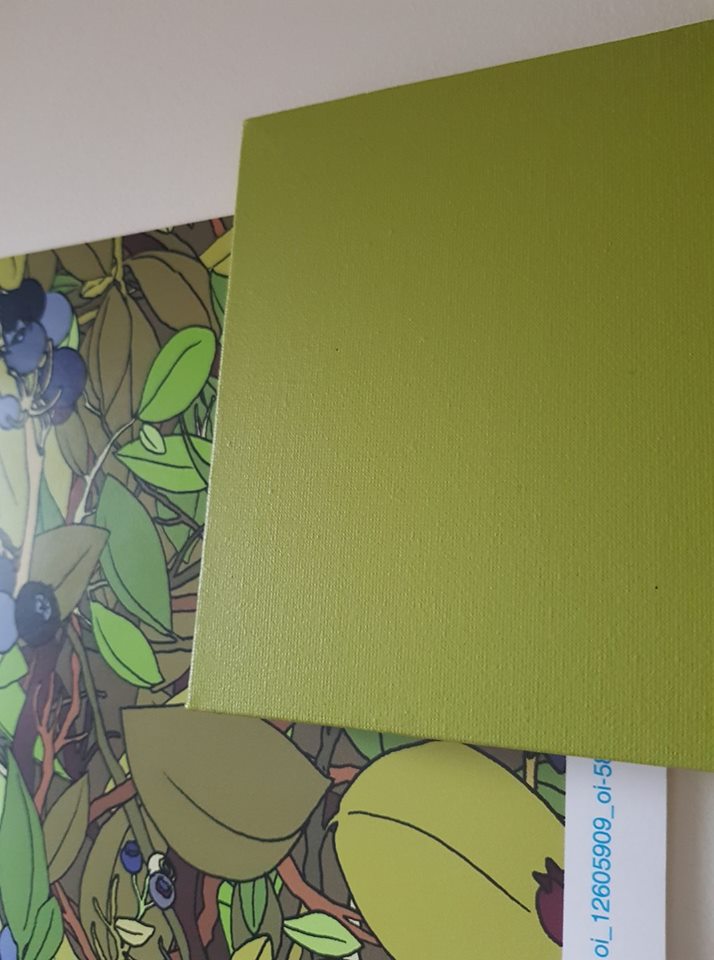
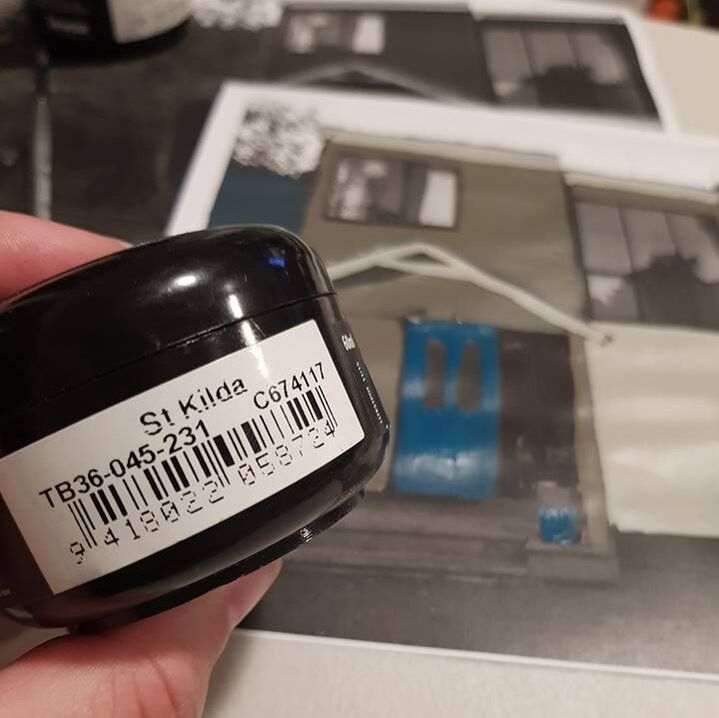
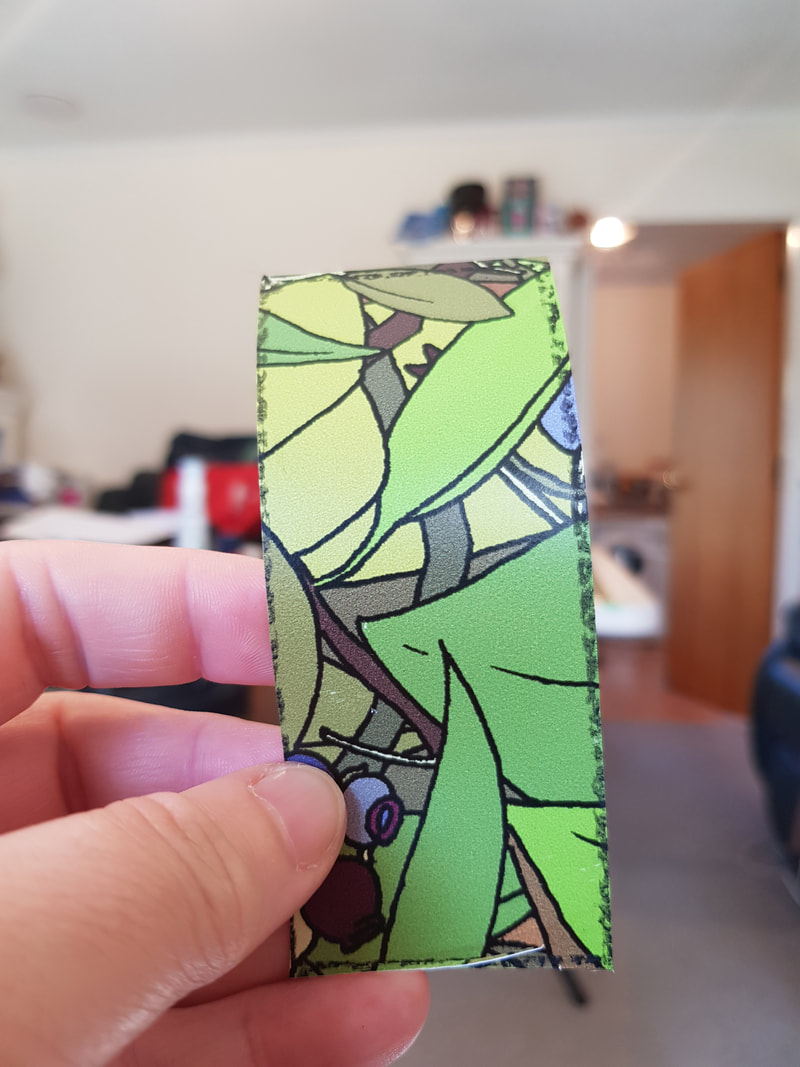
My first decision was that I would base the colour scheme around my
Blueberry Bush design.
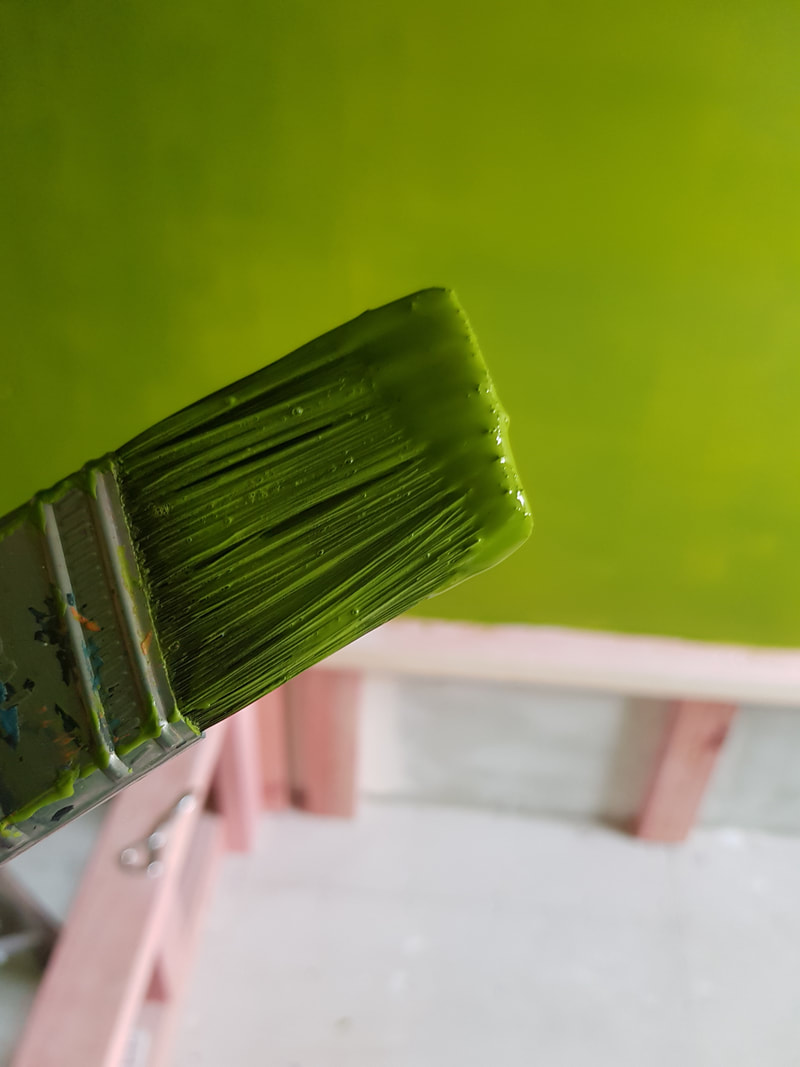
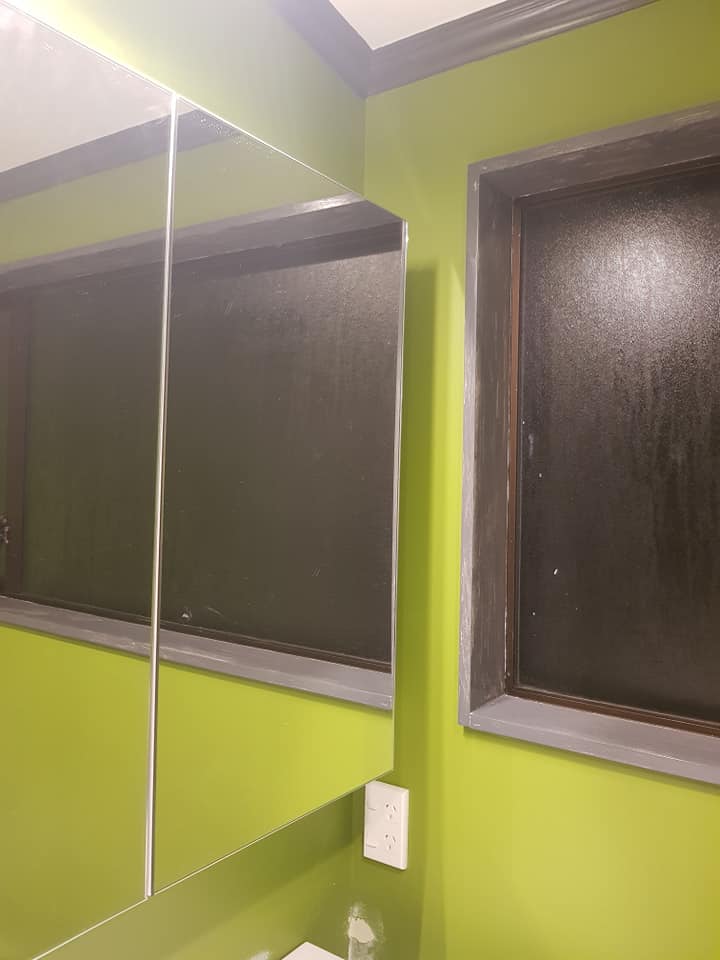
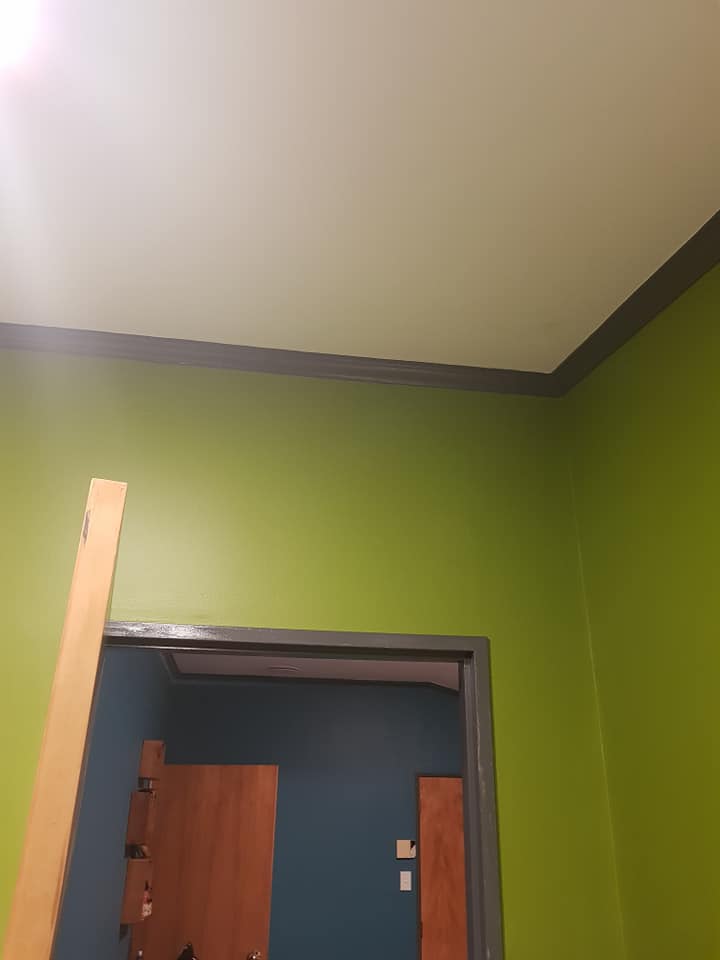
Then, I took that concept to Resene, and chose
Resene Pacifika and
Resene Half Shark for my walls and trims, respectively.
I then spent days slogging around all the specialist kitchen decor and tile shops, only to find exactly what I wanted at Bunnings, for a fraction of the price. WINNING!
The tile choices allowed me to confirm my paint colours, and select my neutral, for the laundry and living areas – multiples of Resene Concrete. We ended up using Double Concrete in the upstairs rooms, and Triple Concrete downstairs, in the living spaces, kitchen, and laundry.
Work begins
- We started ripping out the upstairs bathrooms 8th March 2018
- The plumbers started replacing piping 21 March 2018
- The plasterer started 5 April 2018
- The plumbers finished 8 August 2018
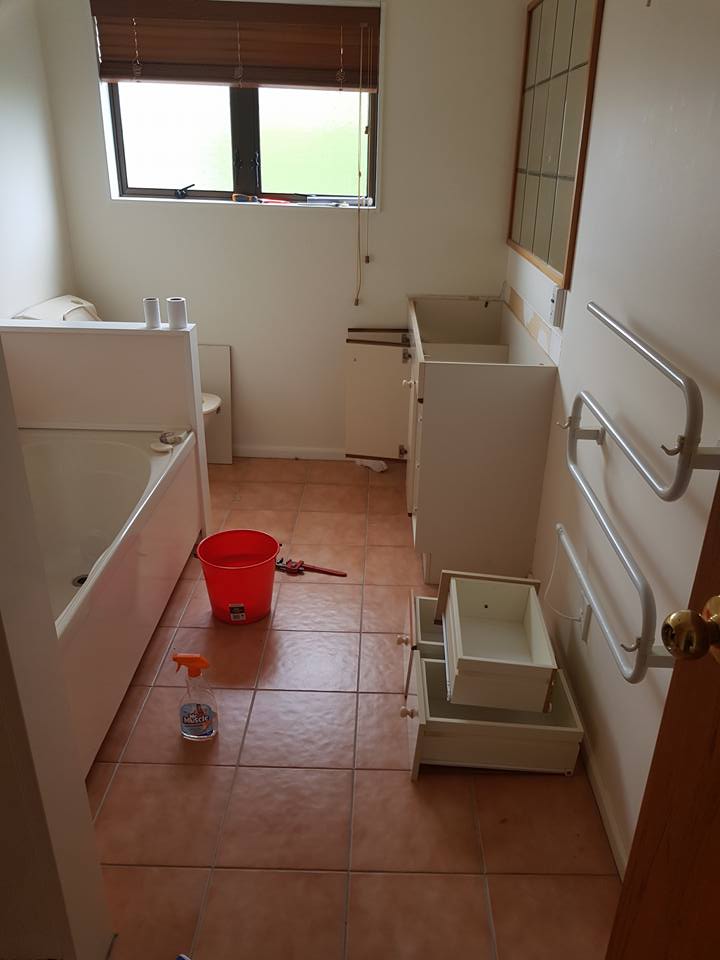
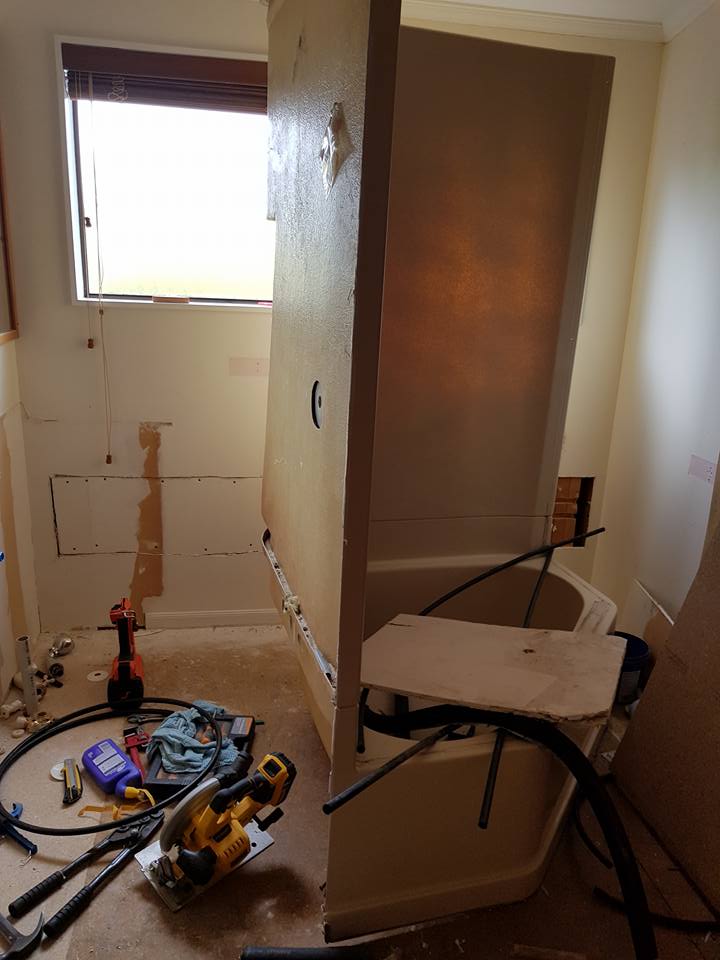
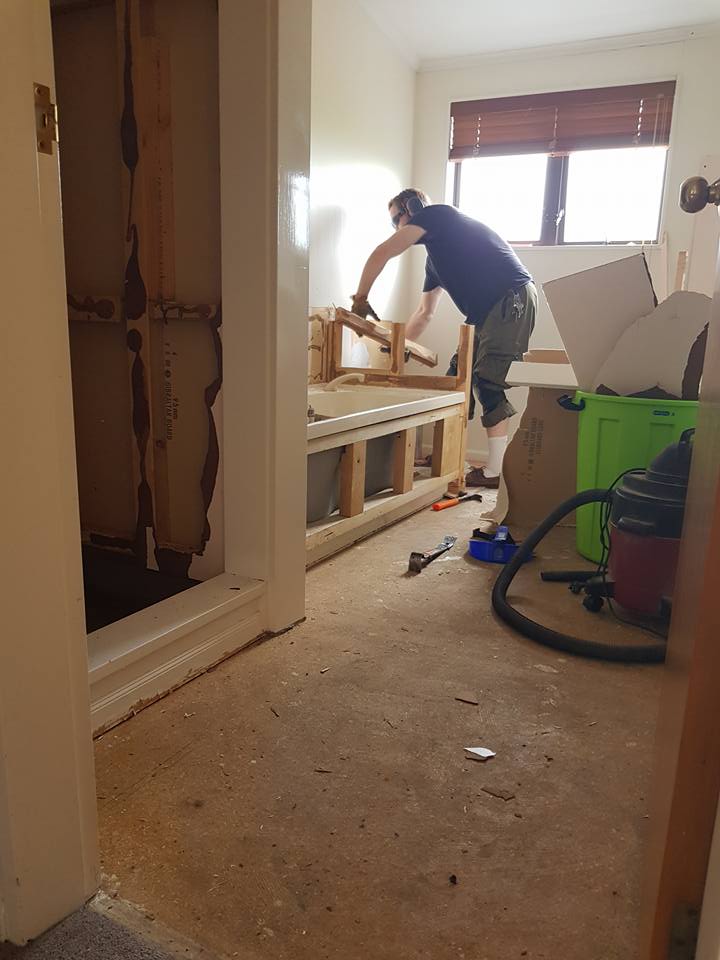
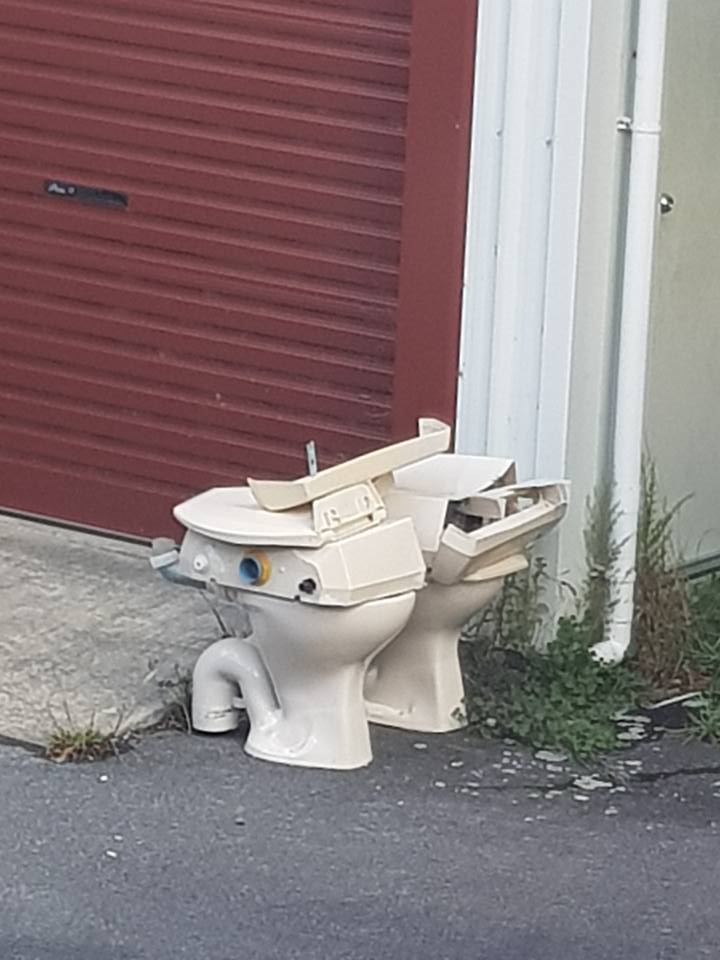
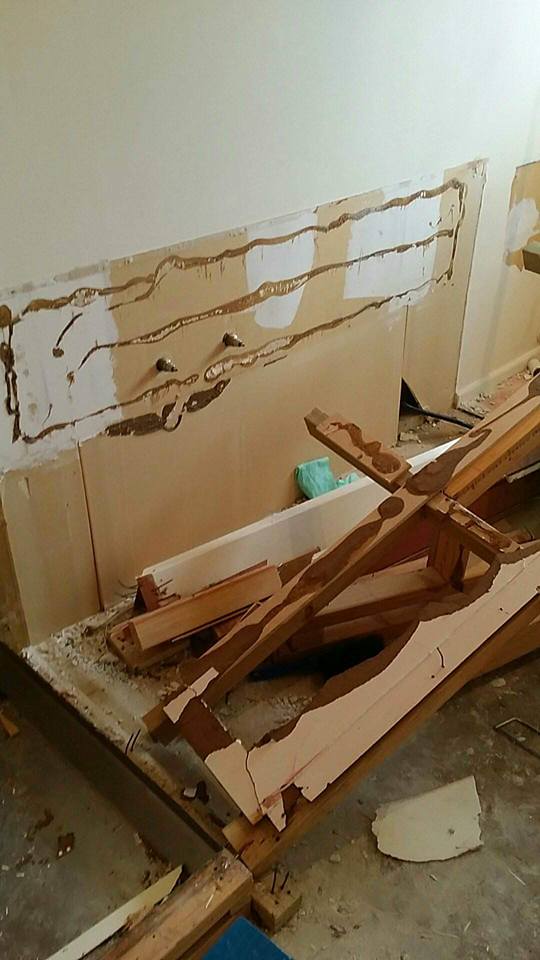
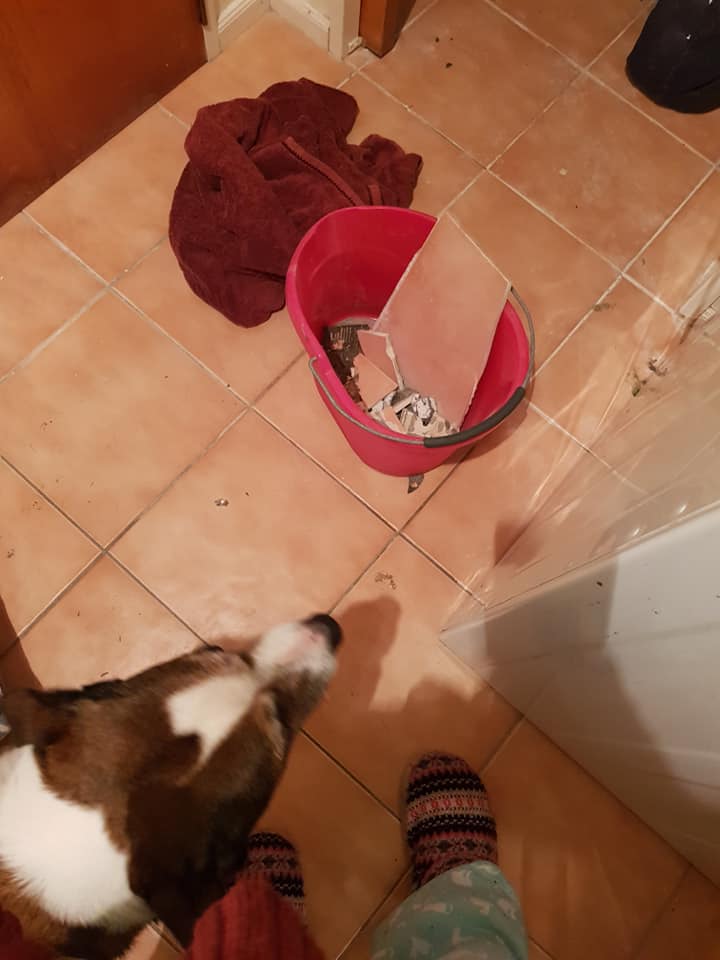
Here’s our first weekend of demolition – we took it gently, as we weren’t sure how much they wanted us to remove. Just the tiles (YUSS) and the vanities, both of which unfortunately disintegrated during demolition and were not able to be recycled into the community.
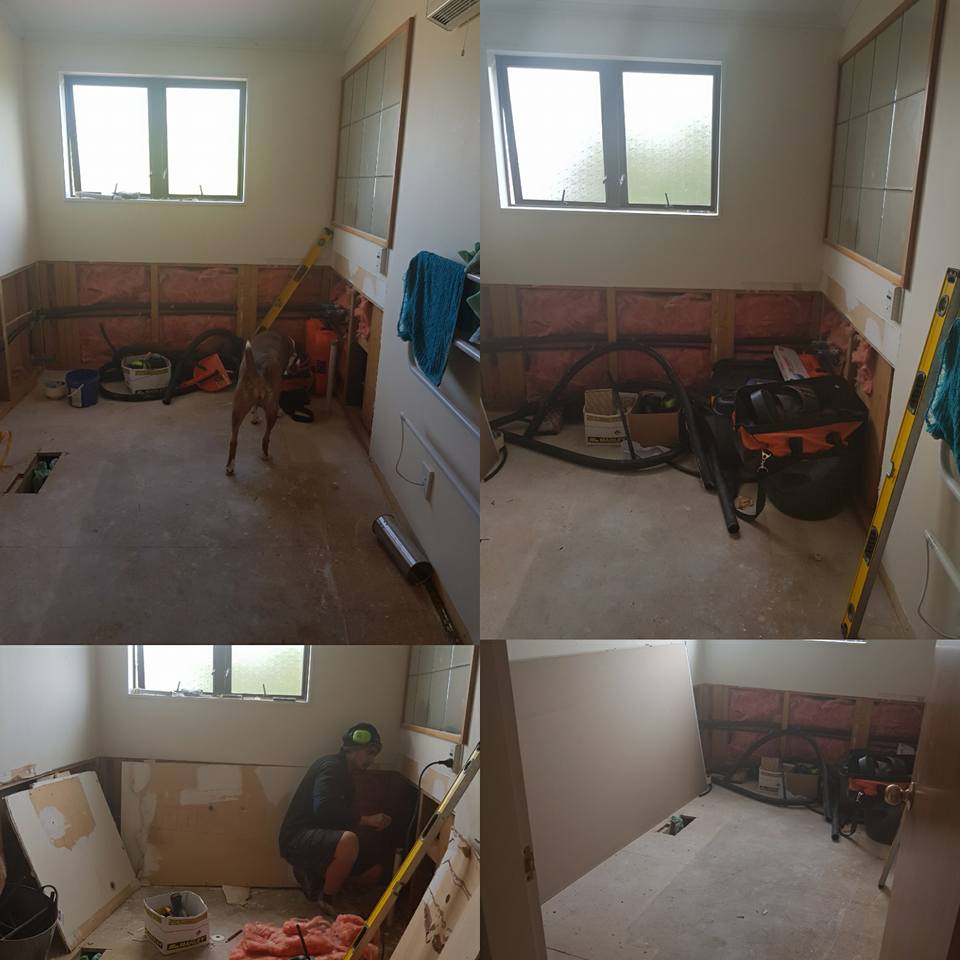
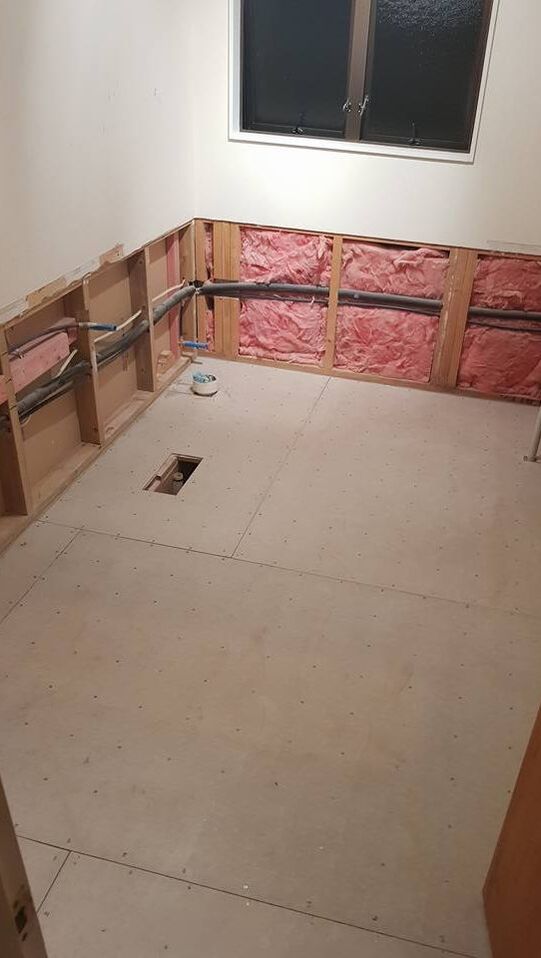
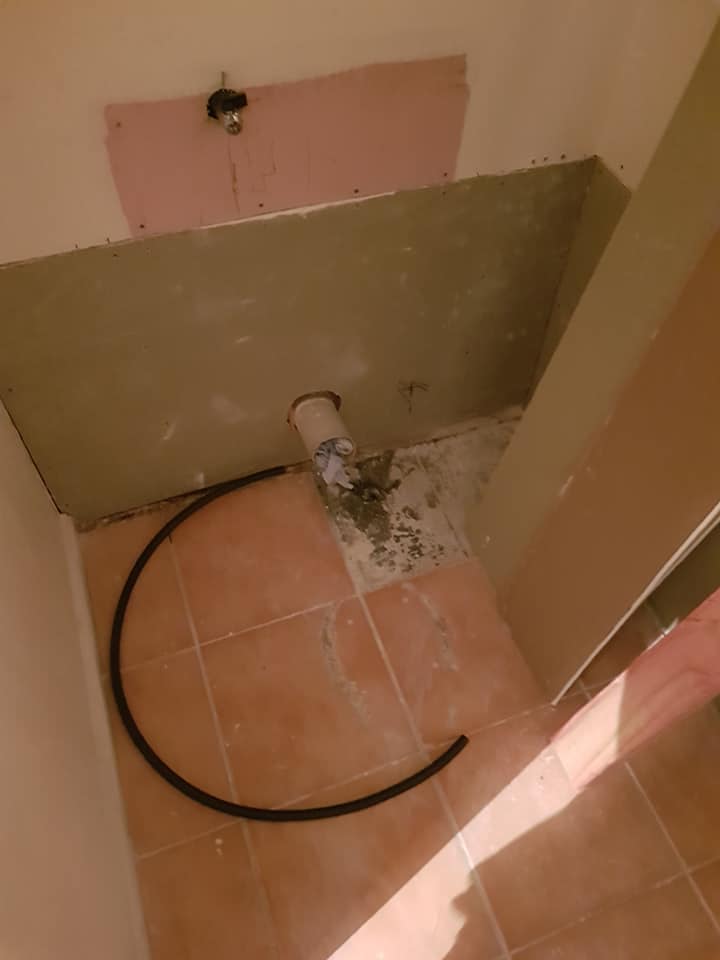
Holes in everything, âwith the plumbers cutting holes in walls, crawling under the house, and generally turning our world upside-down.
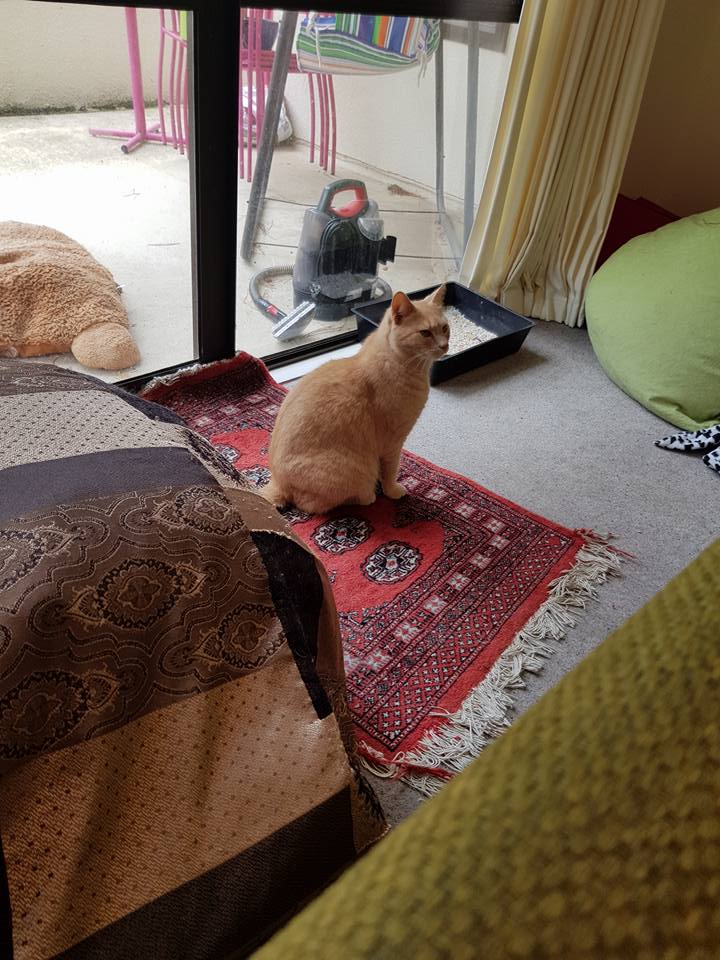
The pets and I spent many months confined to one of the lounges, surrounded by banging. It was a tough time.
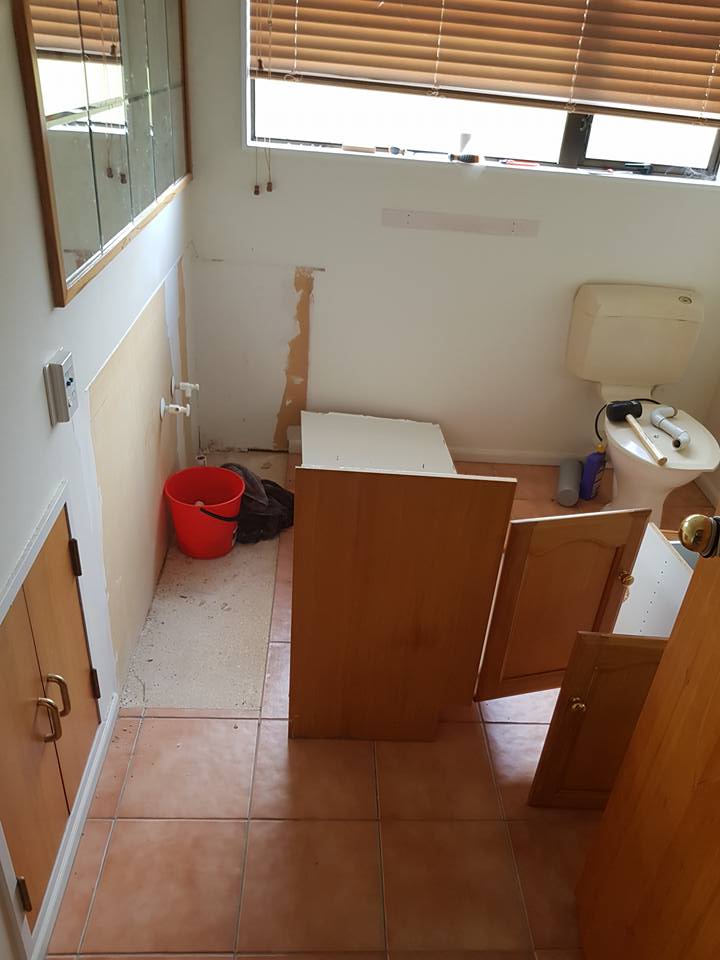
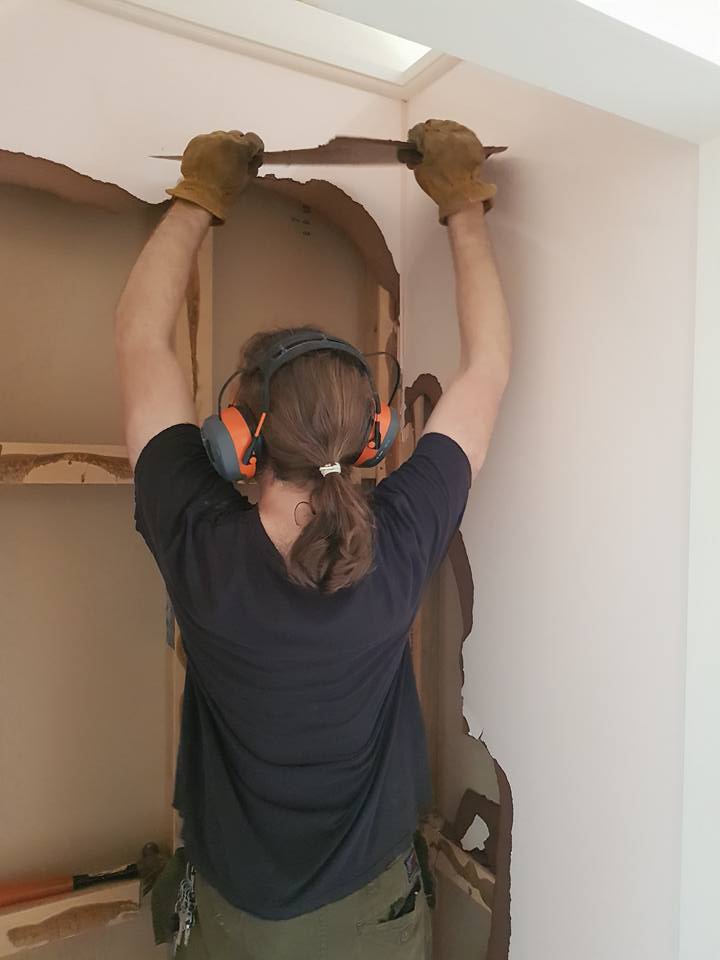
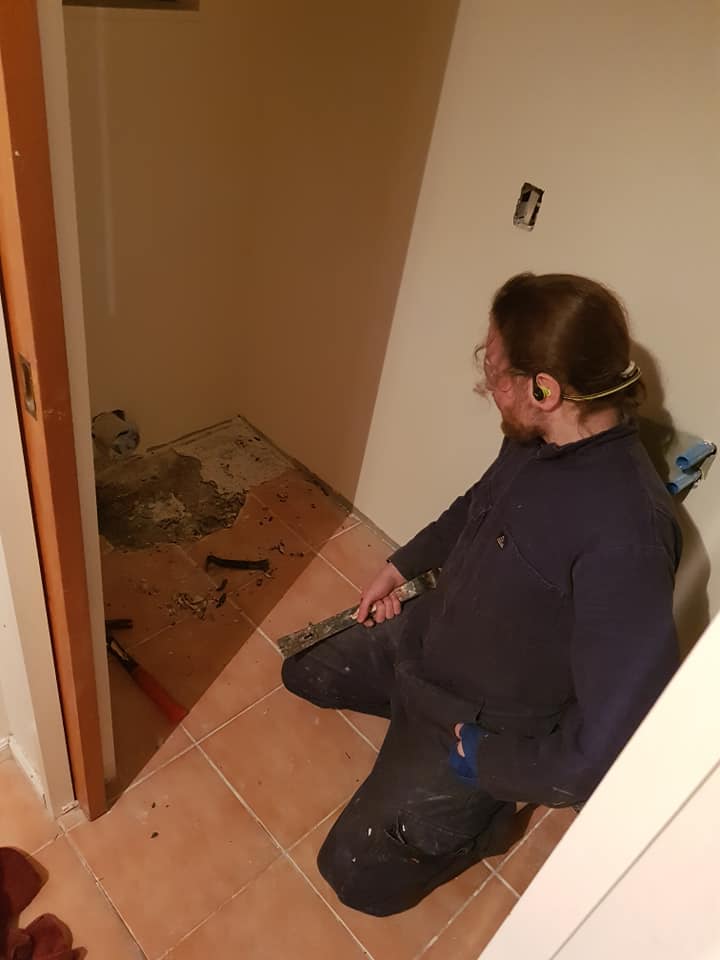
Our second weekend of demolition, we had a much clearer idea of what the plumbers wanted us to do – so it was on with the PPE, and off with the walls!
Ready for the plumbers to re-pipe, re-Gib, and install the bath, toilet, vanity…
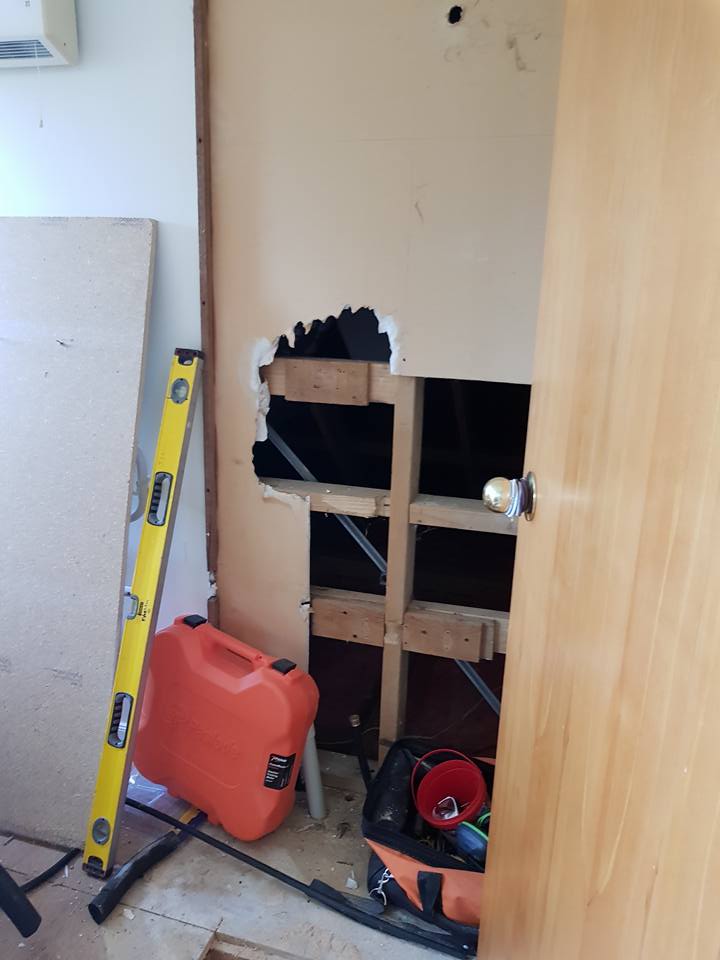
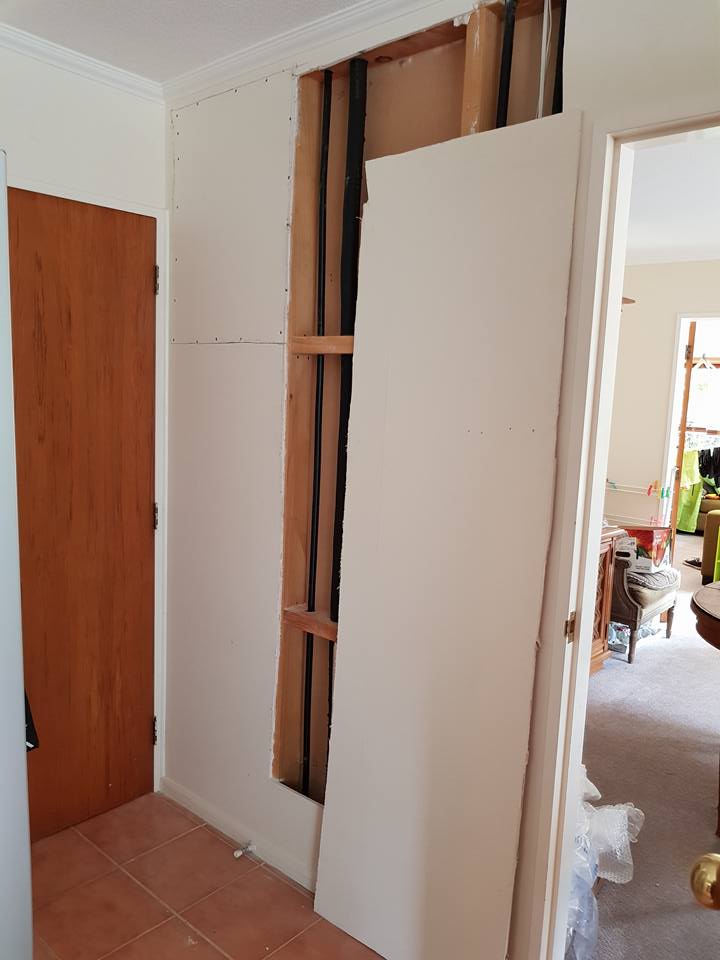
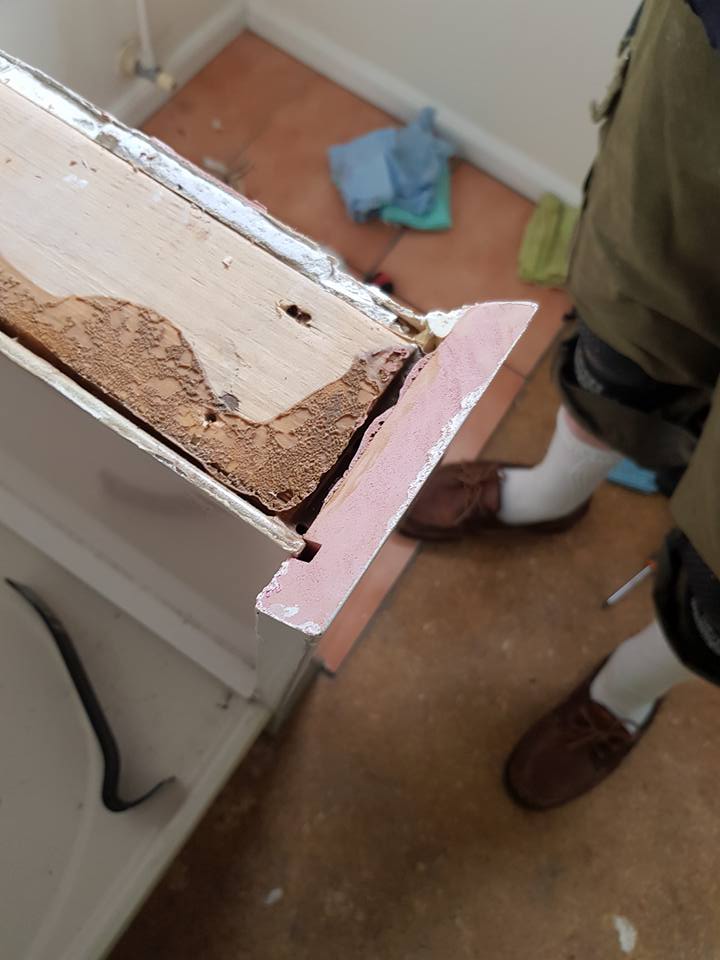
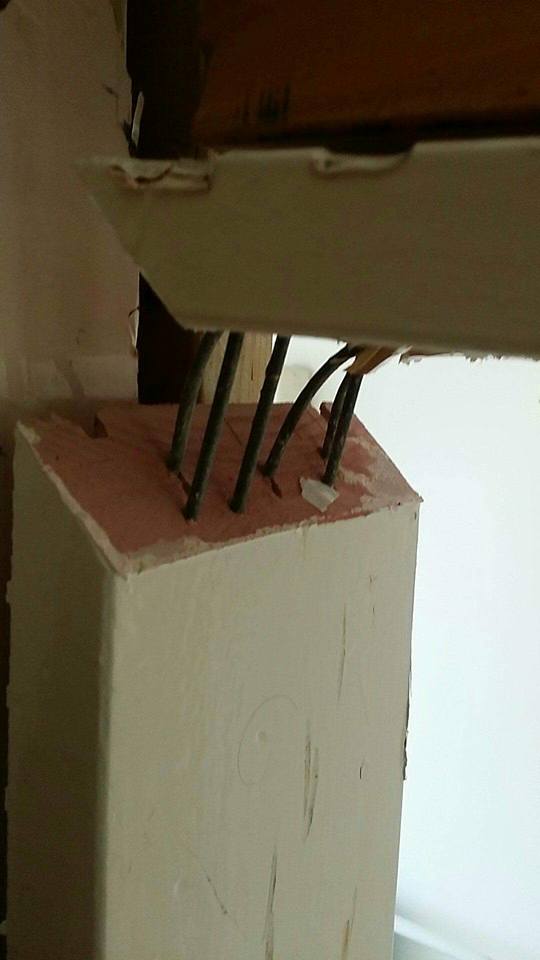
Enter the plumbers
So this is the bit where, once again, I wish I had known more about supervision of tradespeople. A year and a half later, and we are still finding flow-on effects from the mess these guys made with a nail-gun. Nails out every wall, including out to the exterior, the stairwell, the hallway, and the neighbouring room. Pro-tip – check all adjoining rooms before signing off.
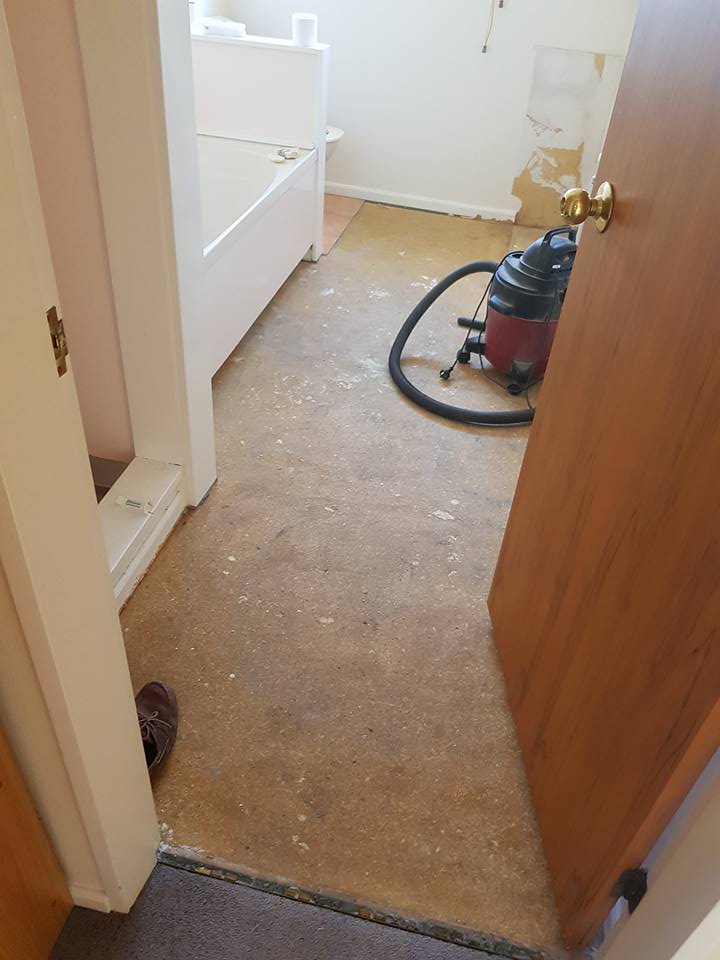
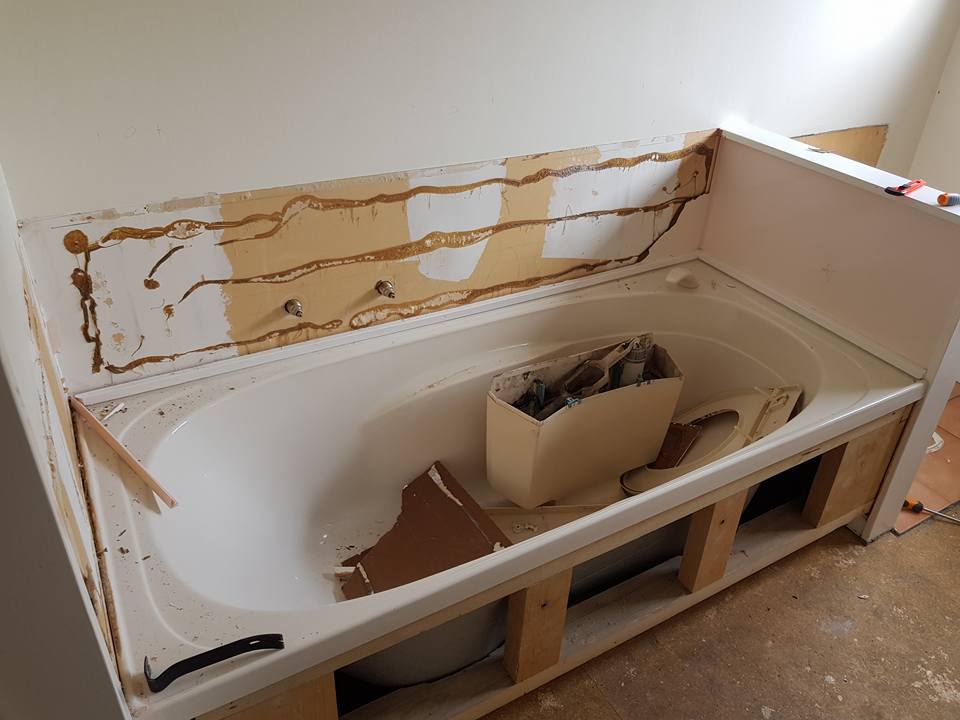
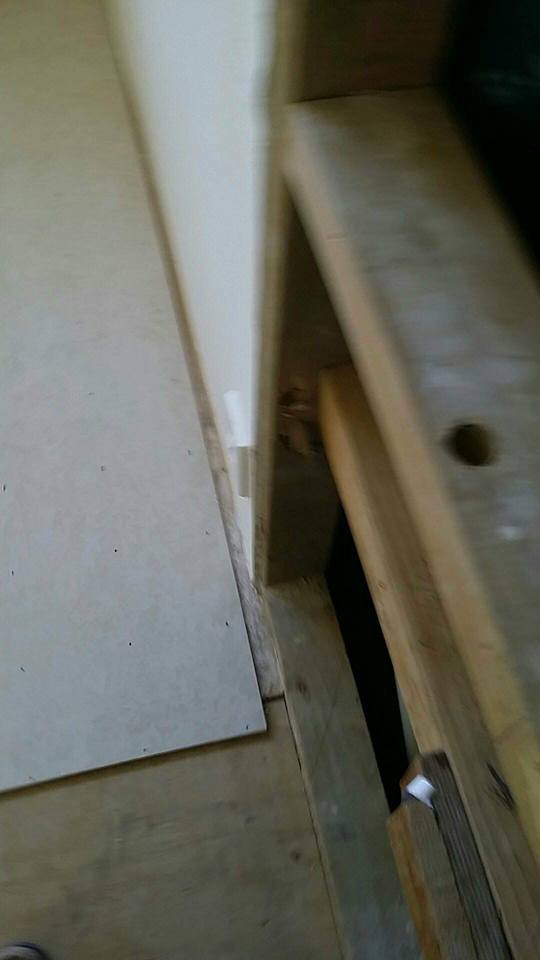
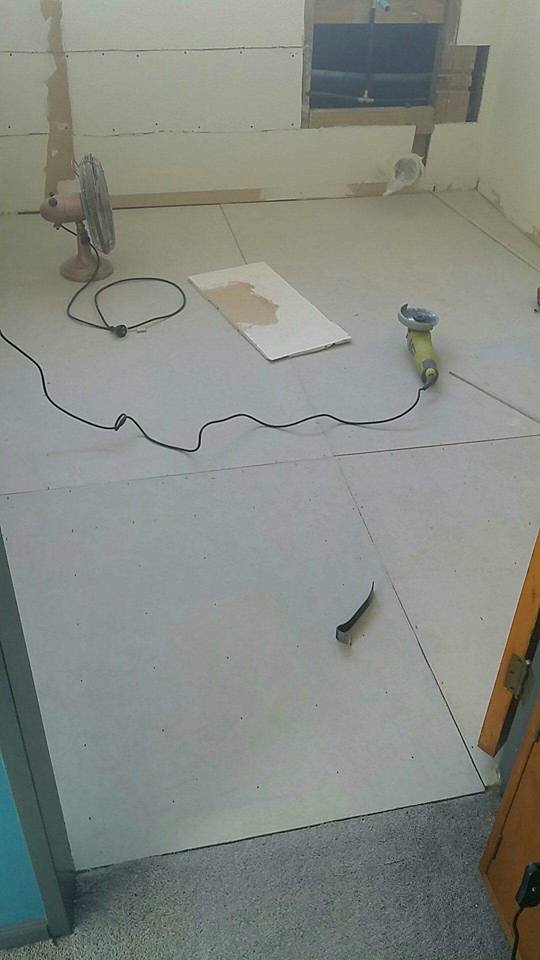
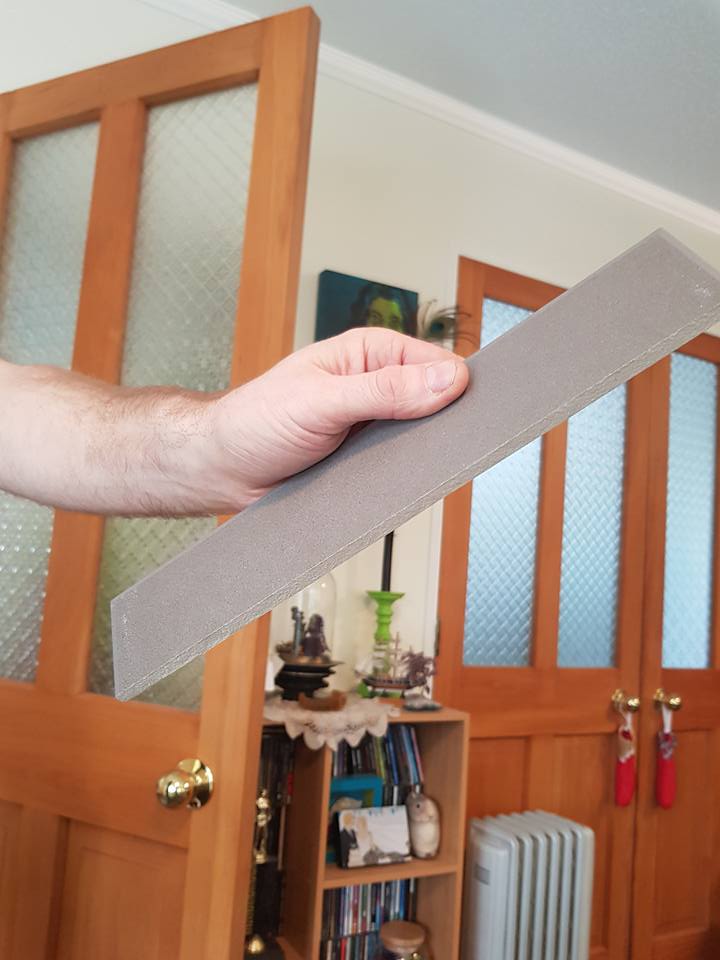
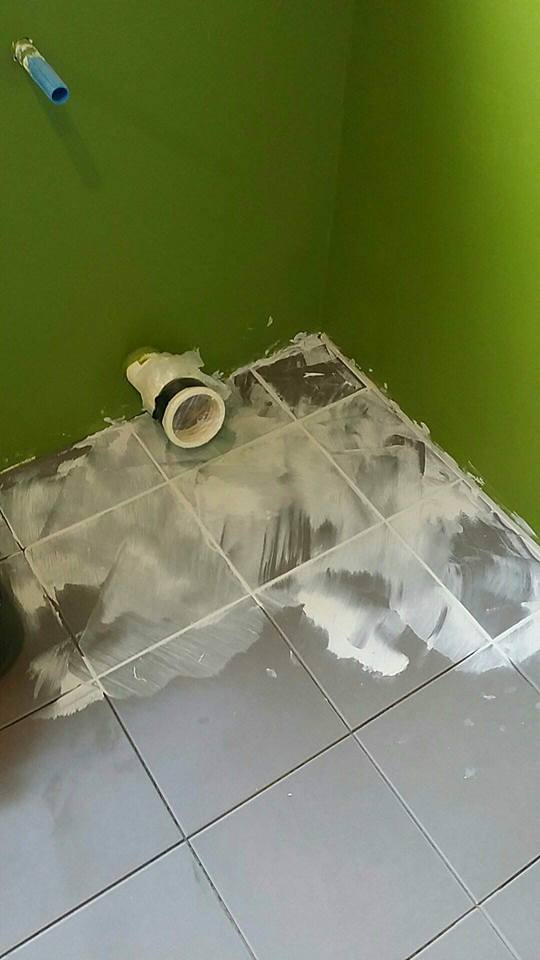
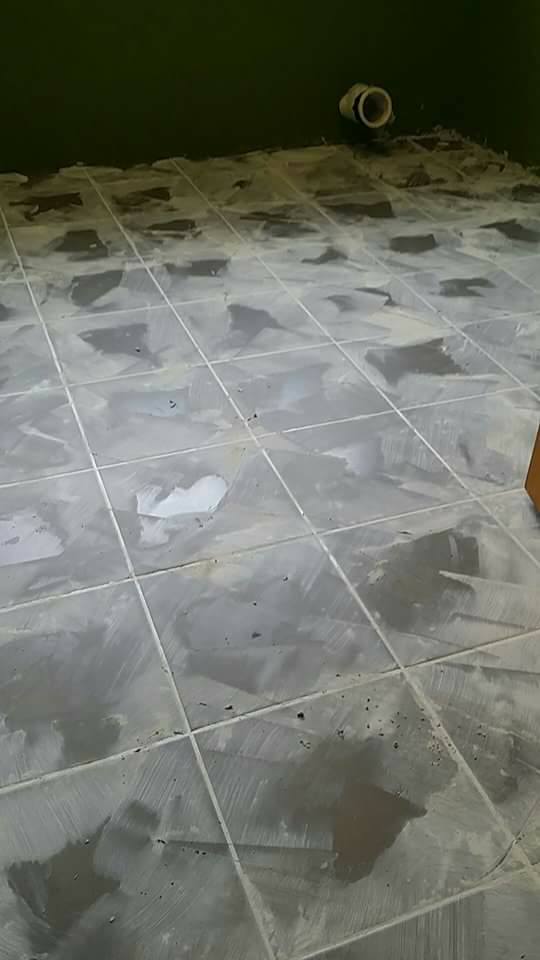
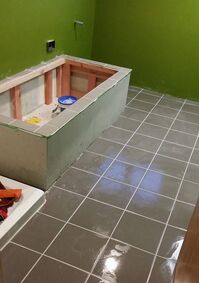
Tile underlay
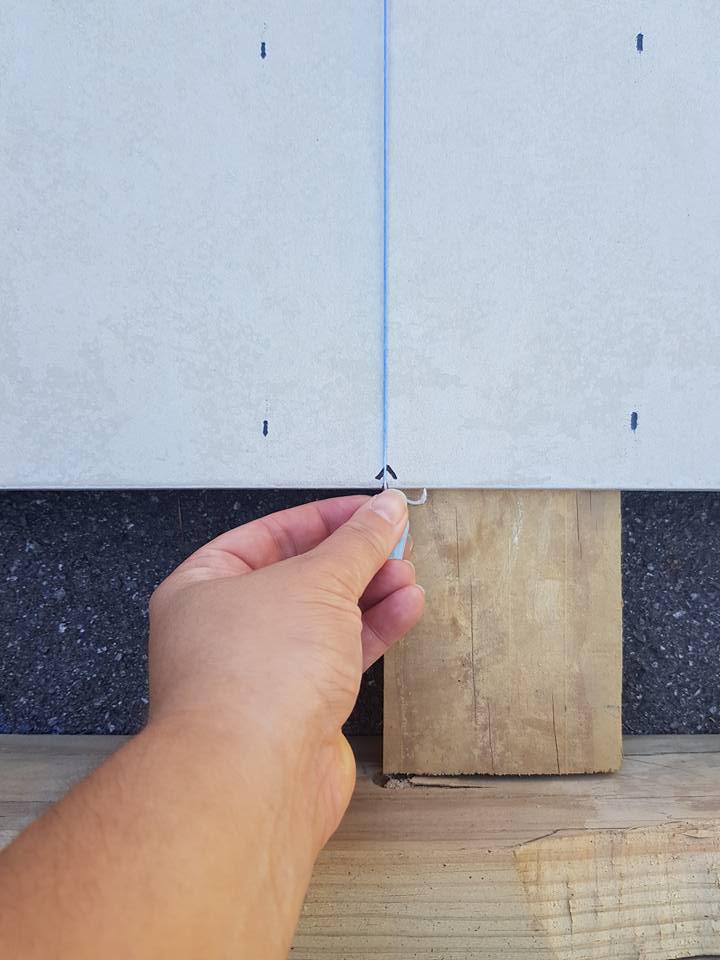
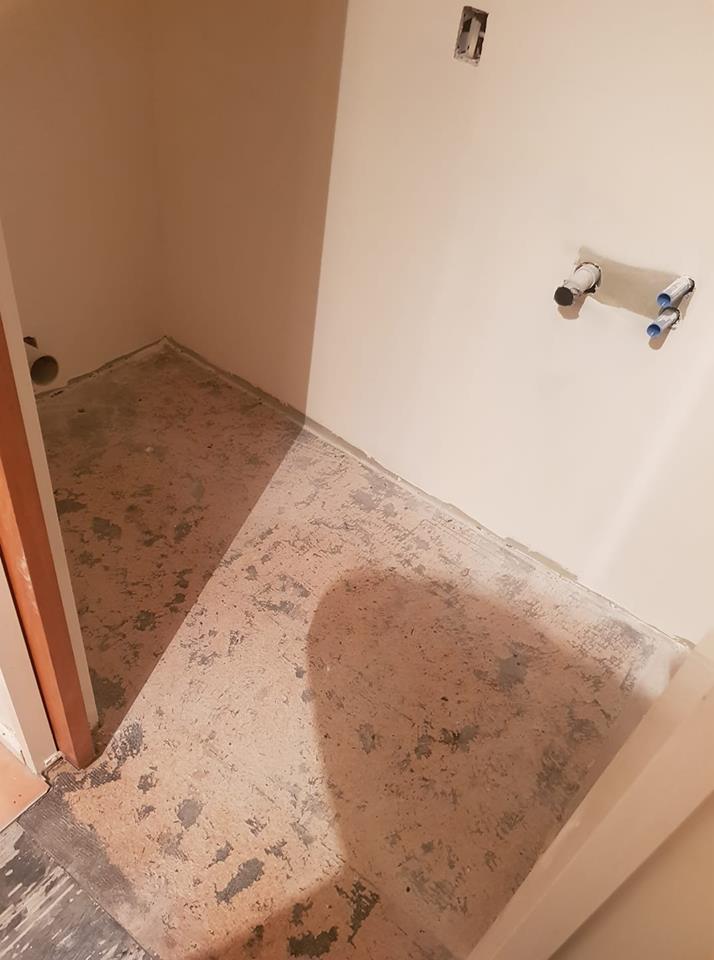
This was really cool – it gave me a chance to see how much skill and knowledge is hiding inside my husband’s brain, as well as to learn something new myself. We did a lot of research, called the suppliers for the tiling adhesives, and eventually figured out that the previous tiles were so hard to remove because they had been installed incorrectly for the chipboard sub-flooring.
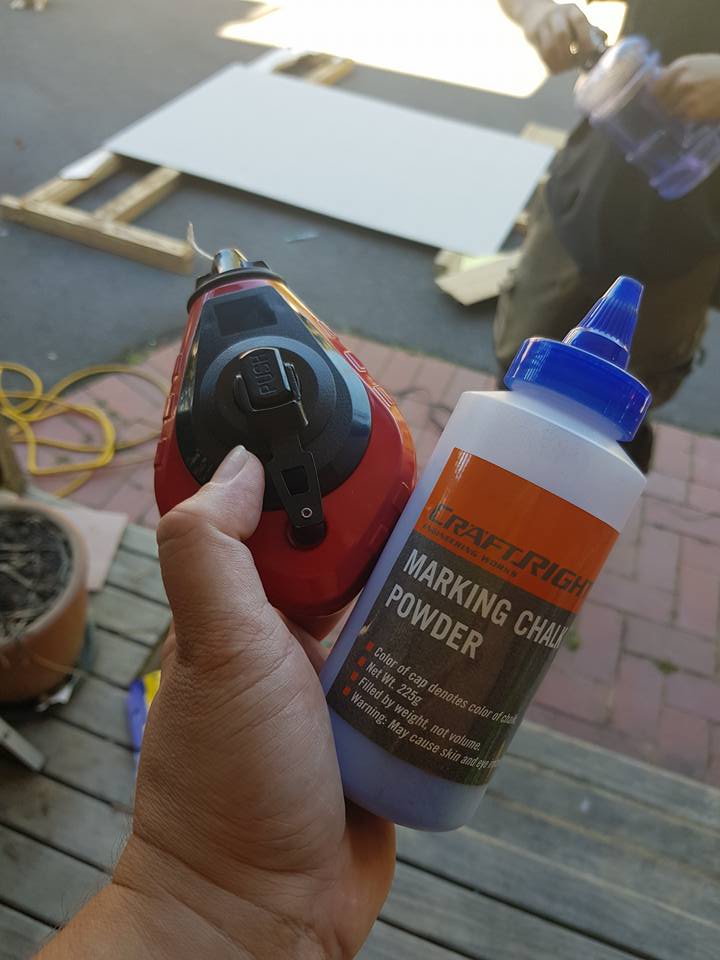
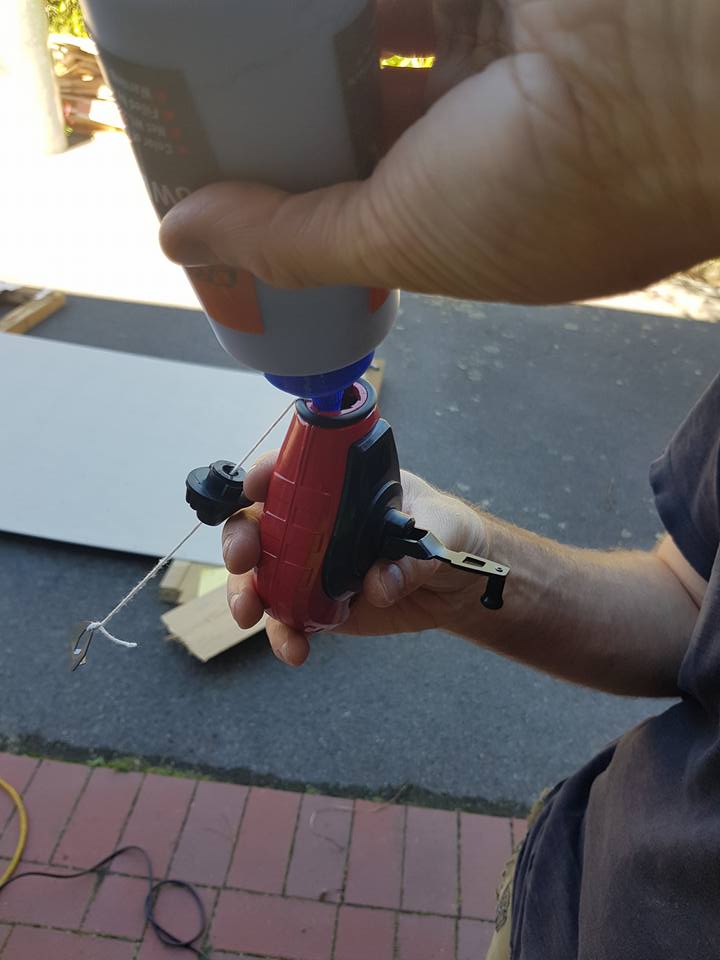
Following advice from the professionals, we laid down concrete underlay board – and I learnt to use a chalk line!
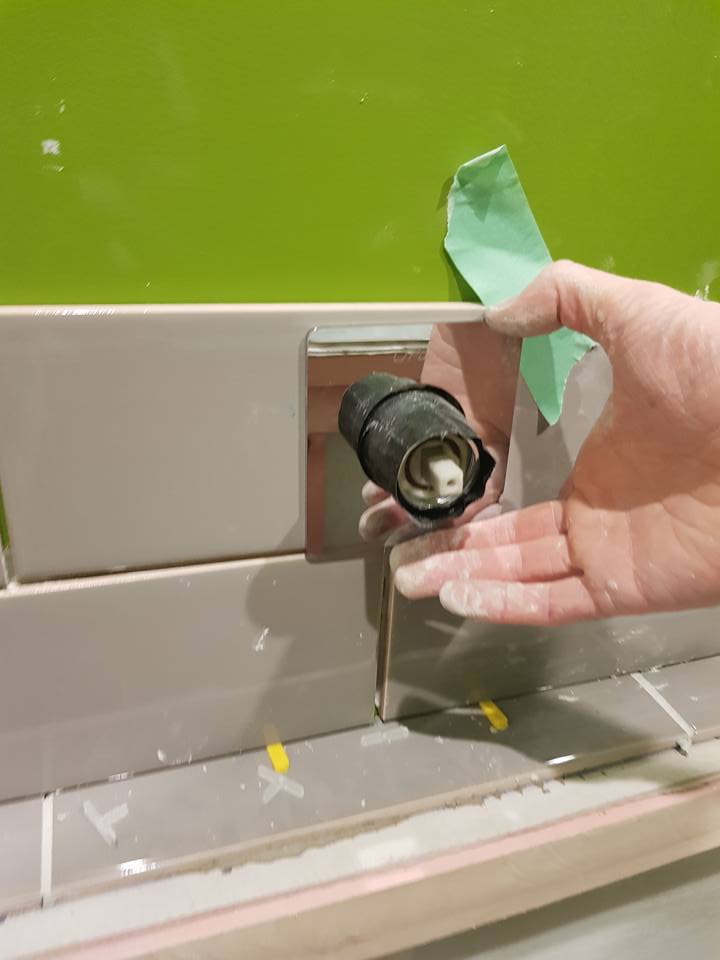
Progress!
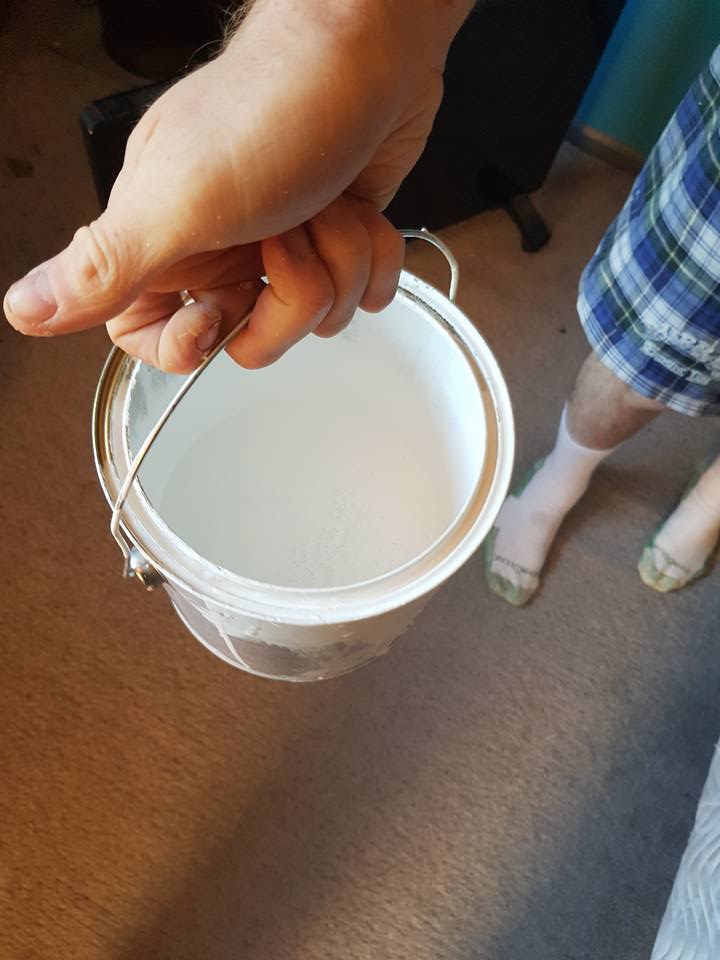
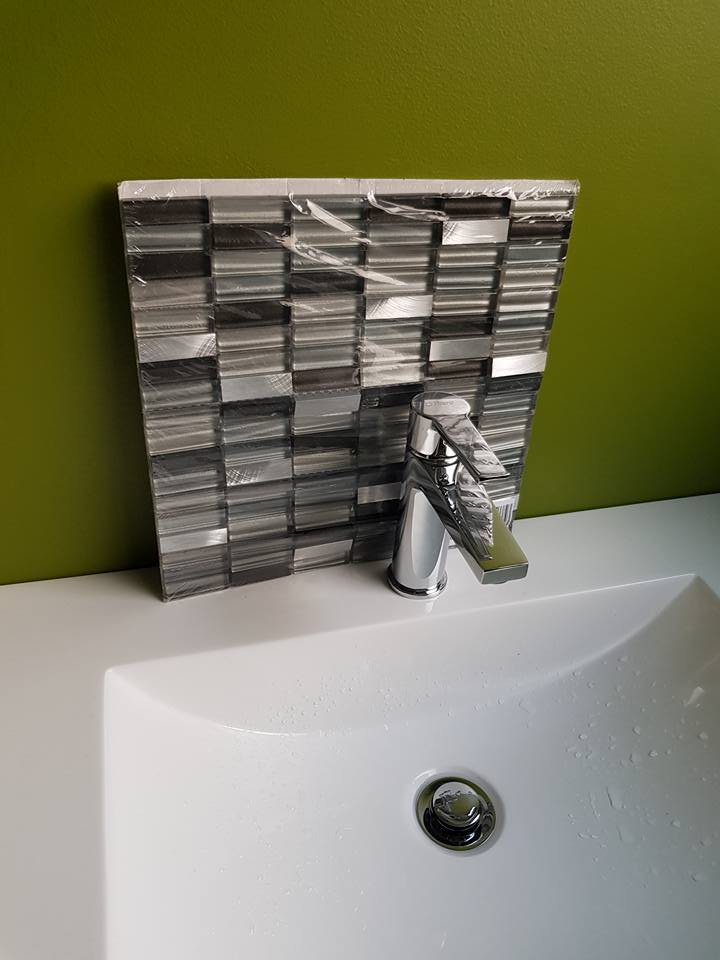
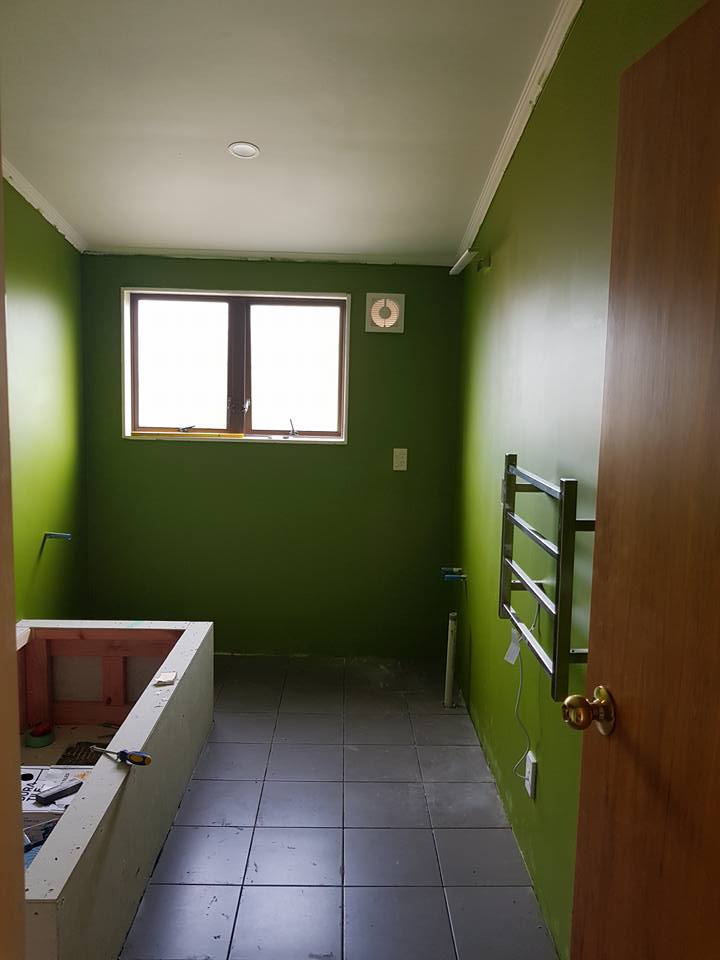
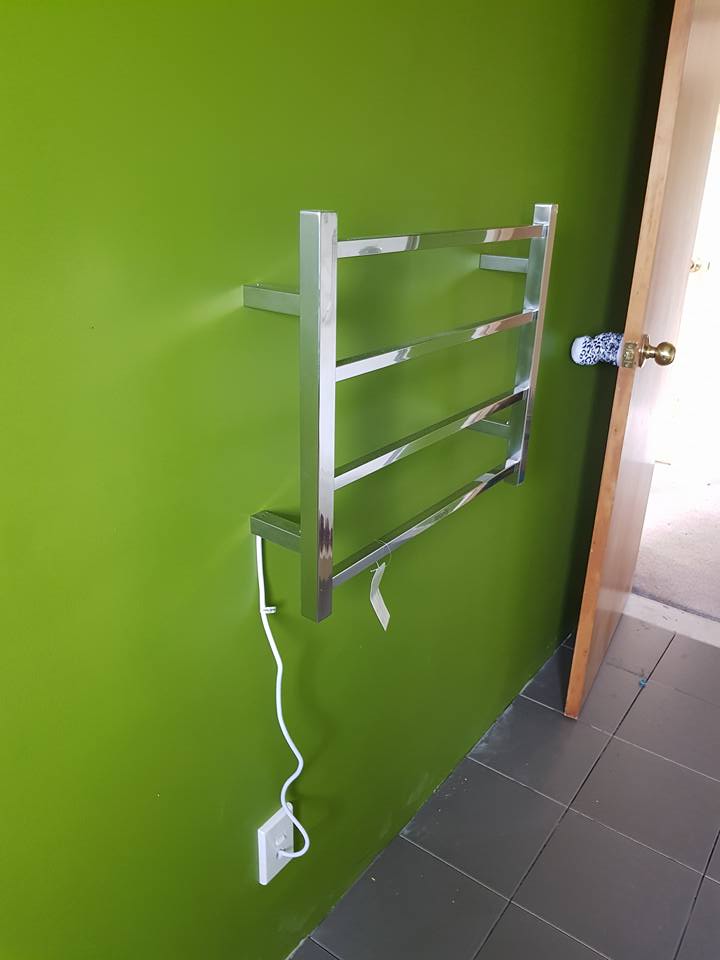
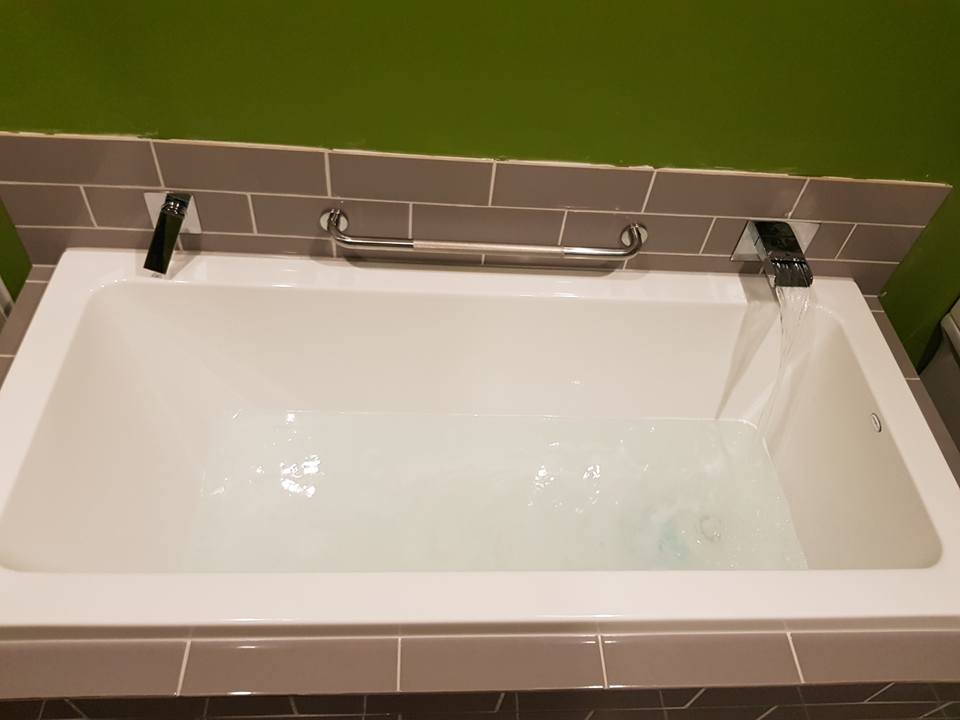
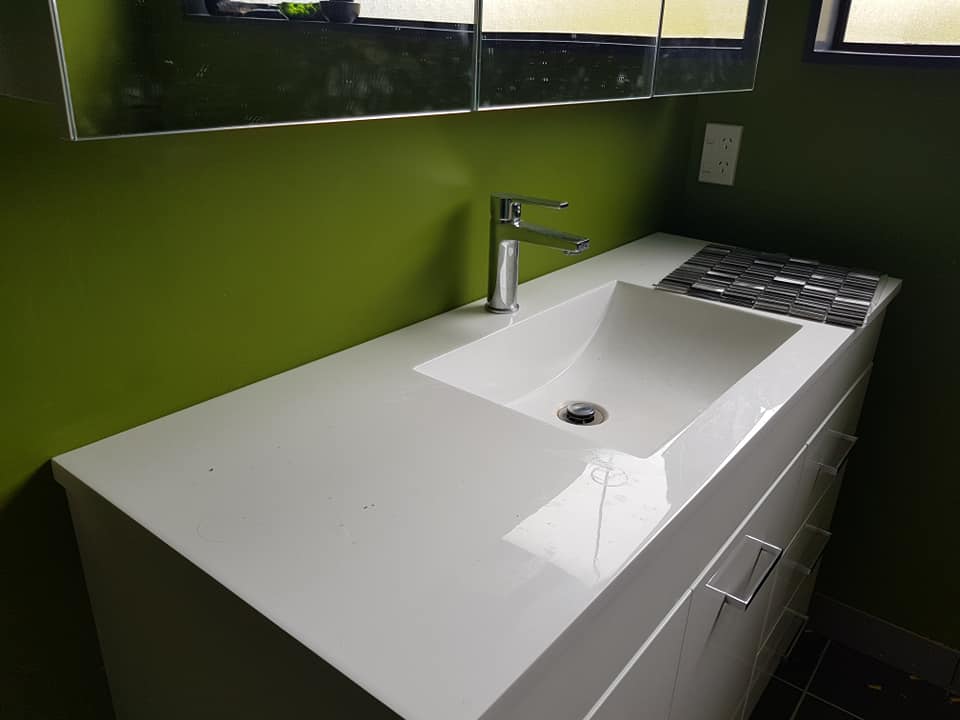
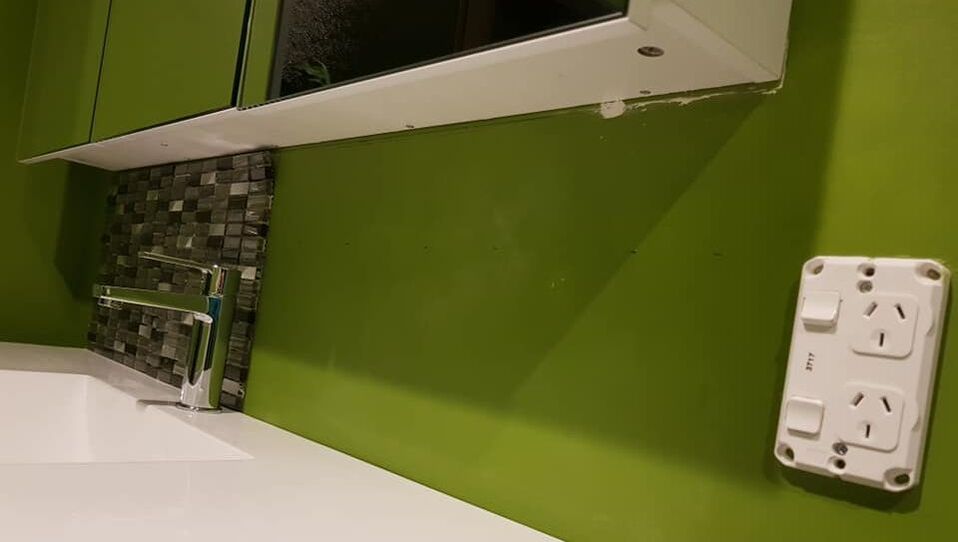
There’s something terrible exciting about testing things. It was such a thrill when the plumbers were able to show me that my special tap worked, especially as I was very restrained with all the other bathroom accoutrements.
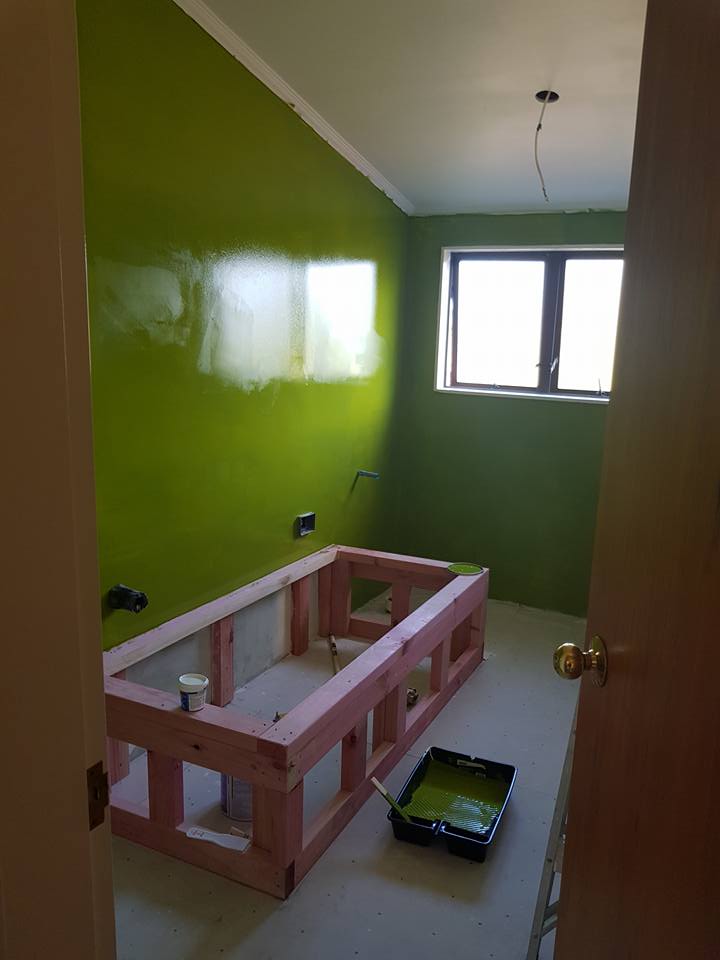
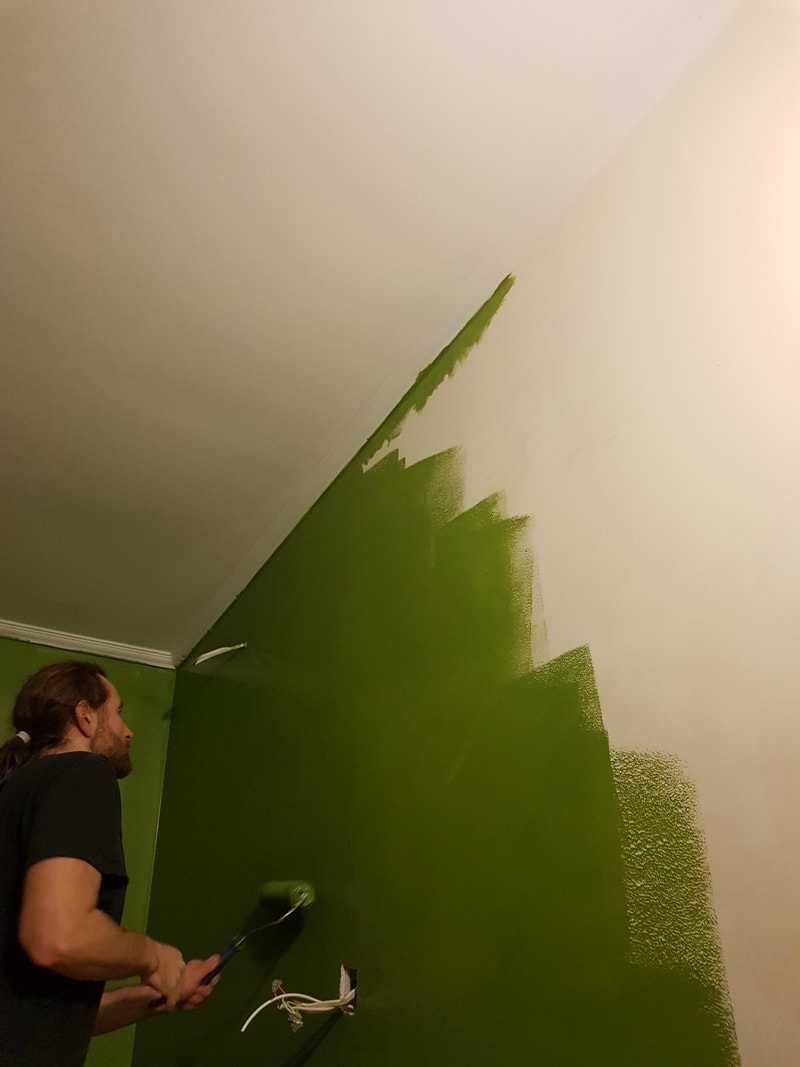
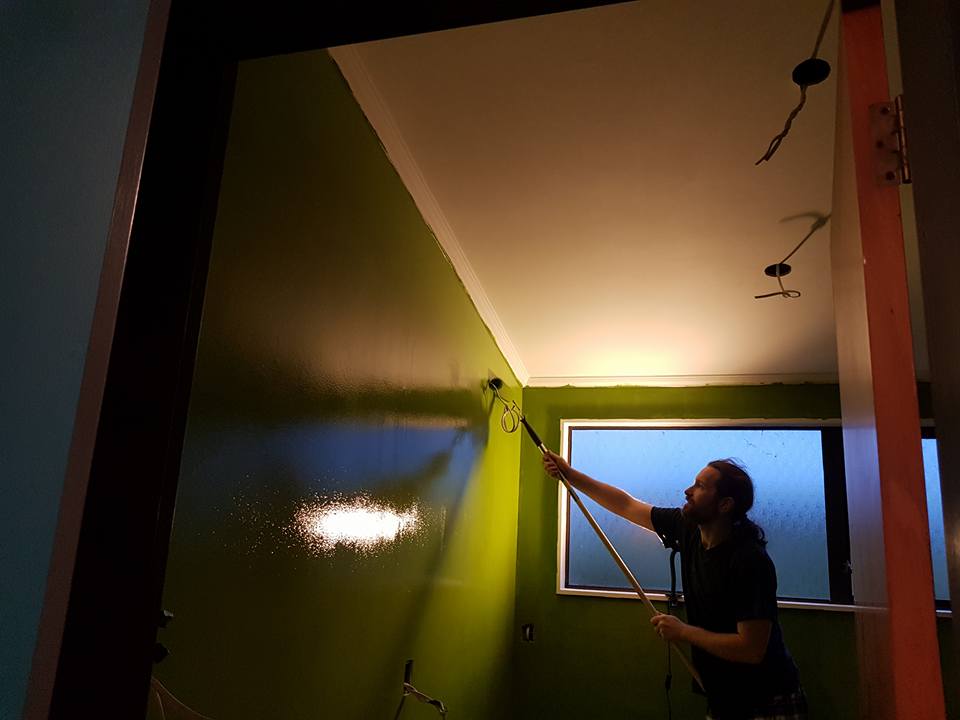
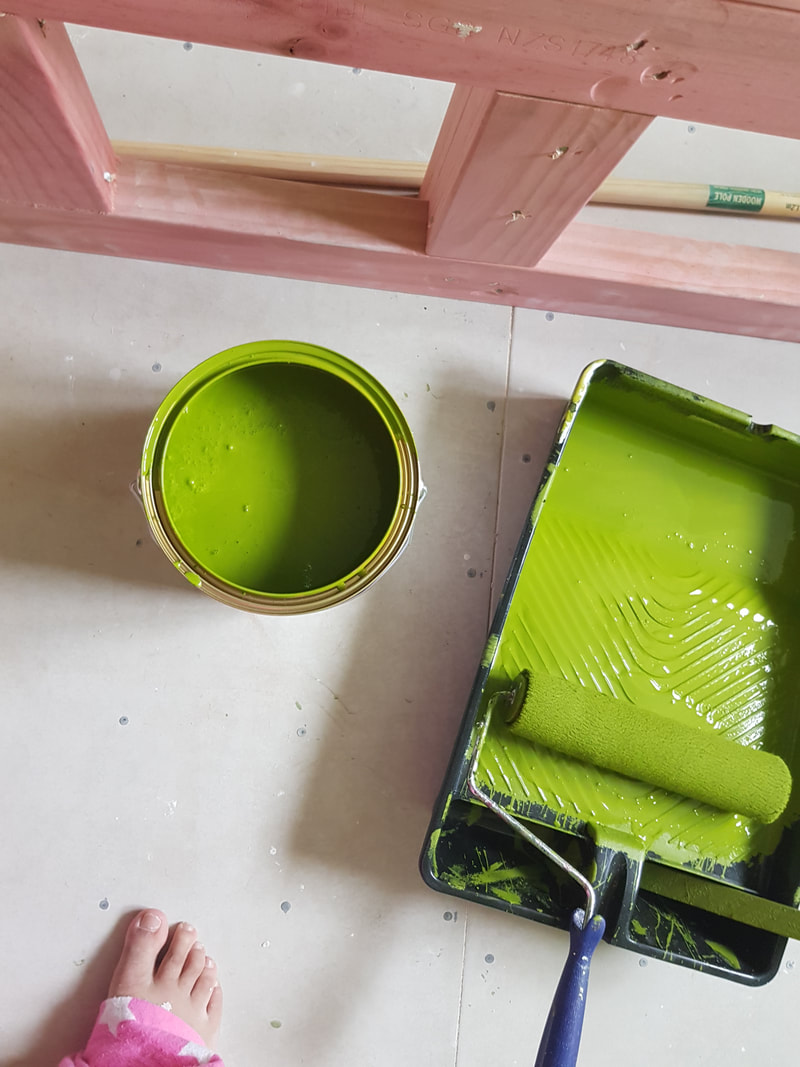
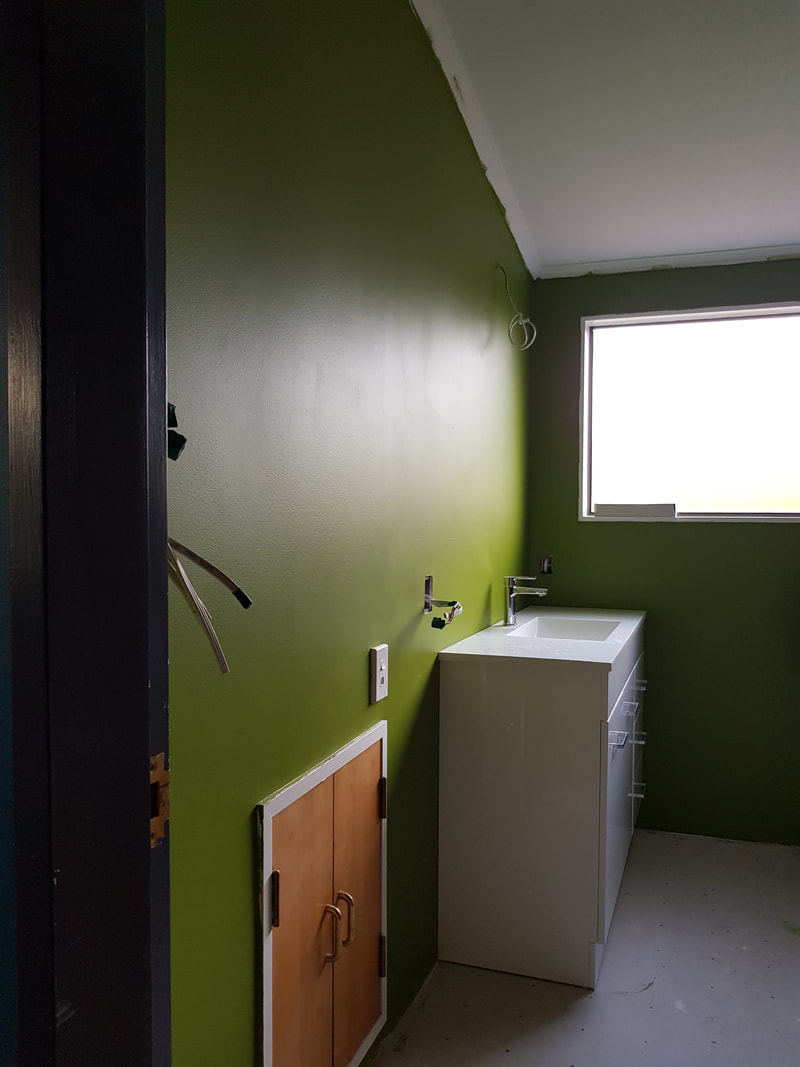
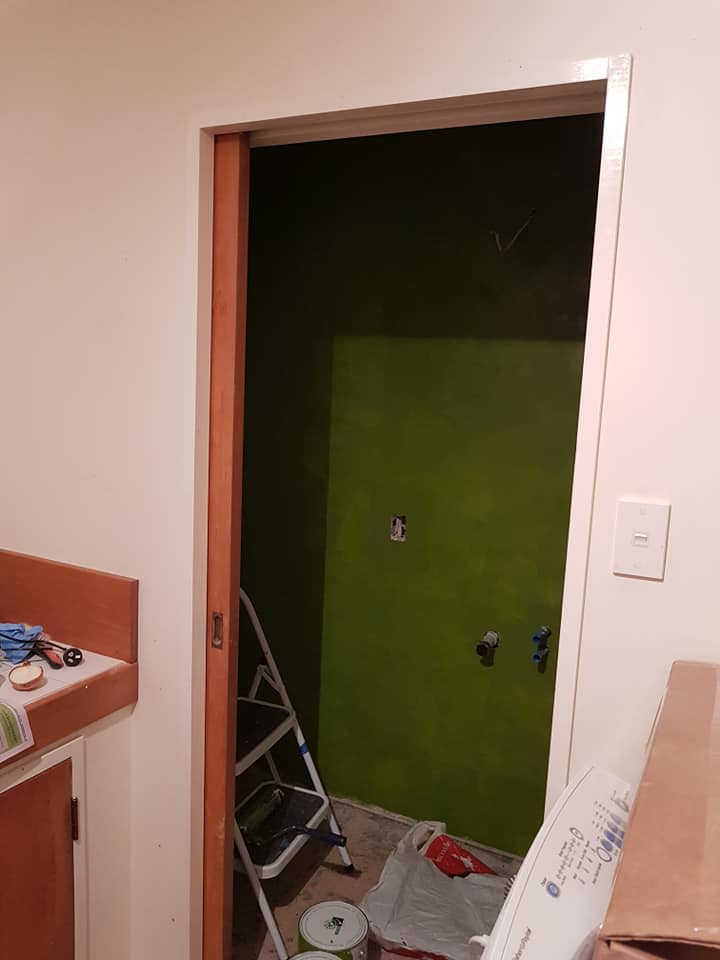
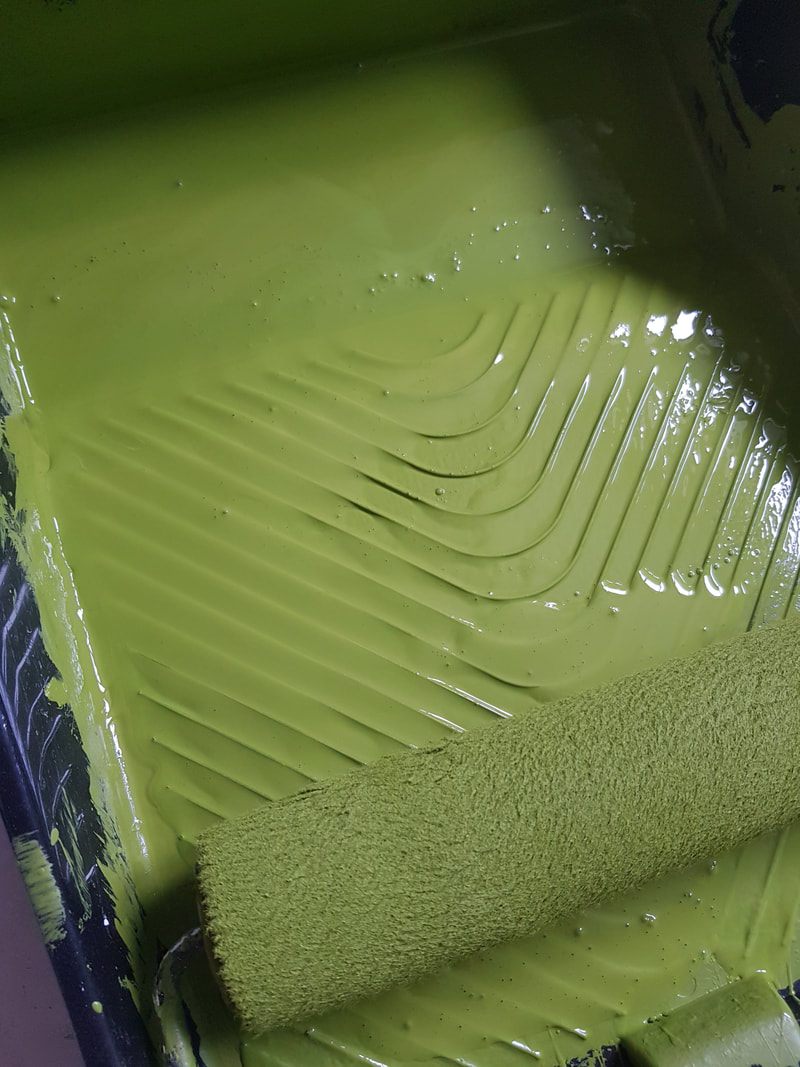
Painting
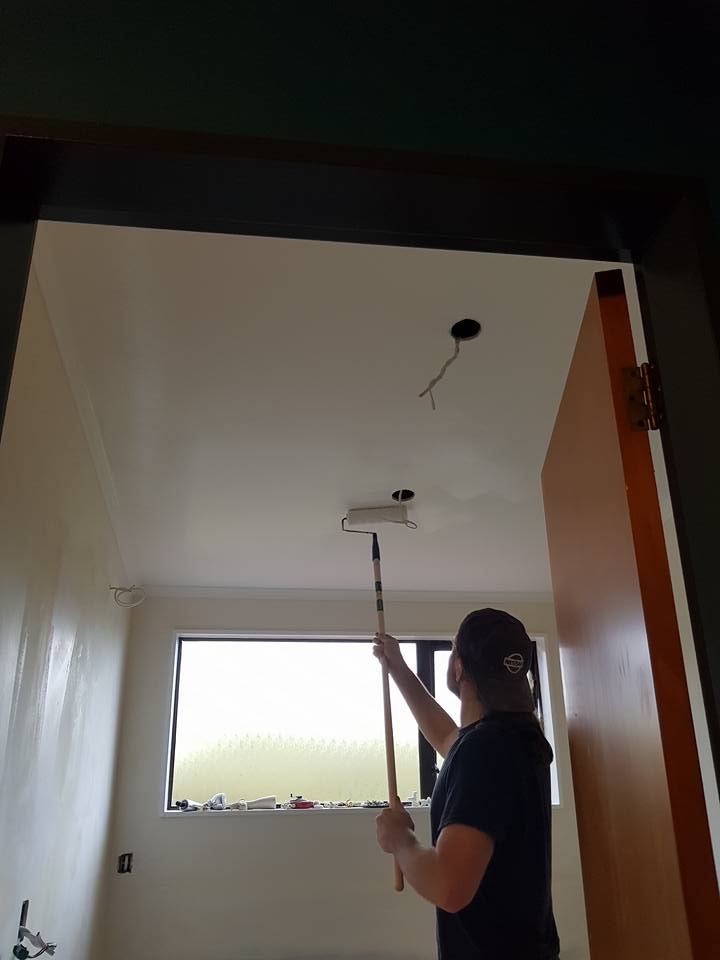
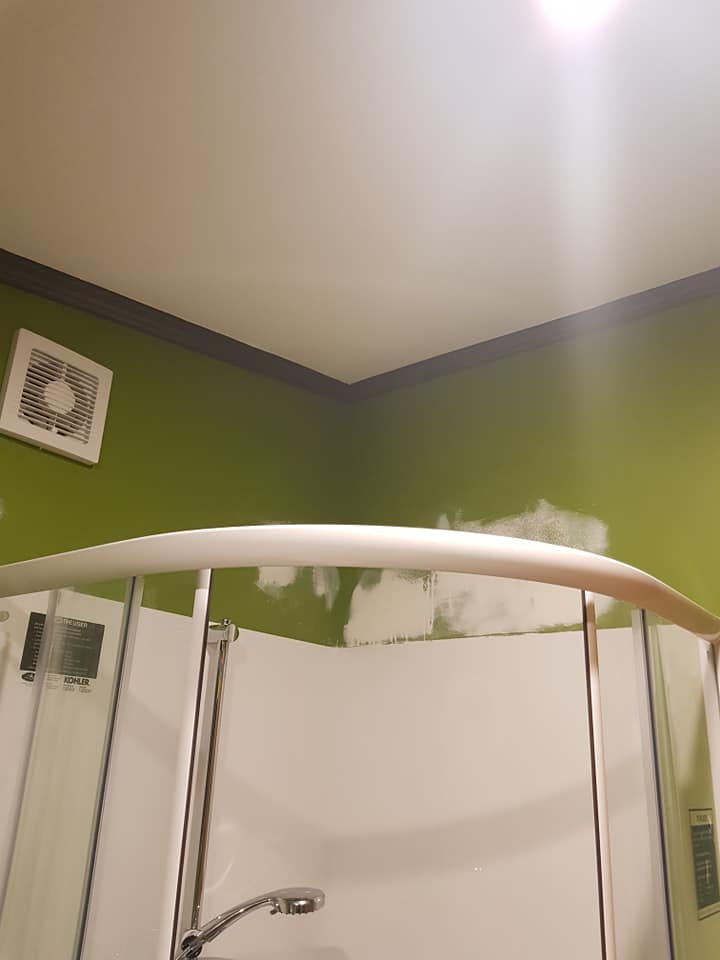
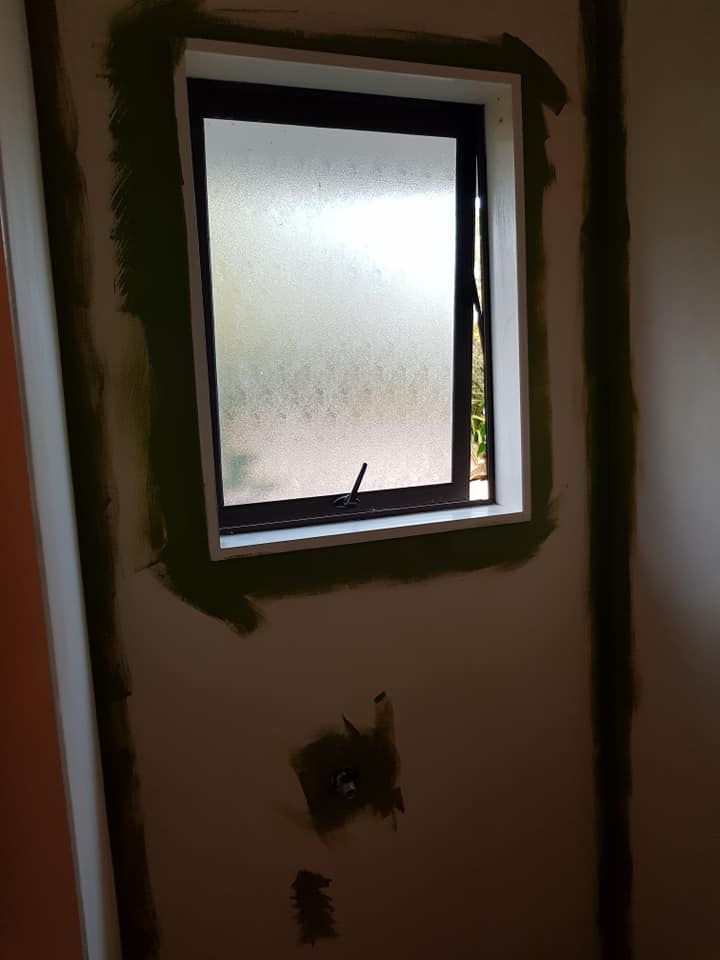
We ran up against a really annoying roadblock – because the sparkies hadn’t installed the lights yet, we couldn’t paint at night. It meant some very long days, and, yes, some quite poor painting at night, in the end. We ended up doing a third coat about a year later (when we found the time again, after the next huge tradesperson invasion – more on that later).
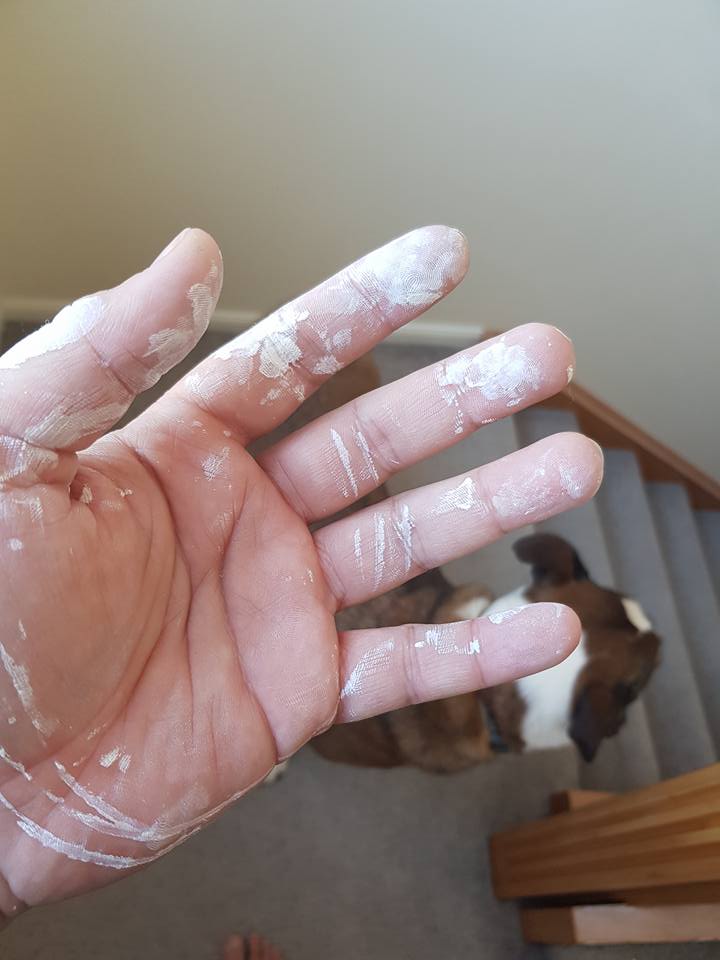
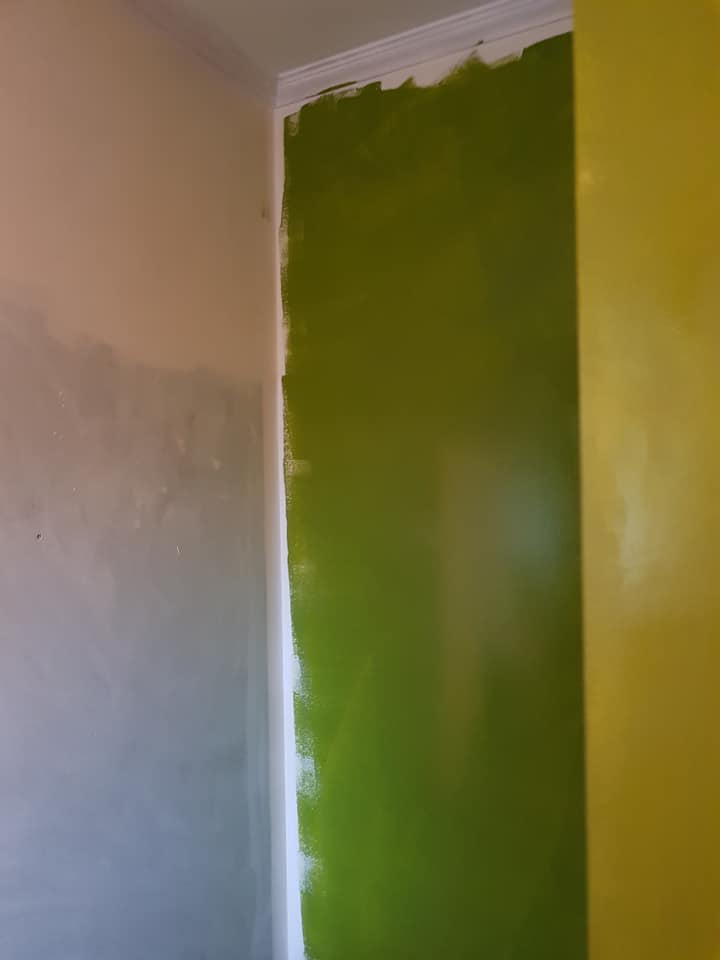
Anyway, once the ceiling and walls were plastered, we sanded, sealed, sanded, dusted, and painted them.
âWhen I was little, I used to imagine very hard that I could hear Father Christmas’ reindeer on the roof. I would snuggle down in my bed and try to make sleep come so that it would be morning soon and I could go and open my presents.
Listening to the plumbers working in the ensuite above me felt similar – I just wanted to go and look, but I also didn’t want to ruin the surprise!
I spent a lot of time looking at my paint samples and imagining VERY HARD.
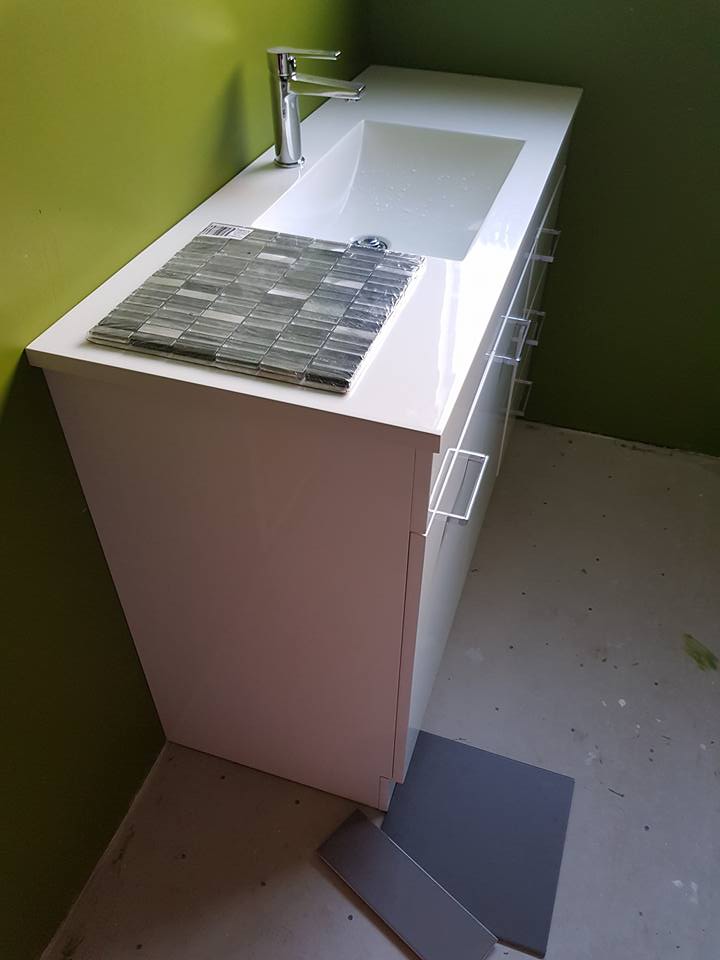
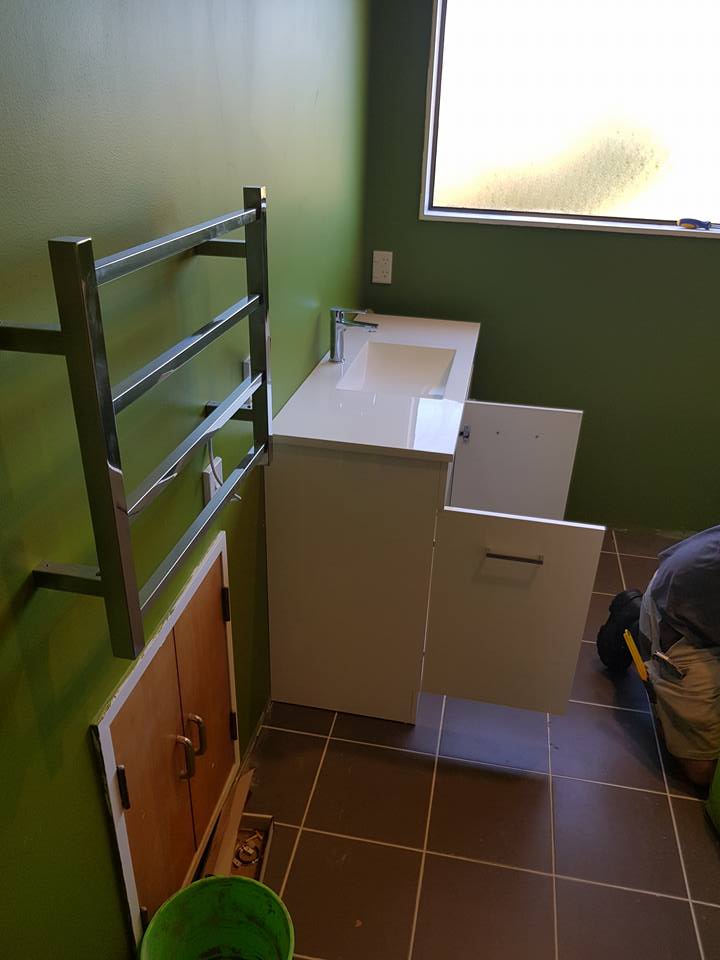
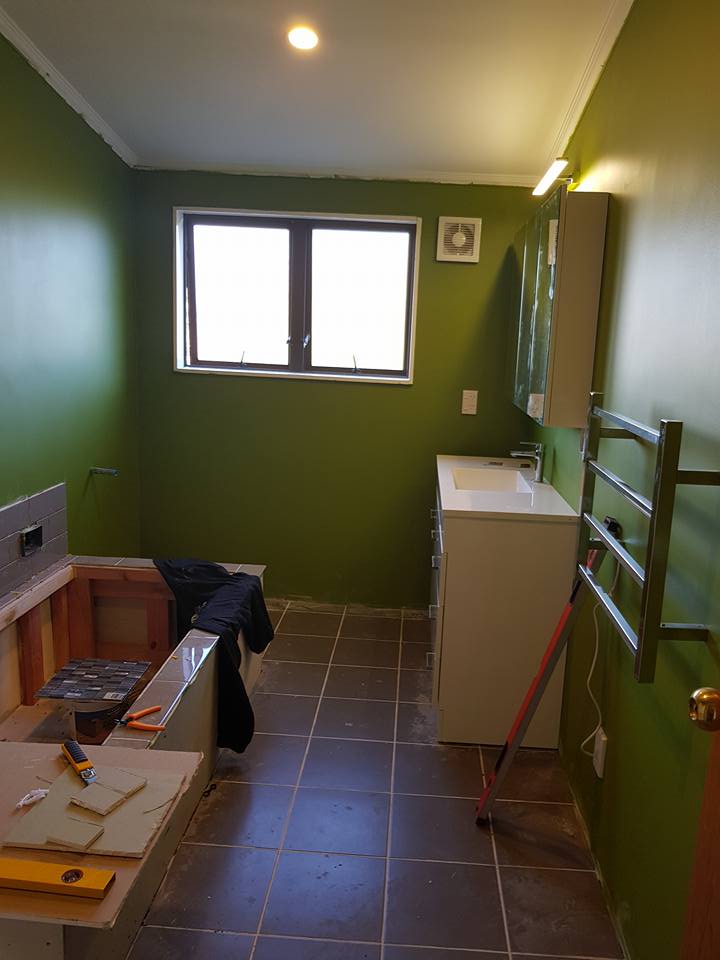
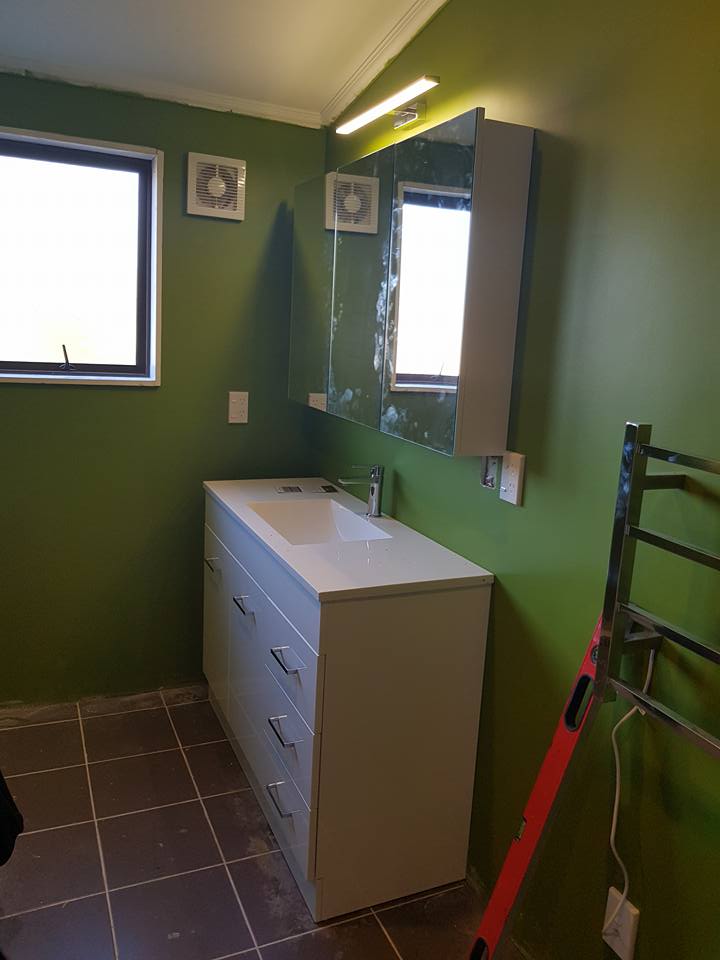
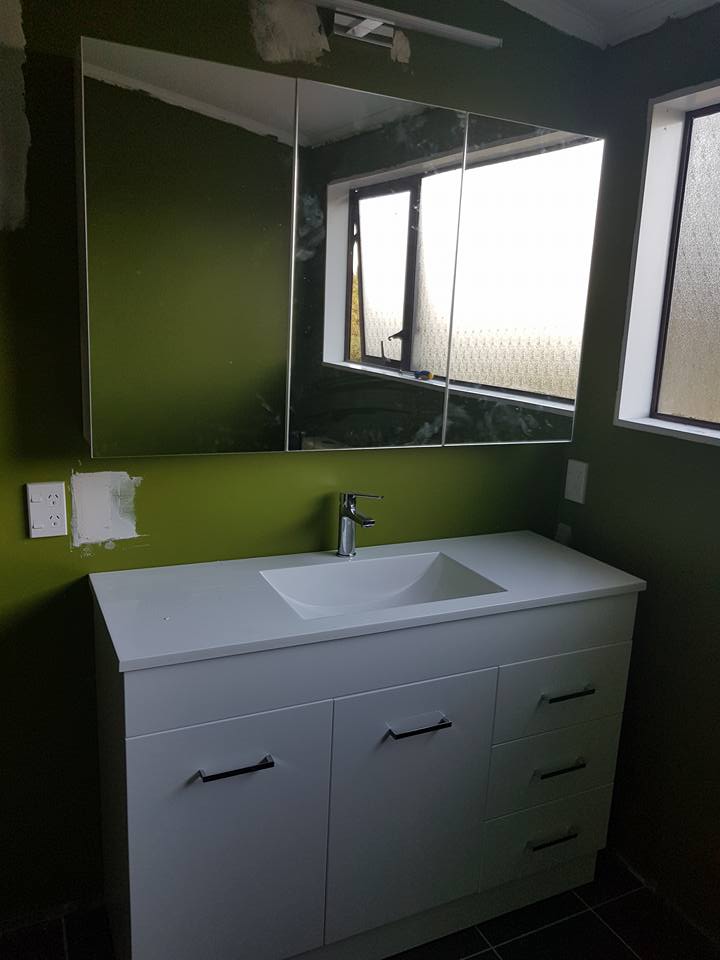
Installation!
So. Very. Exciting. to see the whole thing coming together at last!
I always start decorating long before things are ready for final touches, lol – but how was I supposed to resist this gorgeous whio rubber ducky?!
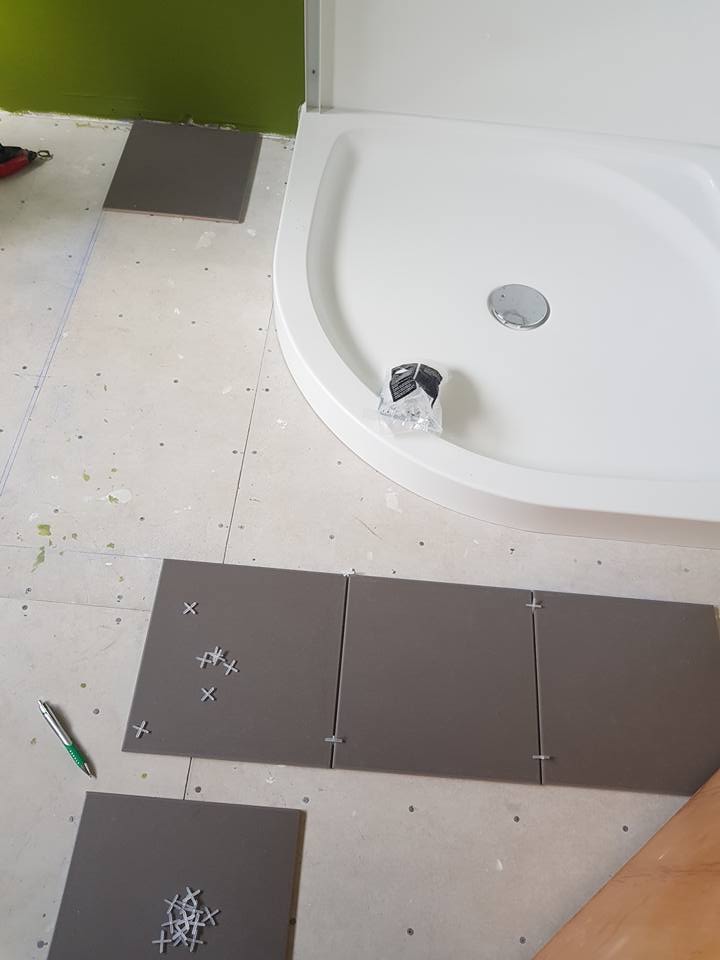
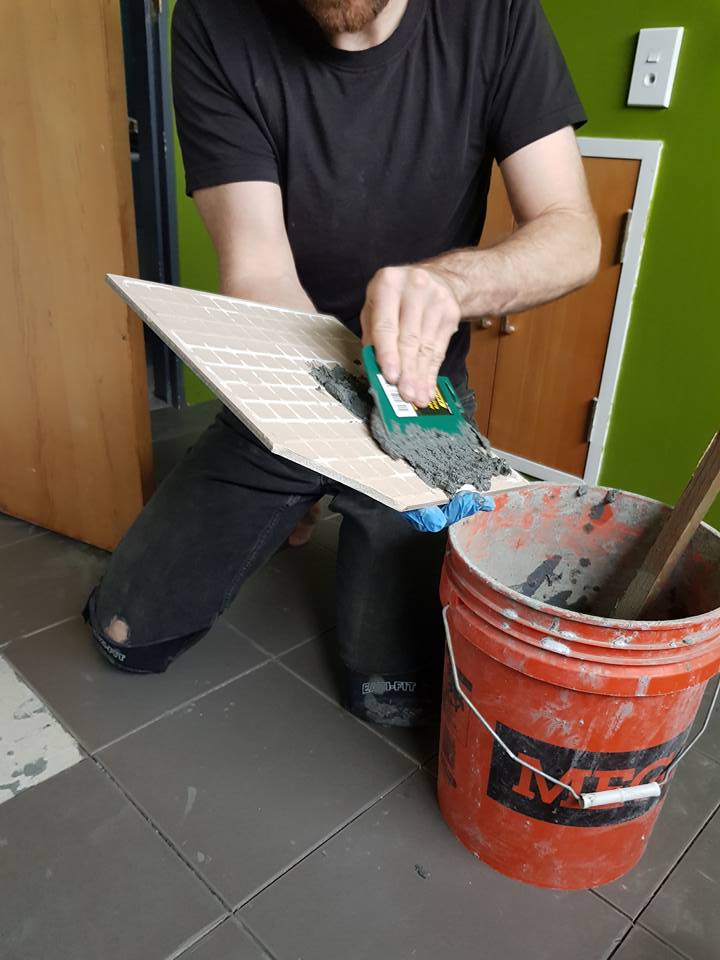
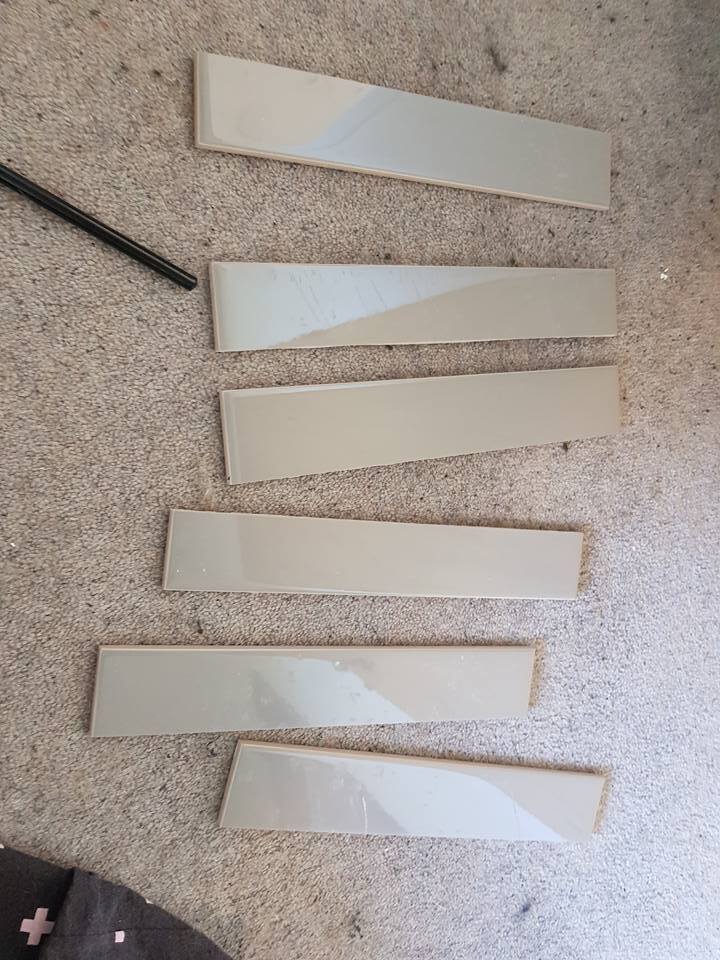
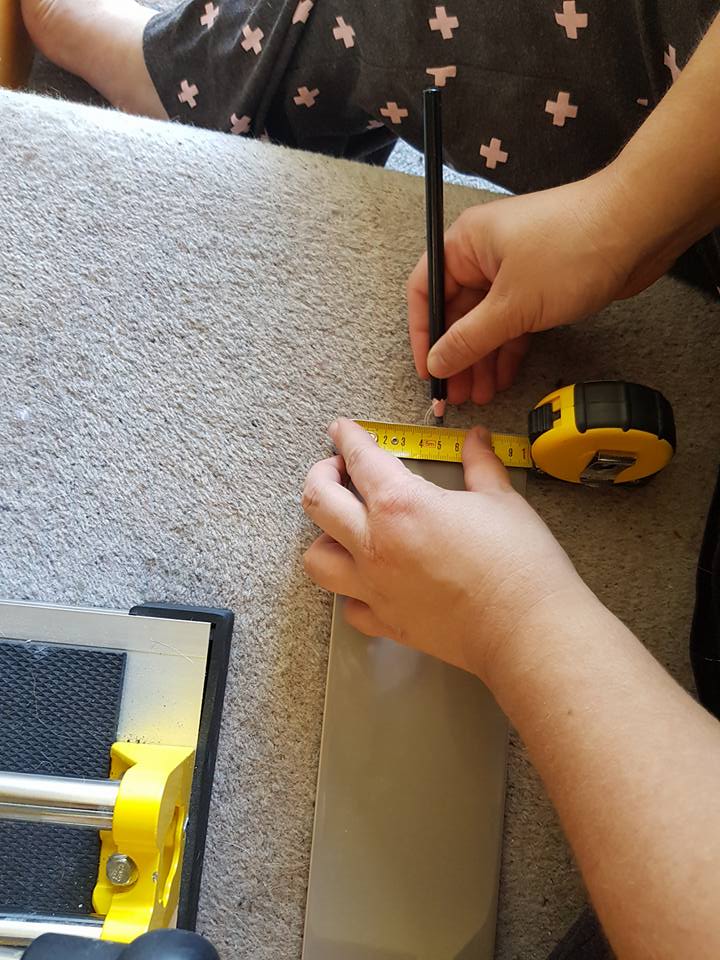
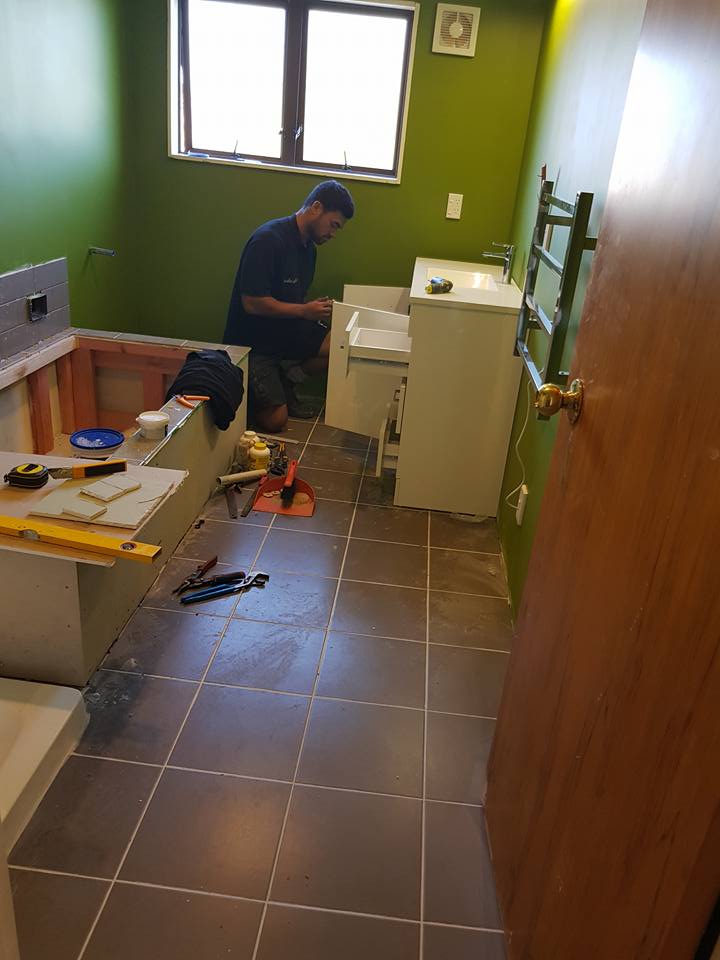
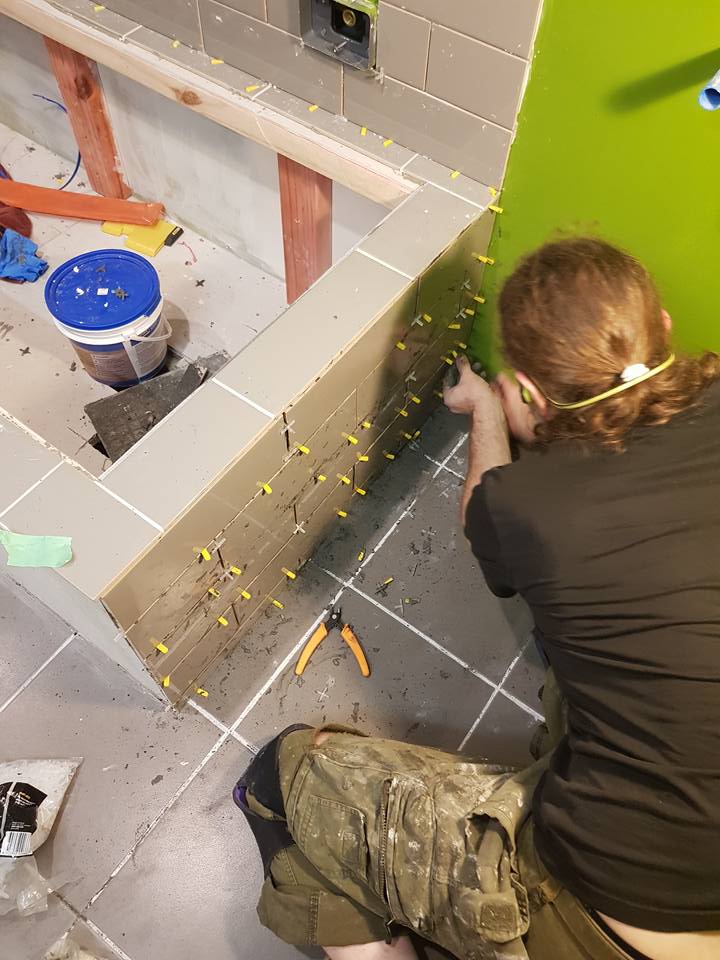
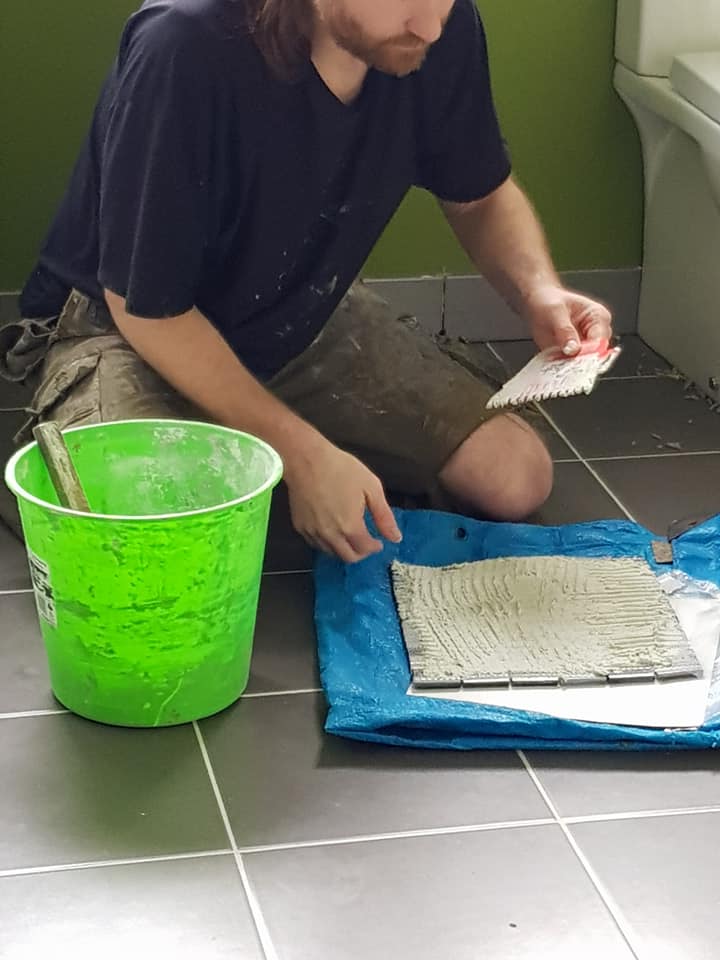
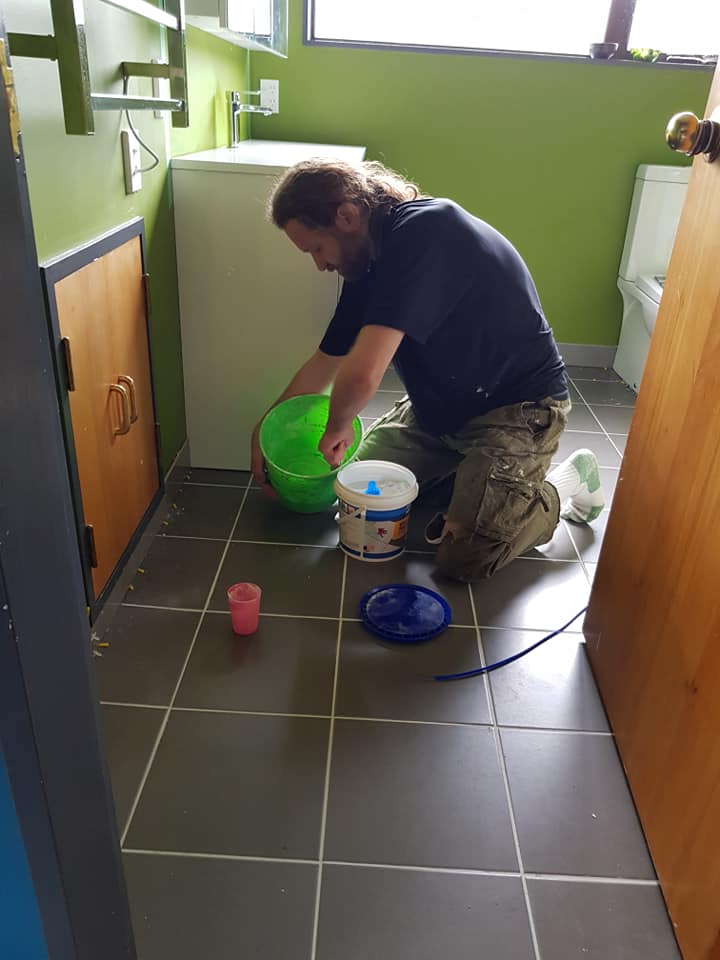
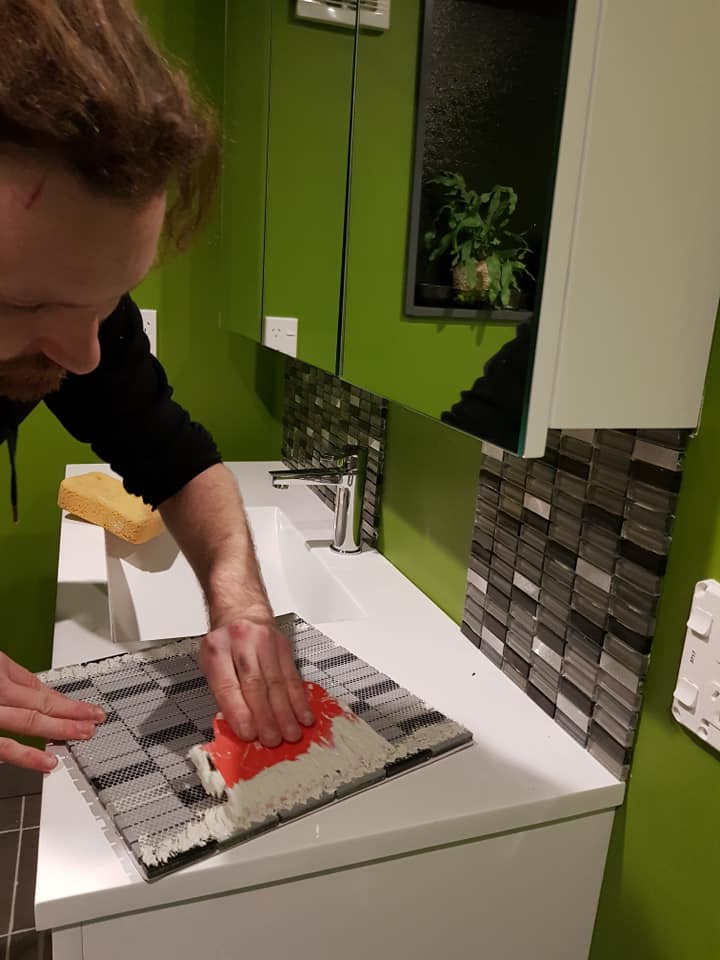
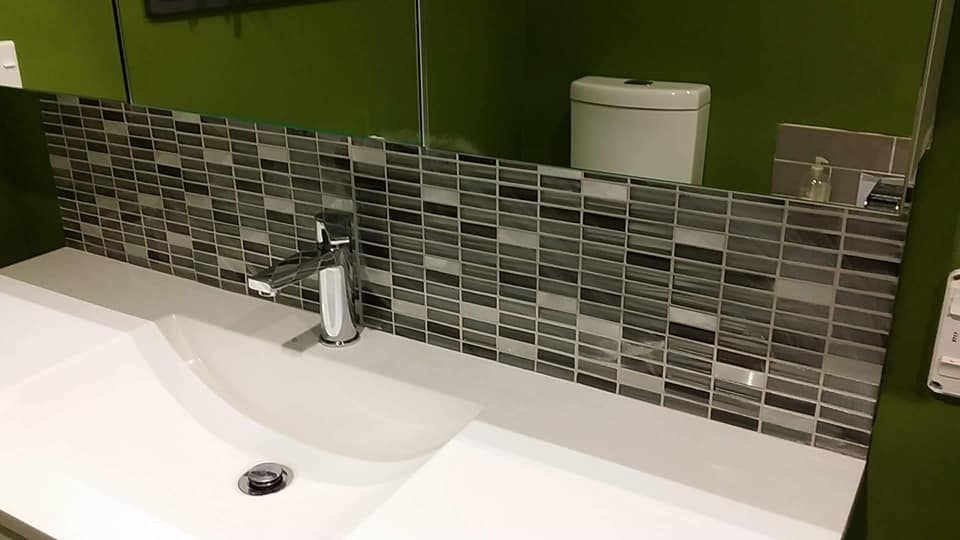
Tiling time
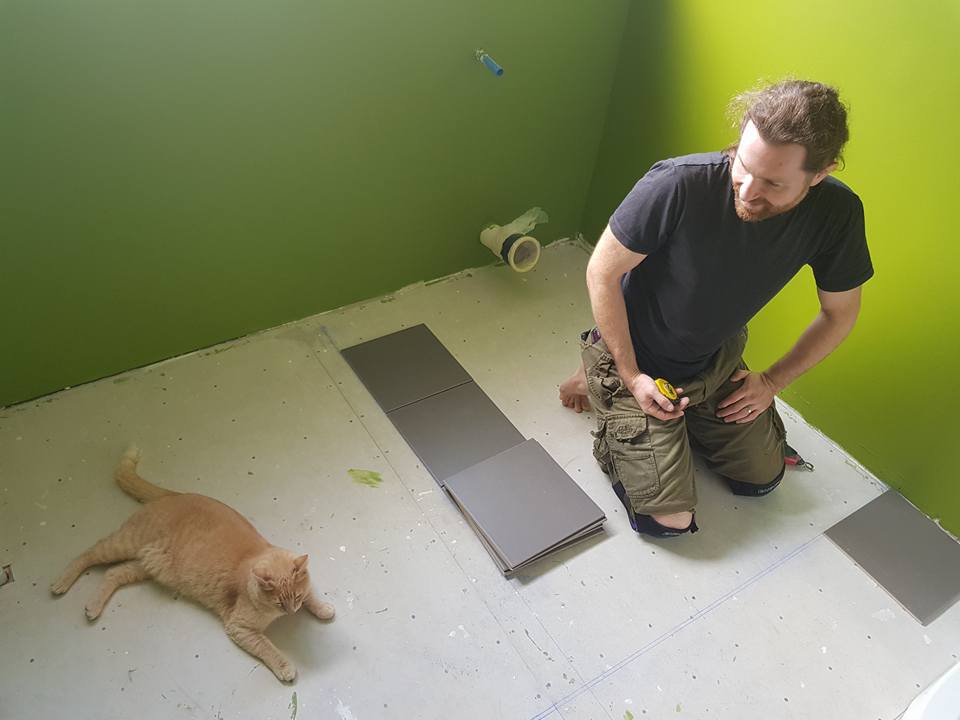
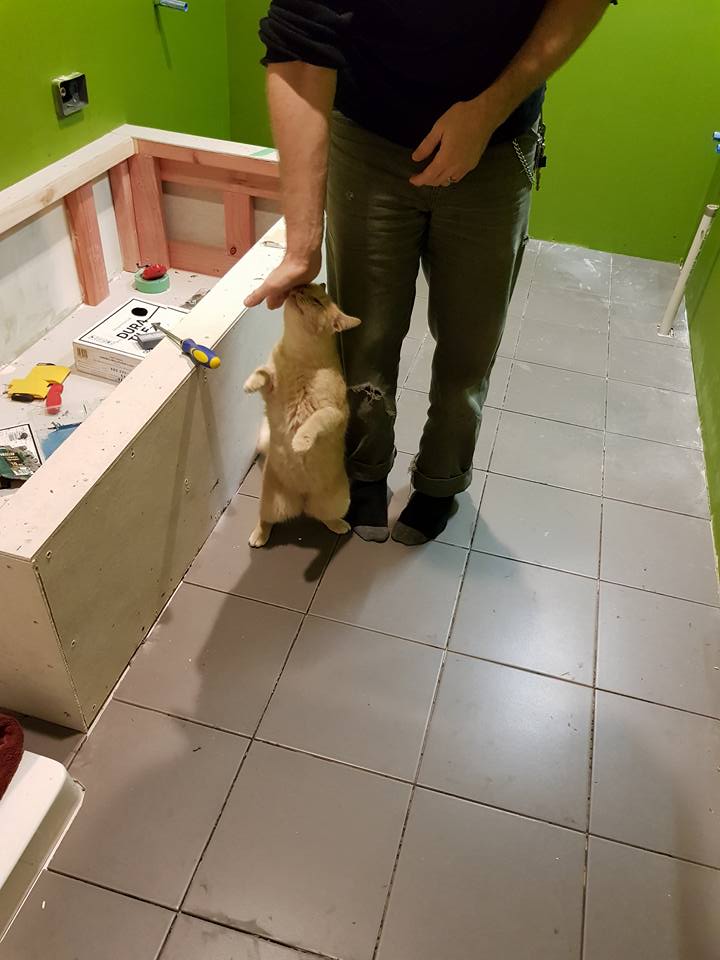
It wasn’t until we were up to our necks in tiling that I learnt that El Huzbando’s “previous tiling experience” was a couple of basic mosaic tops on some side tables, but luckily, he has a natural affinity for handiwork like this.
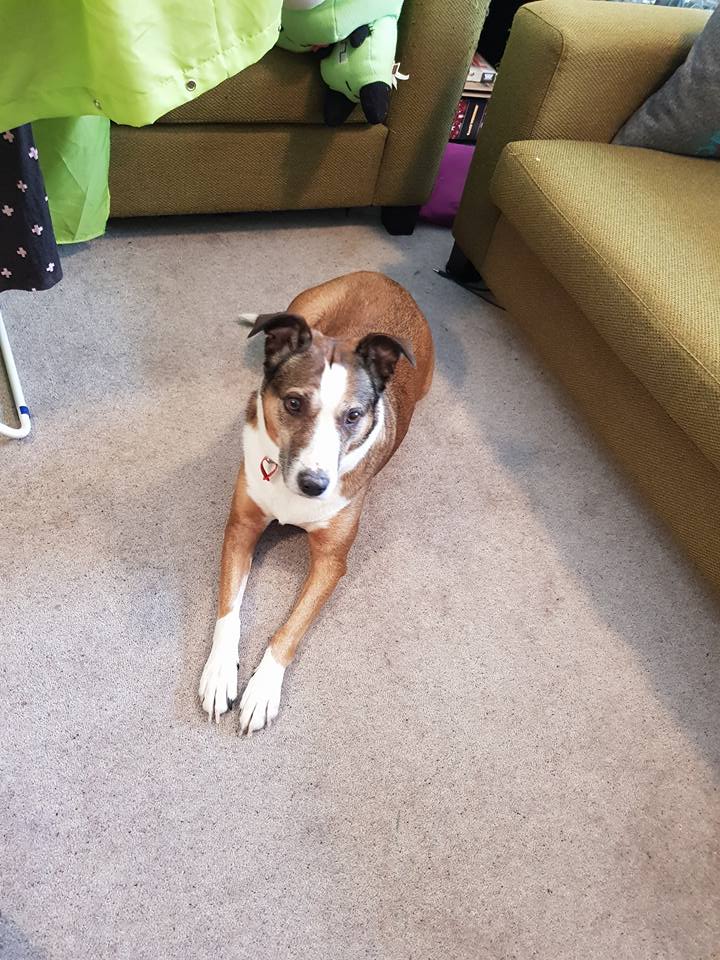
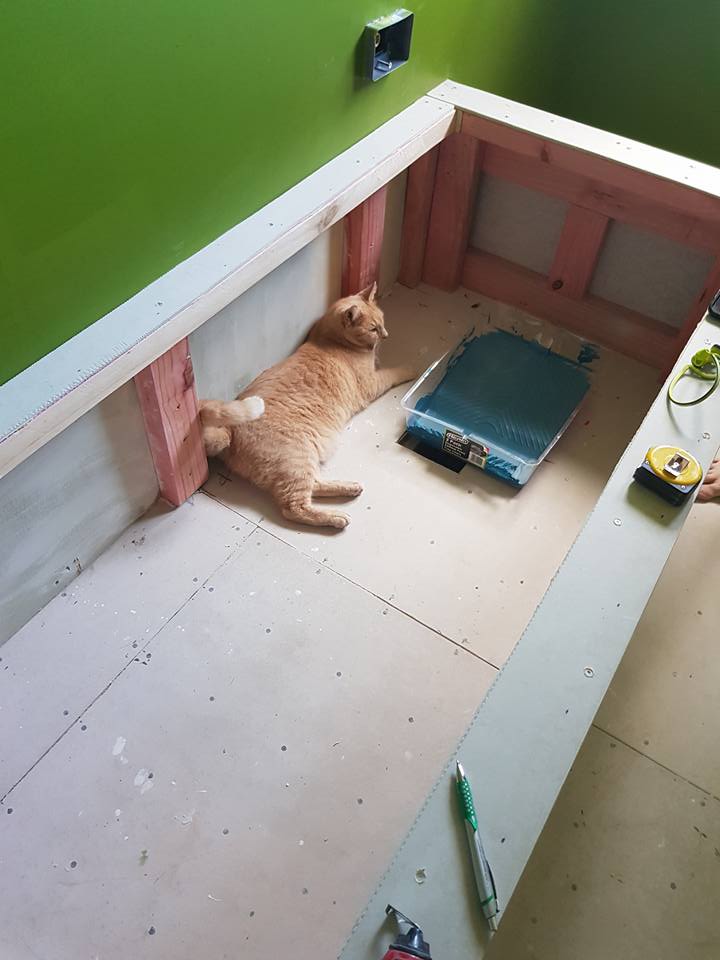
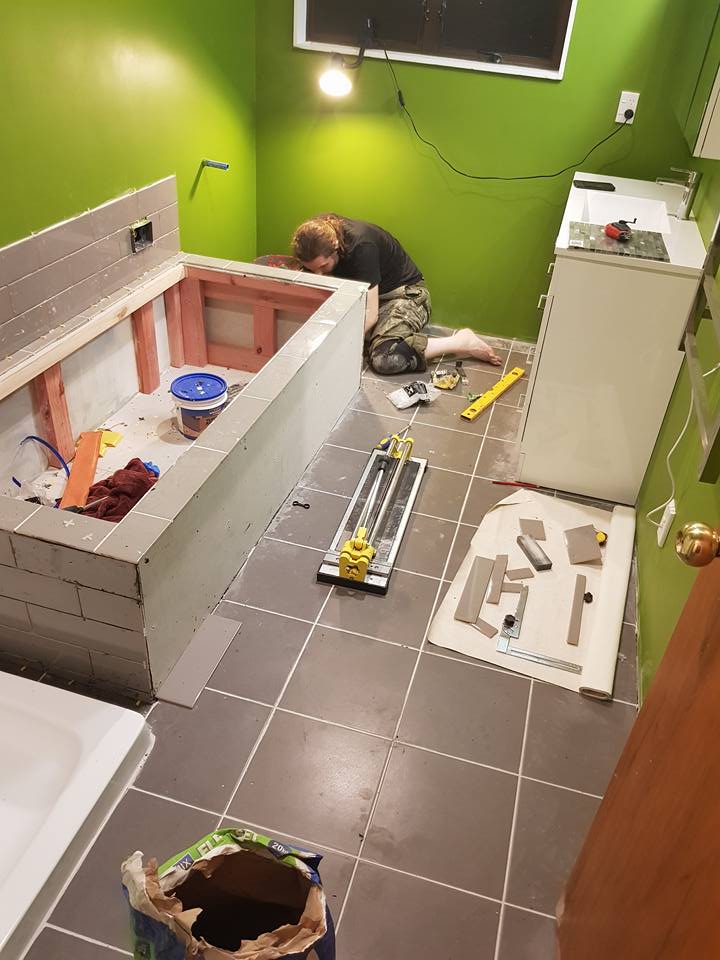
I was often having to leave George to work on the tiling while I did markets, so it was lucky that he had Loki for company.
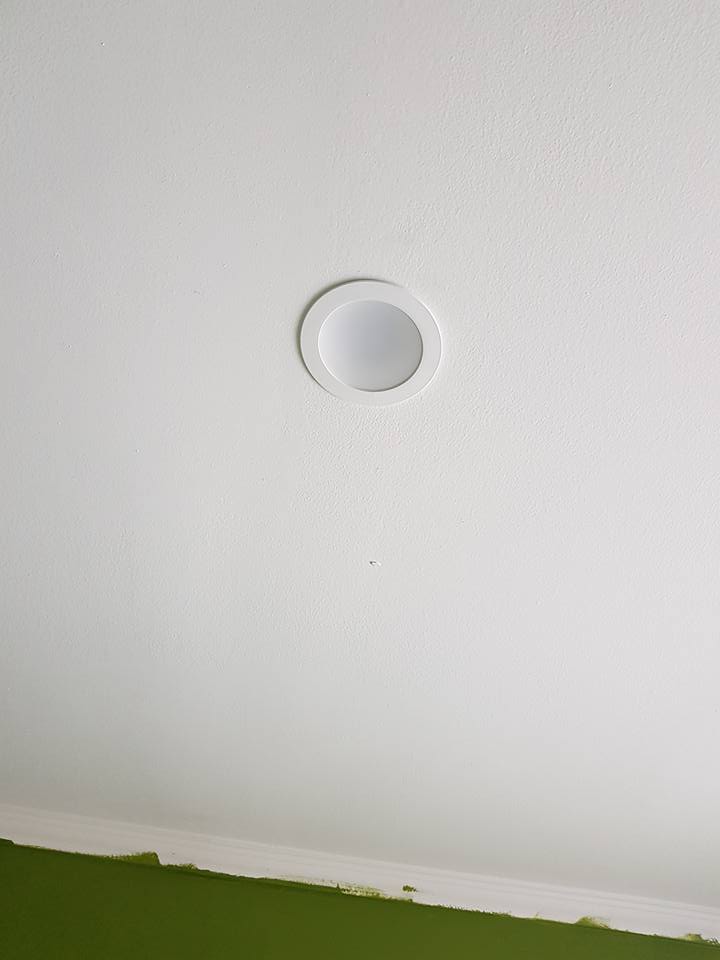
Electrical installation
4 May 2018 – So good to have light again! Even if we can’t actually use the upstairs bathrooms at all, having light means that we can work much later – especially in the main bathroom, which, being on the south side of the house, gets dark around 3pm.
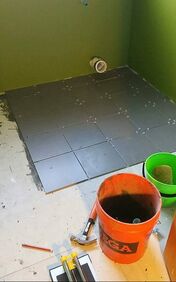
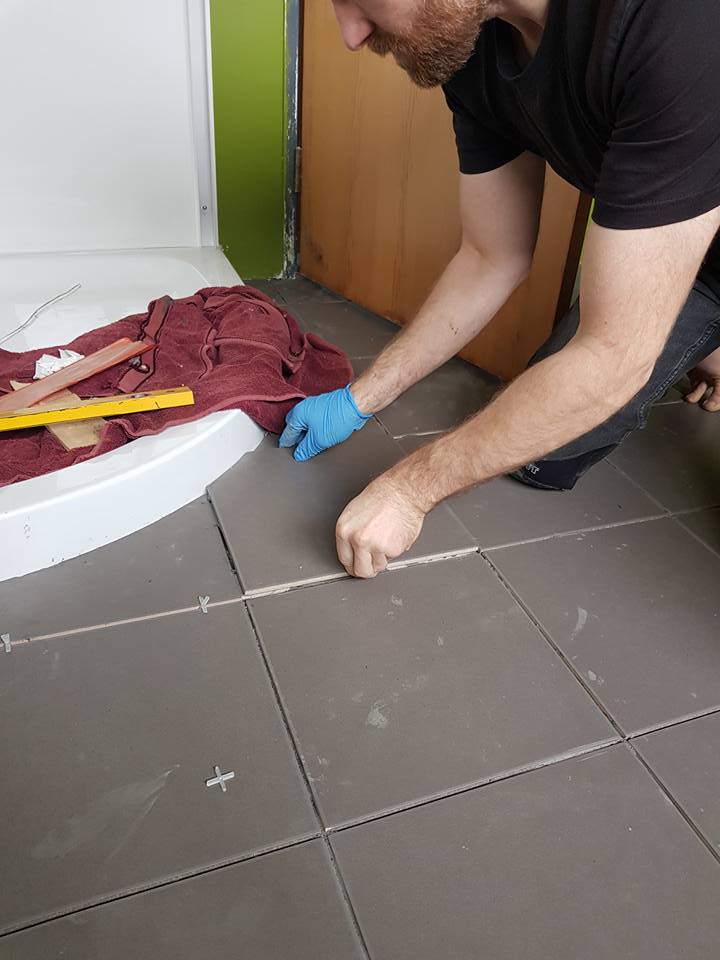
More tiling…
Our lives have felt like they have been utterly swallowed by renovations and craft markets. As we move into the third month of renovations, the end is in sight for the upstairs bathrooms – after the tiling, that is.
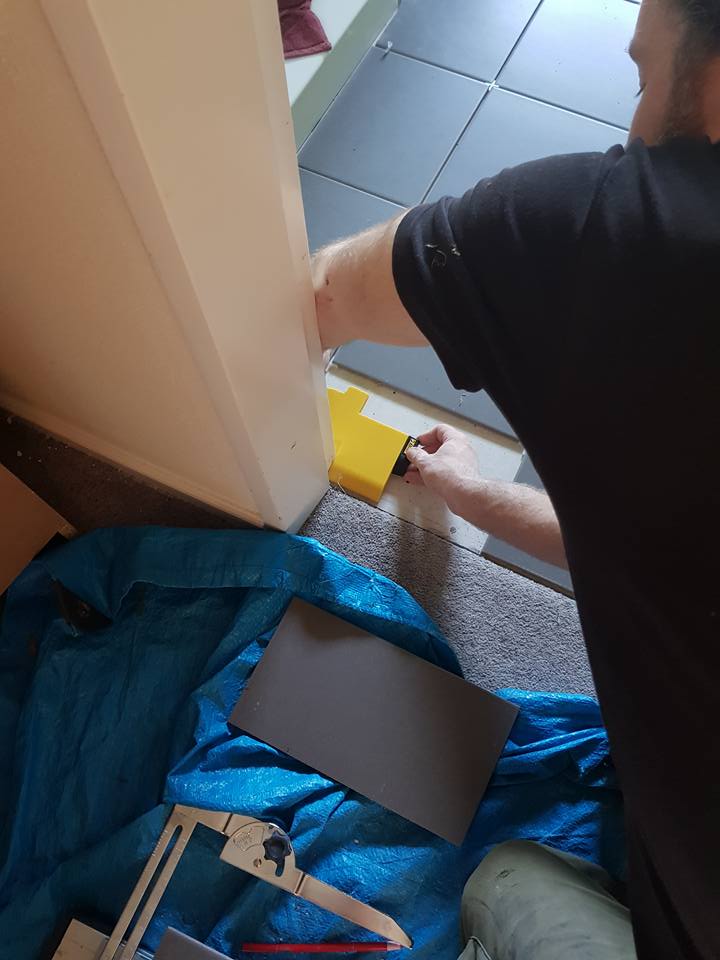
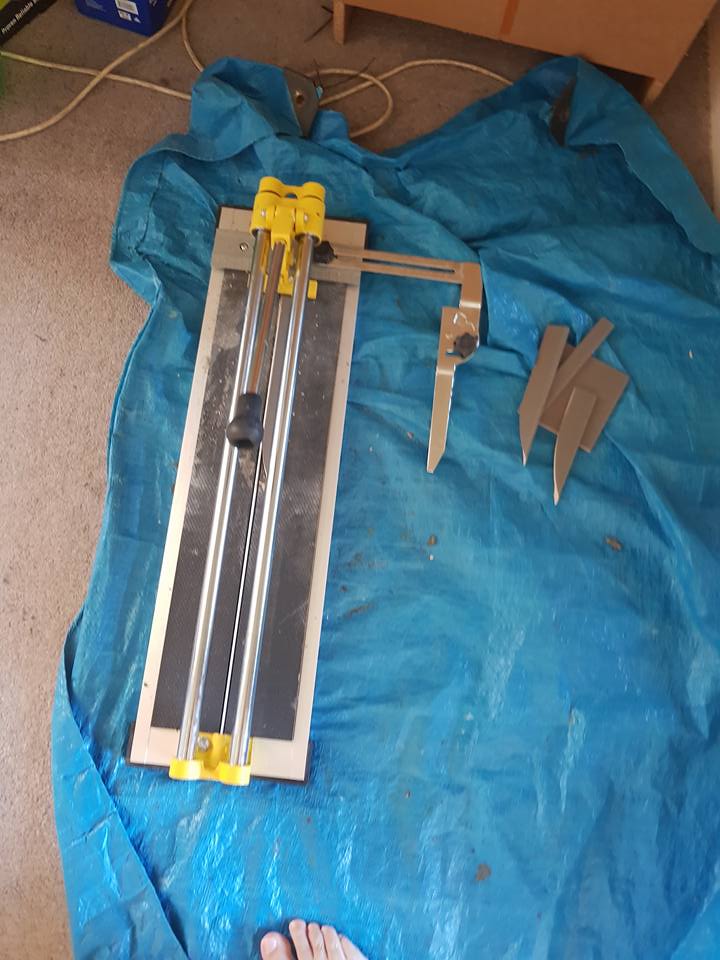
**breaking tiles in the
âHot sun**
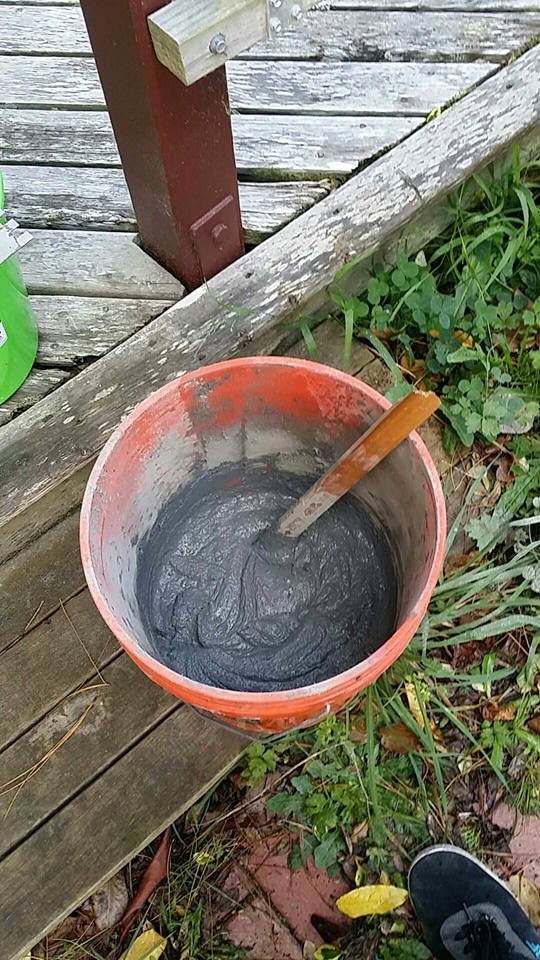
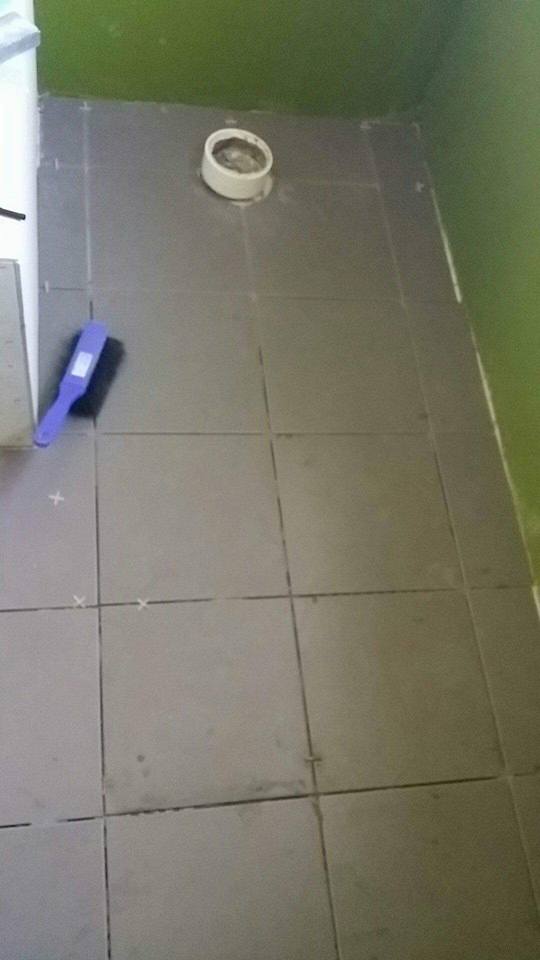
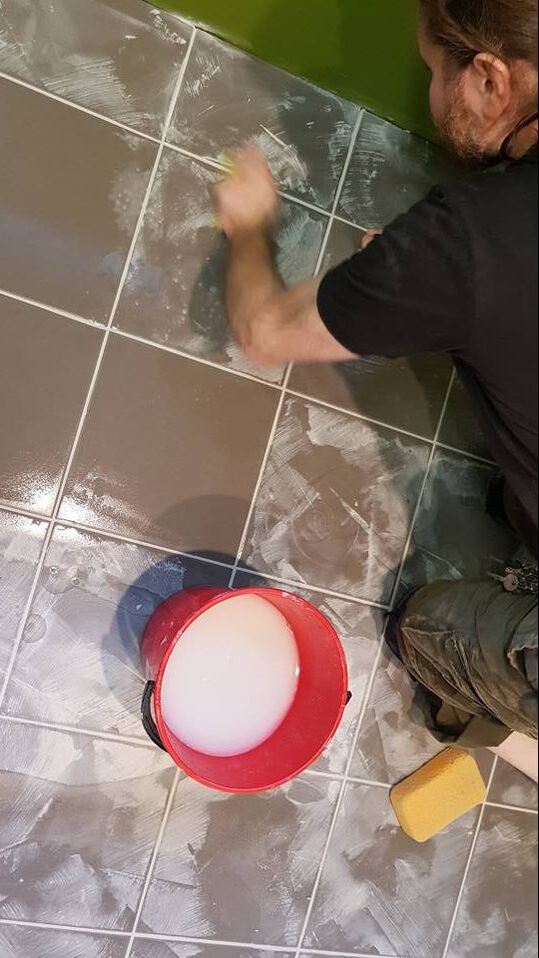
Grouting is kind of like buttering toast, only you have to scrape and scrub and clean it off afterwards.
Meanwhile…
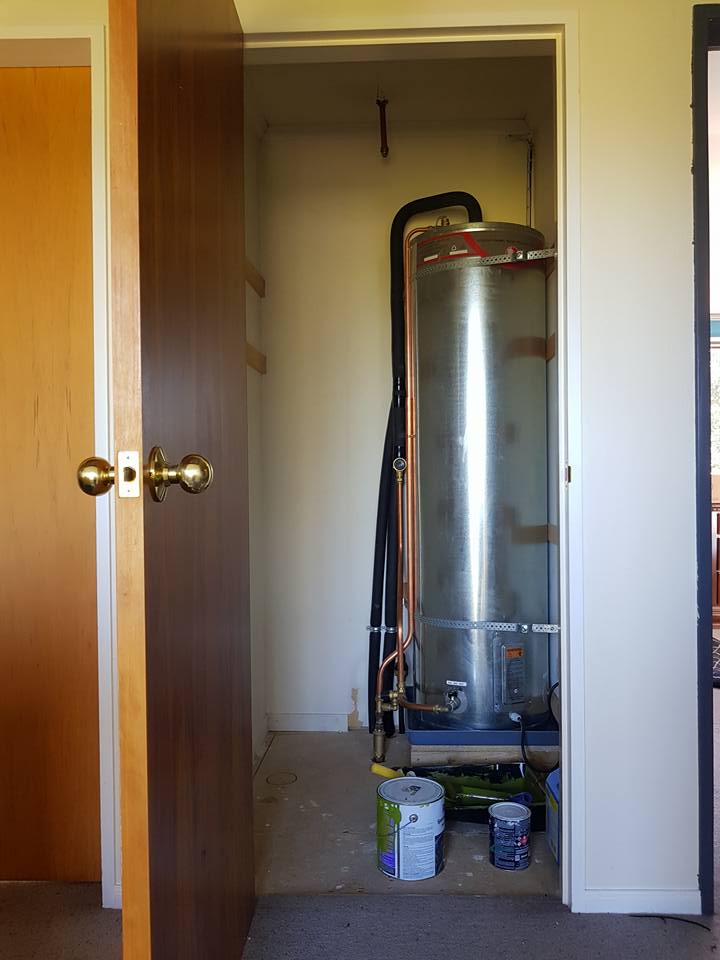
We discovered that the hot water cylinder has to be replaced in order to cope with the new mains pressure pump. Ok, what’s more money, right? Everything is fine
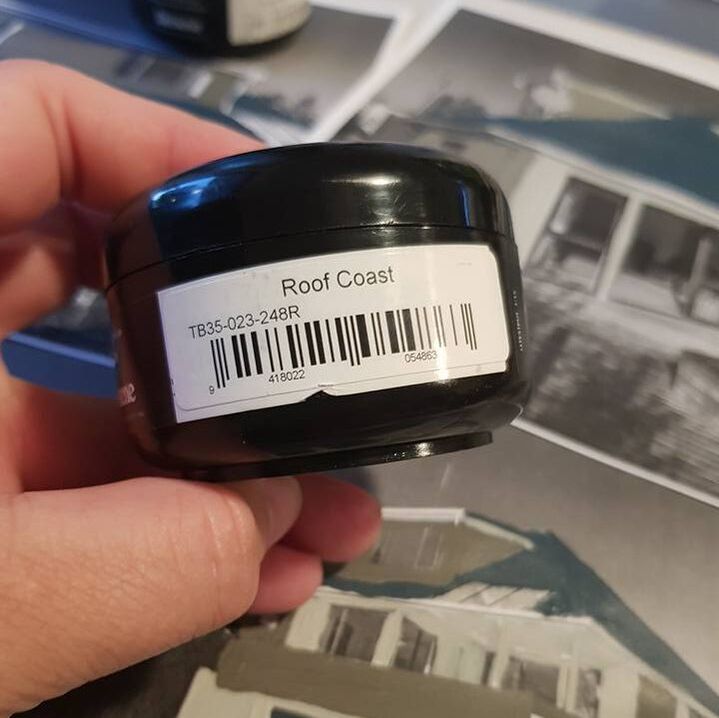
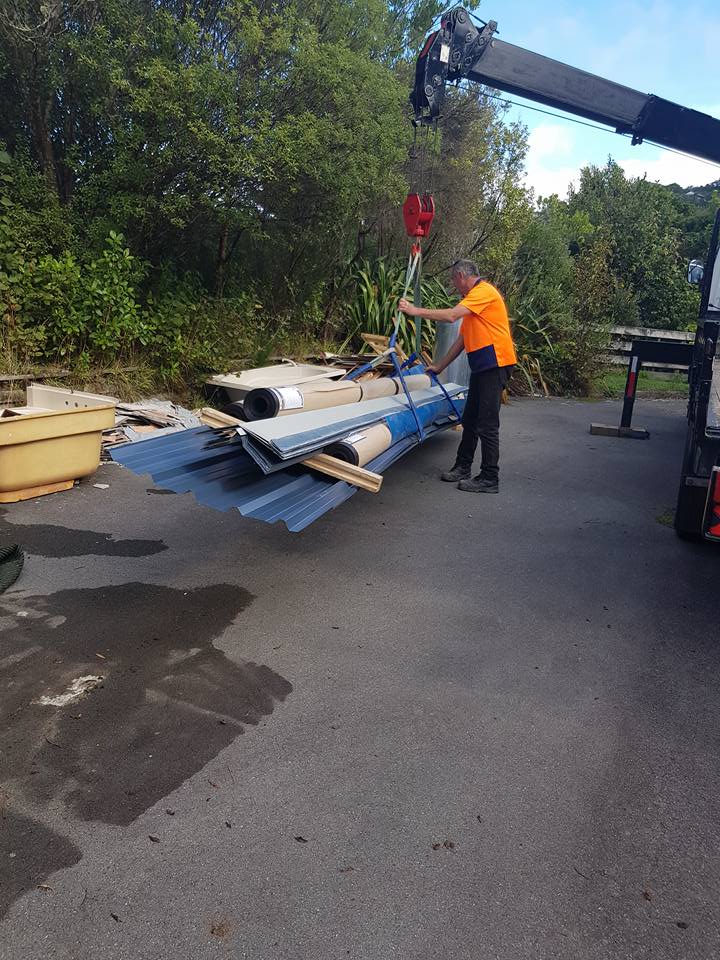
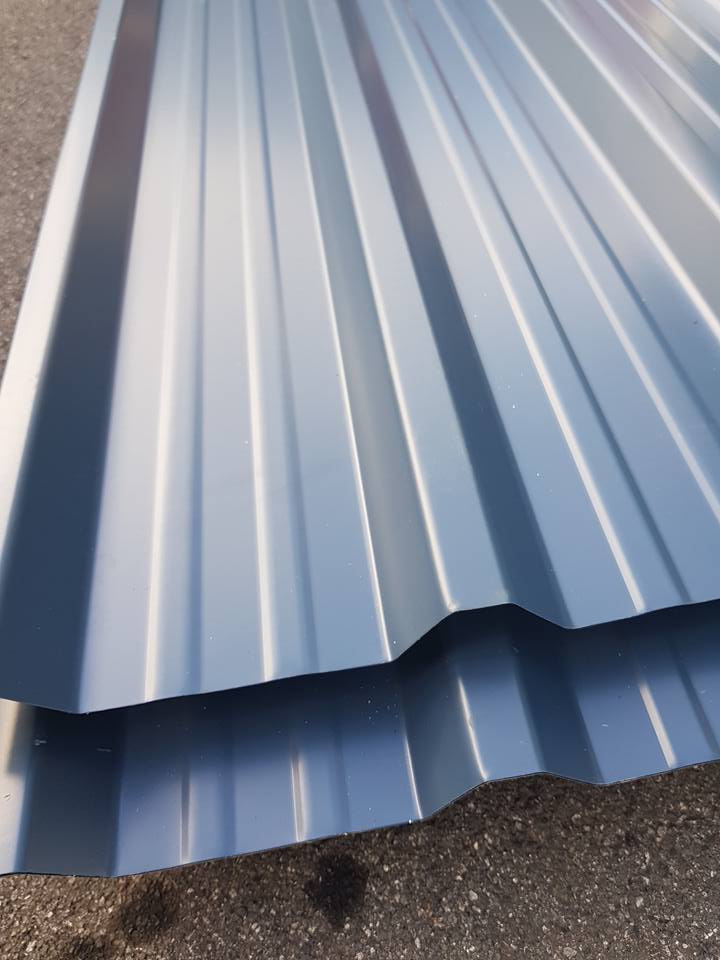
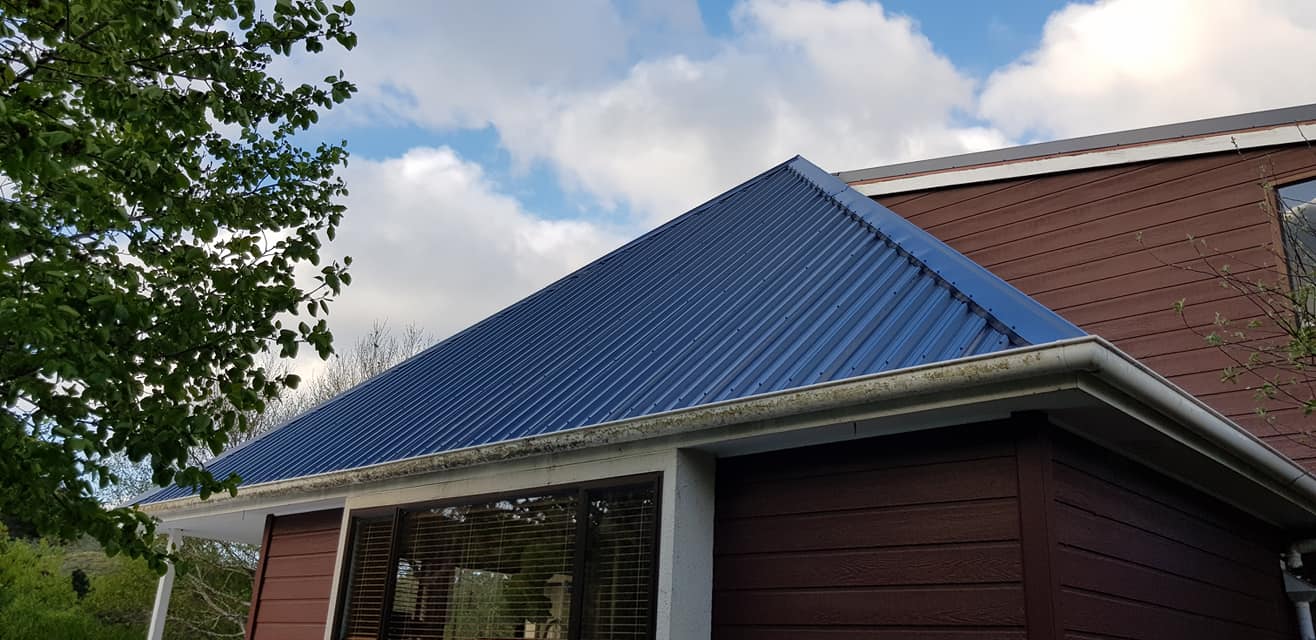
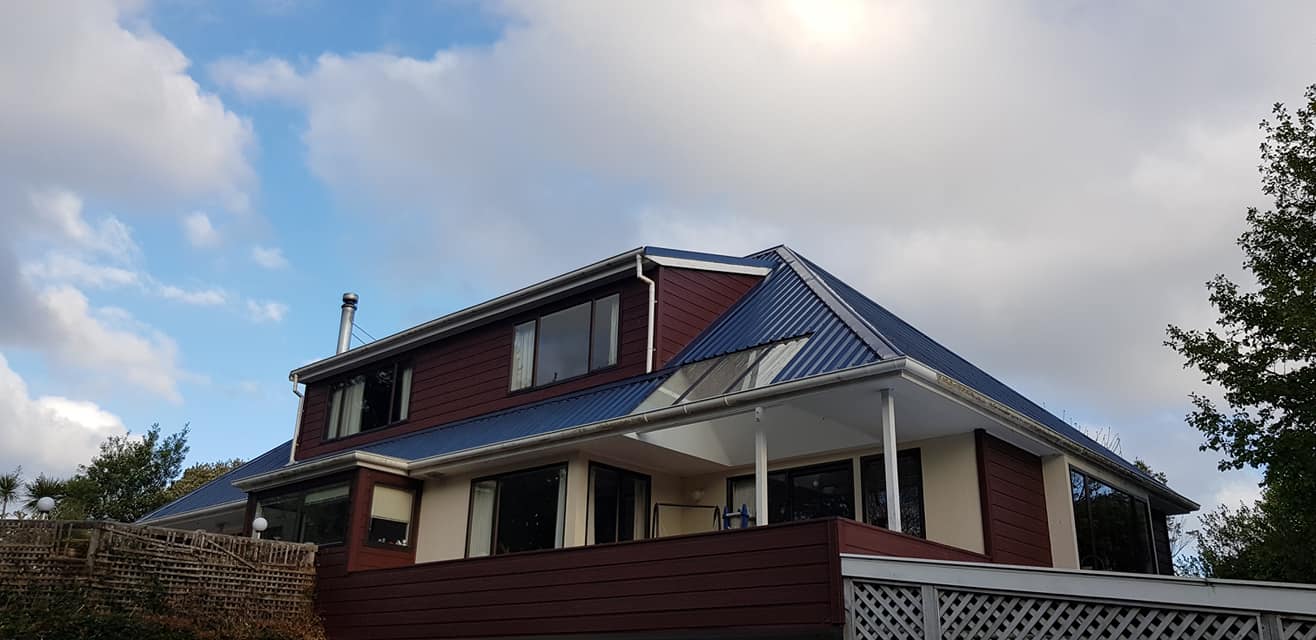
And a new roof, too
We had initially asked the plumbers to quote to repair the roof, too, but the costs they gave us were so high that we decided that we might as well replace the whole thing for a few grand more. Make it rain. It’s only ALL of our savings. Renovations are great.
âSo we went from painting the roof and exterior, to replacing the roof entirely.
I was initially really optimistic – we were helping a young man launch his business, and he was helping us out because his boss wasn’t going to take the job.
Guys, just don’t. Pay the extra, get a reputable roofer.
We just had to pay DOUBLE to get all his mistakes fixed – but fixed they are, and the roof does look pretty good. Sigh.
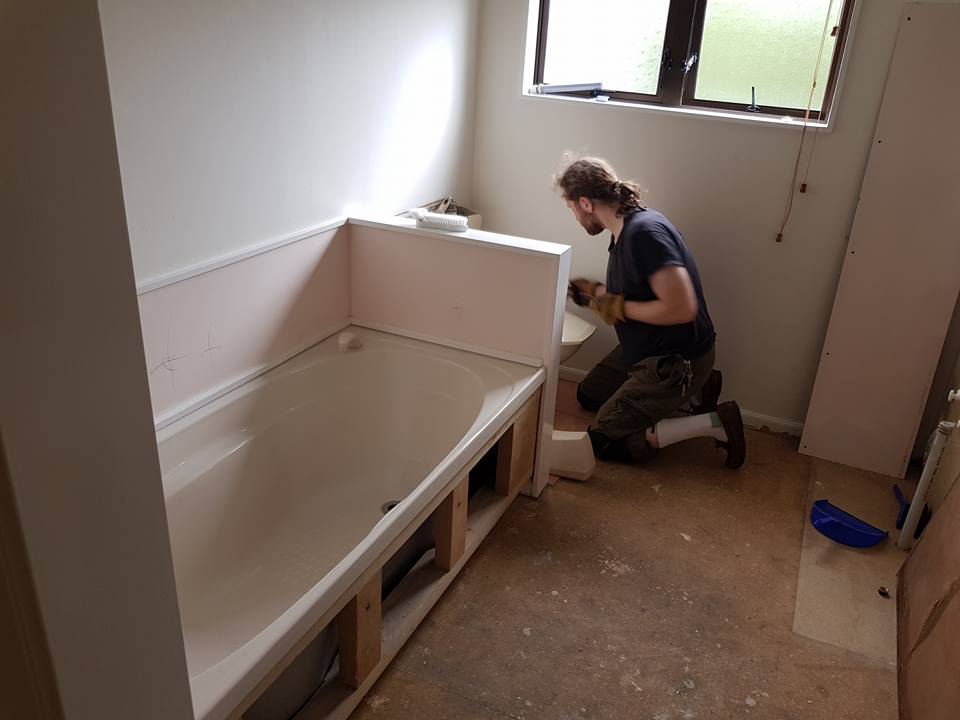
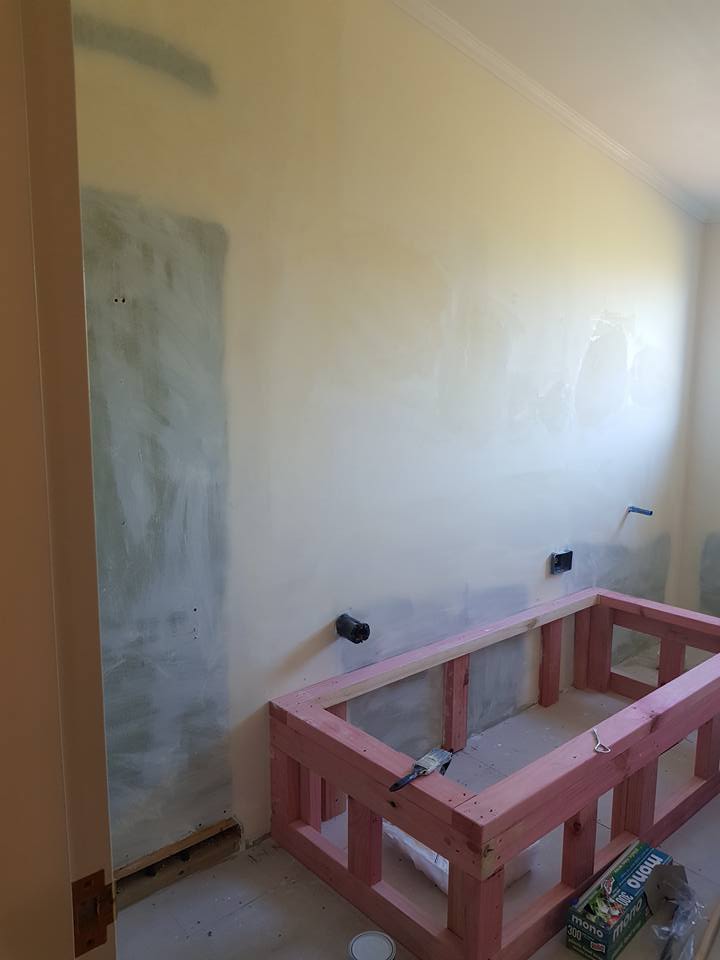
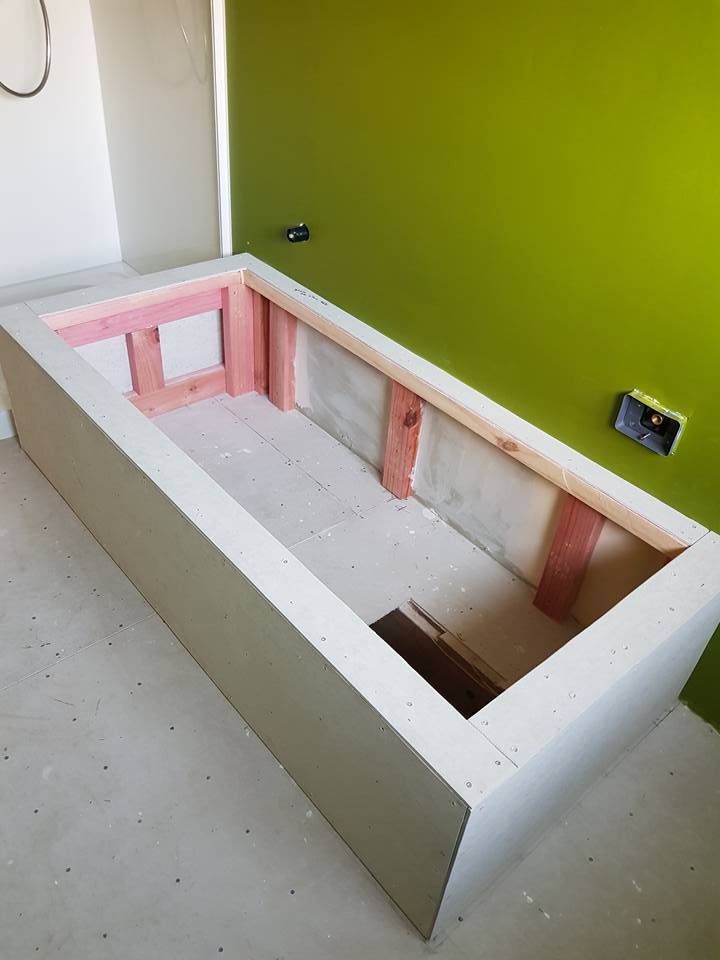
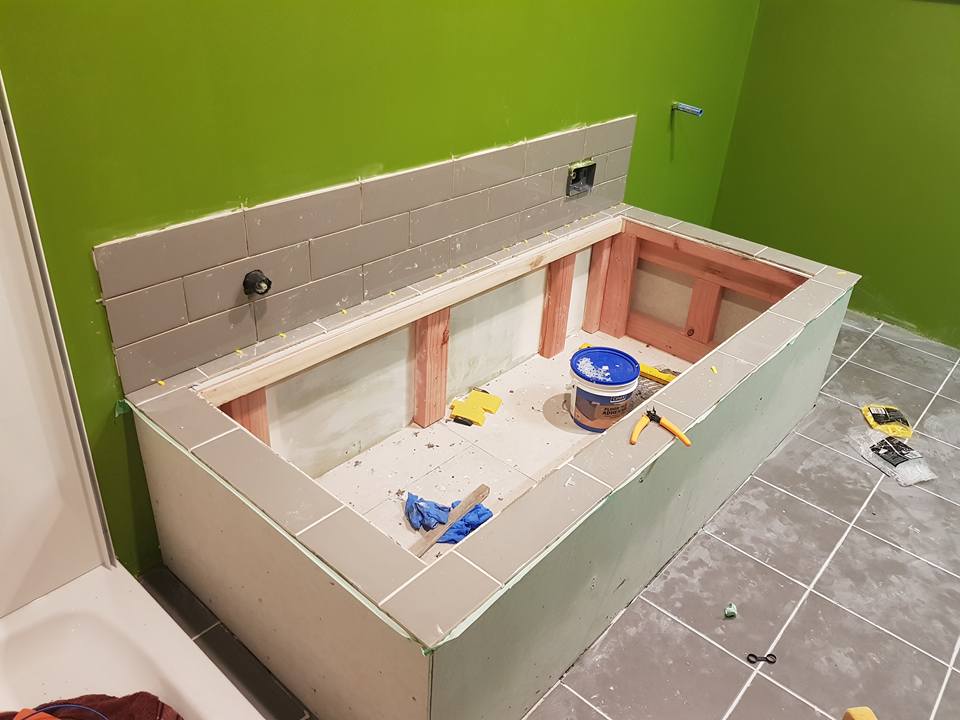
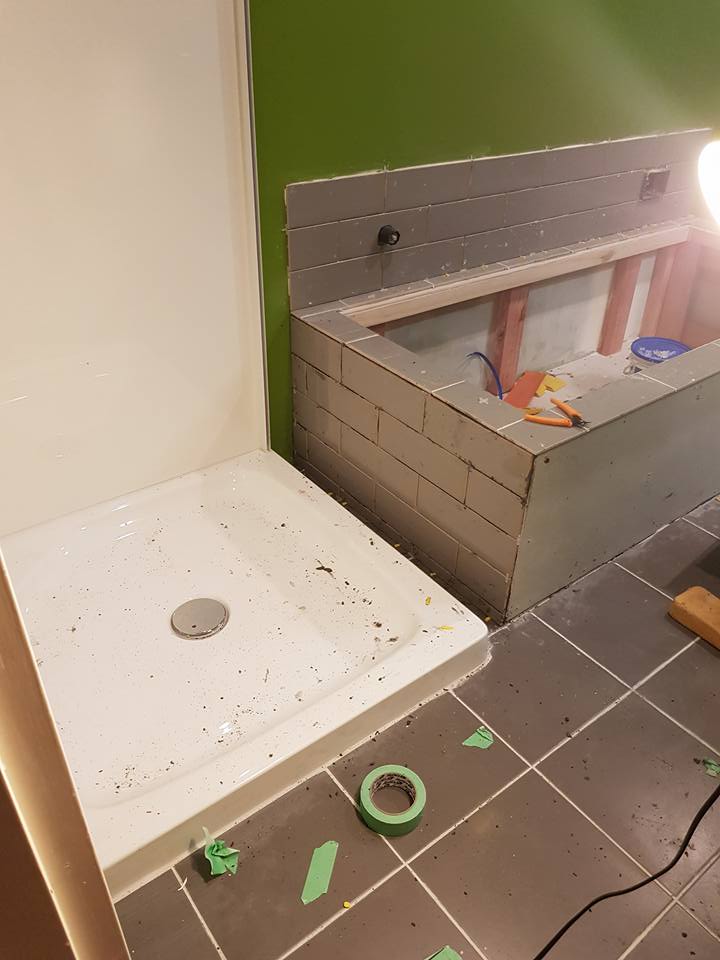
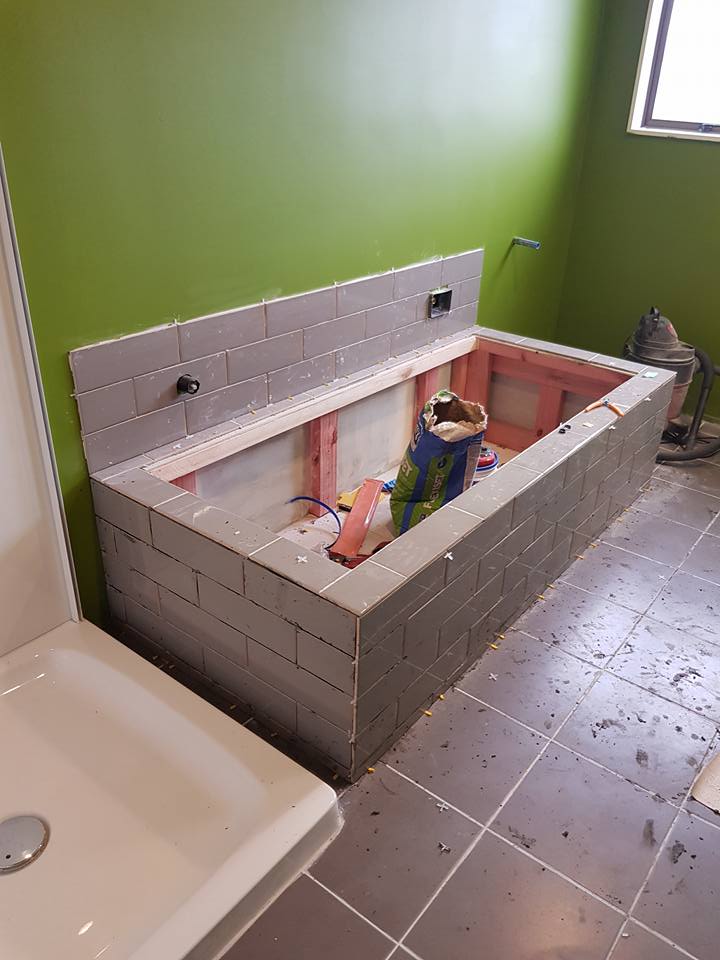
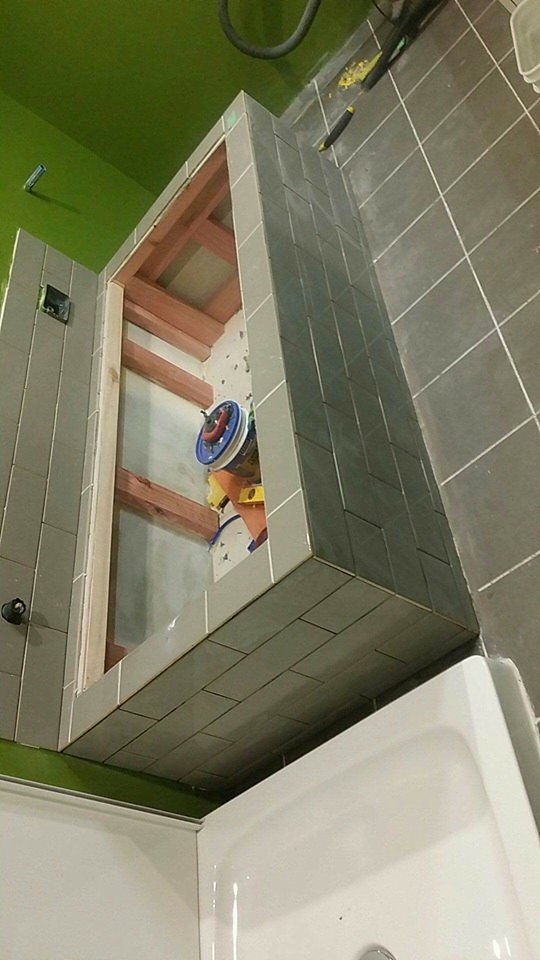
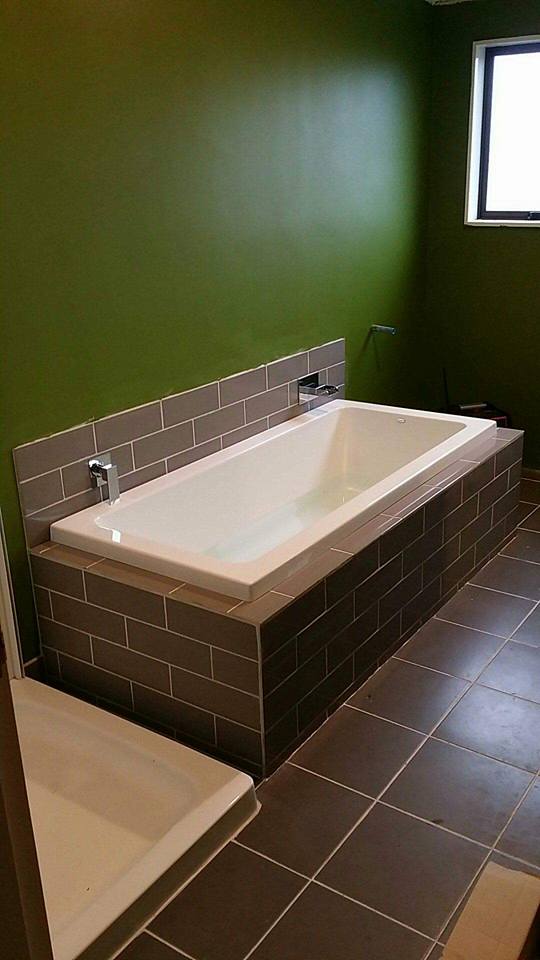
Tiling the bath
This was definitely a different challenge – getting tiles to sit correctly and adhere to a wall, especially around the bath frame and hardware, was quite an adventure!
We did it in two stages, so that it all had time to set, and because we were under the pump to get the bathtub installed.
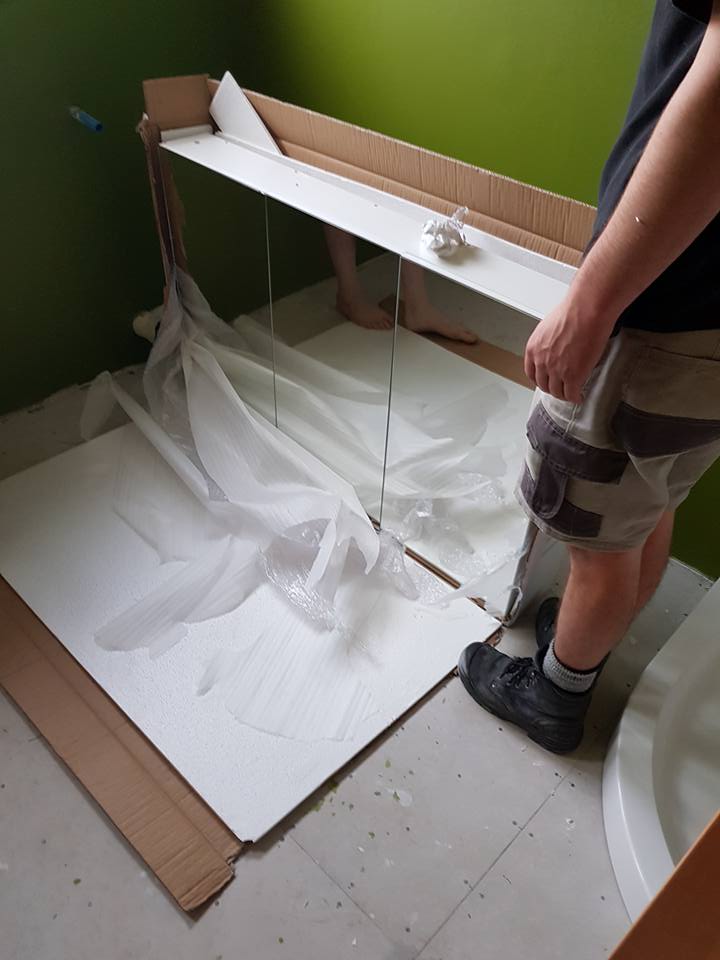
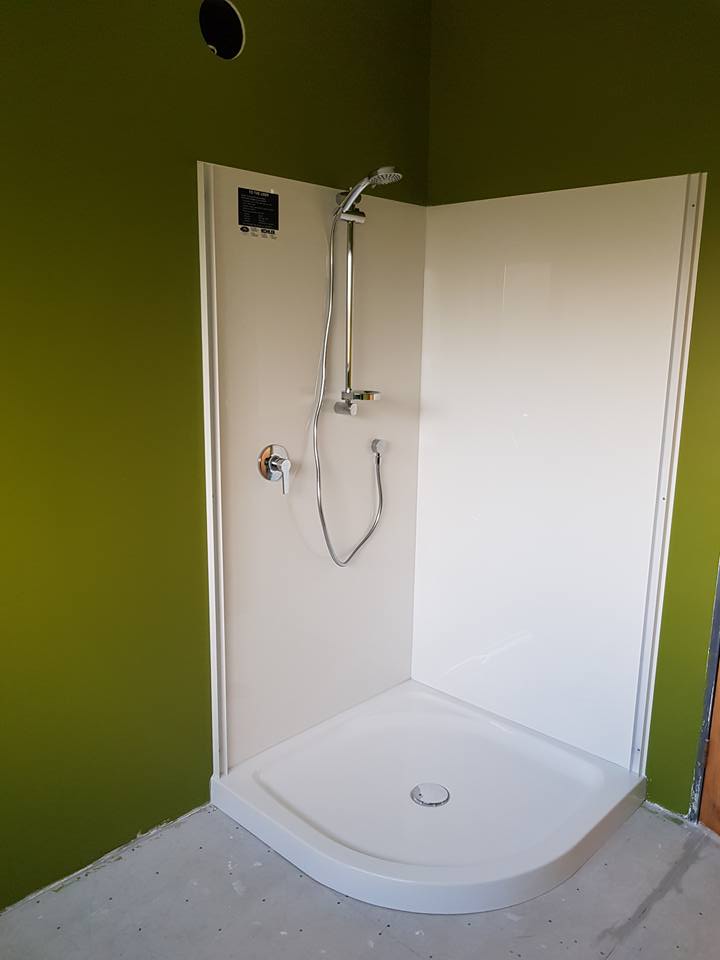
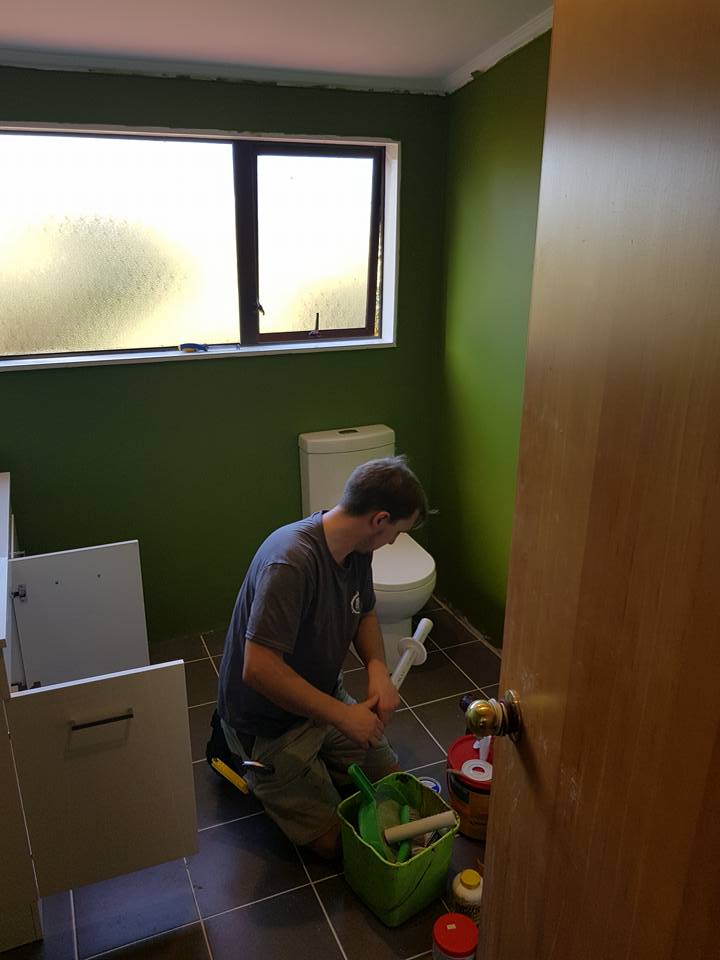
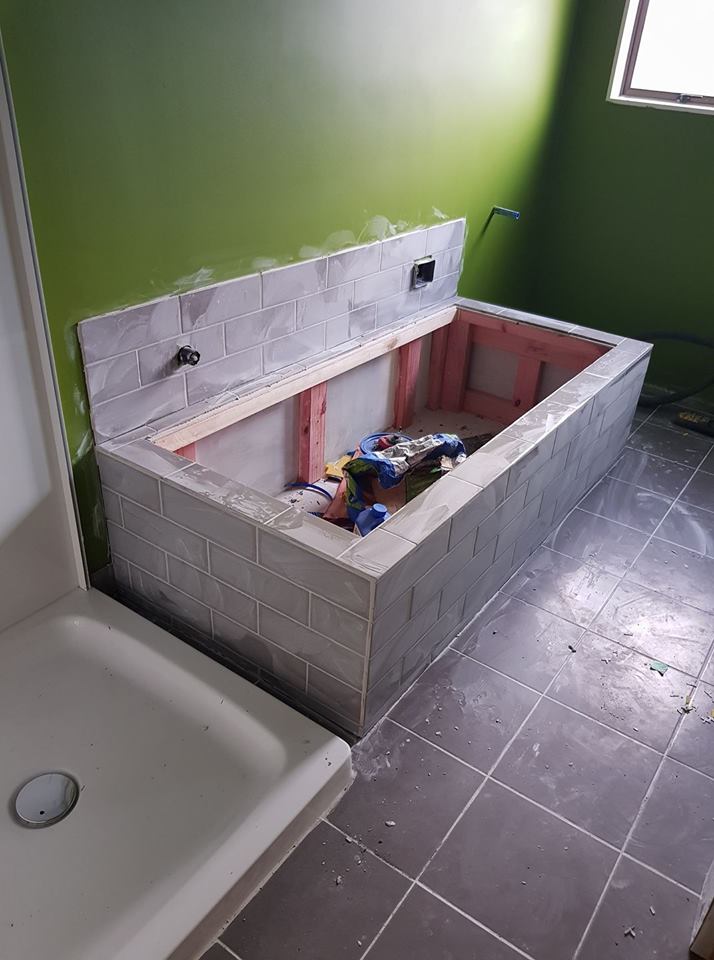
Installation continues…
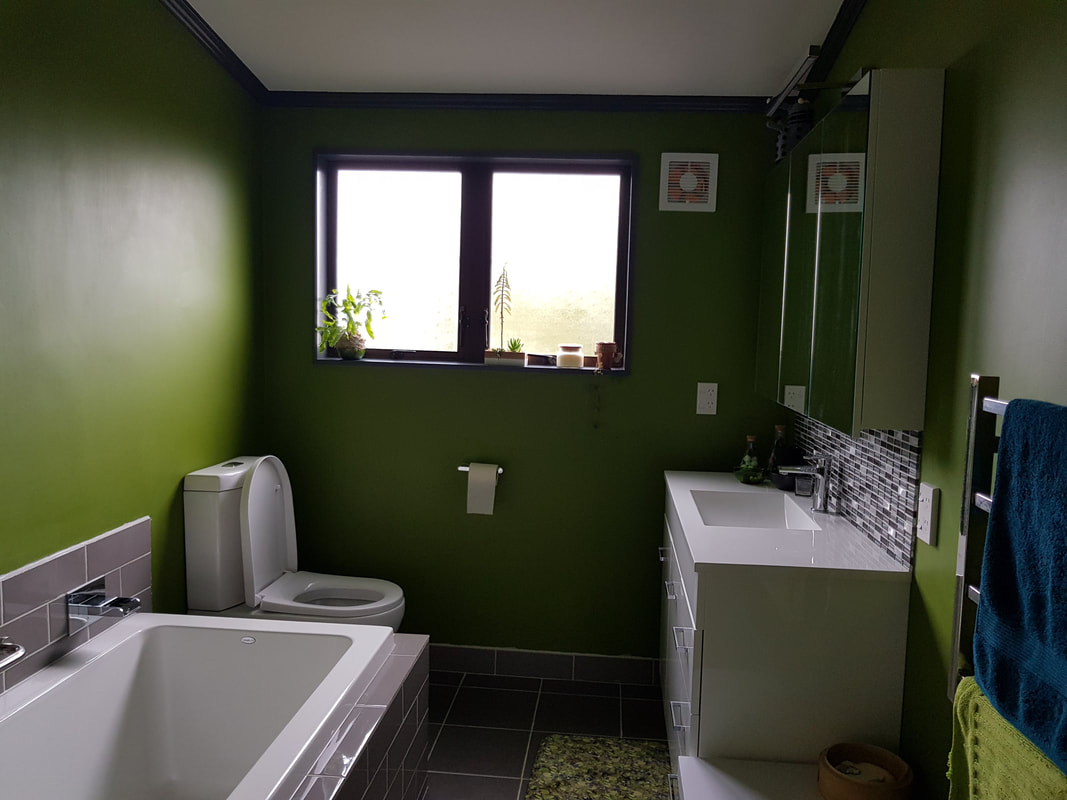
Hooray, the upstairs bathrooms are finally starting to look like bathrooms!
So much to do…
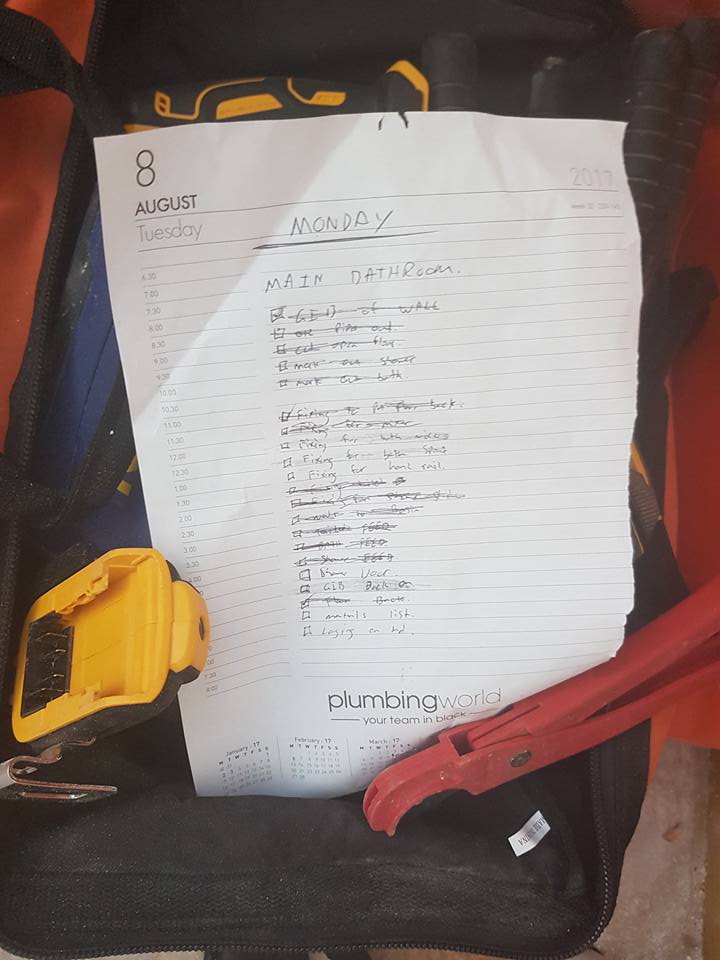
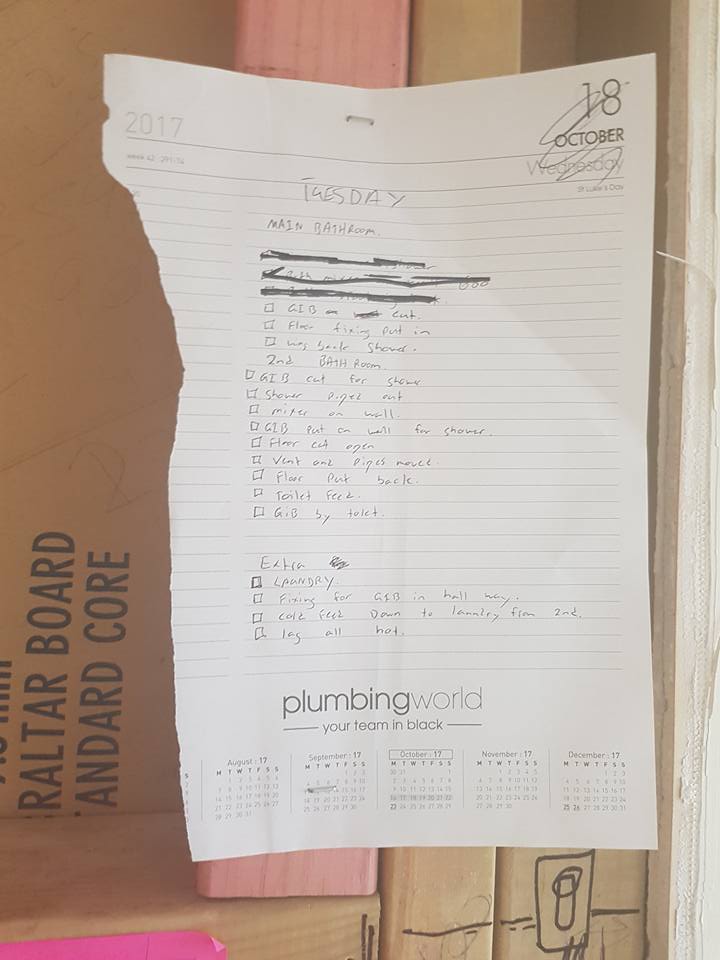
This is my task list update from May 9th 2018. Yikes.
âRight then, so that’s it for plumbers until “next week”, when the tiling will be done, and the demolition of the downstairs bathroom can start after that.
So next steps are:
Drayers:
Tile bath surround
Tile skirting in both bathrooms
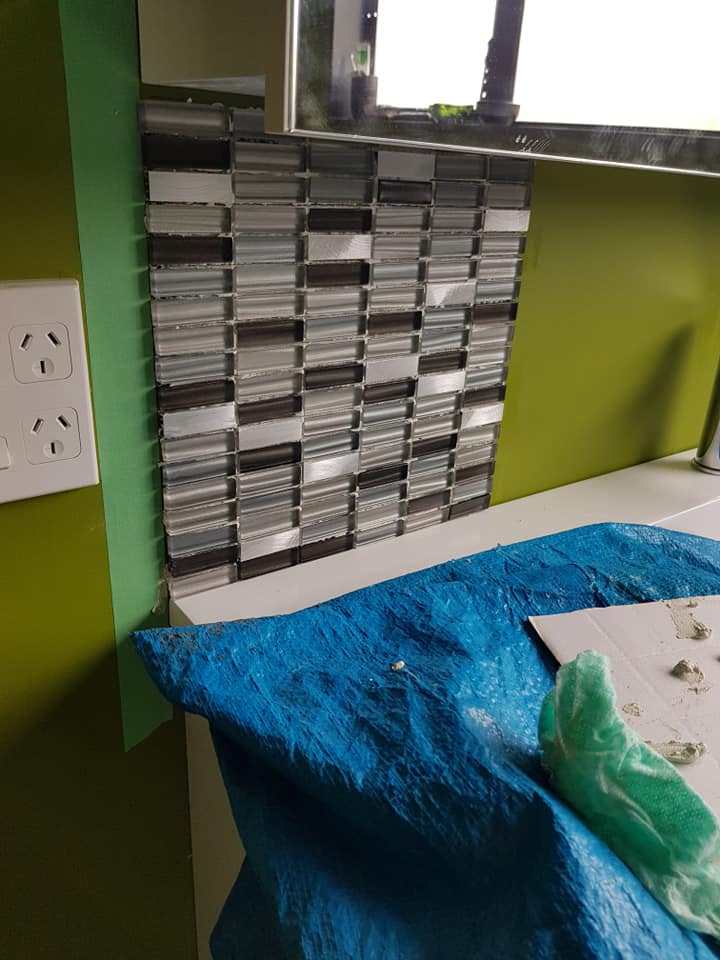
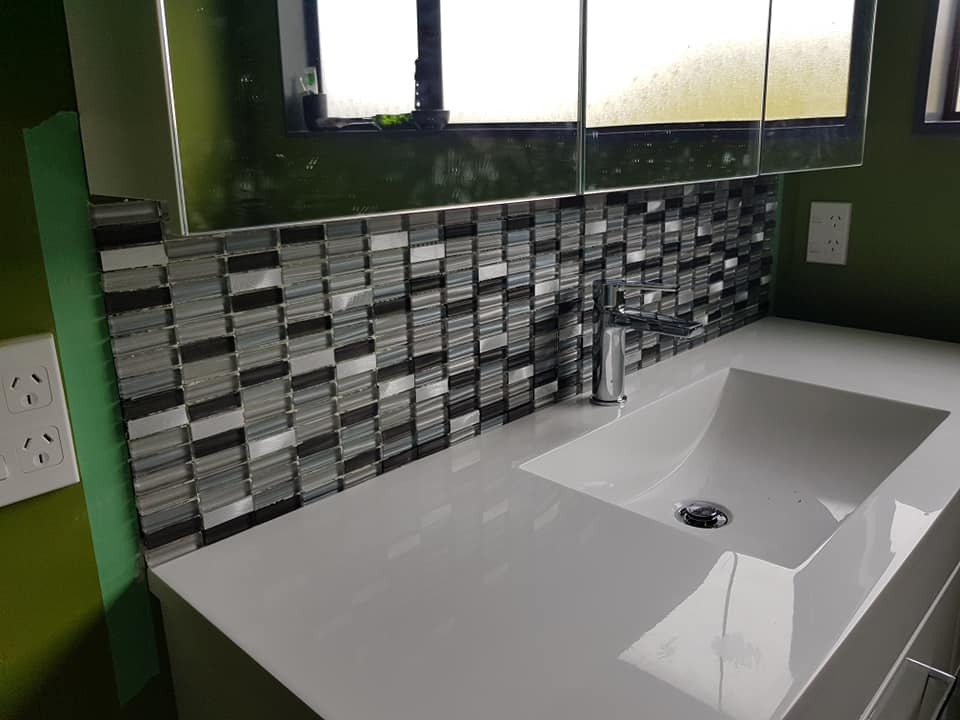
Tile splashbacks
Grout all tiling
Remove toilet, shelf, towel rail, and sink from downstairs bathroom (mudroom)
Remove tiles from mudroom and laundry floors
Next week:
Electricians: replace incorrect vanity lights; straighten fan grille
Plumbers:
Sand plaster
Seal plaster
Complete piping changeover
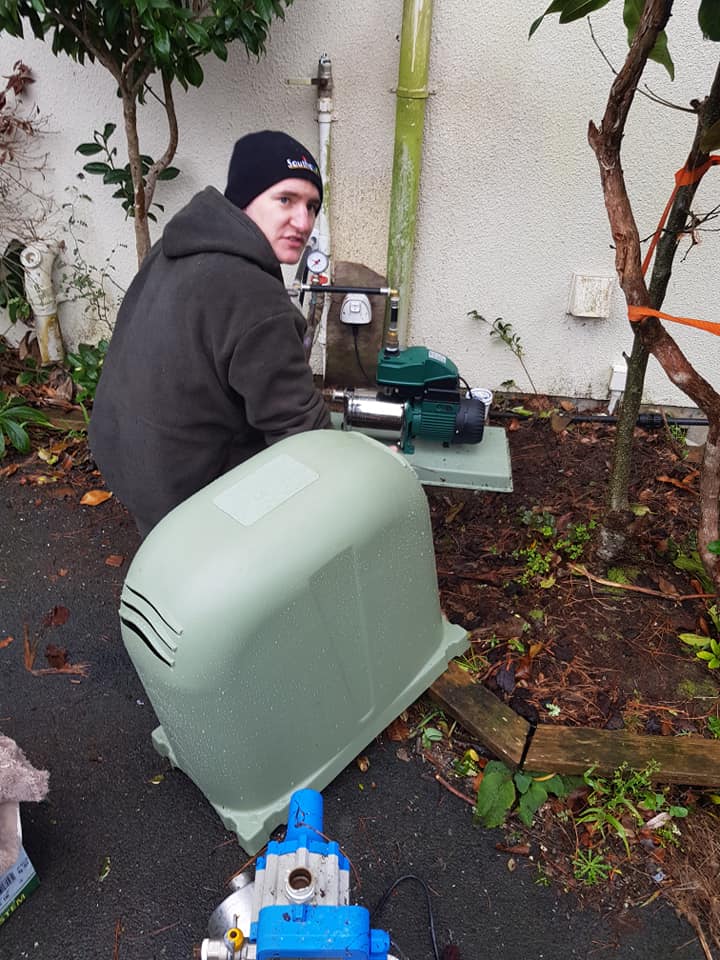
Install new pump
Complete hot water cylinder outflow and adjust water pressure
Install bath
Install main bathroom shower doors and toilet
Drayers:
Re-paint plastered patches
Paint trim if time allows
Week after next:
Drayers:
(once paint cured)
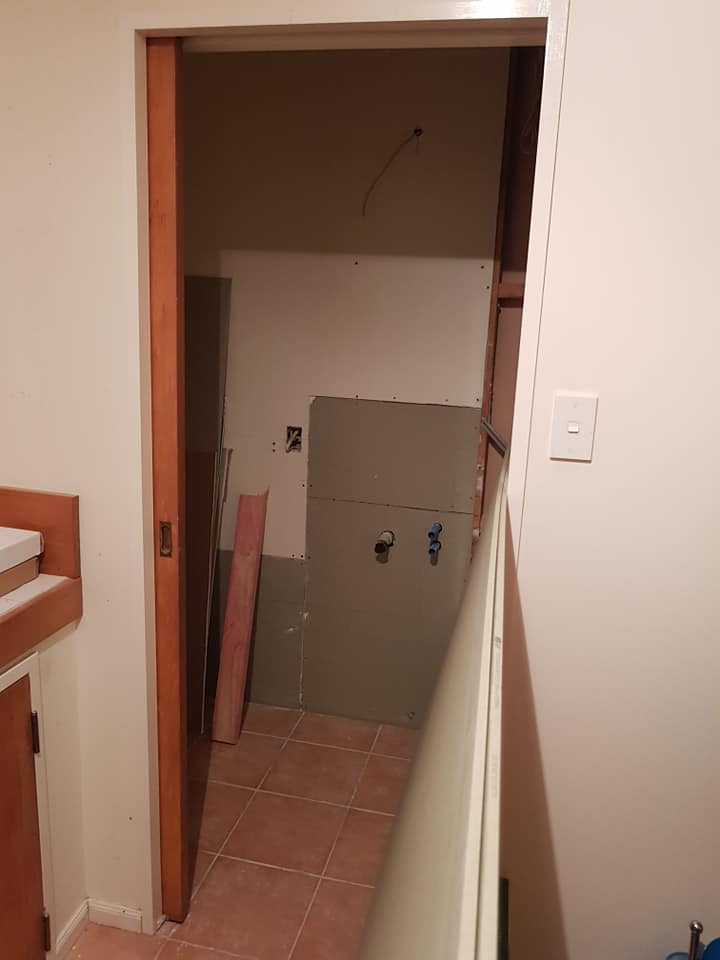
Demolish mudroom shower
Plumbers:
Re-gib mudroom
Plaster entire room
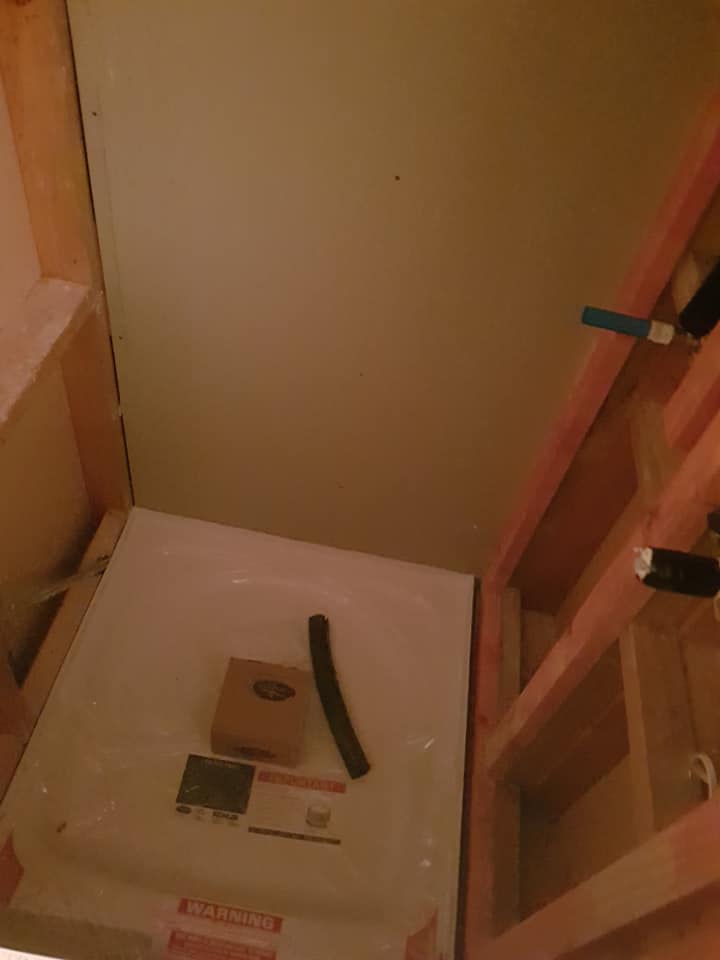
Sand plaster
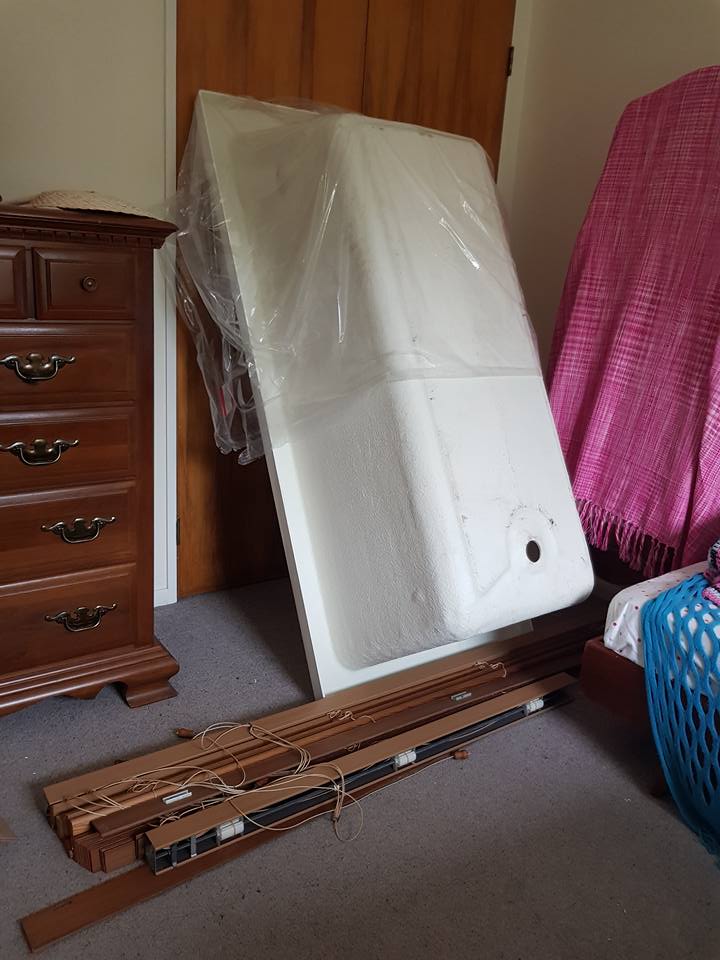
Install shower tray
Electricians:
Move and change power point
Install lighting
Drayers:
Seal and paint/wallpaper mudroom walls
Tile floors
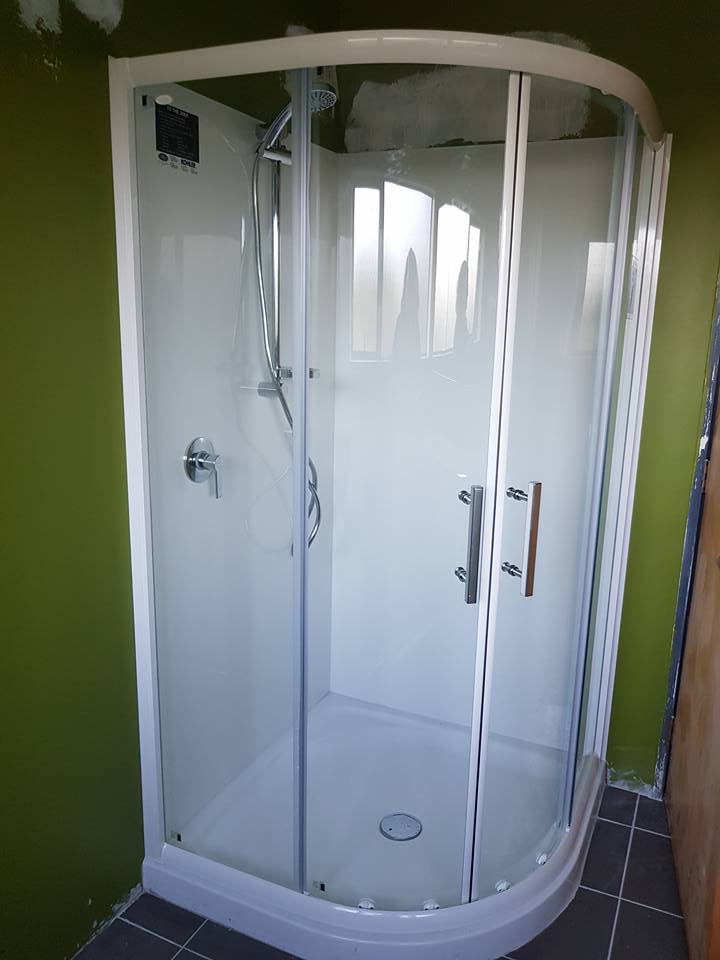
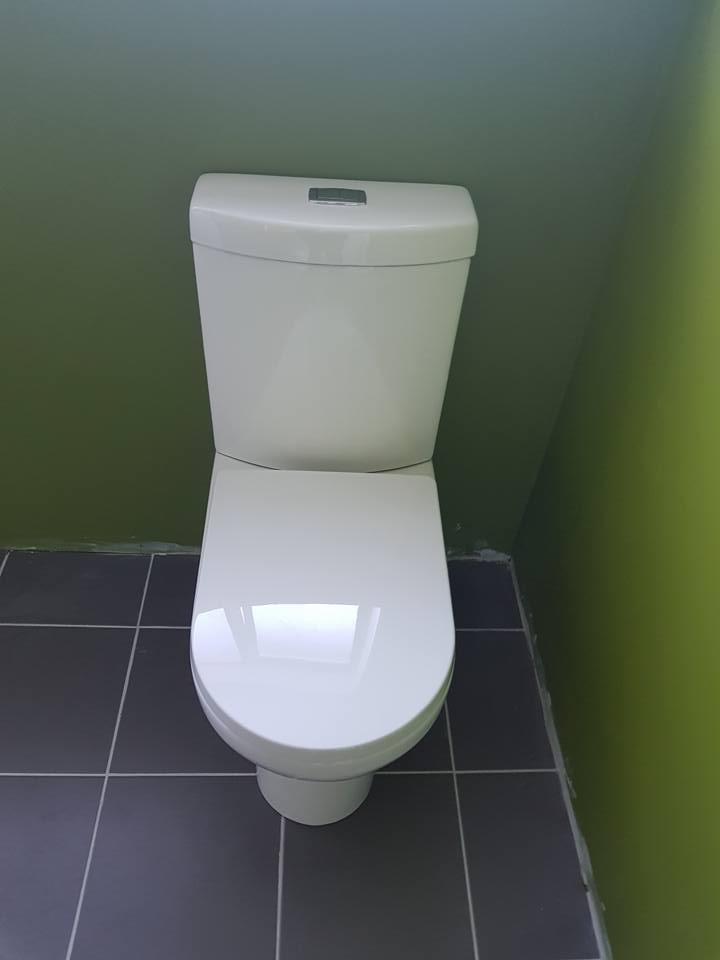
Plumbers:
Install toilet, vanity, shower, and mirror
Drayers:
Paint trim throughout
Tile mudroom splashback
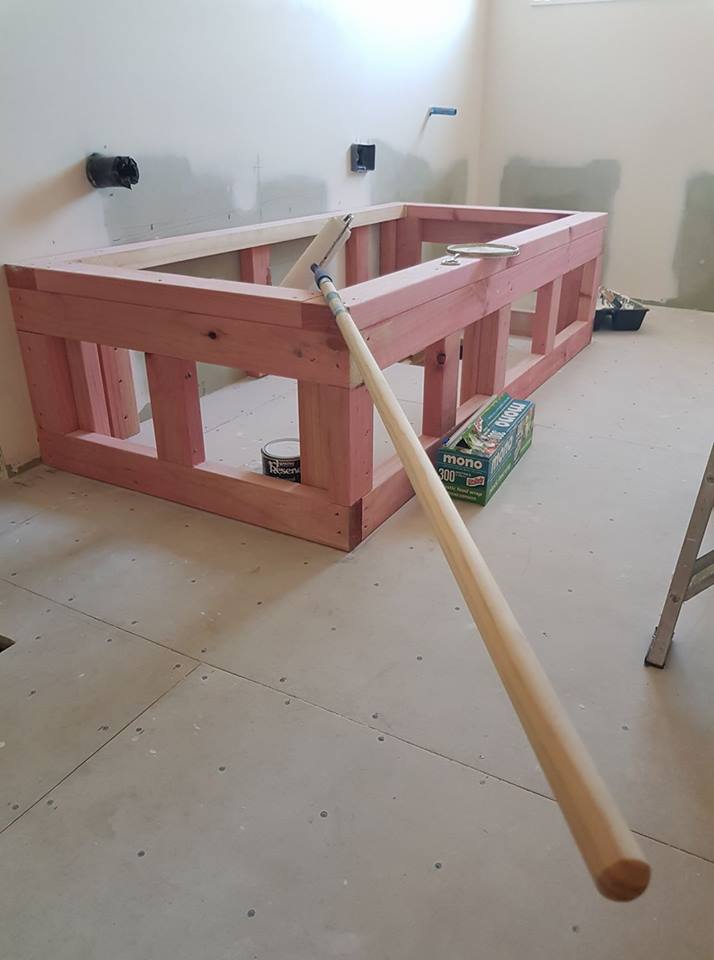
Install new laundry cabinets and work bench
Hang dryer
15 May 2018
“11pm. Almost caught up on Wrought admin and social media. Been up since 4am.
Meanwhile, George has just finished prepping the tiles around the bath, and is starting the grouting.”
â
George finished at around 00.15am.
While all of this was going on, I was doing ridiculous hours working on the Wrought Pop-Up shop.
“âSo a little update – we have a bath and shower in the main bathroom! Can’t use it yet because 1) plastered walls are not sealed, painted, and cured; 2) the silicone beading needs to set, and 3) I’m not home for long enough, lol
Should be ready by the time the pop-up ends though!”
After waiting for some time for several issues to be remedied (plastering issues, incorrectly-hung cabinet, etc), I eventually gave in and had my first bath at last on May 31st, even though the silicone on the backsplash wasn’t finished, lol
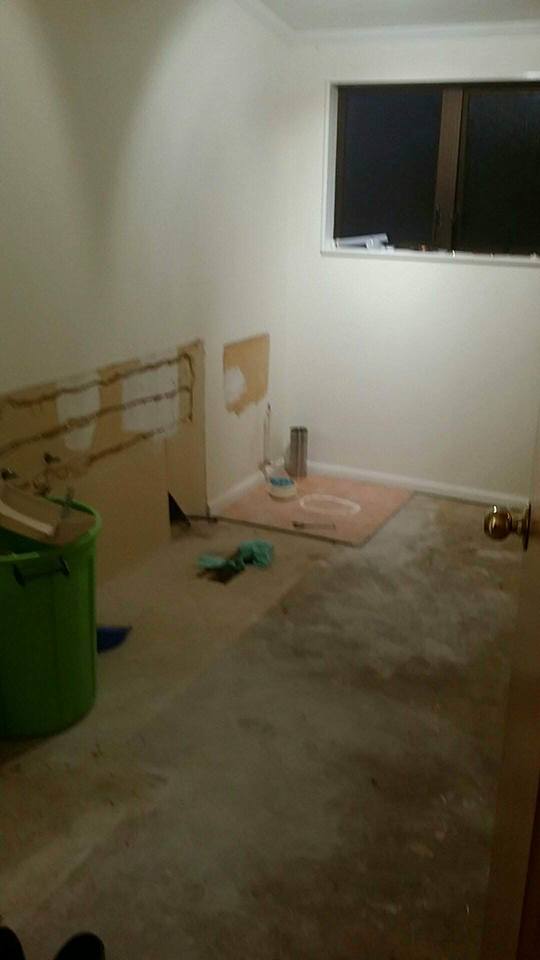
Mud room and laundry
Now that we finally have working bathrooms upstairs, it’s time to demolish the mudroom bathroom. It’s July 2018, and we have been in renovation chaos for 5 months now.
14th July – starting on the joinery in the upstairs bathrooms at last!
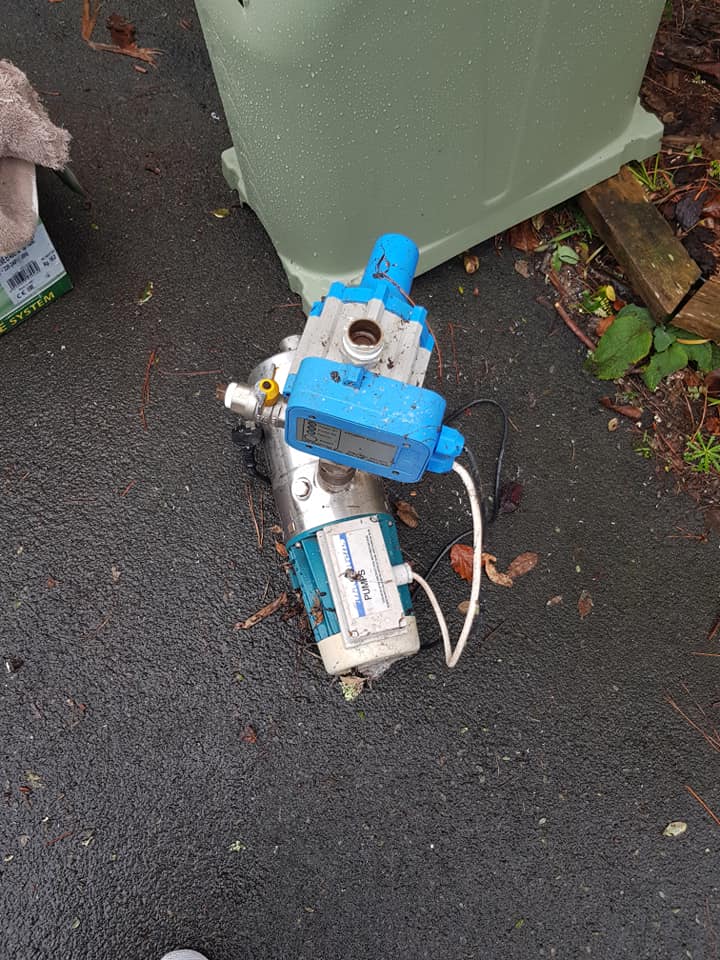
Finally, the new pump (well, the first one, sigh – yes, that too required replacement).
The mudroom bathroom, part 2
Thanks for reading this far – and if you think this post is long, imagine living it!
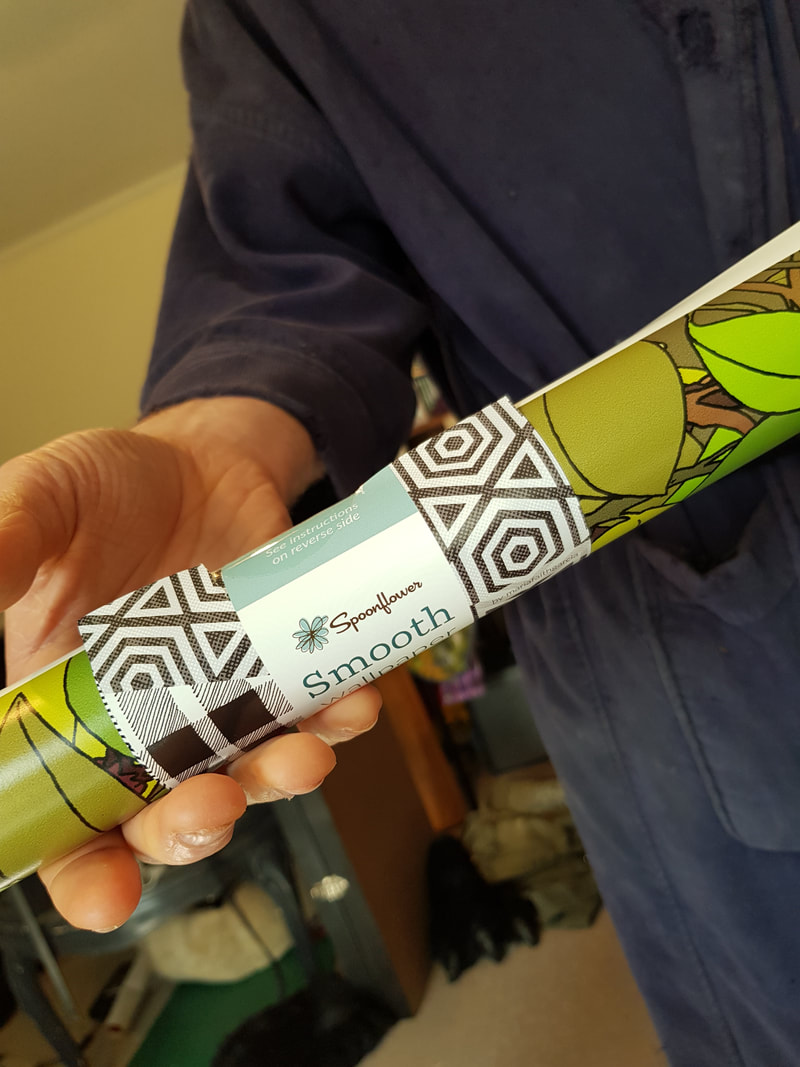
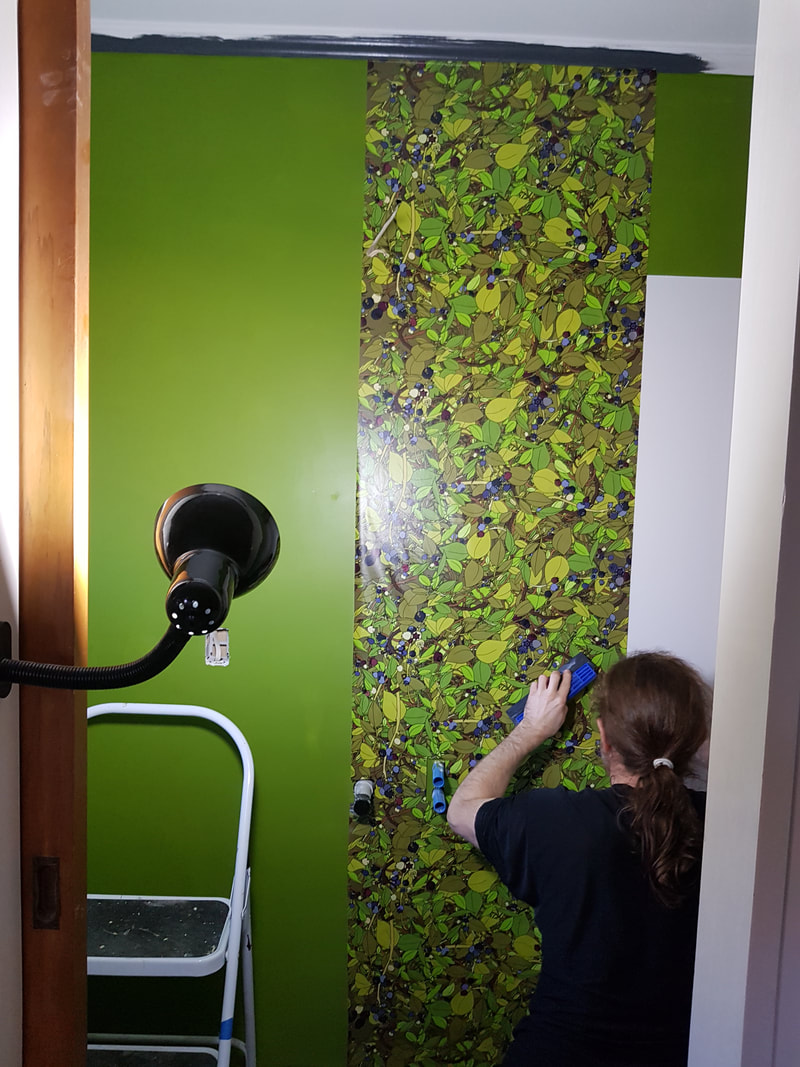
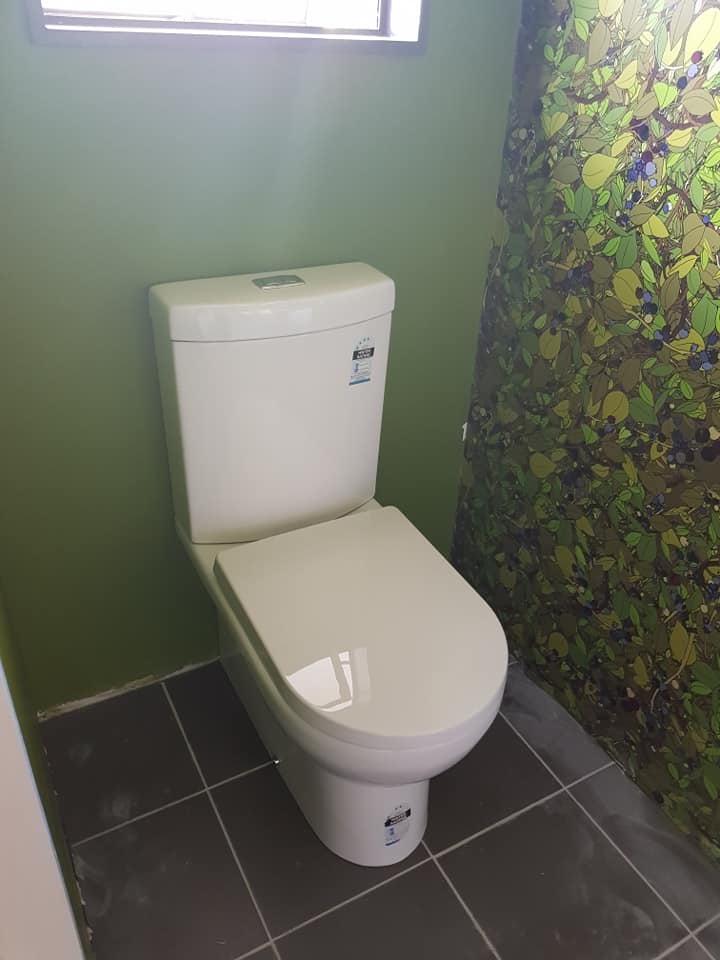
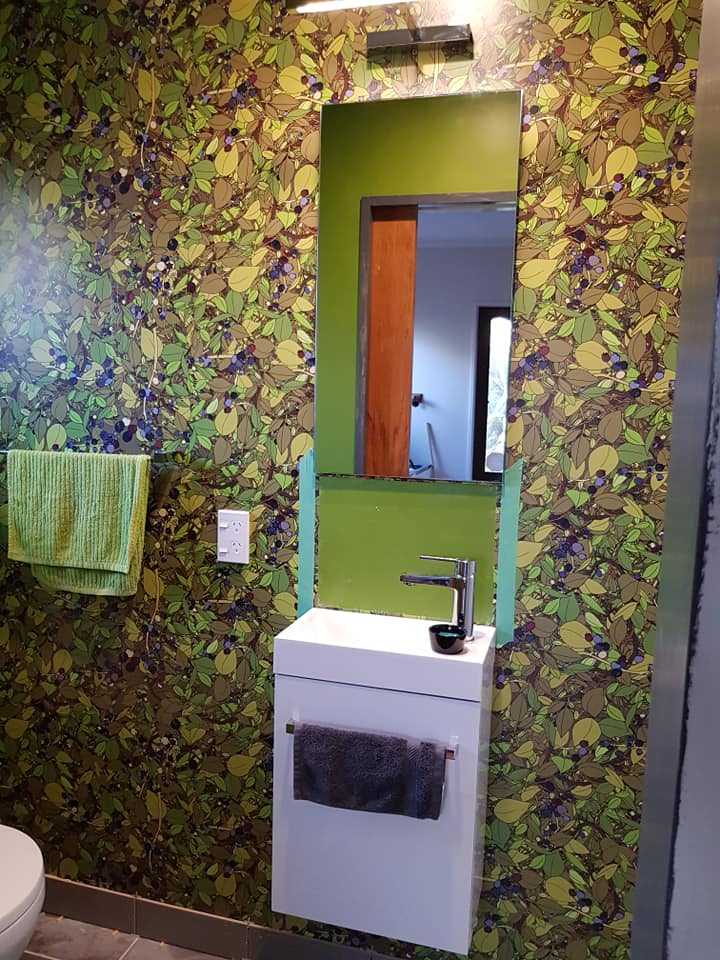
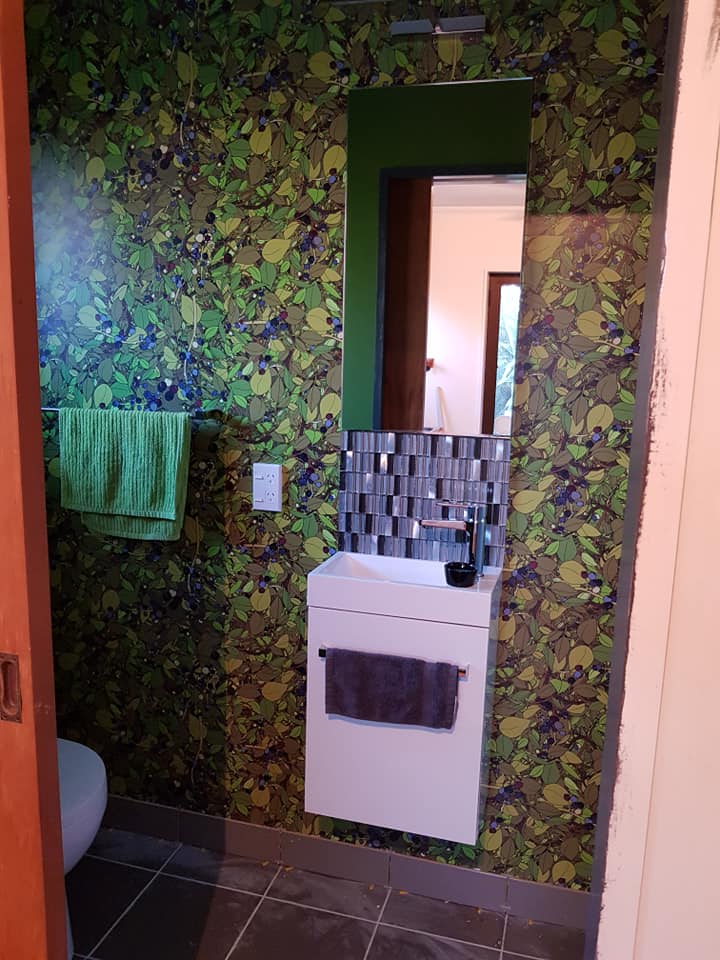
Wallpaper Рthe pi̬ce de r̩sistance
âWe did a thing we have never done before. We hung wallpaper! And bonus points – it’s my very own design! All of my designs on Spoonflower can also be purchased as wallpaper.
5 months since we started demolition and the plumbers started on the bathrooms. 8th of August.
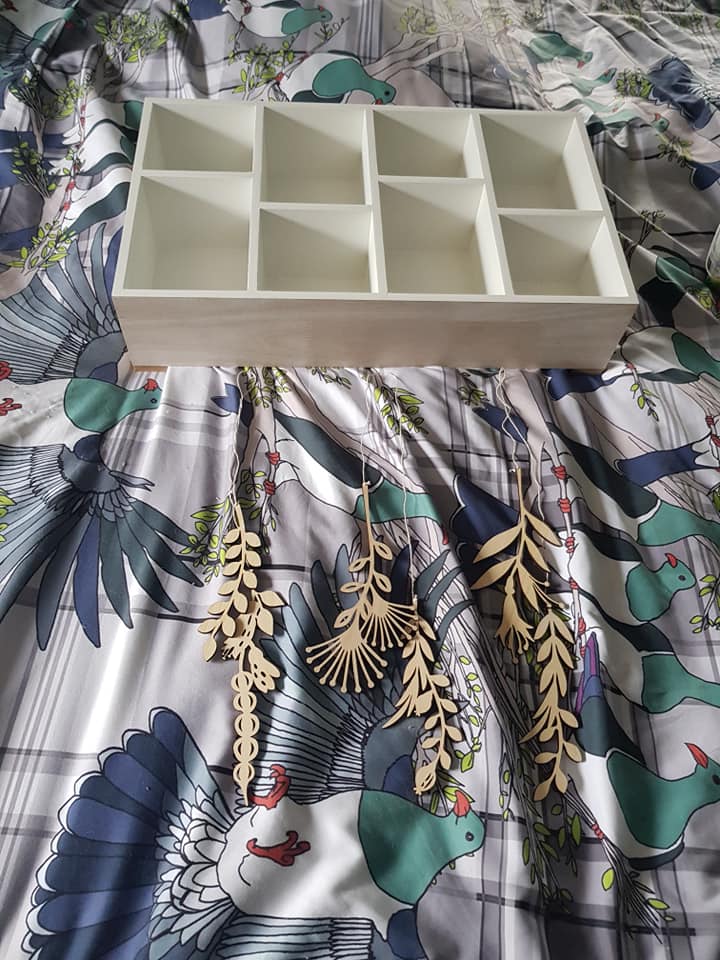
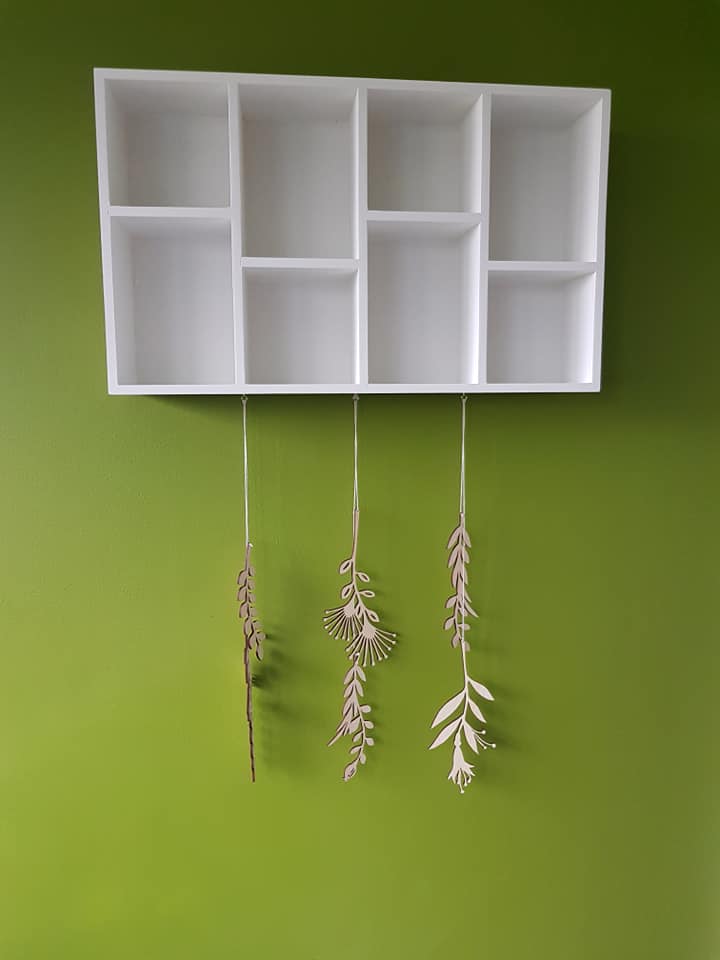
Finishing touches
A lovely knick-knack display for the ensuite, featuring dangles by
Peg Creative. Click on their photo to shop on their site!
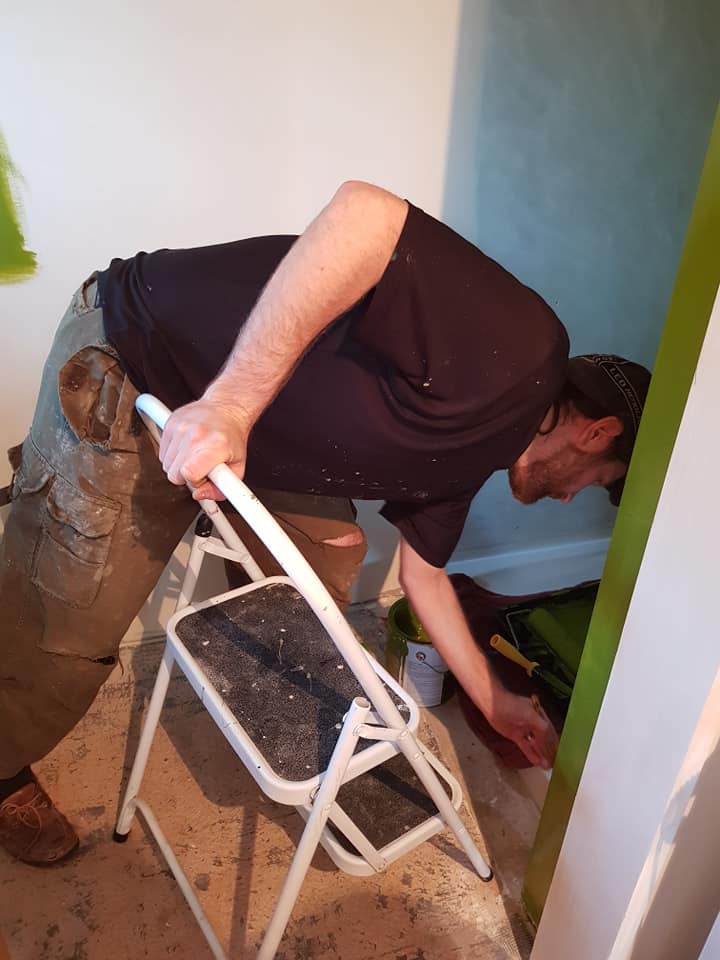
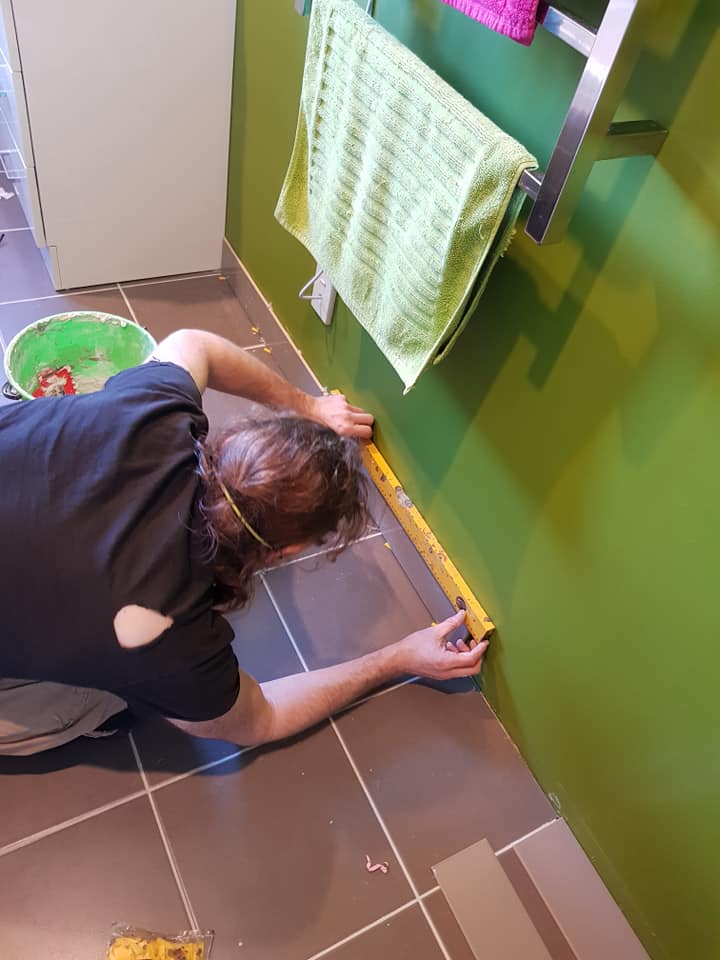
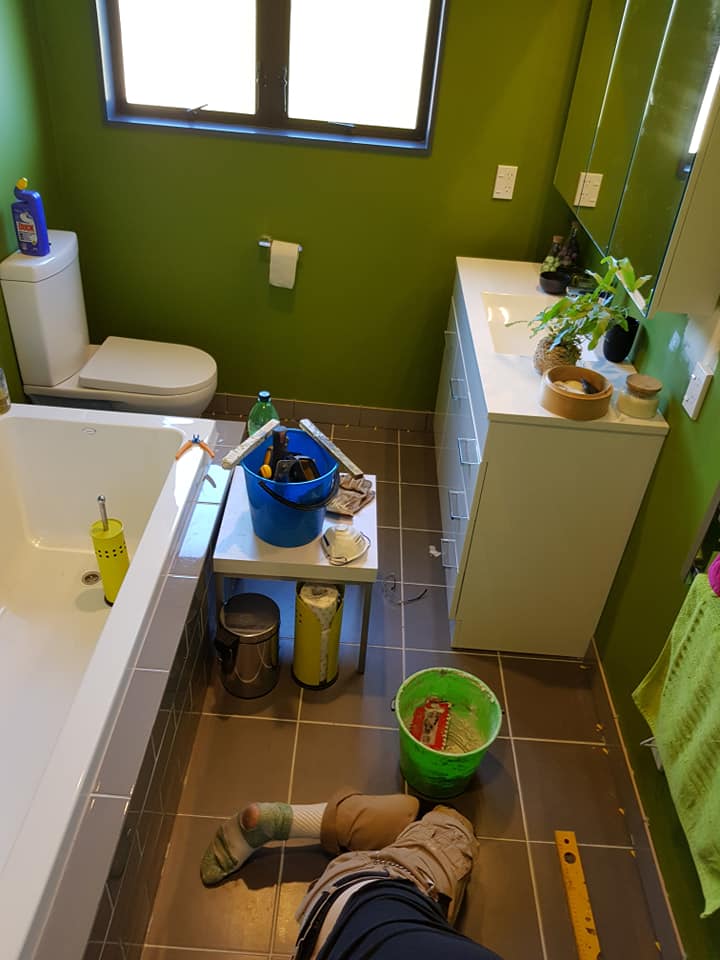
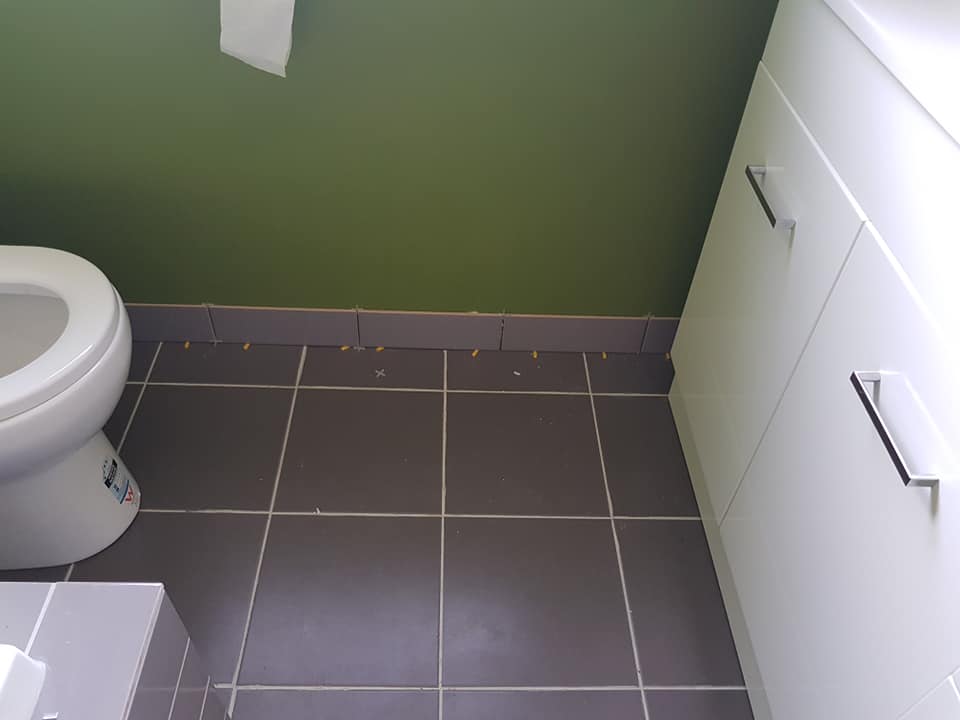
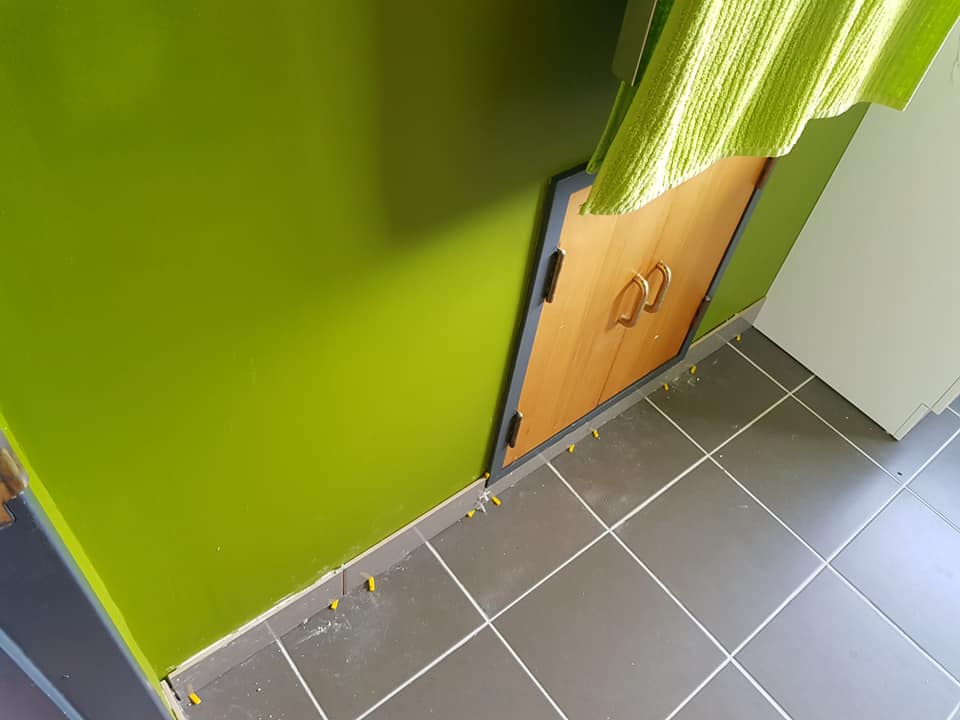
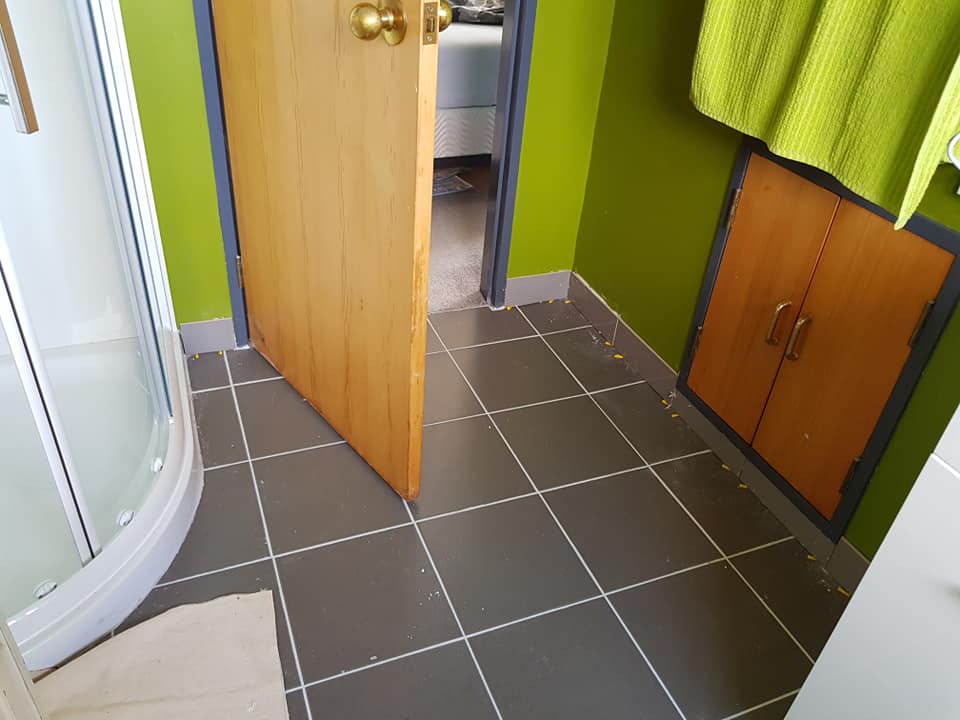
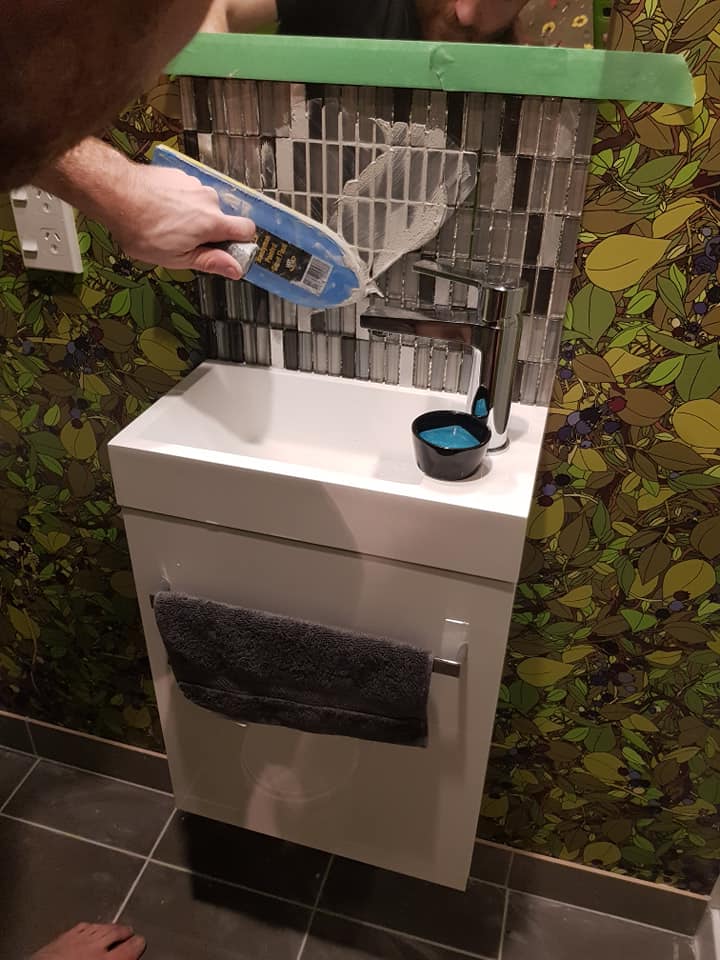
âMeanwhile, George is making great headway with the skirting tiles in the main bathroom and ensuite!
Why not do some more tiling?
I mean, we said we would, so we should
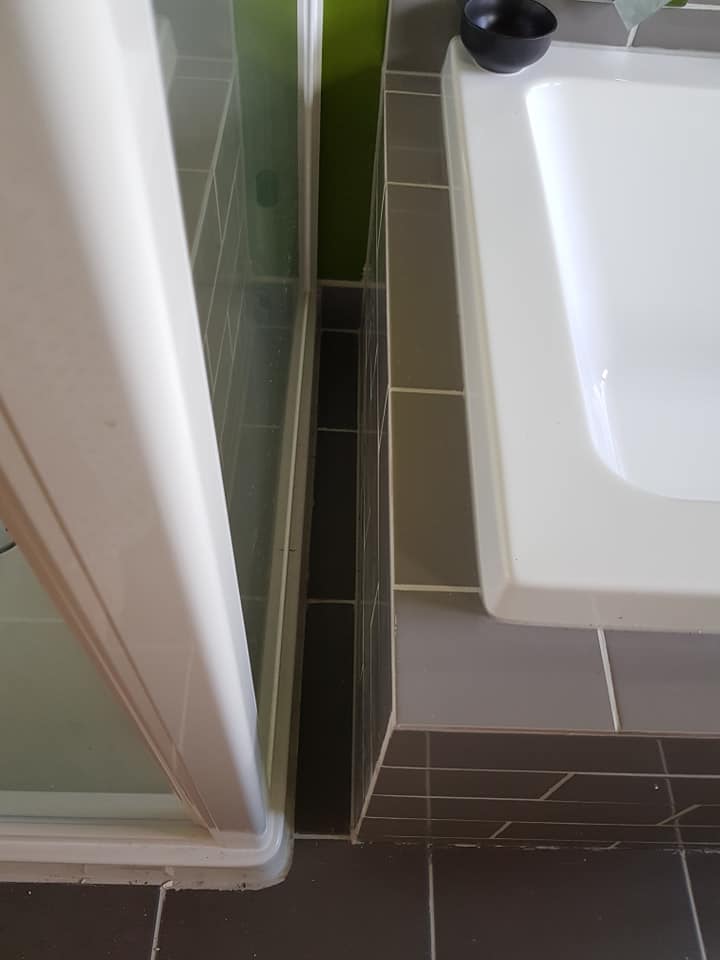
21 August 2018
Grouting and silicone done – just need to silicone around the backsplashes once the grout is dry, then touch up and clean up. So close!!
And… what about the roof?
Well, after battling for months, our roof was finally “finished” on October 14th, 2018. Until we found out about what he didn’t do, that is. But that’s a story for another day.