We love laser-cutting at Copper Catkin
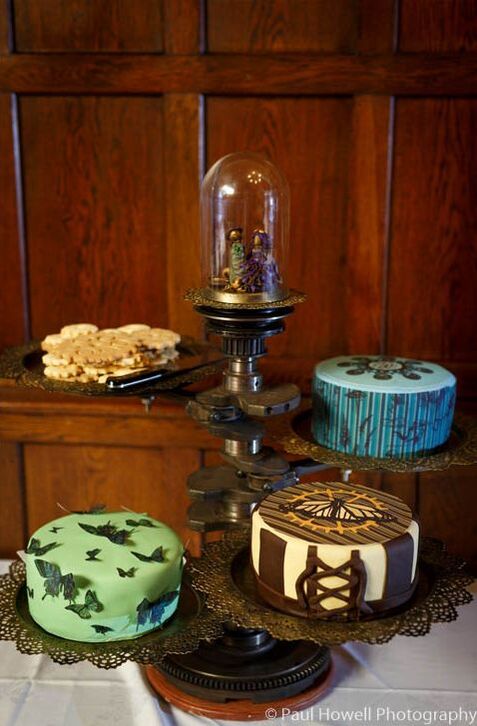
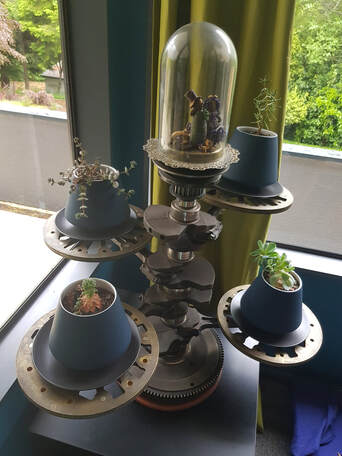
It’s been something that has been hovering on the periphery for many years – since the birth of platforms like Ponoko, in fact – but has never been an option because of all the software retraining and style changes required. Not, that is, until our wedding, where we decided to incorporate some laser-cutting into our centrepieces and cake stand.
We also used laser-cutting to make the displays for our Steampowered Nuptials polymer clay sculptures.
A little craft project
Earlier this year, I was making an effort to take time out from the stress of our extensive renovations by doing a few small craft projects to decorate our home. We thought we were about to go on the market, so we just wanted a few small pieces to put up on windowsills or shelves.
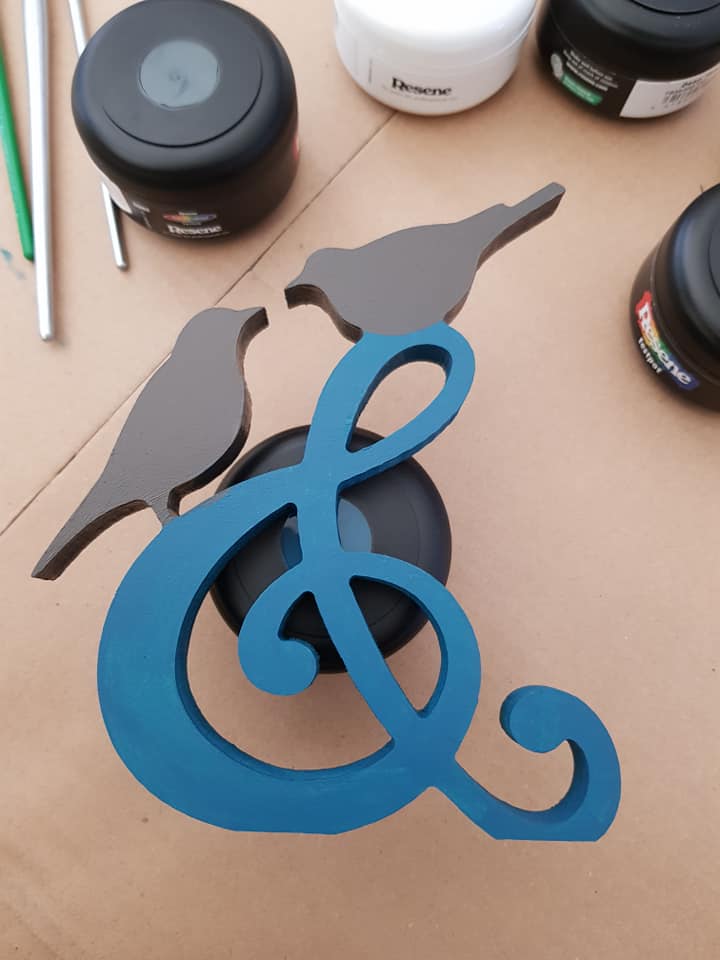
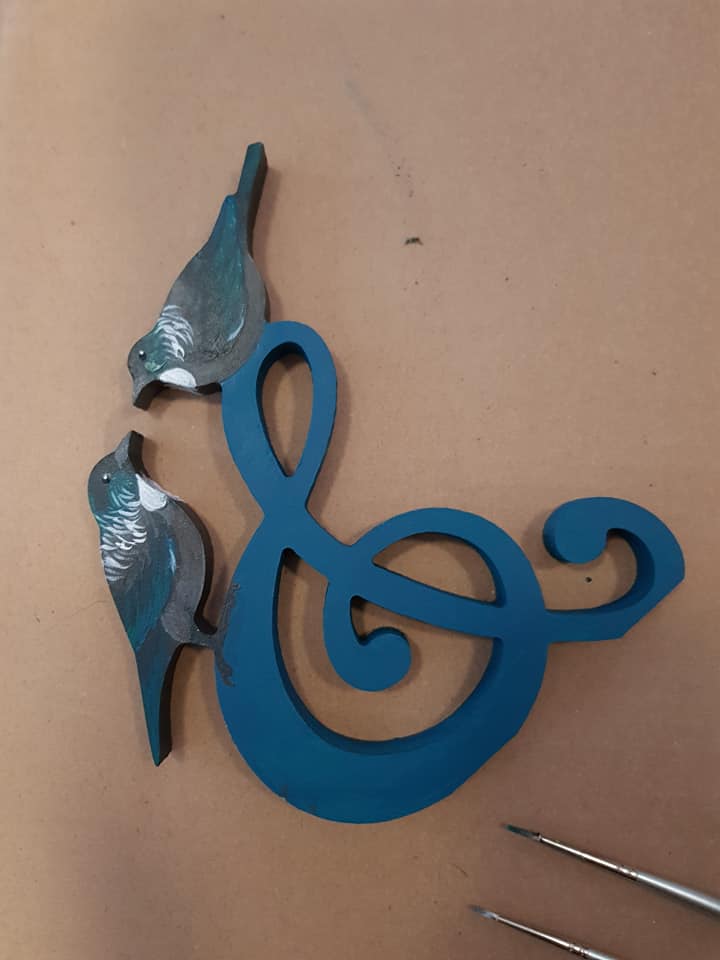
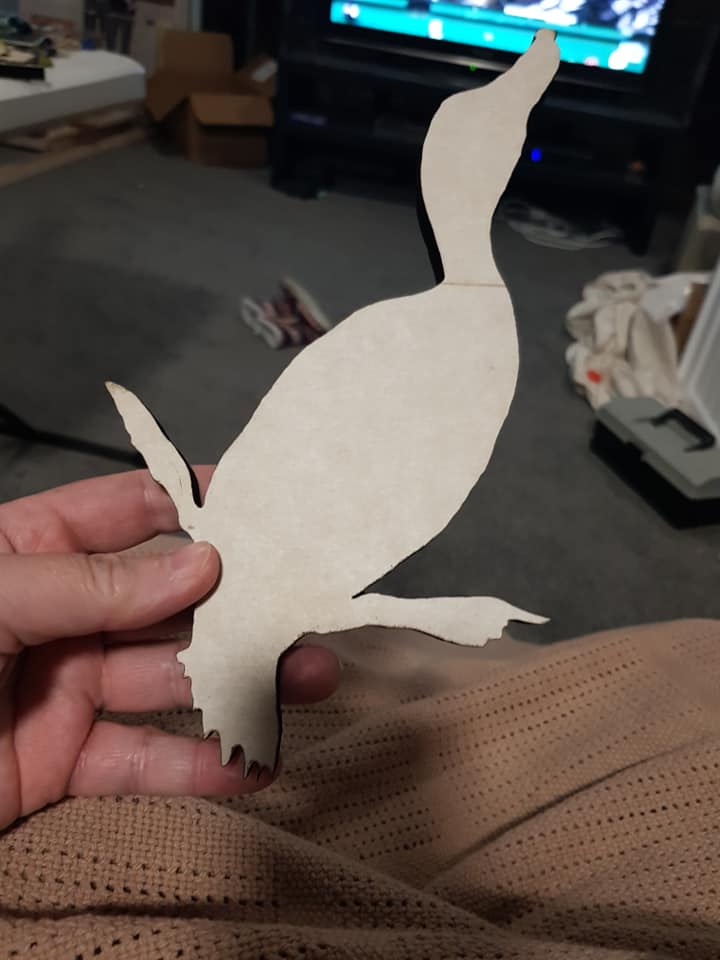
I was looking for something completely different when I spotted this piece at Pete’s Emporium, and thought, well, why not? I could paint it and make it into something inexpensive but fun.
I was looking for something completely different when I spotted this piece at Pete’s Emporium, and thought, well, why not? I could paint it and make it into something inexpensive but fun.
At about this time, we chose the name “Te Rerenga Manu”, the flight of the birds, as the name for our house, so adding bird decor seemed appropriate, especially as we were moving to Portland, home of “put a bird on it”, which, to be fair, was never terribly funny, even if it’s a bit accurate.
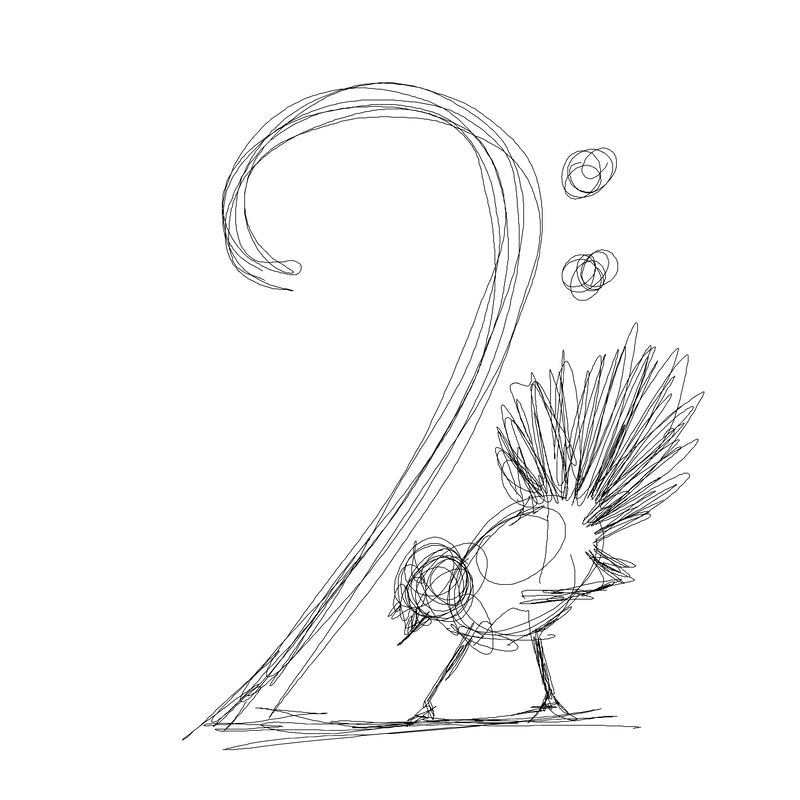
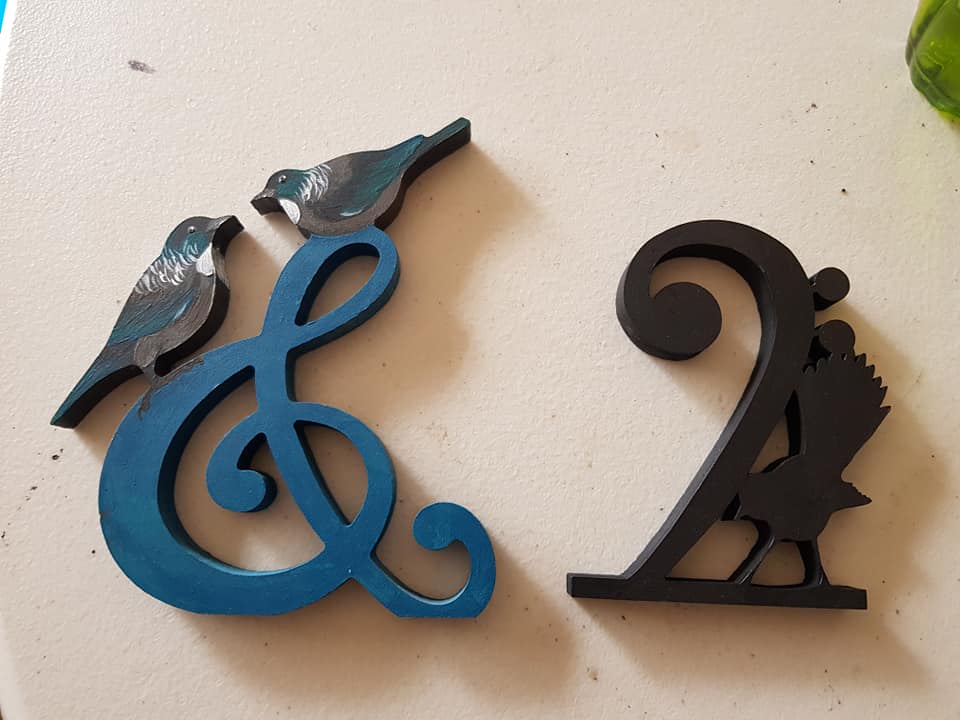
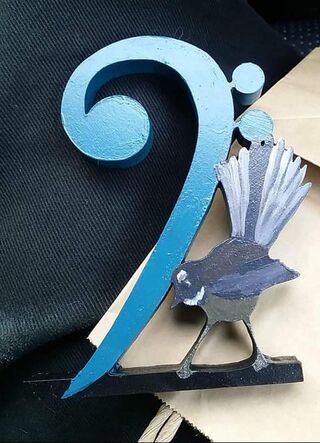
A partner clef
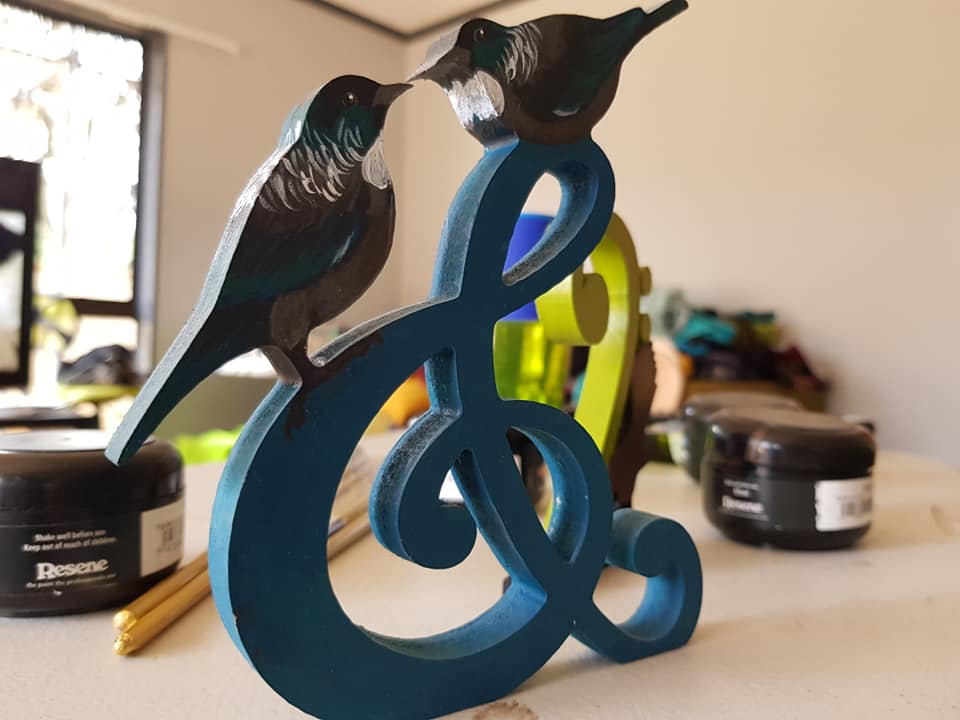
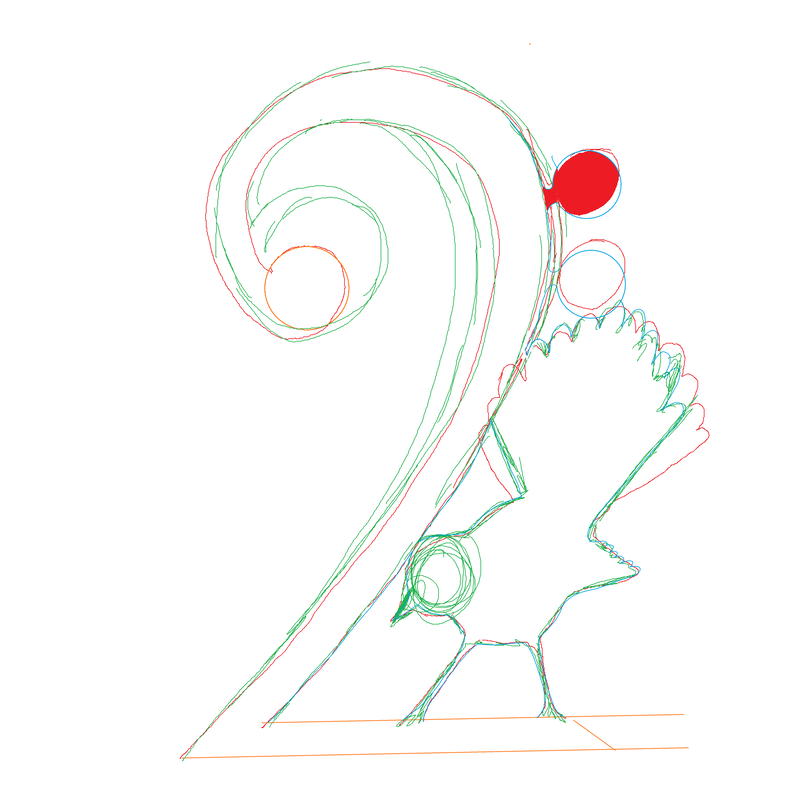
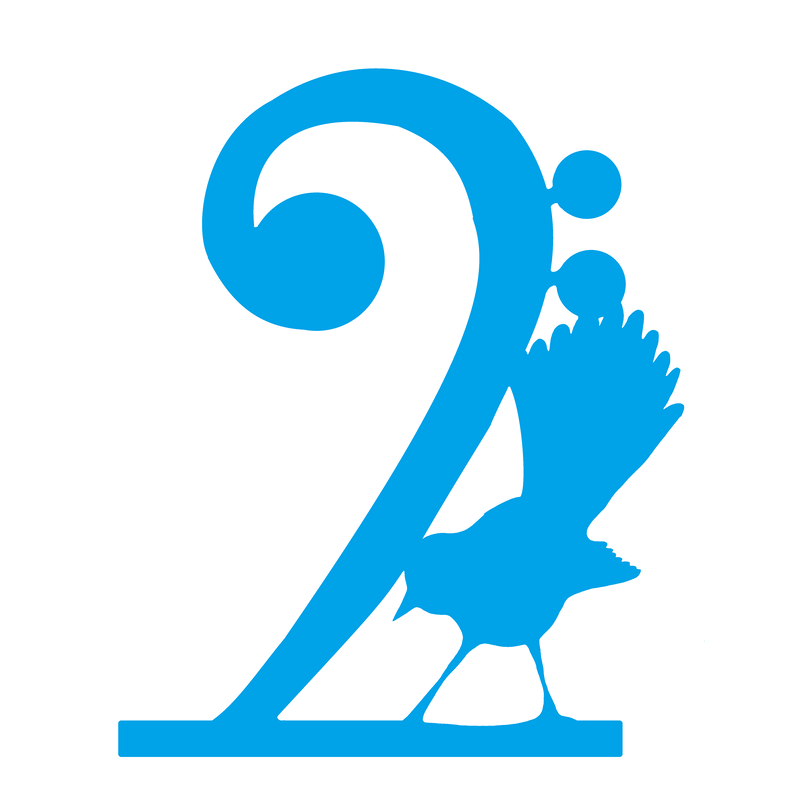
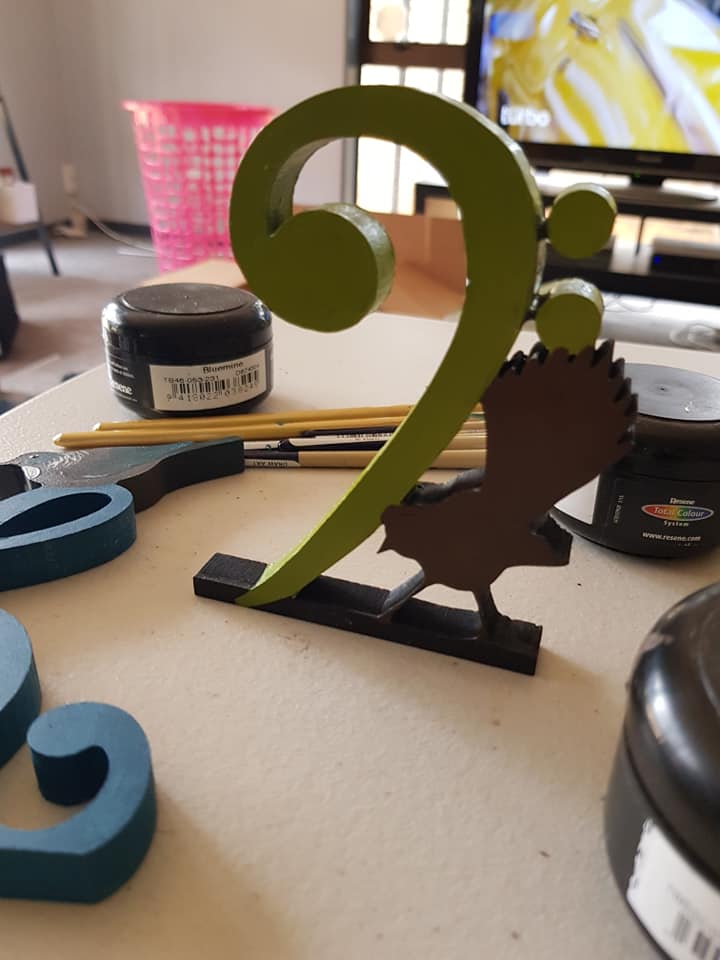
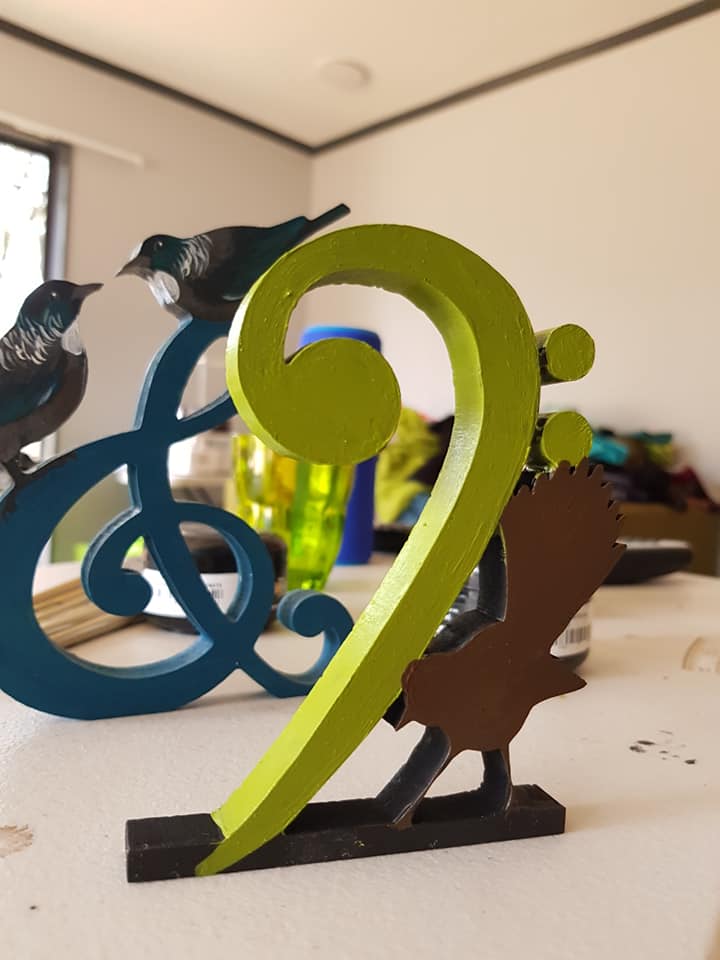
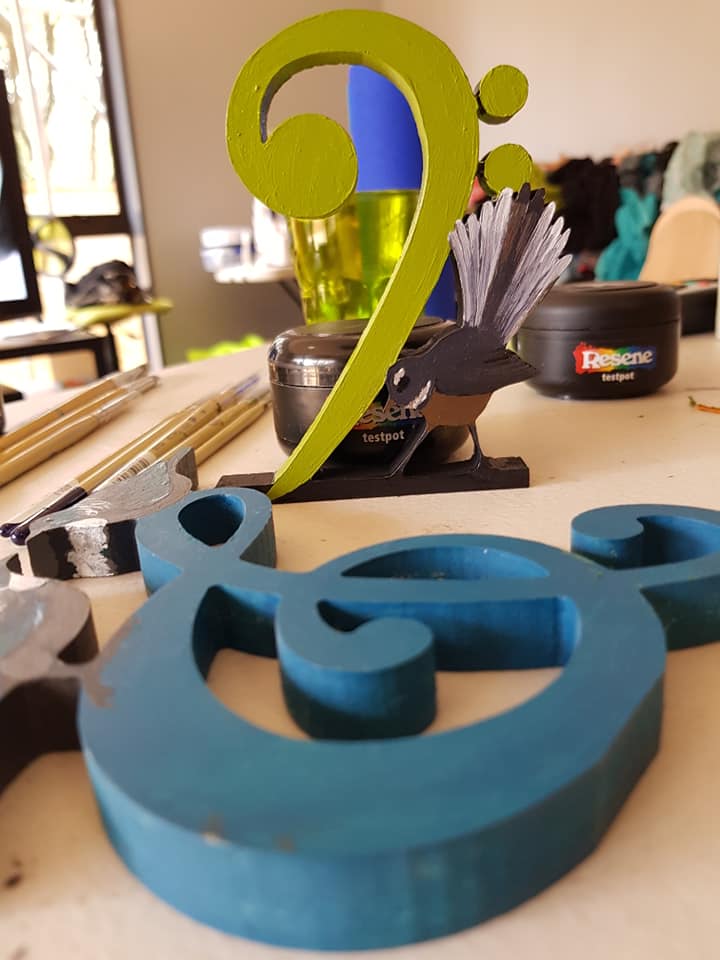
So once I had painted up the trreble clef and its birds, I felt like it needed a balance – but a bass clef is quite a hard design to make in 3D, as it has two floating dots. I tried to attach them in various ways, including by placing my bird on that corner, but it just looked lame, so I landed on the little sprues. Not perfect, but it works.
âThe next step was to convert it into a file that I could get laser-cut, and of course, at this point, I stalled.
My bass clef piwakawaka went into the “later” basket, along with my whio, who had been waiting a year already.
Copper Catkin designs meet the laser
Laser-cutting is still very expensive in New Zealand, so it’s not really feasible to use it to make small lots of products; we would need to consider buying our own laser if we were going to make this a main part of our business. As we will be moving to Portland, a large purchase like this is not an option until we get there, but there’s no harm in getting a bit of practice in ahead of time.
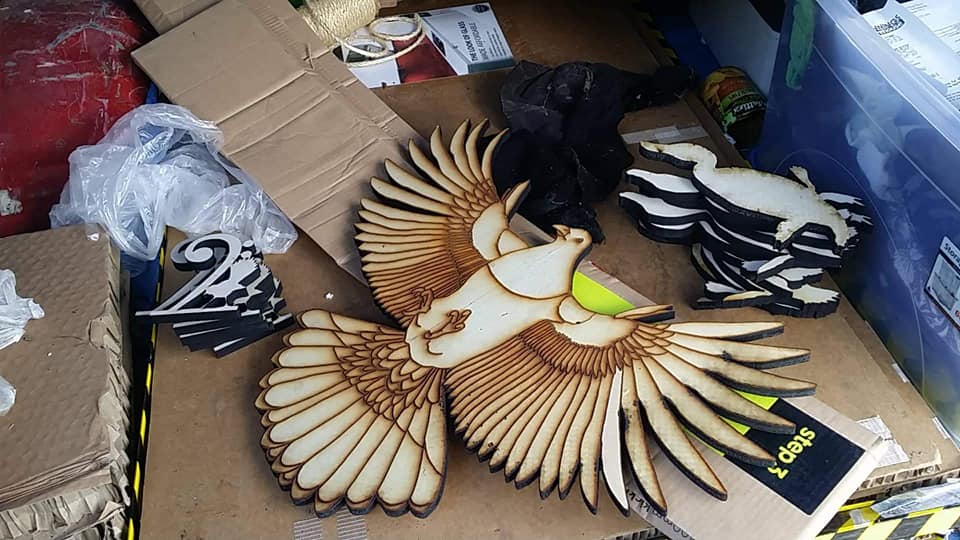
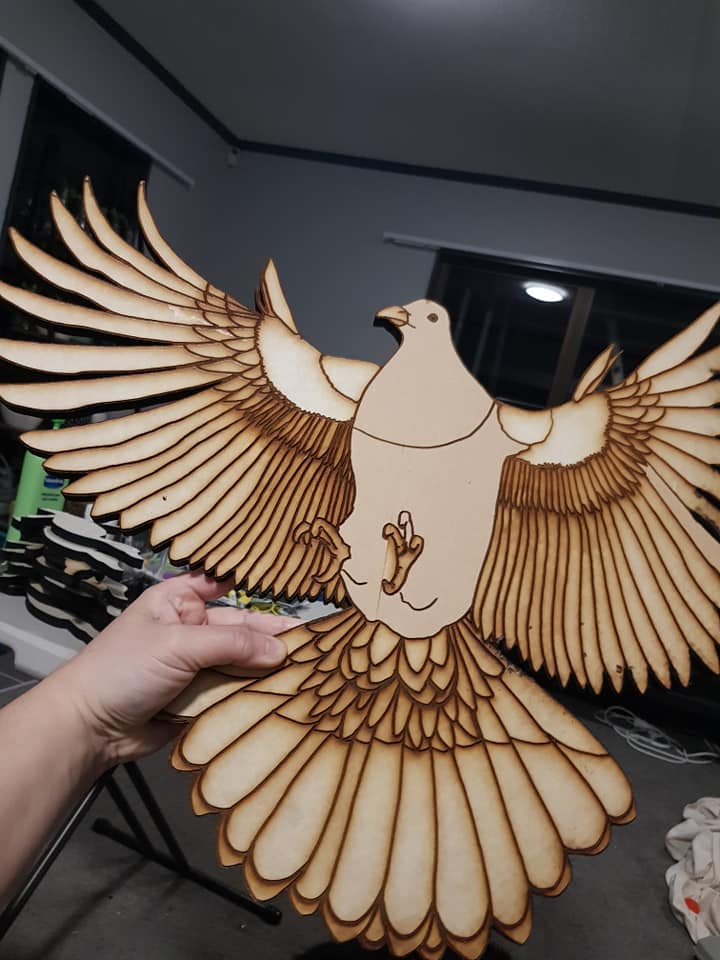
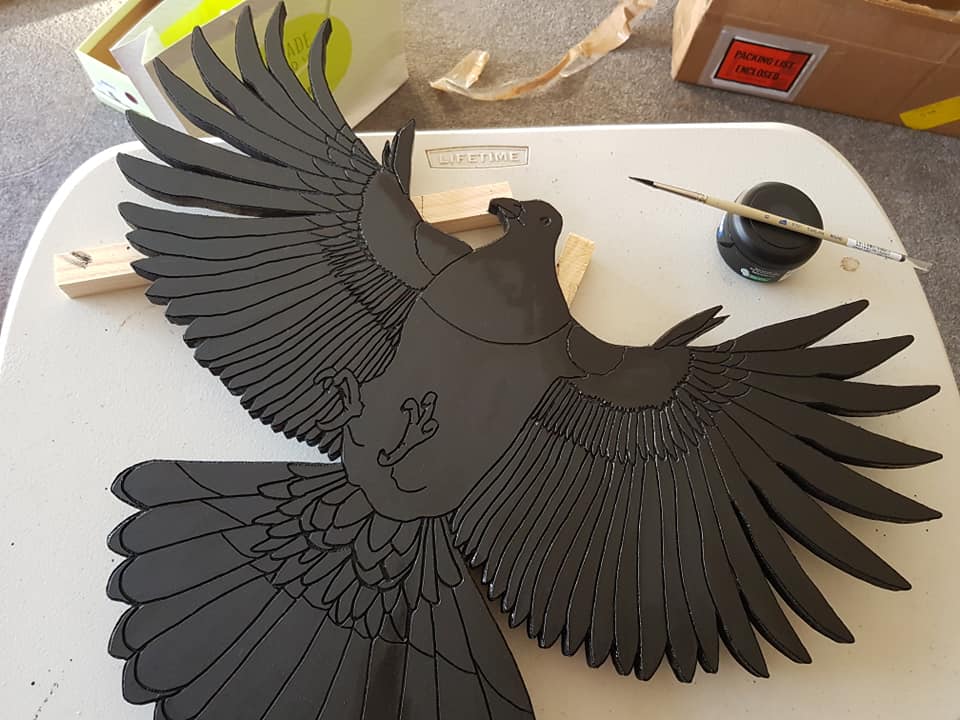
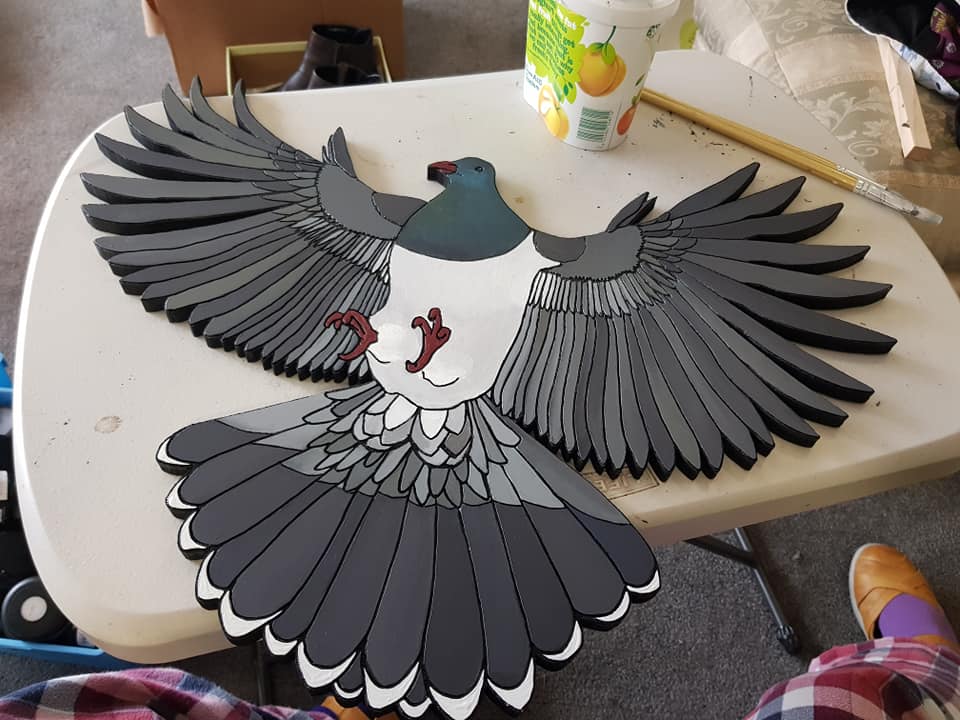
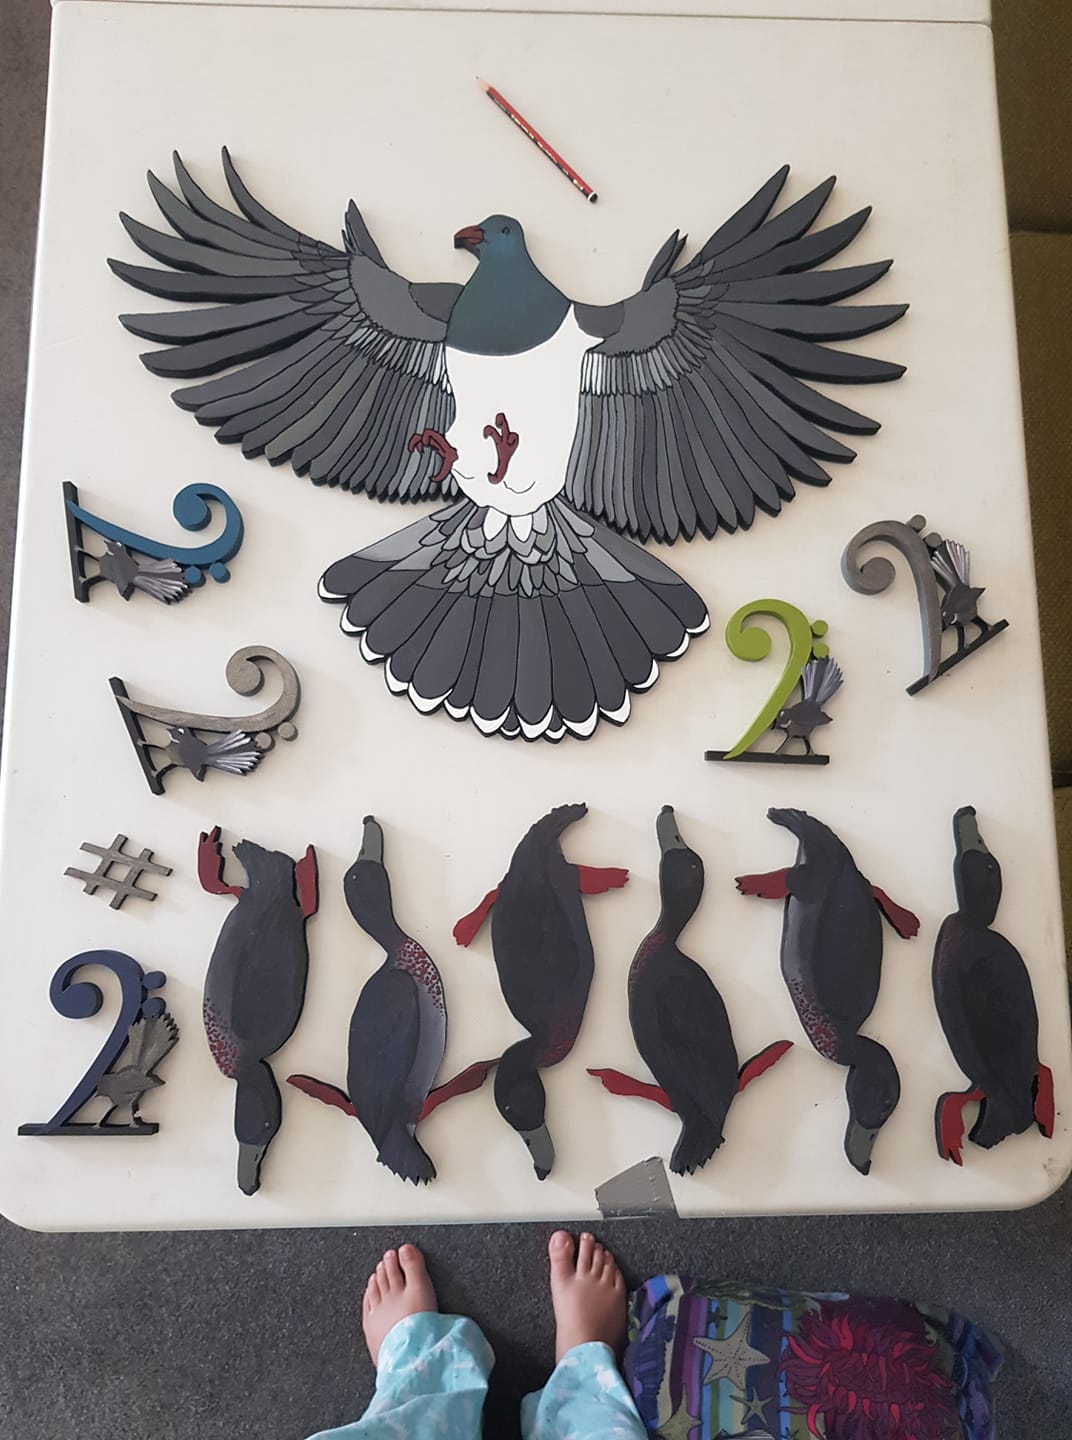
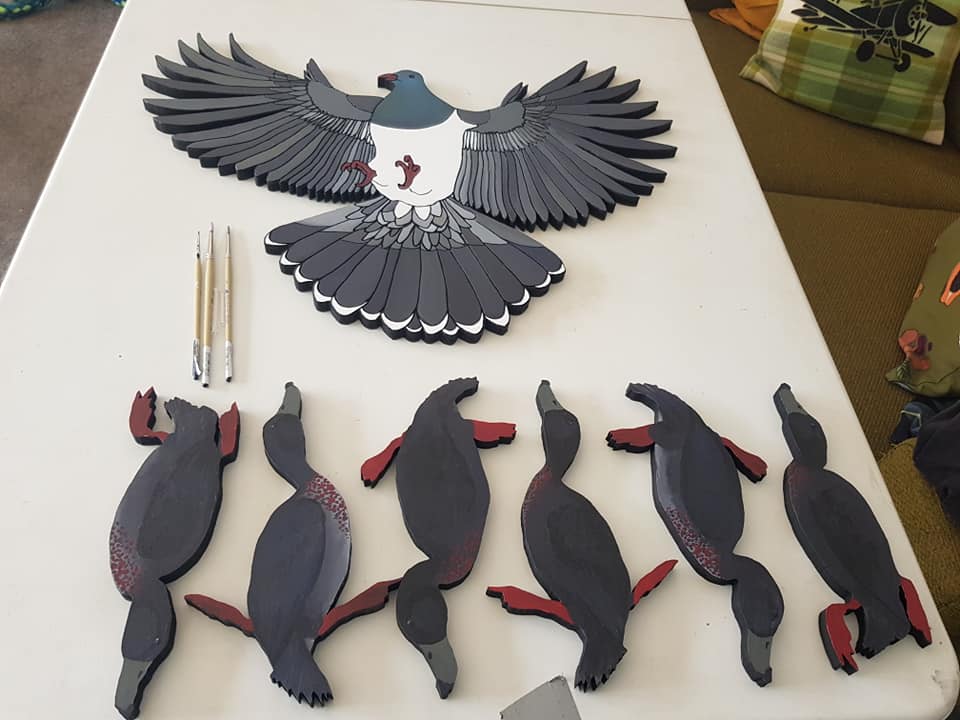
âWe decided to test-drive the concept by making a few designs for our home decor, including the bass clefs and the whio, with one giant kereru for the wall. We got extras cut in case they might sell, although that was not the primary purpose.
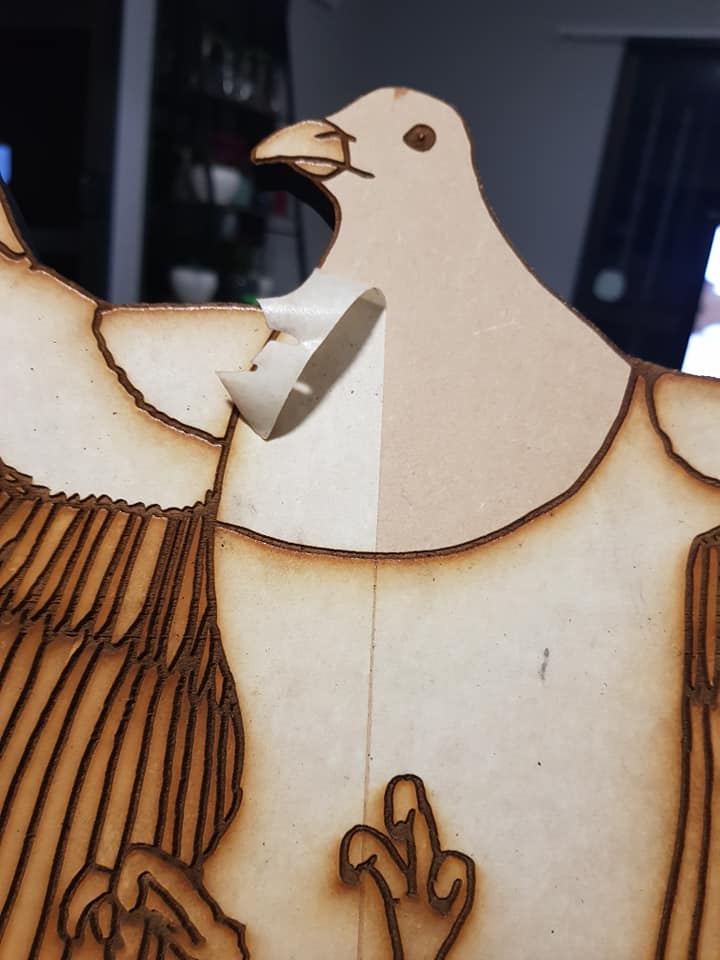
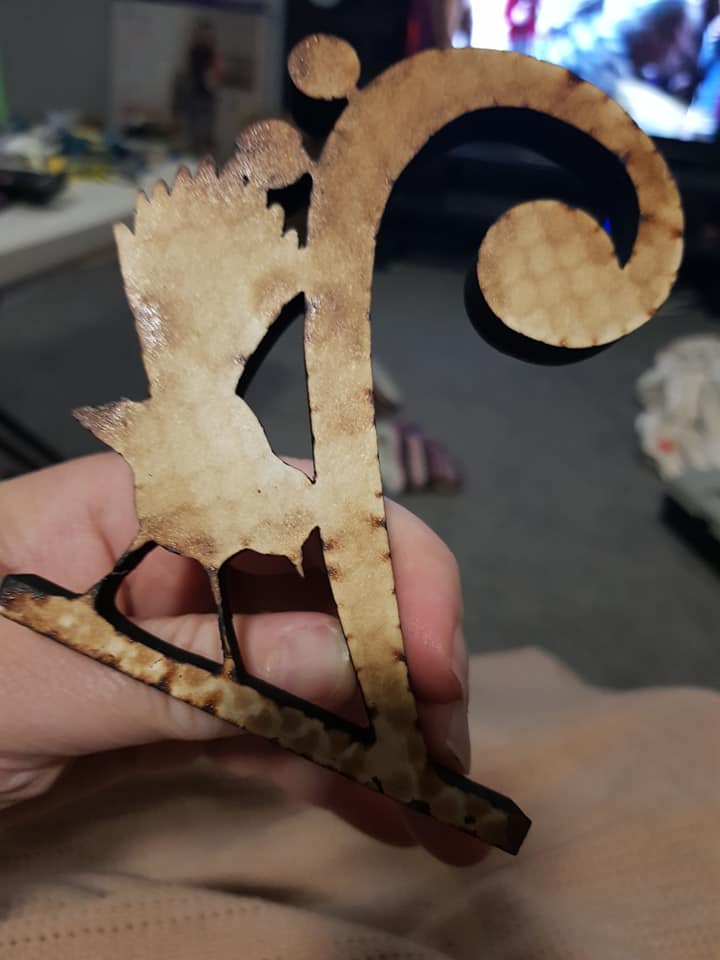
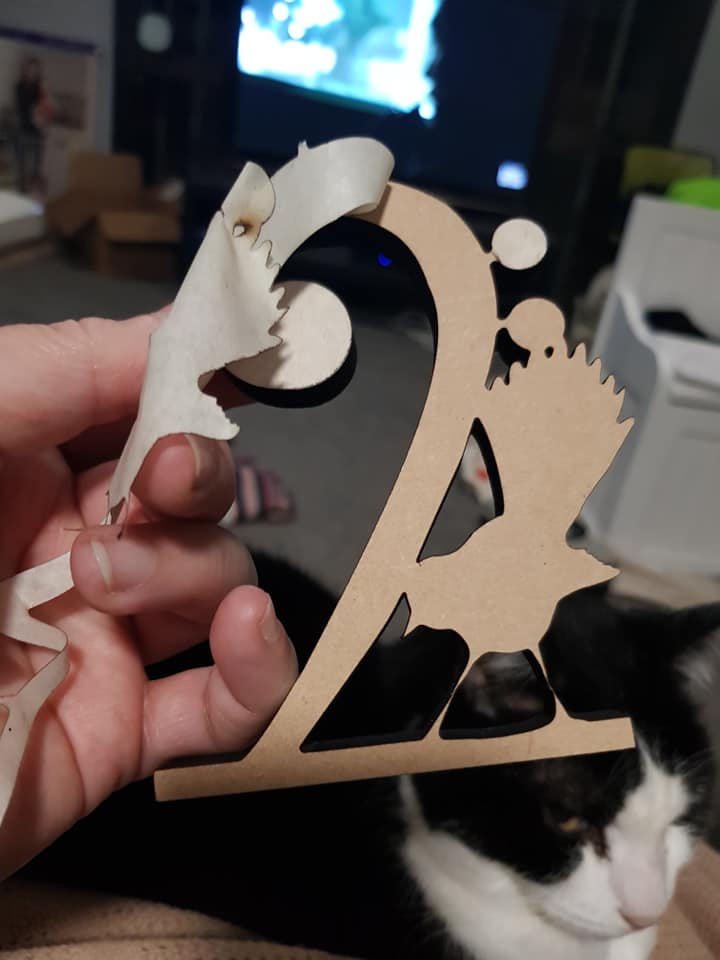
âPeeling off the protective paper was both satisfying and frustrating, a bit like peeling off sunburnt skin…
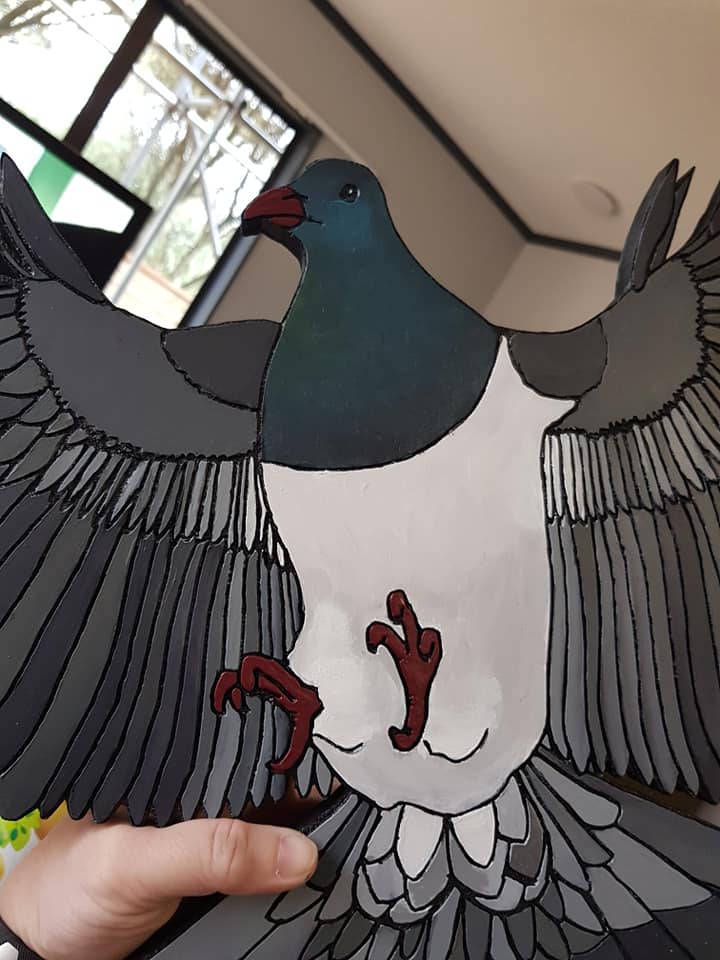
Painting the kereru
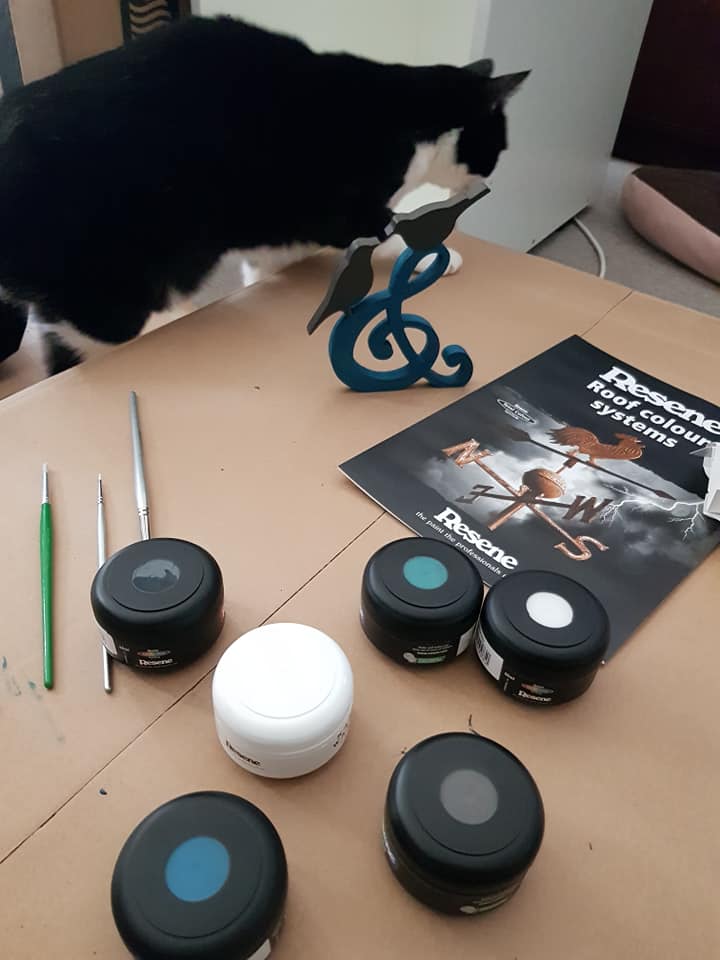
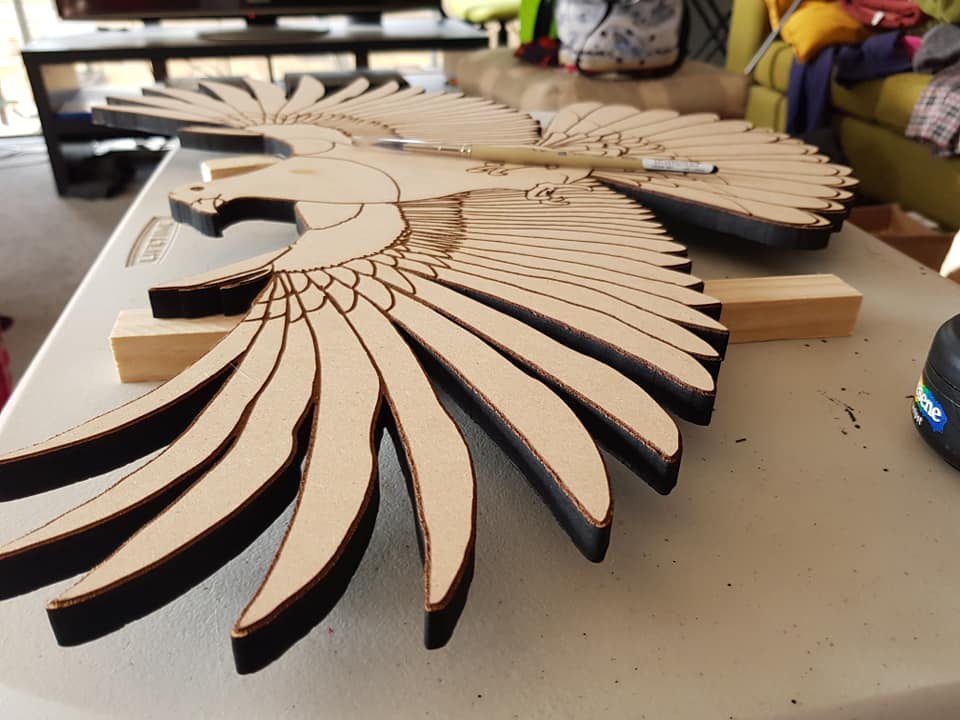
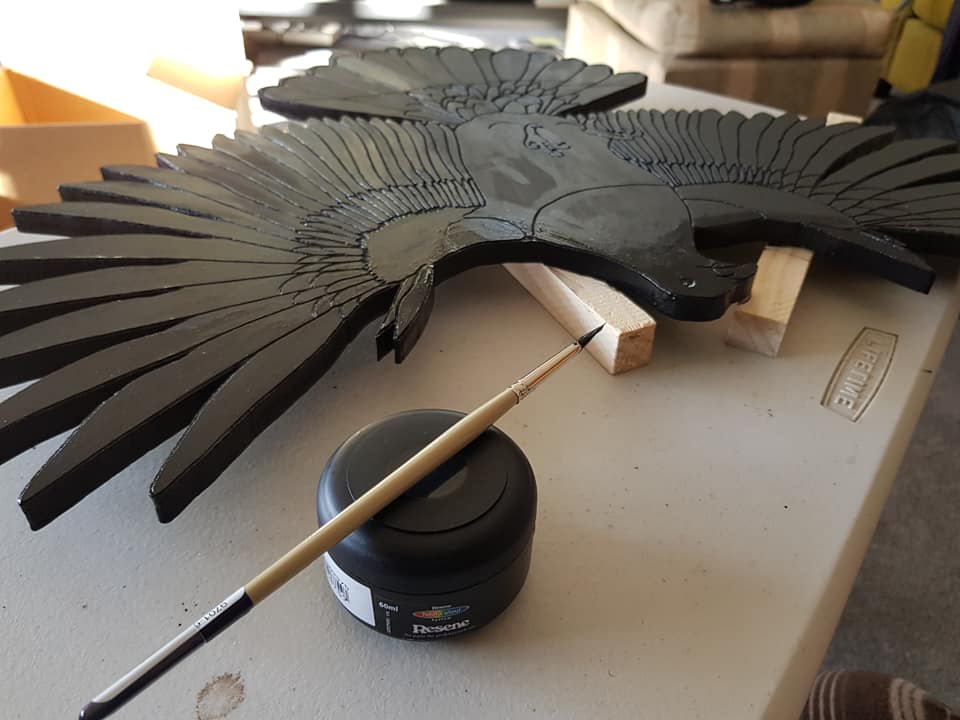
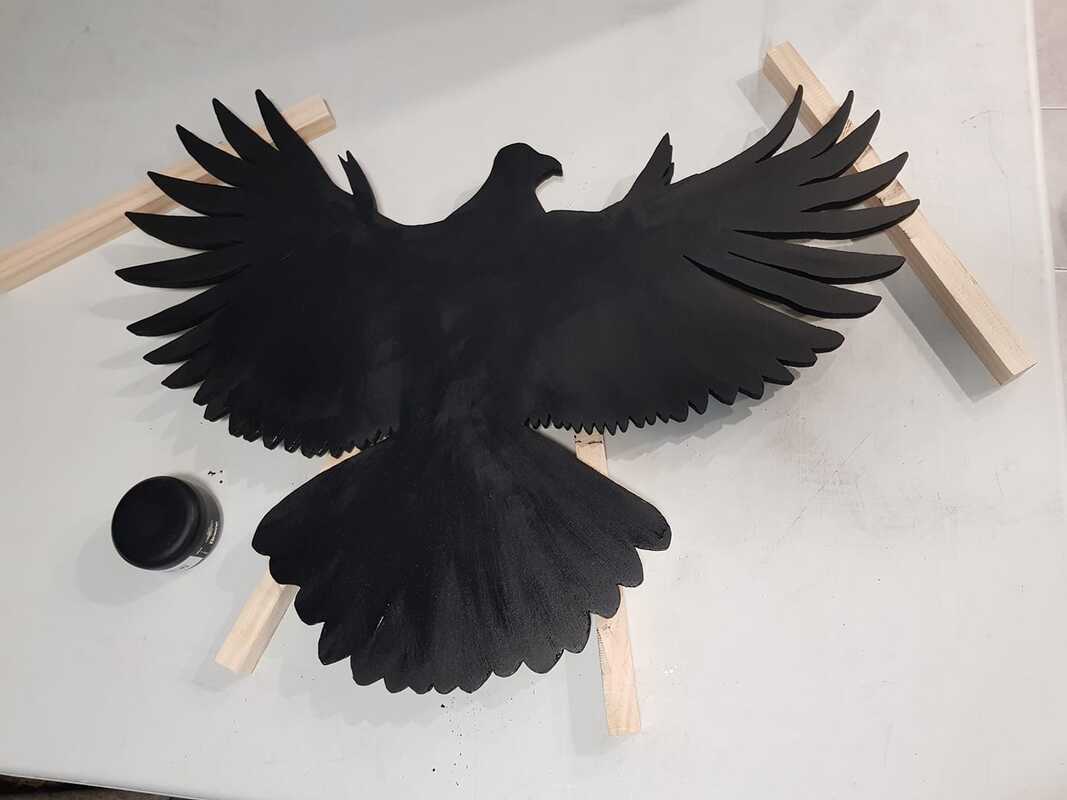
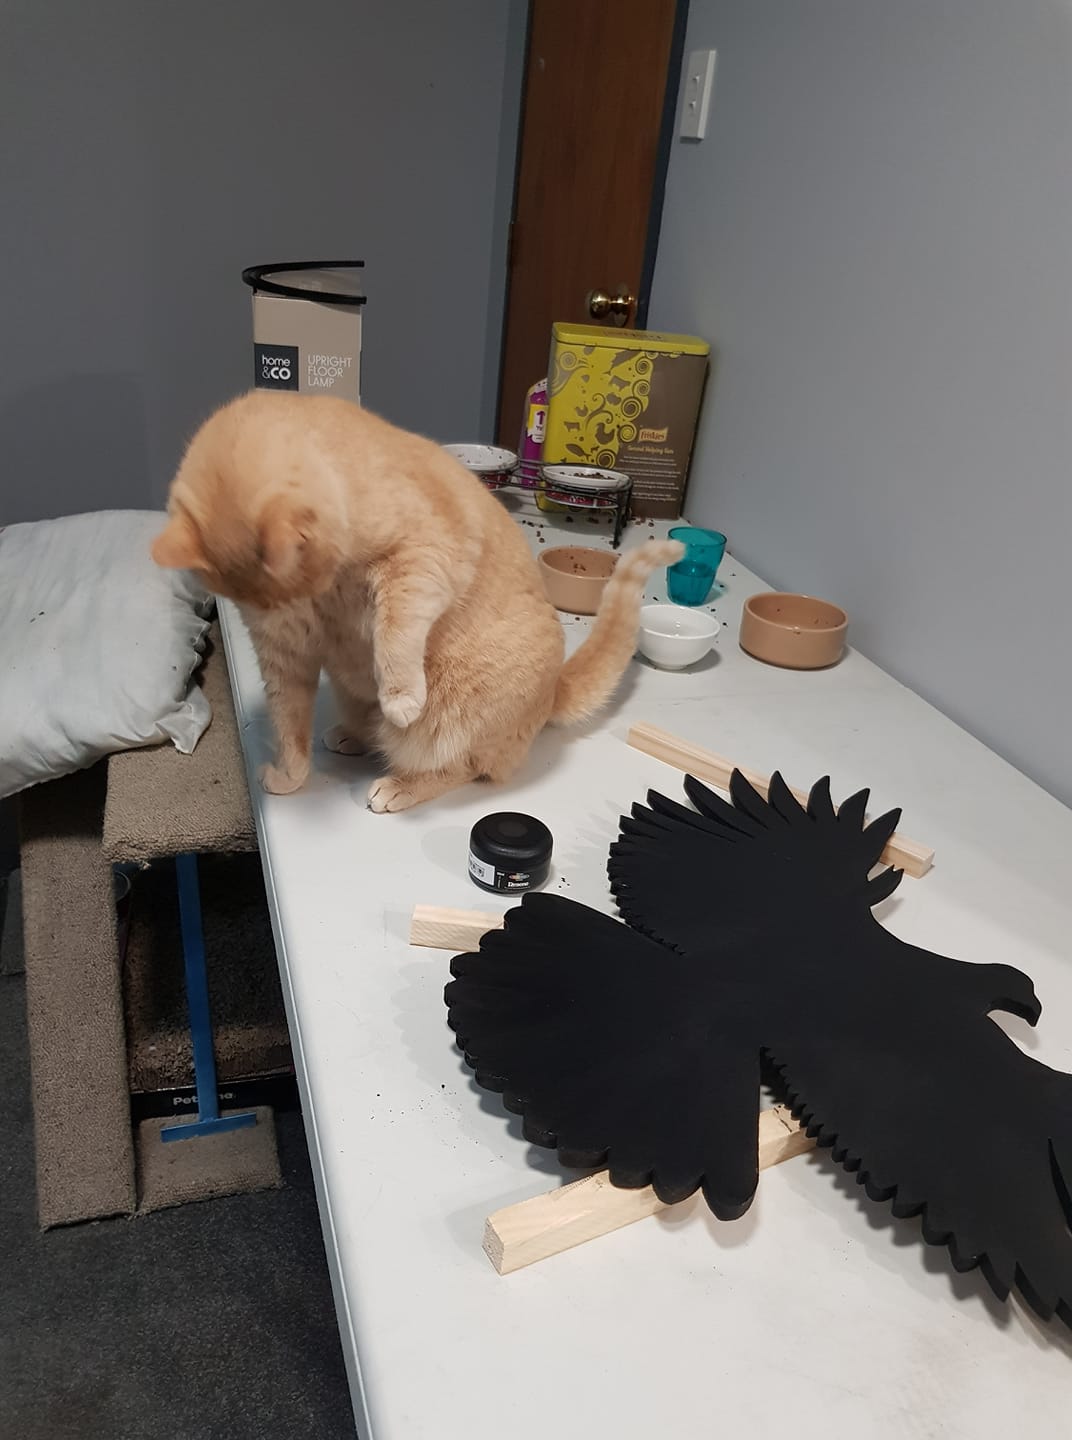
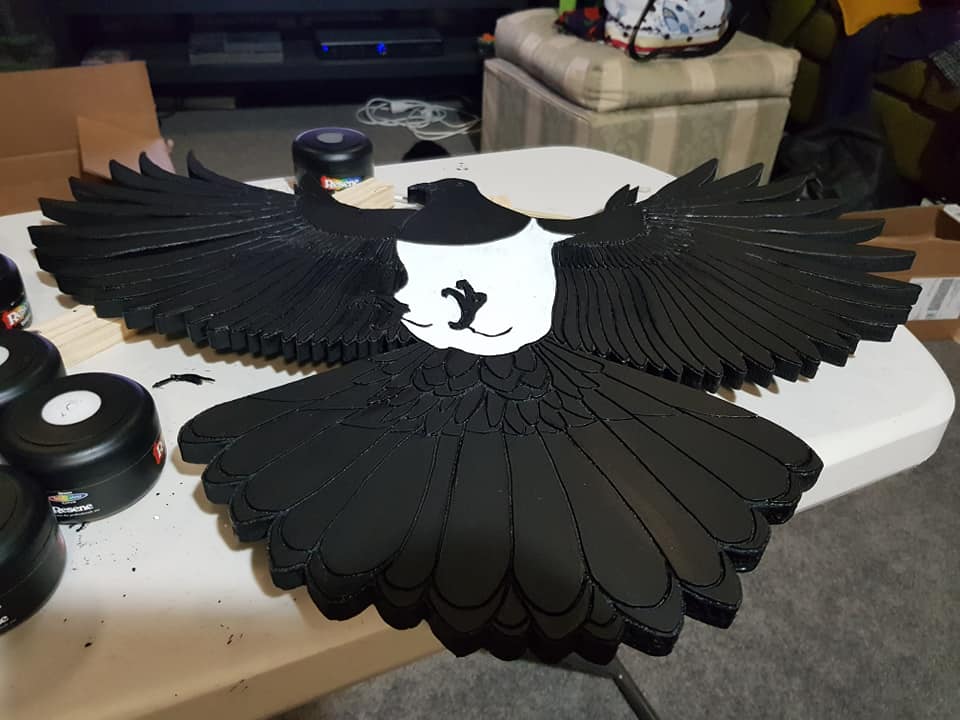
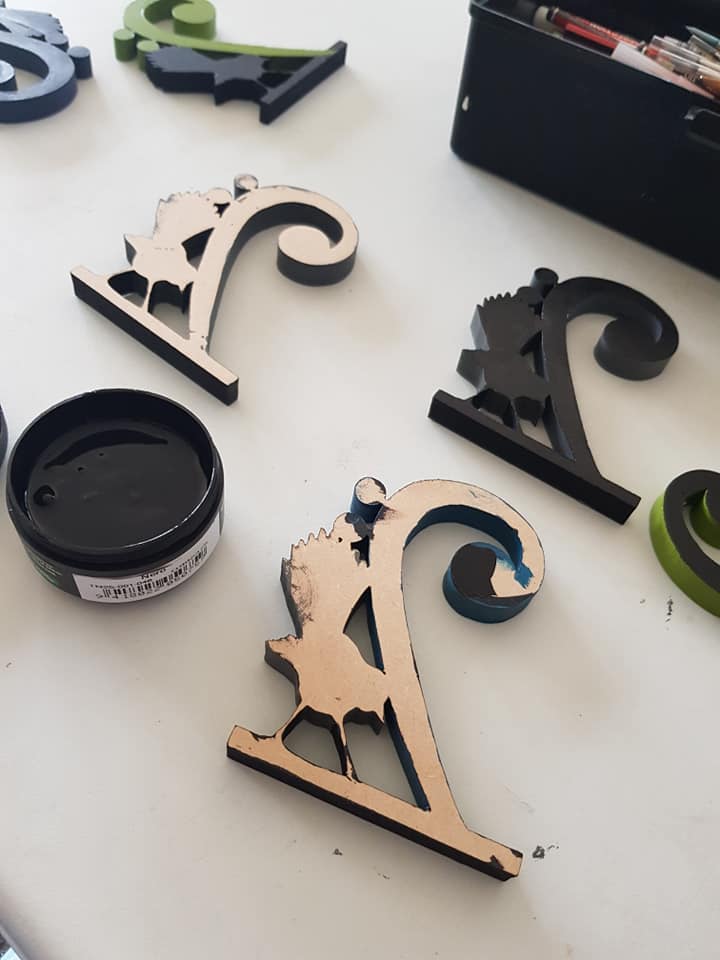
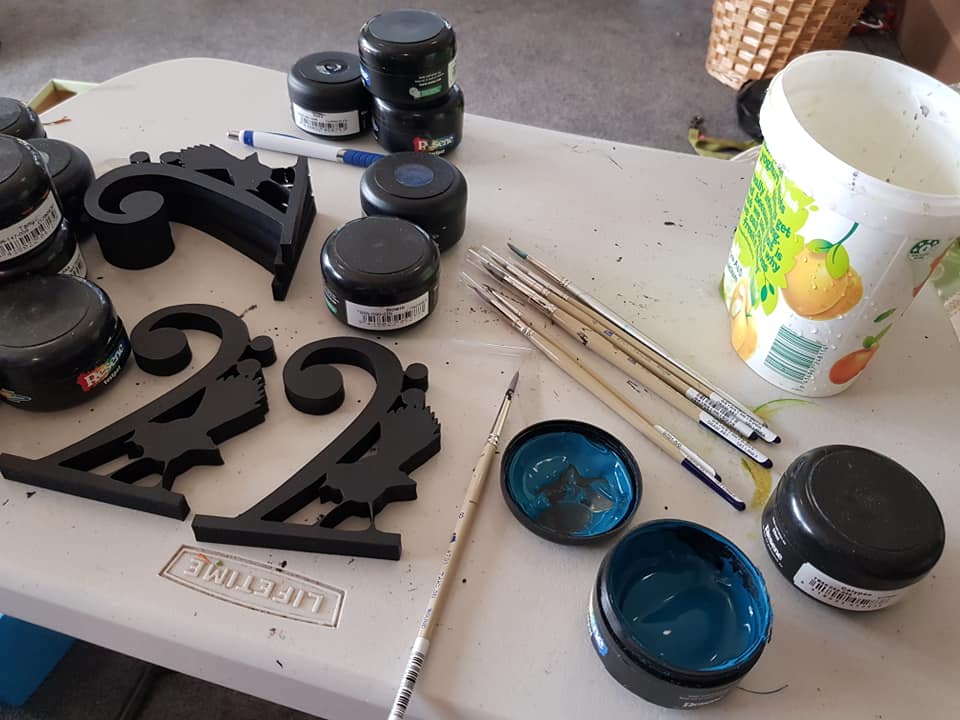
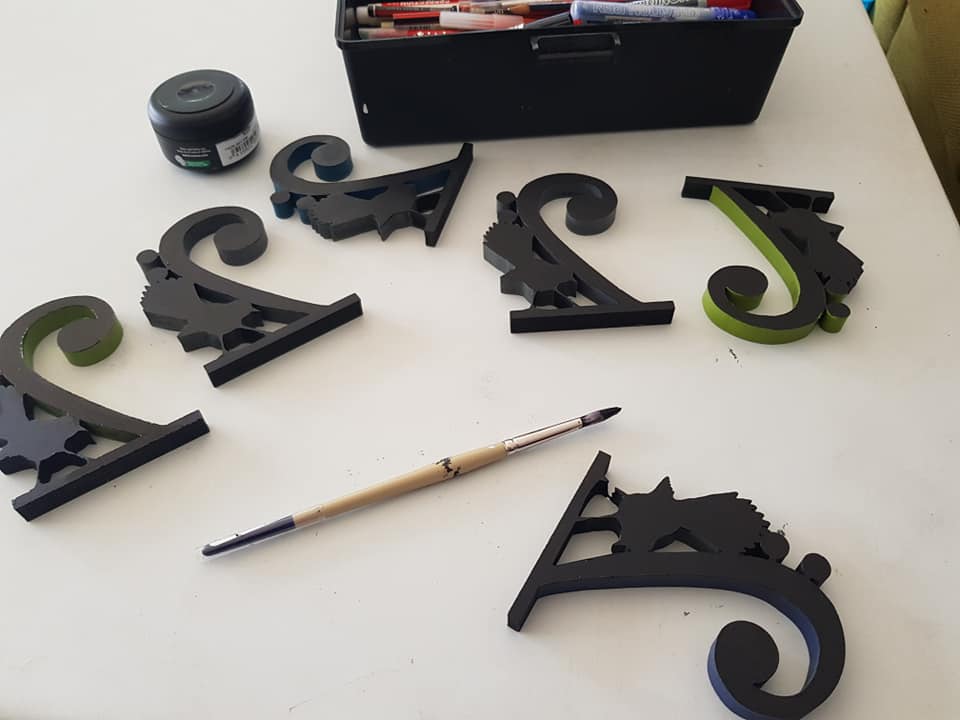
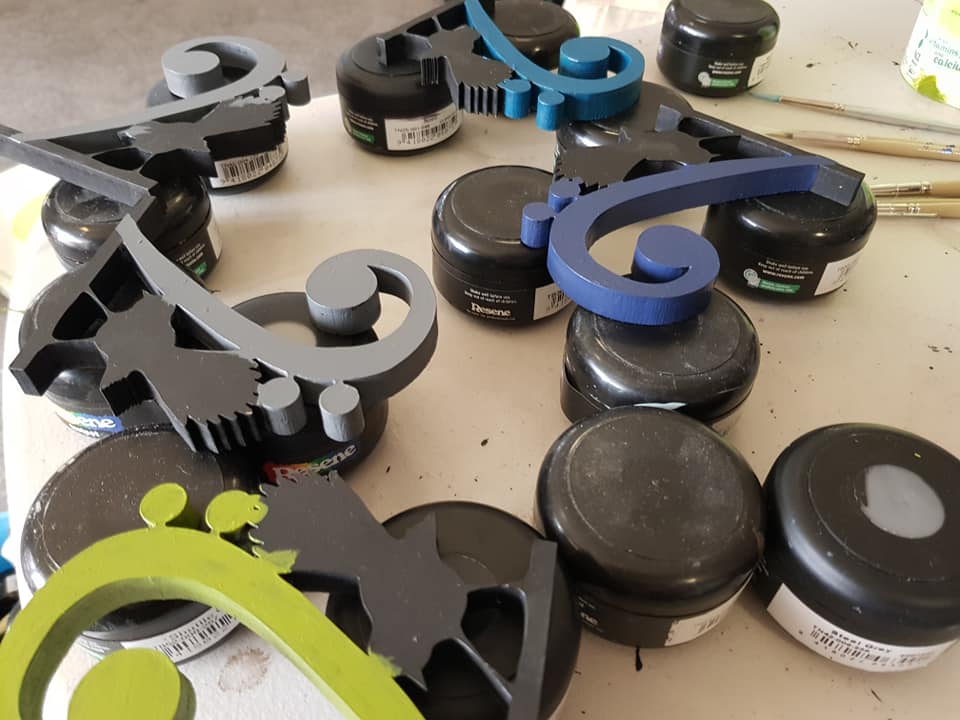
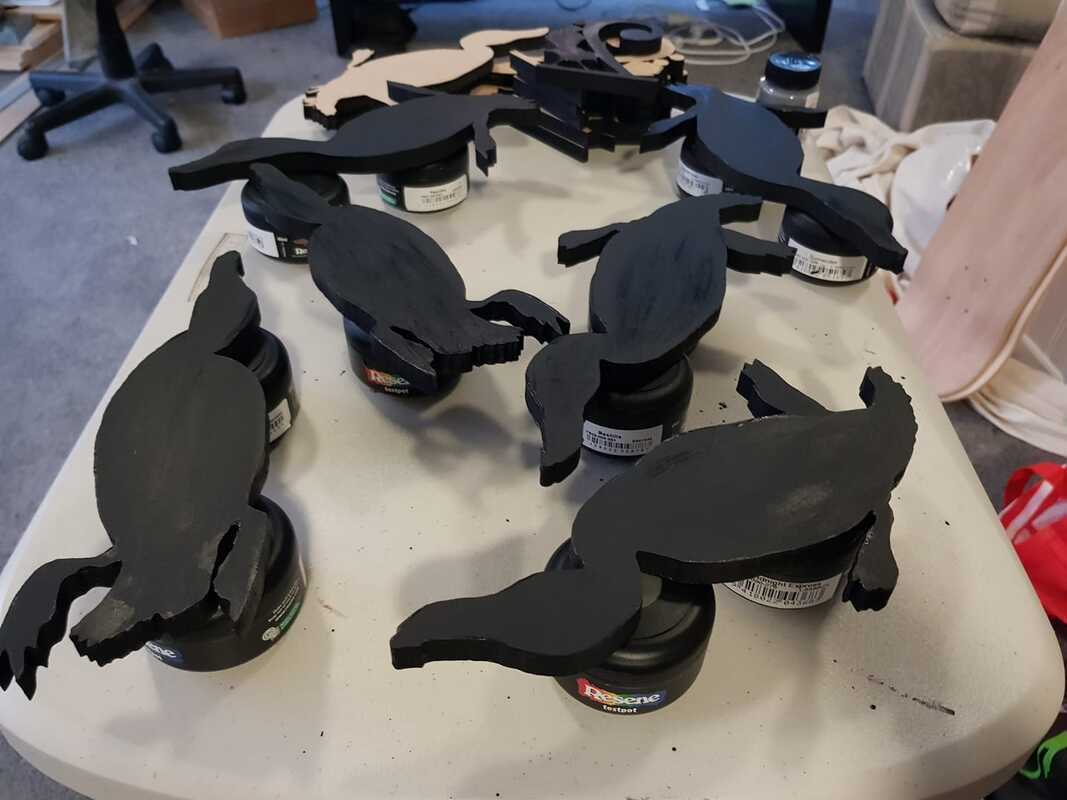
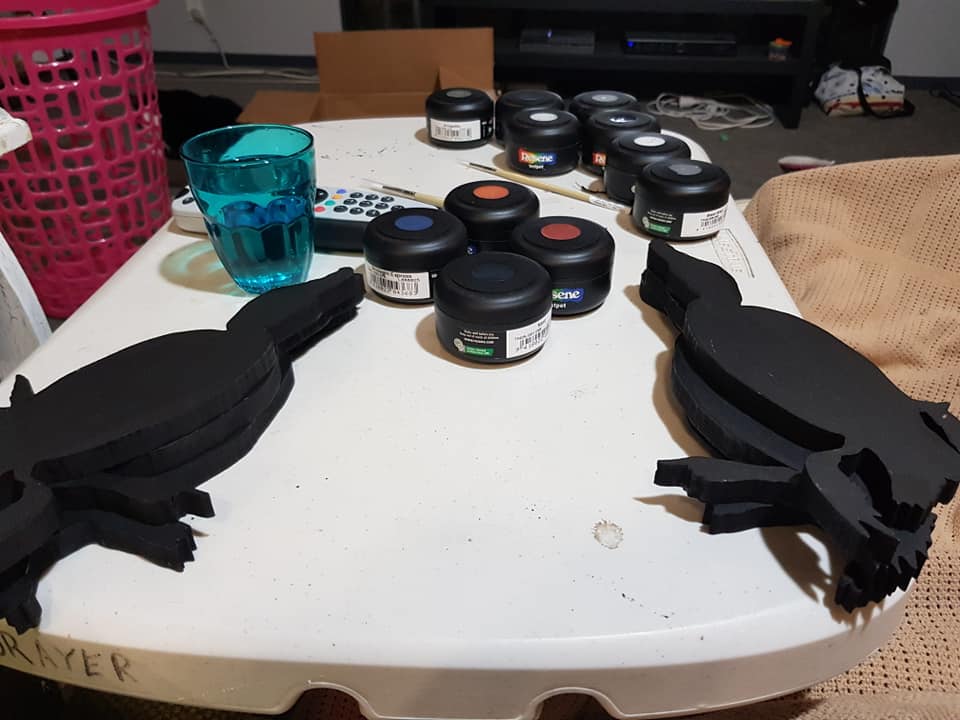
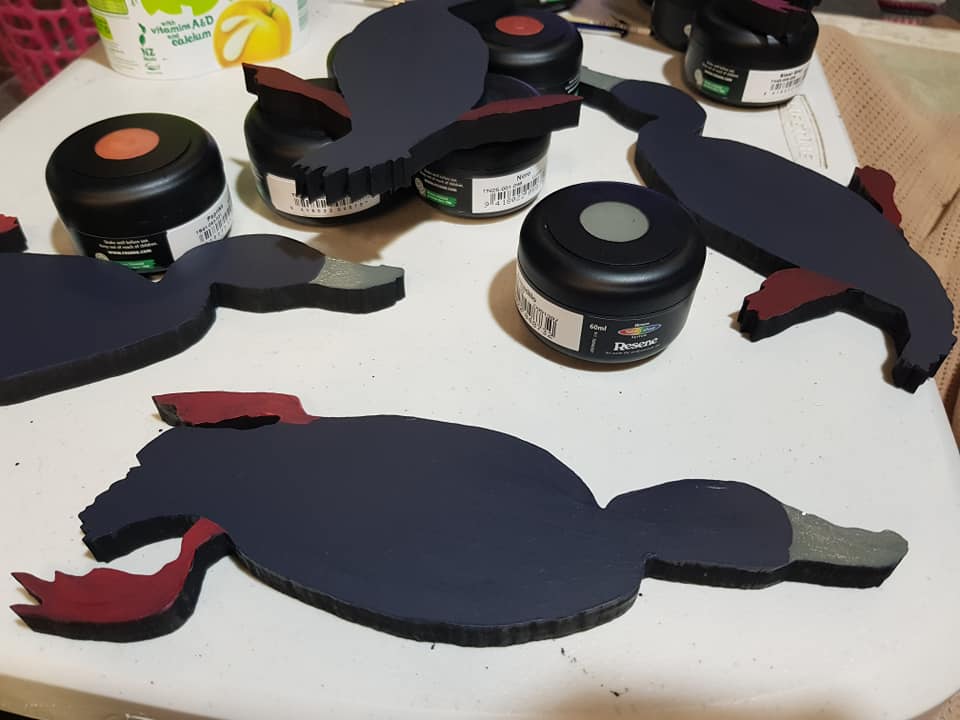
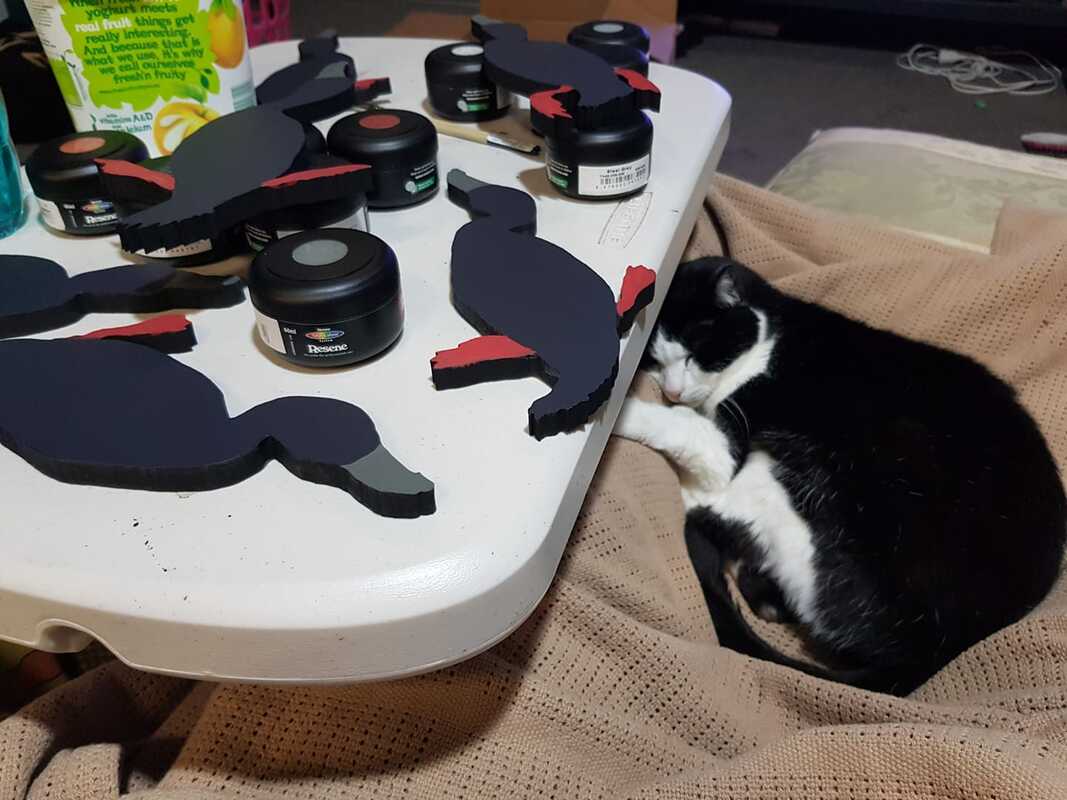
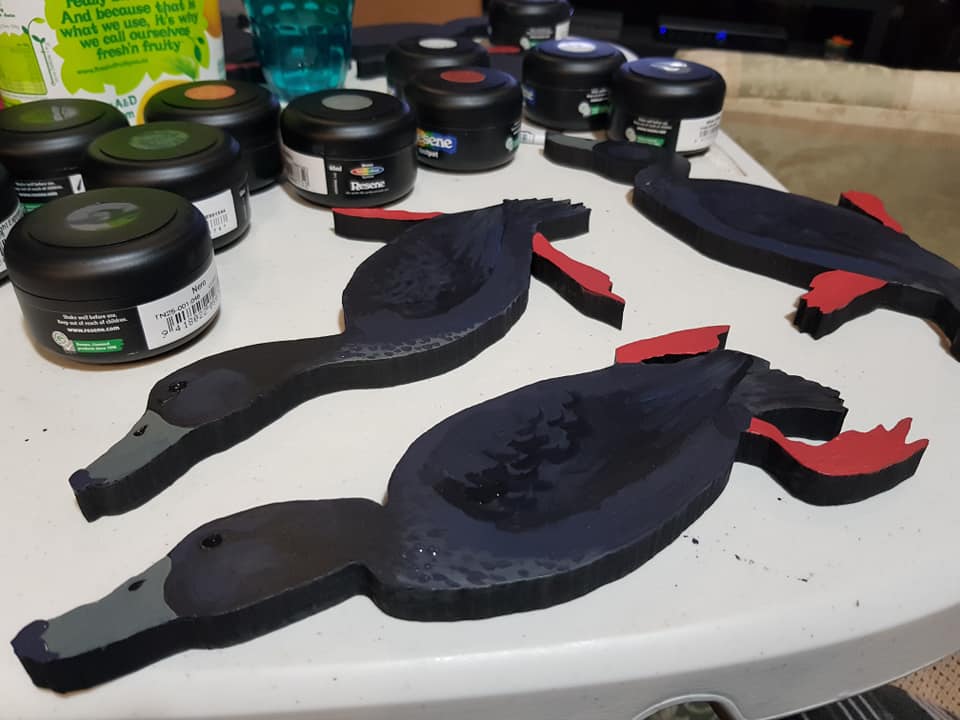
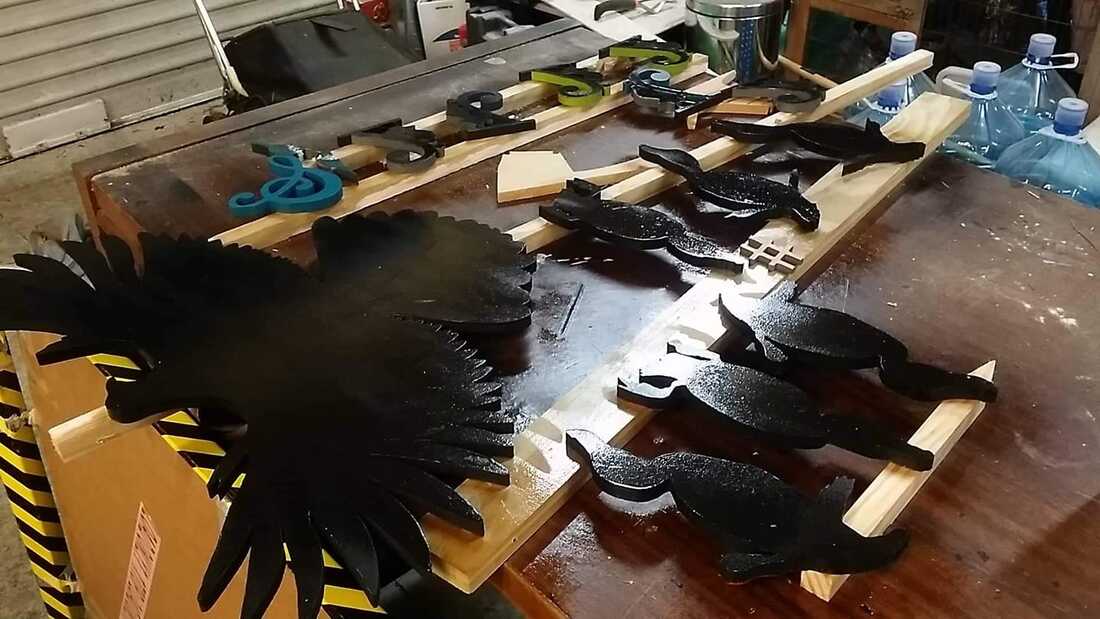
The first step with all the pieces was to completely seal the MDF with Resene Lumbersider in Nero, which is basically black. Loki, of course, was required to help, there.
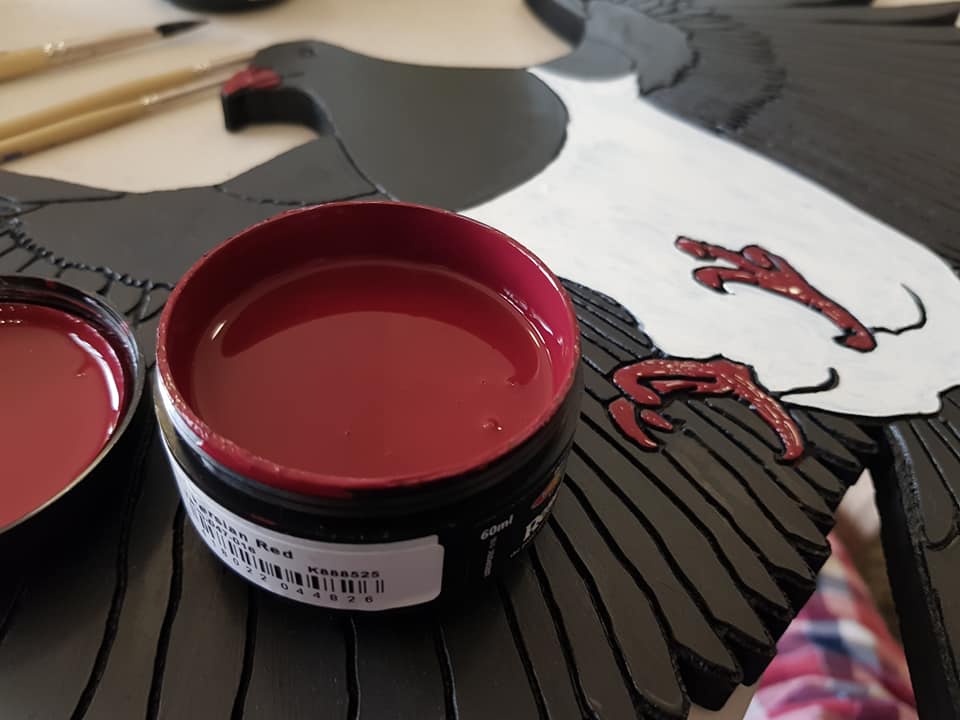
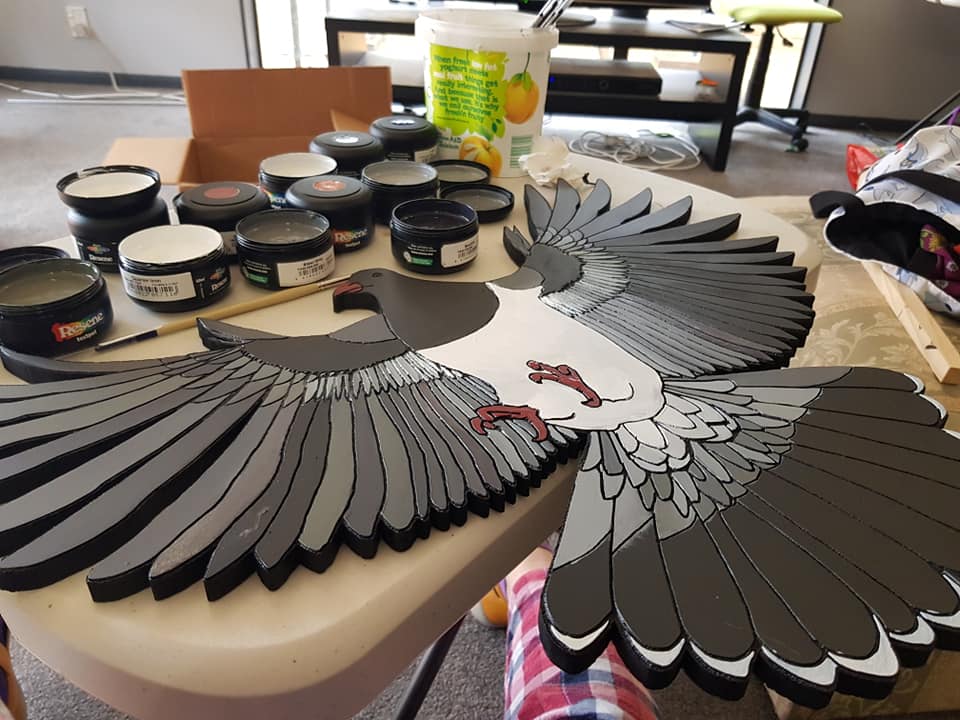
I used the testpots of the colours that I was considering for our interior and exterior wall colours, so it was also a form of recycling.
It had been quite some time, at this point, since I had held a paintbrush for anything other than painting walls, so it was quite a challenge to paint for pleasure – but a welcome challenge!
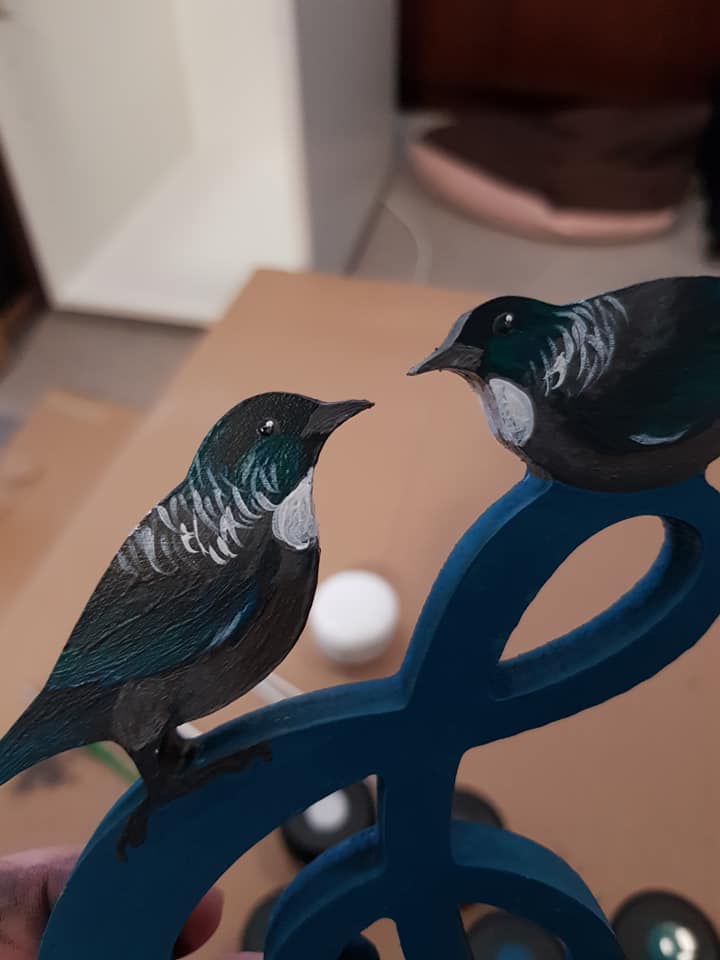
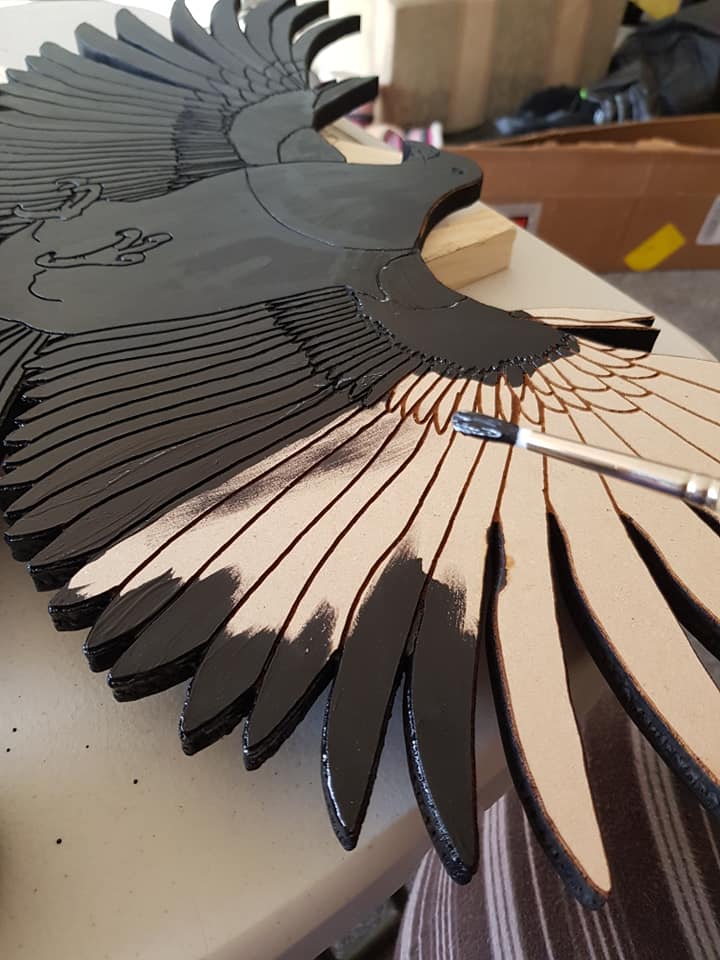
Most of the piece was a single, flat colour, just like my digital art, but it was really nice to do some shading on the head and neck.
Most of the piece was a single, flat colour, just like my digital art, but it was really nice to do some shading on the head and neck.
âApart from being a useful record, photos also help me identify the areas that need work – not always apparent to the naked eye, but emphasised by the lens.
The piwakawaka bass clef
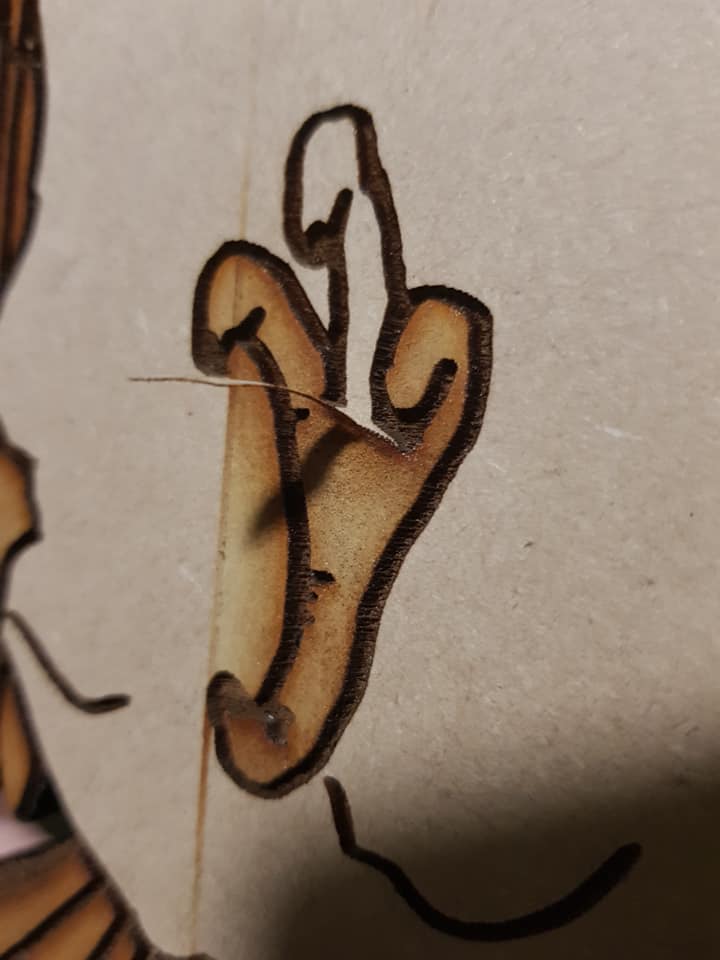
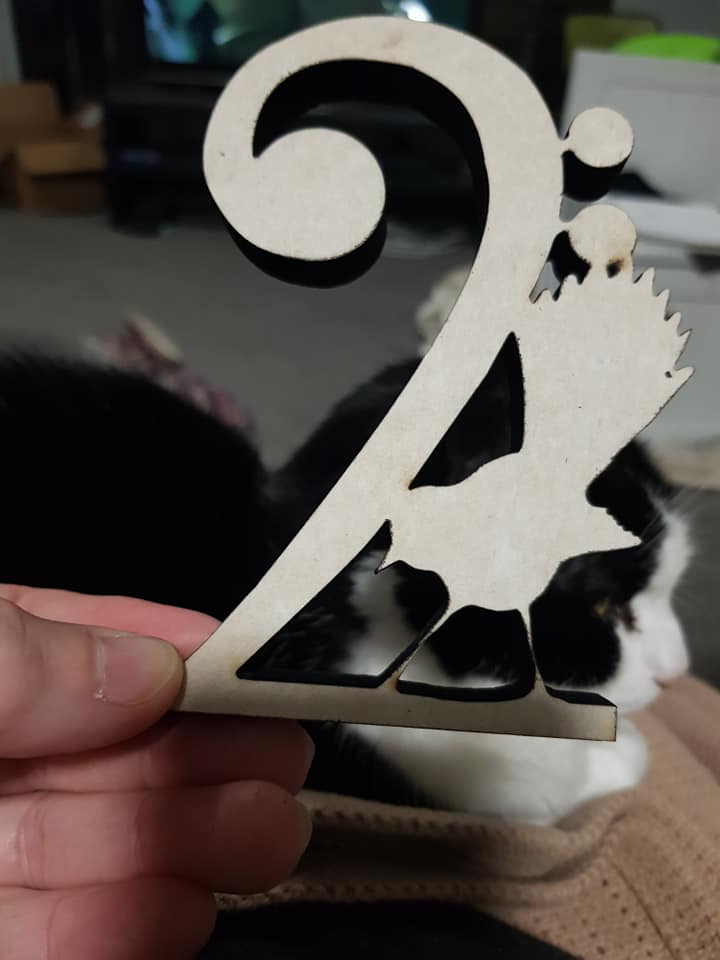
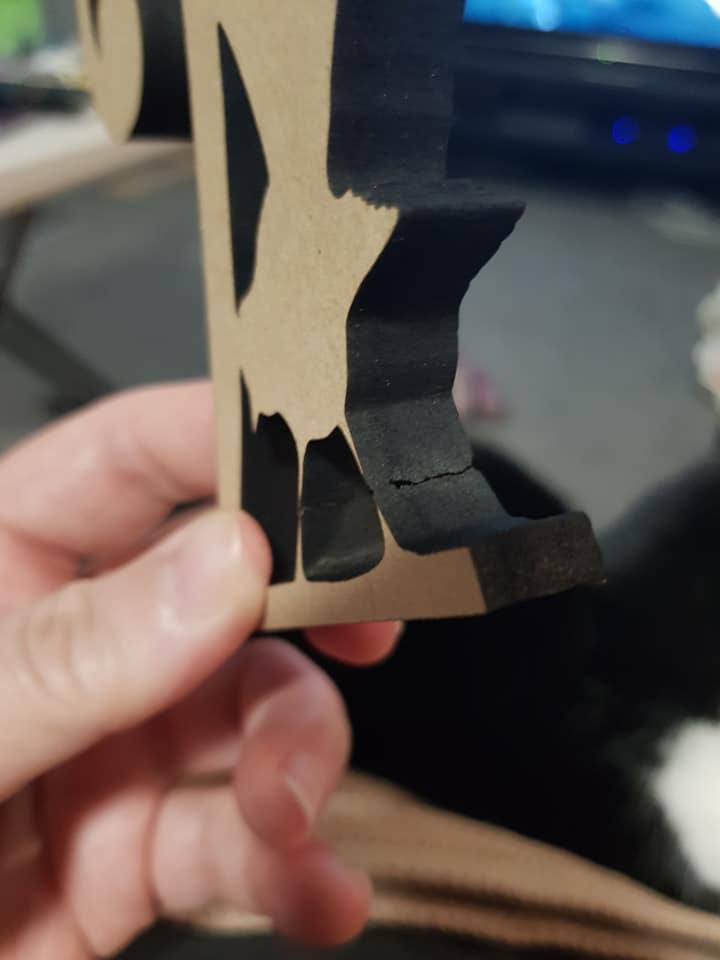
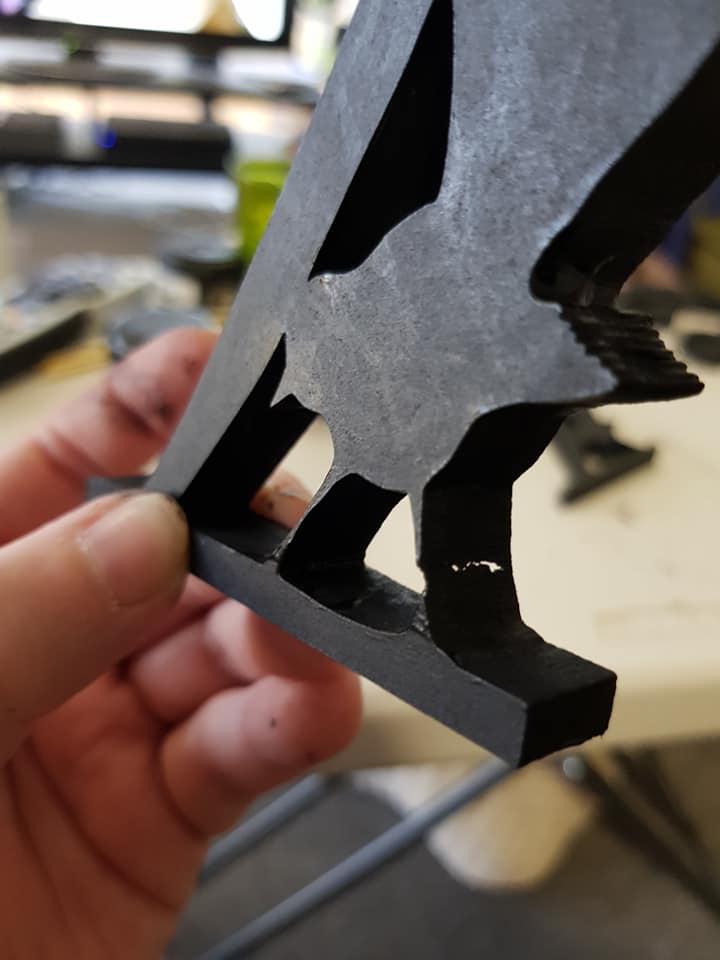
One of the reasons that we did a short test run to start with was this sort of thing – from the front, all good, but then you see how very spindly the leggies are – oops, some were even burnt through! Annoying, but most of them were ok.
Two of these are sold, one is ours, and one was given as a gift to a good friend. The remaining two have the heat crack we showed above, so we will keep them as decor, too.
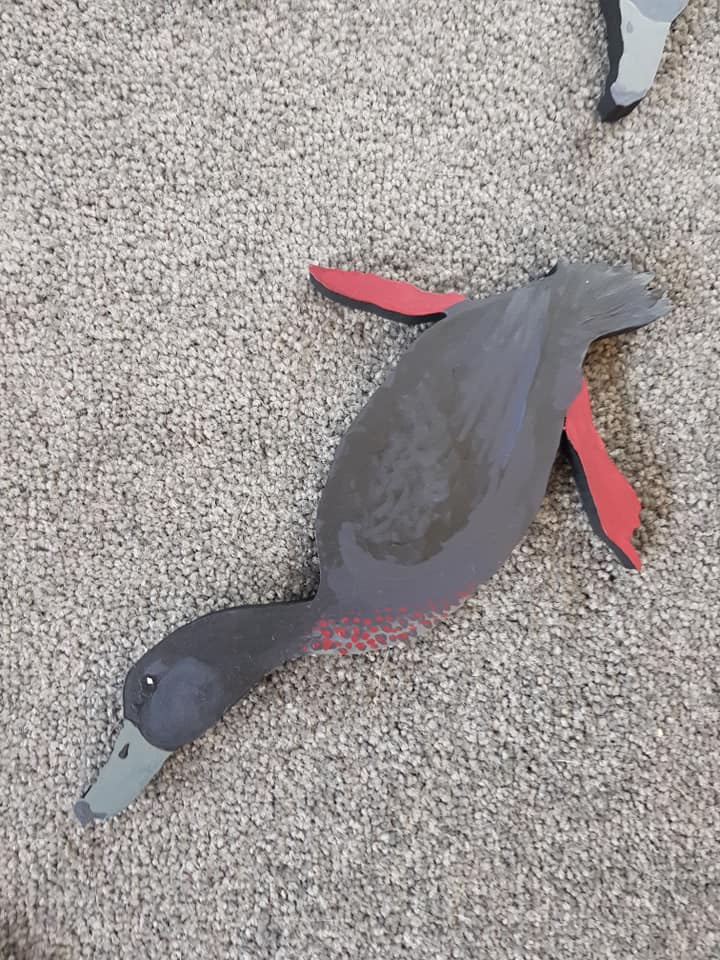
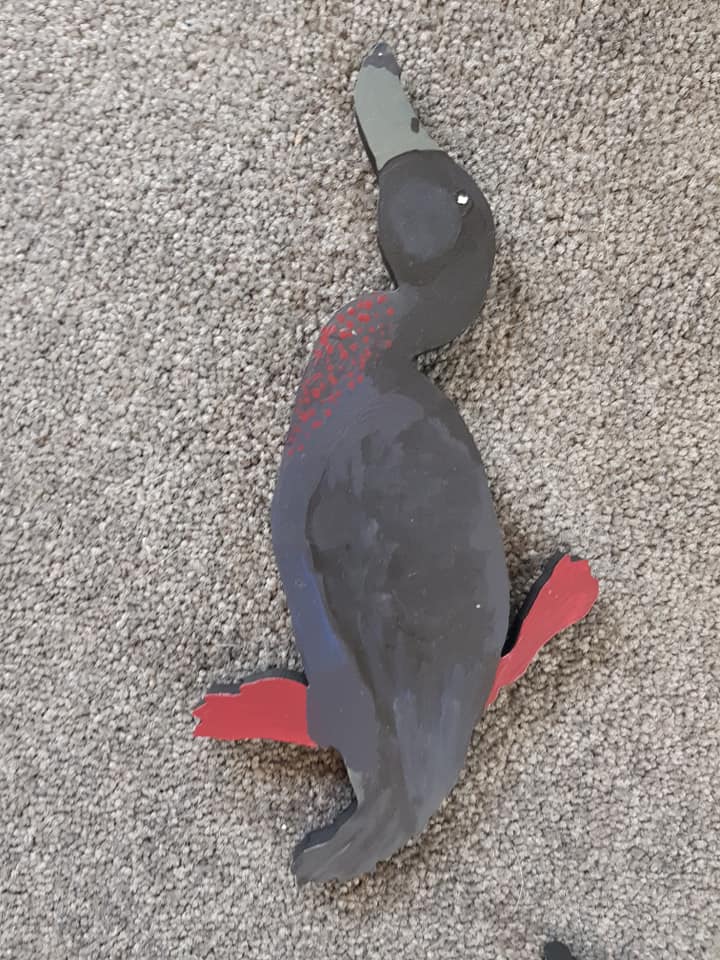
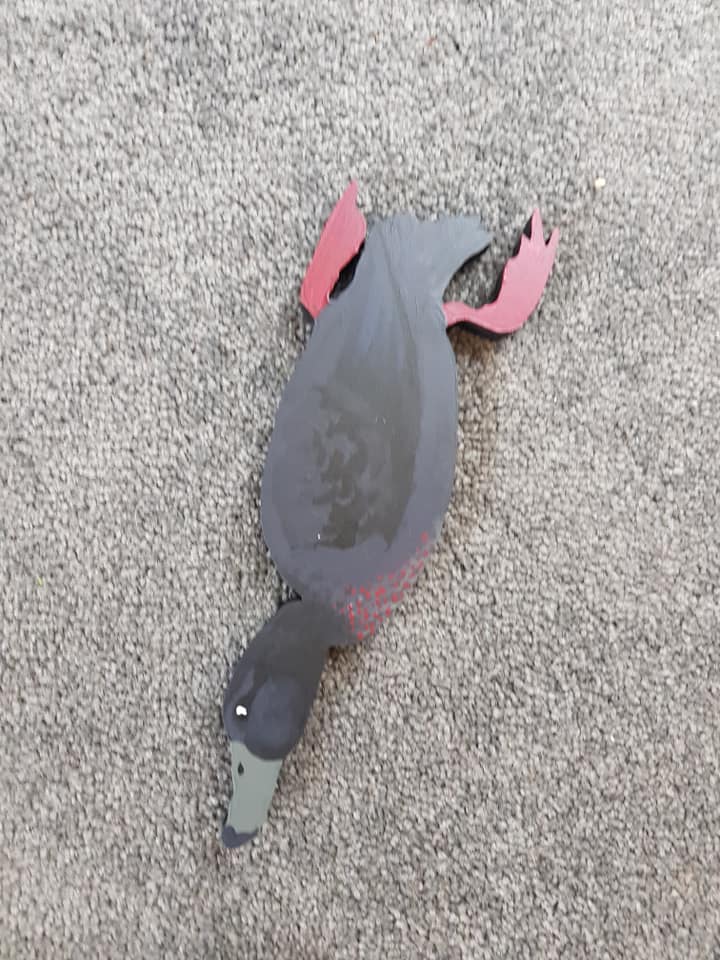
Whio – the diving duck
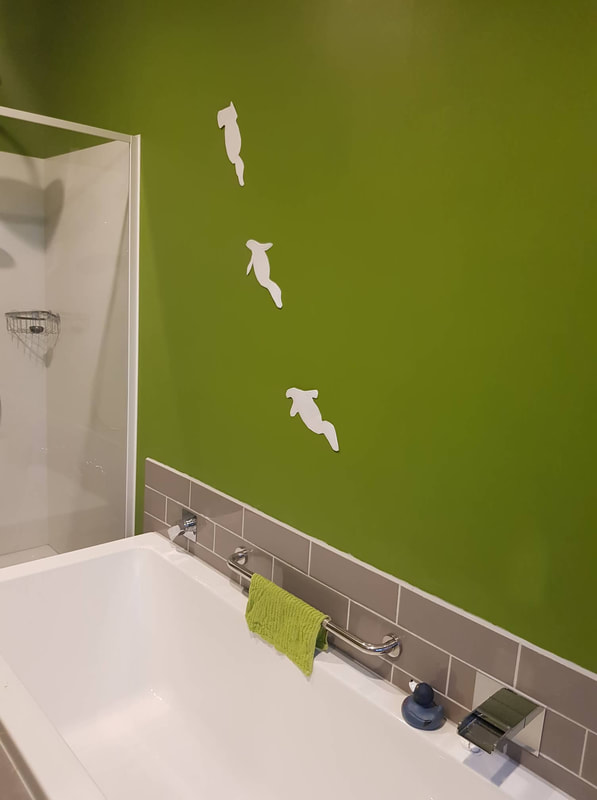
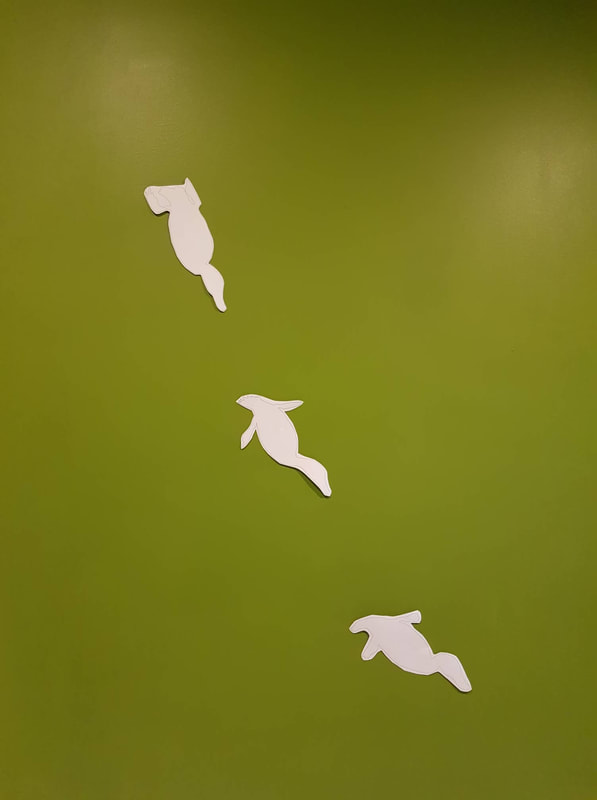
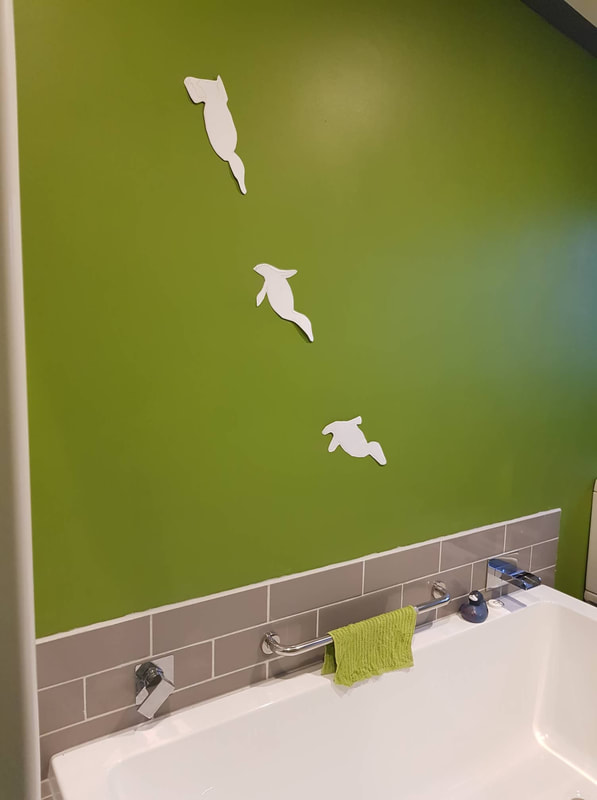
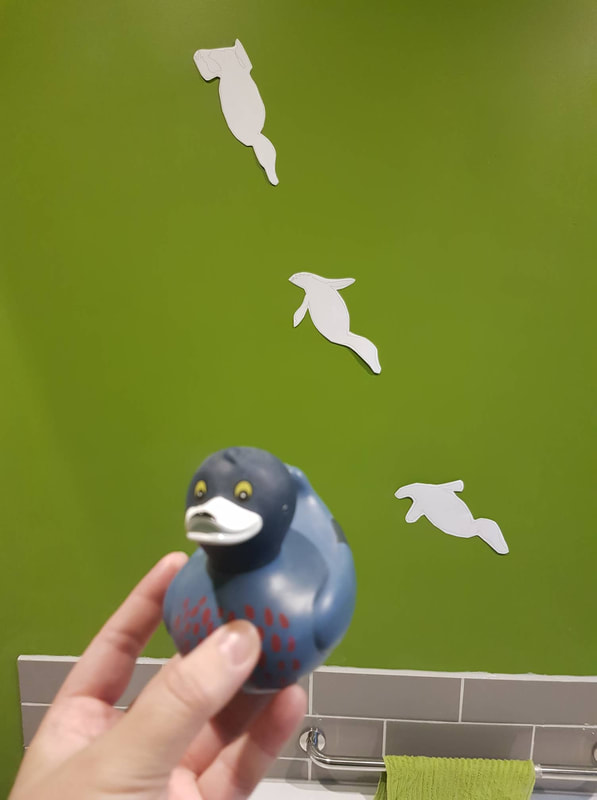
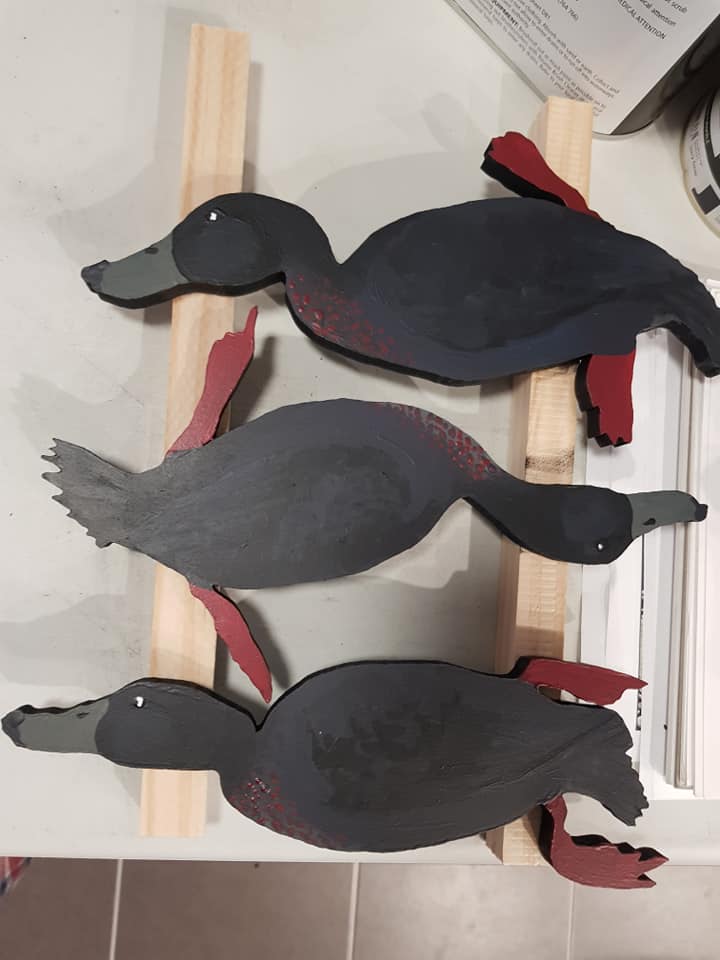
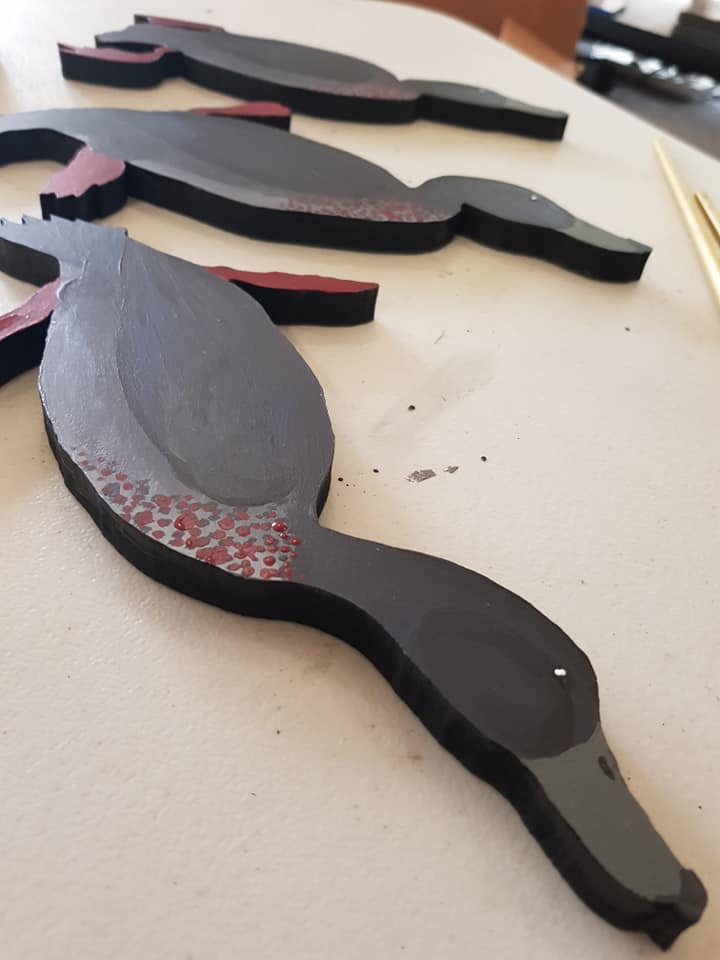
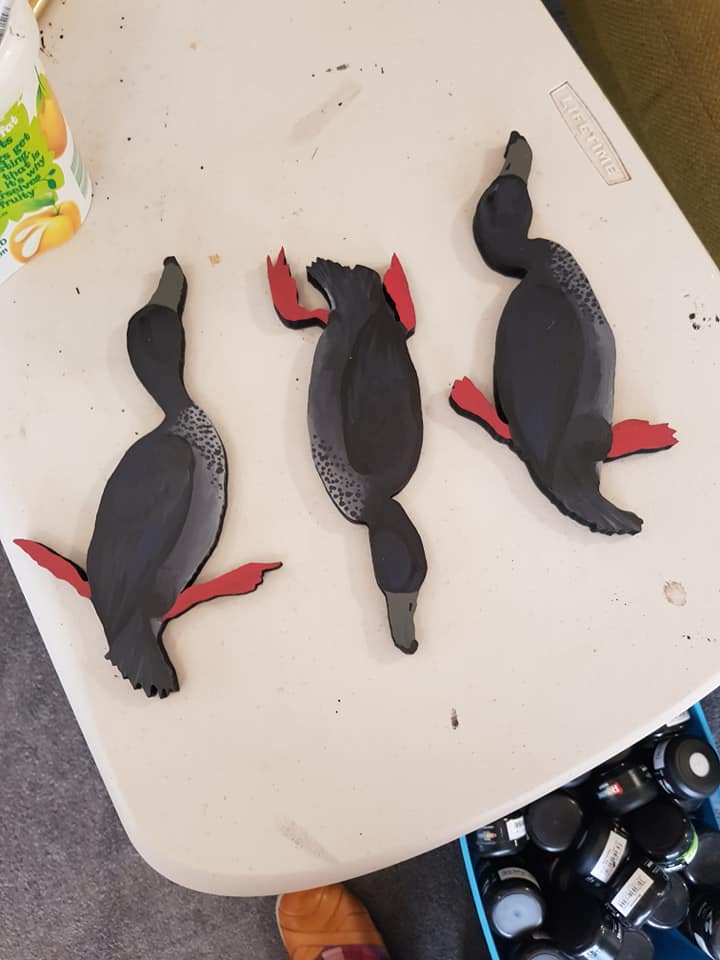
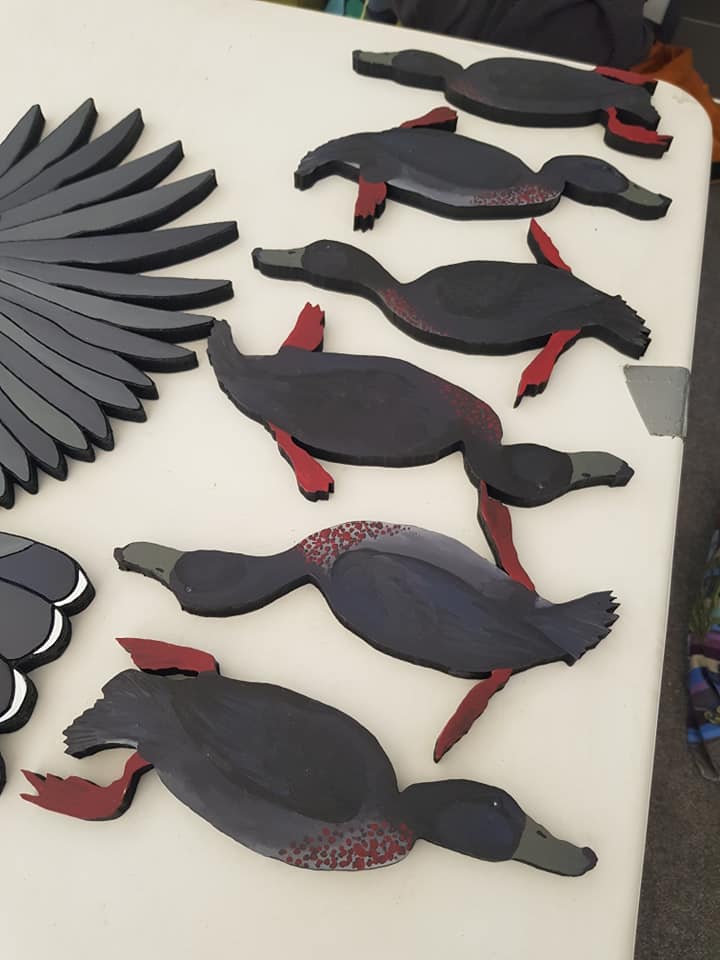
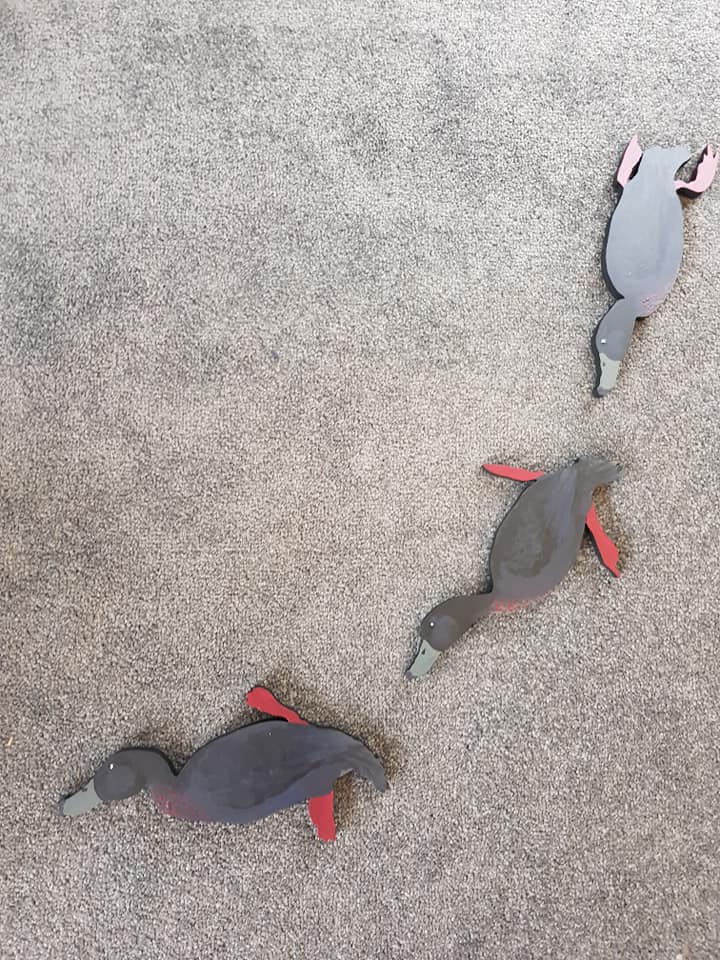
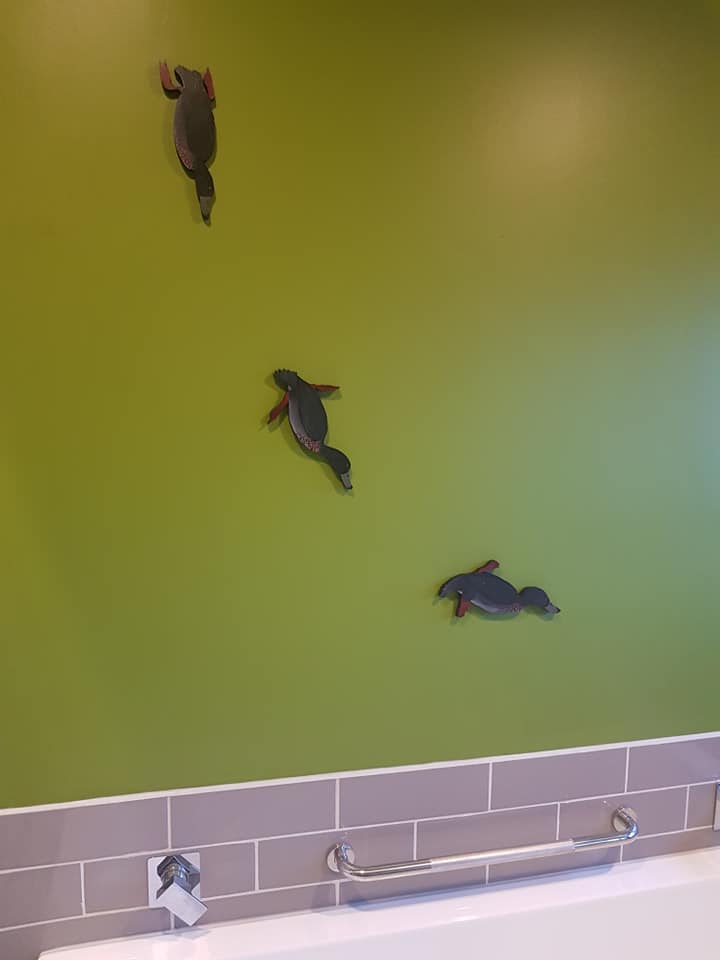
We knew that our bathrooms still needed another coat of paint, so until that was done, the whio for the wall were not urgent. Once we had completed that wall painting, though, it was definitely whio time, so the first thing I did was print out paper mock-ups to test the size on the wall. After a few weeks of living with them, I was sure that the scale was correct, so we were able to order that size with confidence.
As with the other pieces, I painted all of the whio black to seal the MDF, which was particularly important for a bathroom!
âResene Lumbersider is self-priming on timber, so there was no need to prime, and it’s house-paint, designed to weather our fairly extreme conditions, so it was a pretty safe bet for a room that doesn’t get very steamy ( we only use it for baths). We did overcoat with a clear coat to protect the paint a bit more, though.
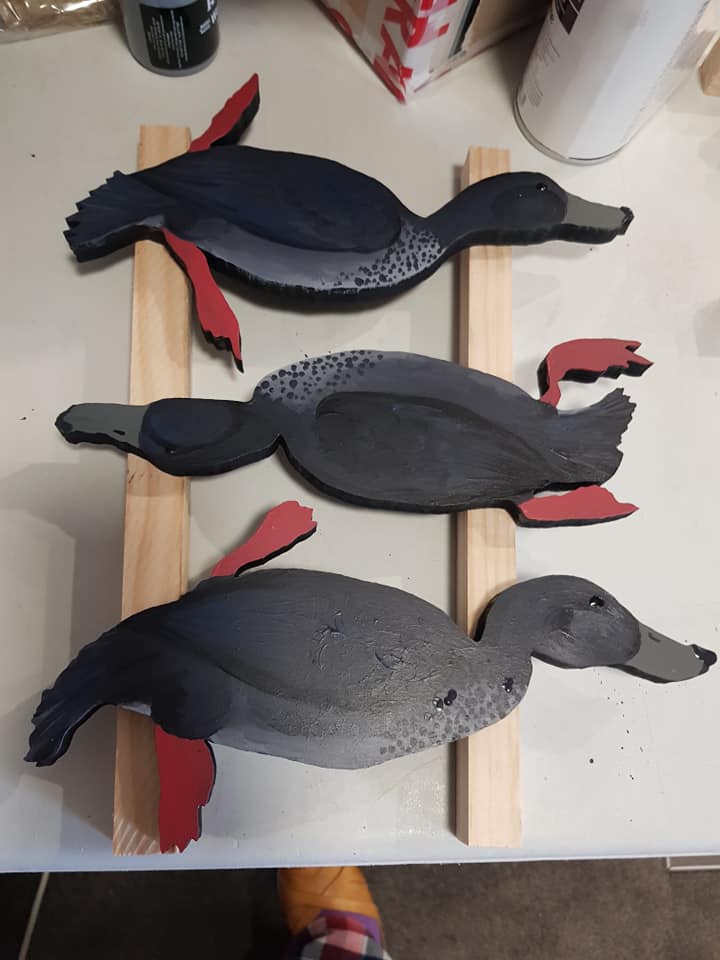
I painted one set diving left to right, and one diving in the other direction, to keep things interesting.
A few coats of gloss to finish off
El Huzbando is the king of spraying, so while I can do a decent job, it’s usually best for him to do it when it matters.
Going “live”
We were honestly quite bowled away by the positive response to these designs – private posts and public posts alike got some really positive feedback. Thank you all again for making us feel so good about our little project – especially to those who bought our test pieces!
Coming soon…
Keep an eye out for our all-year-round decorations, which are also perfect for tree ornaments or gift tags that are part of the gift!
